From logos to illustrations, Inkscape gives you the freedom to design whatever your heart desires. In this article, we’ll look at how to get started with Inkscape and explore some of its key features so that you can begin creating amazing designs right away!
Here are some benefits of Inkscape:
Benefits of Inkscape
- Intuitive user interface: The Inkscape user interface was designed to be intuitive and straightforward, making it easy for new users to get up and running quickly.
- Powerful features: Inkscape offers powerful features such as gradients, filters, effects, and more that allow you to create complex designs with ease.
- Open source software: As an open source program, anyone can contribute to the development of Inkscape and make sure it continues to evolve with time.
- Cross-platform compatibility: Inkscape is compatible with Windows, macOS and Linux which makes it a great choice if you need to design for multiple operating systems.
- Versatile formats: In addition to creating its own vector format, Inkscape supports the most common graphic file formats including PNGs and JPGs.
How to Use Inkscape
Inkscape is a free and open-source vector graphics editing program. This software can be used to create or edit vector graphics such as illustrations, diagrams, line art, charts, logos, and complex paintings.
Step 1: Open Inkscape.
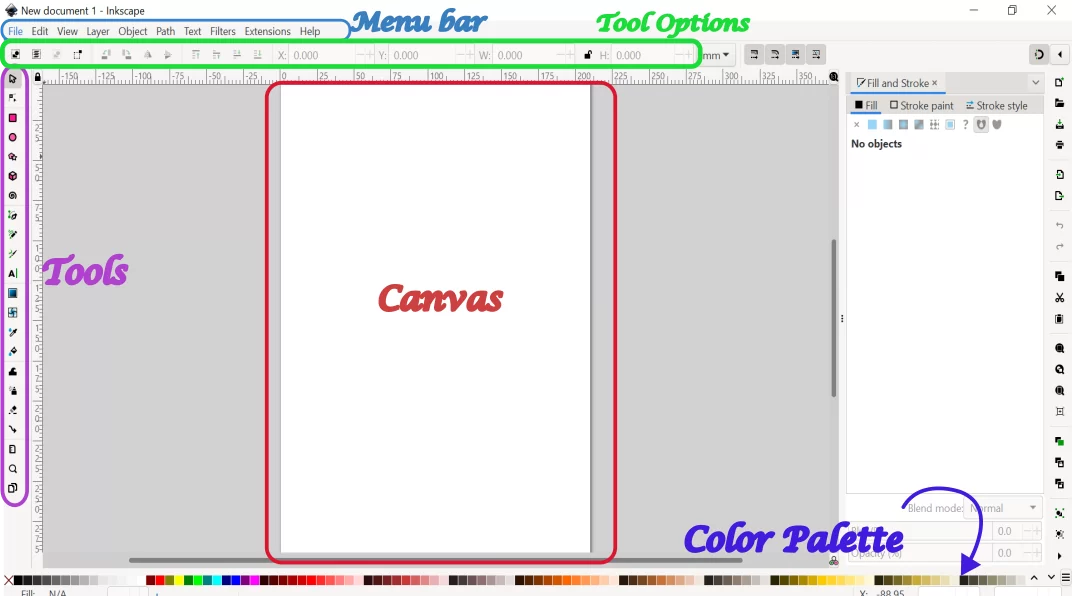
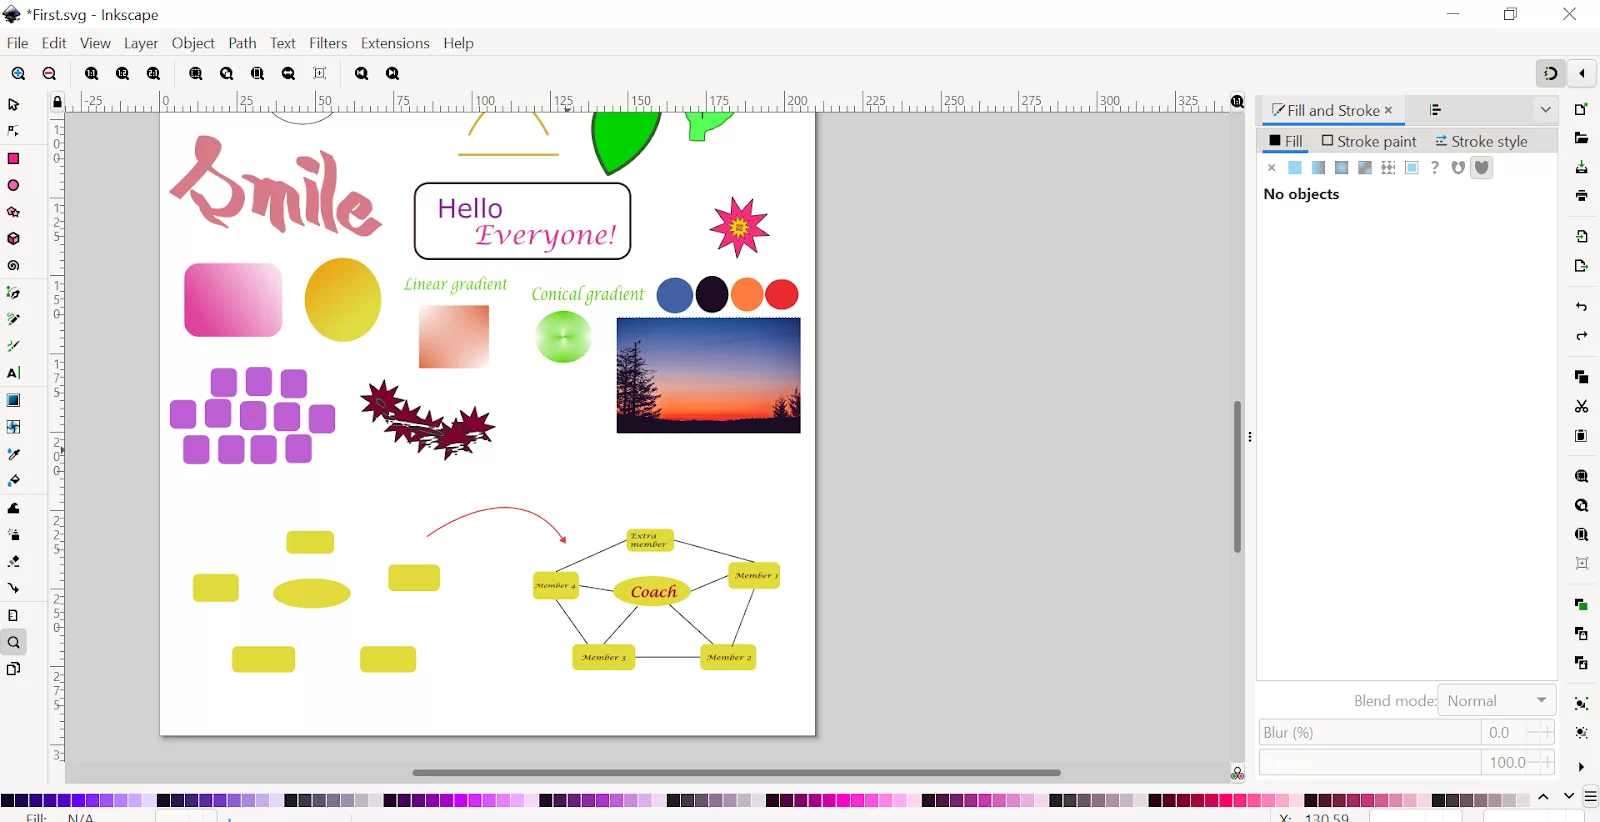
Step 2: When Inkscape is opened, you’ll see the toolbar on the left side of the workspace, tool options located on the top of the page below the menu bar, and the middle of the section is the canvas, where the design will be made.
Step 3: You can also change the dimension of your canvas.
File ➜ Document Properties ➜ Custom Size and change the width and height.

You can always change the Format. Examples A1, A2, A3, A4, and many more. When you click on Forma size, you will get so many different sizes with their dimension written along with them.
We also recommend that you check our in-depth article on how to use deselect in Krita.
Introduction to Inkscape Tools
- Use for selecting the objects
- Use for moving the objects
- Transform any object like scaling, rotating, or shearing.
- Resize the shapes. Increase or decrease their sizes.
- Rotate the objects by double-clicking and rotating the arrow.

- Edit Paths by Nodes (Node Tool)
- You can Add or delete nodes
- Allows you to change the structure of an object by adjusting the individual coordinate points (nodes) of that object. You can change the position of the nodes.

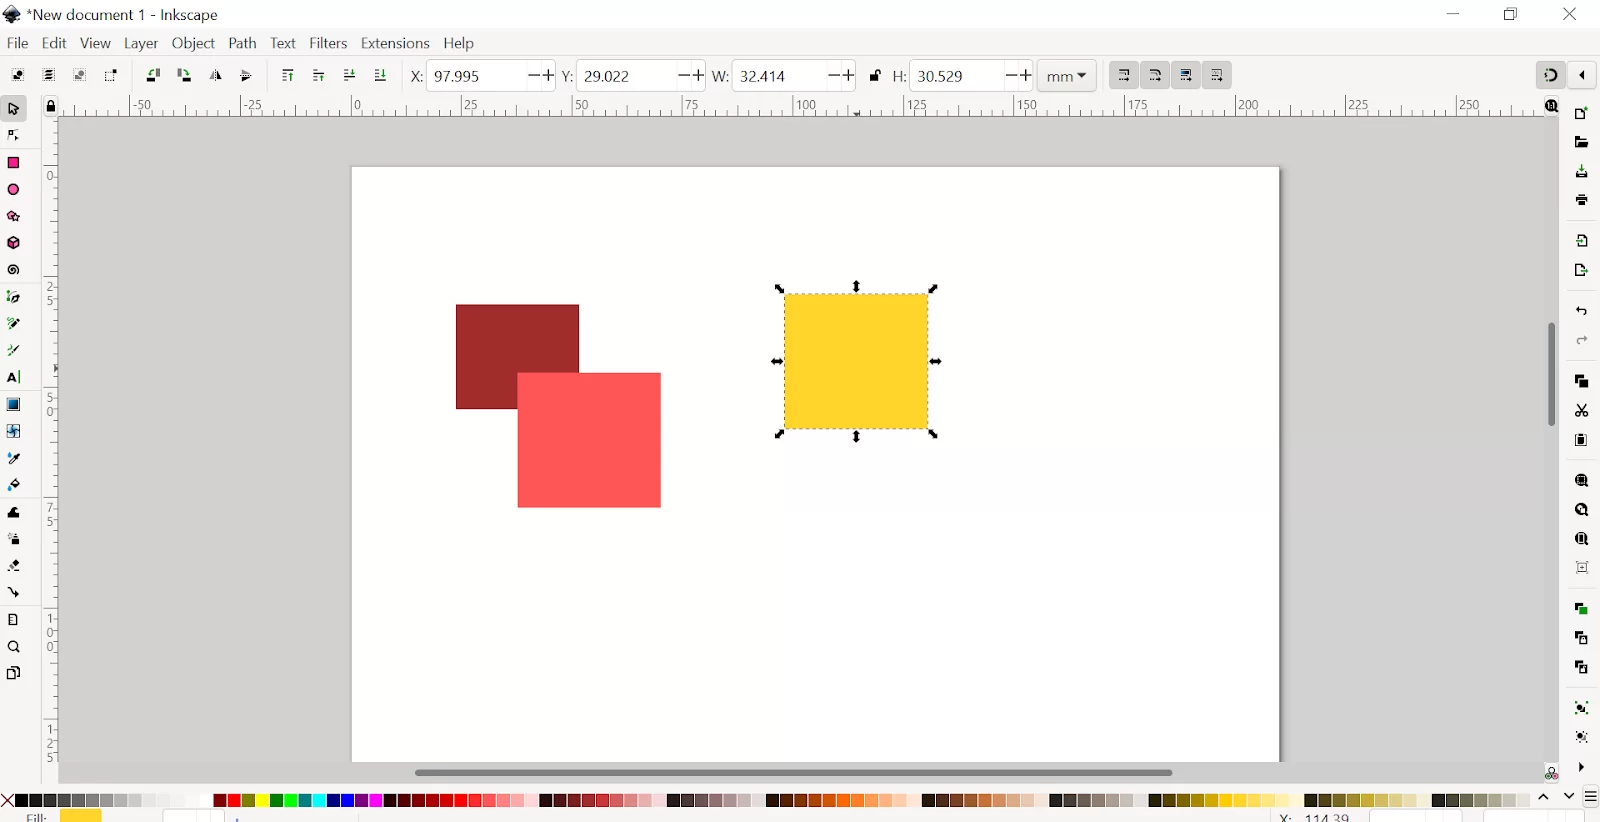
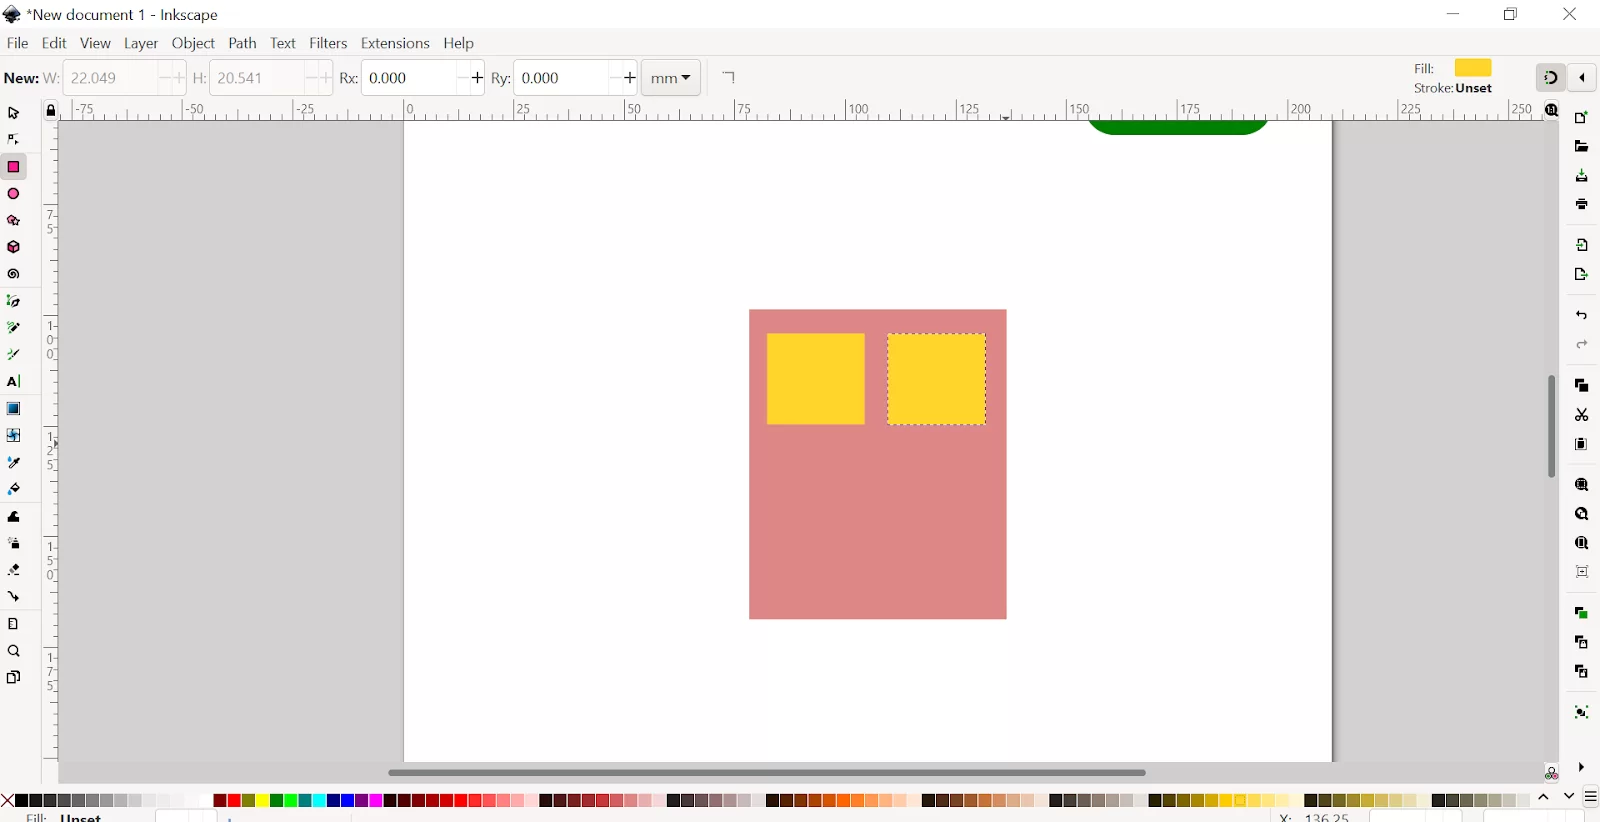
- Rectangle Tool
- Create 4 side vector objects, whether rectangles or perfect squares.
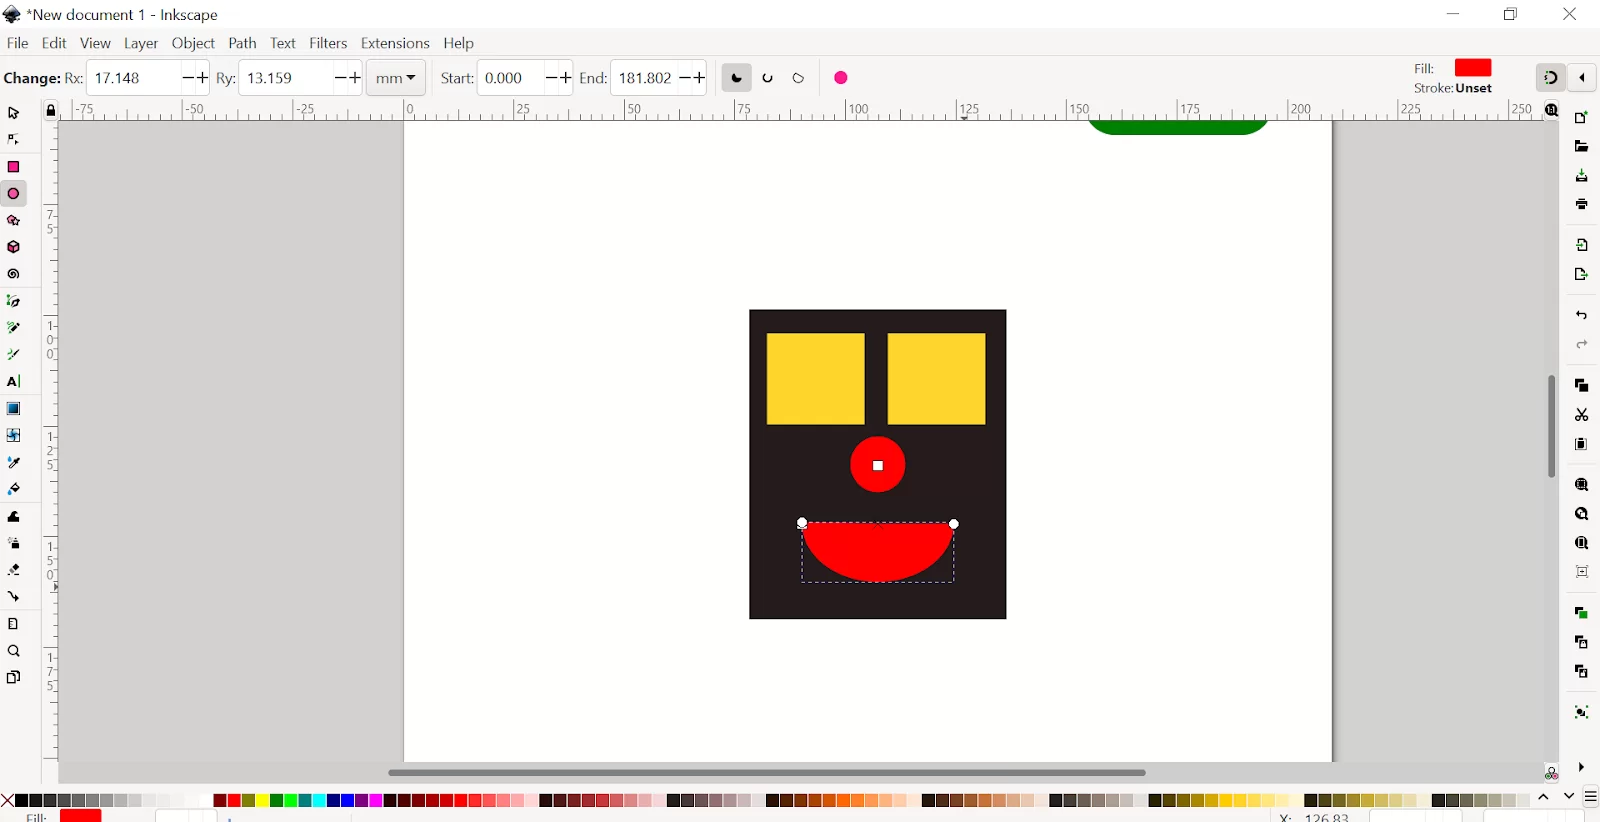
- Circles, Ellipses, and arcs
- Create shapes like circles, ellipses, and arcs.
- Press shift at the same time to get a perfect circle, then let go of the mouse button to complete it.
- You can change the diameter of any circle.

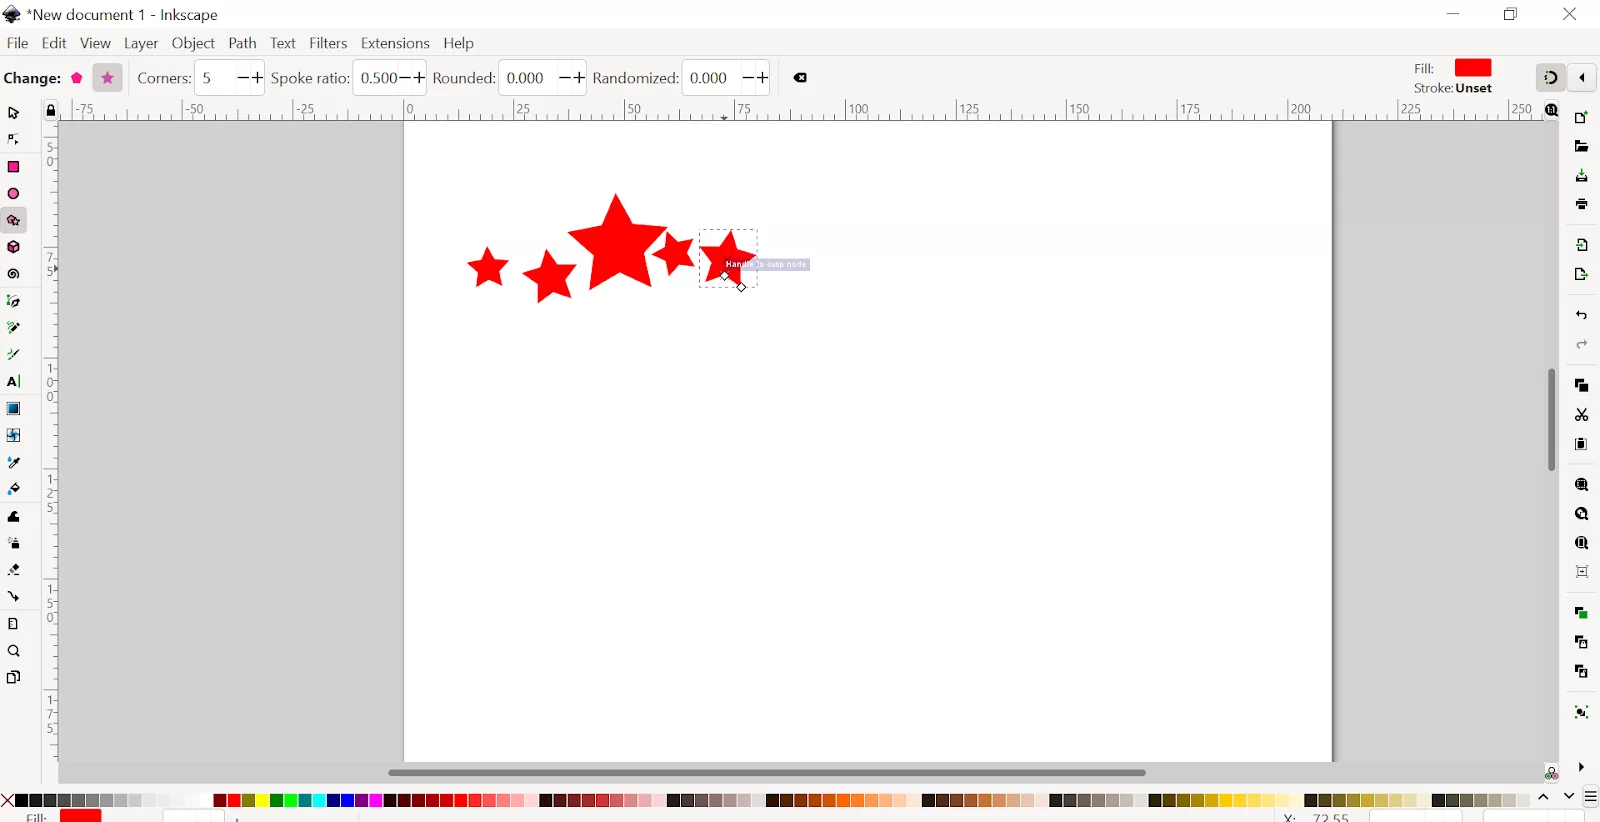
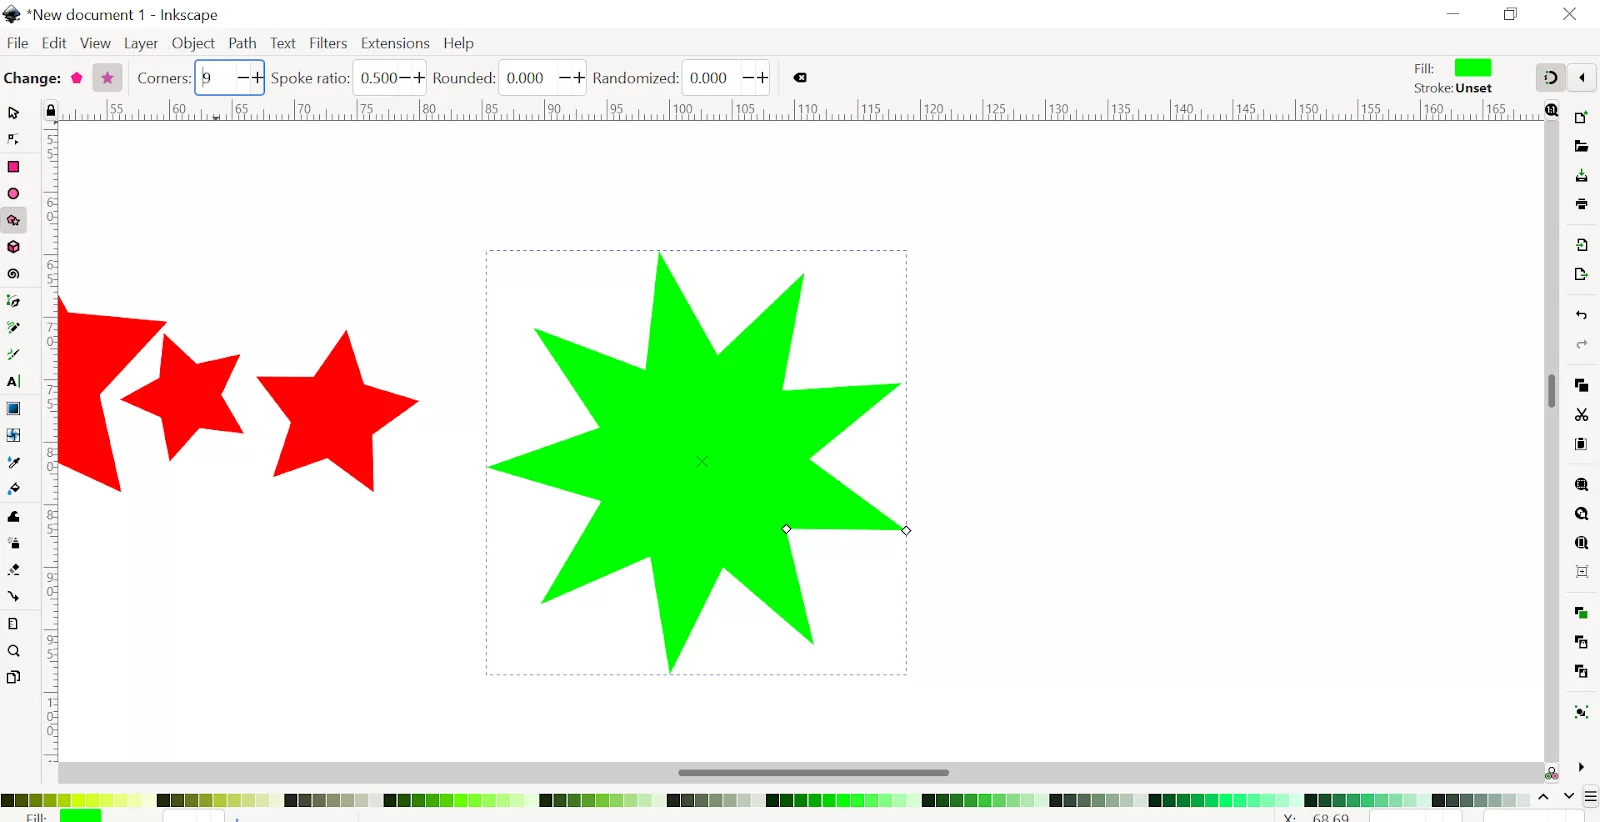
- Stars and Polygon Tool
- Used to create Stars and Polygons. You can always set the number of corners.
- If you want to make your corners rounded, use the Rounded tool option.
- 3D boxes
- Create a 3D boxes shape
- X, Y, and Z axis can be adjusted.

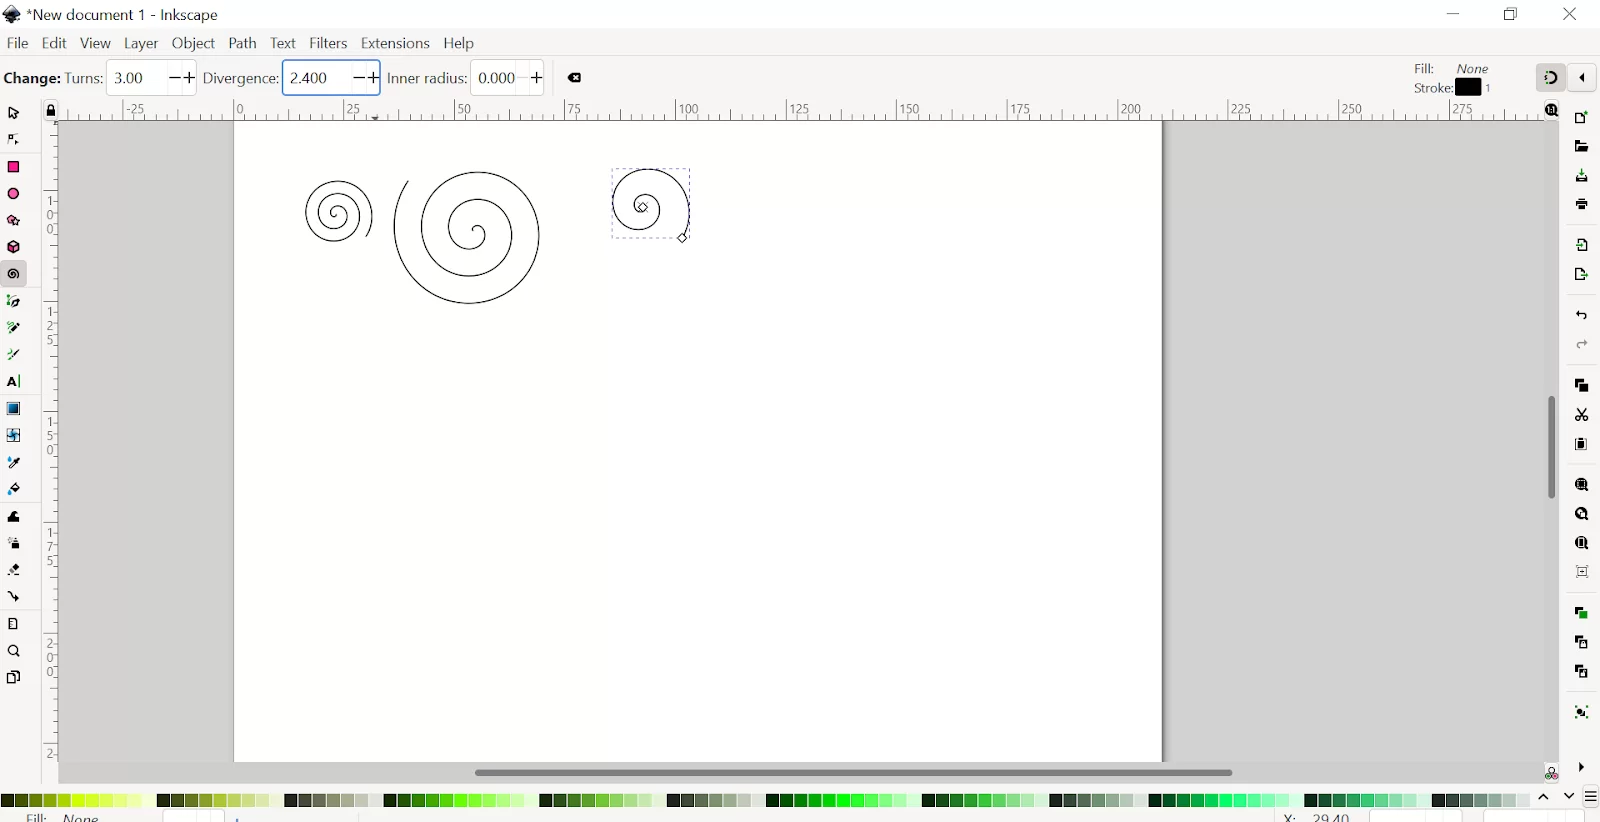
- Spiral
- Used to Create spirals.
- Increase or decrease the number of turns of the spiral with divergence from its center point.
- Bezier Tool
- Use to create any shapes manually.
- Use to trace any objects. You need to create nodes in a series. You can make straight or curved lines.
- Freehand Lines
- Draw any shapes with hand movement.
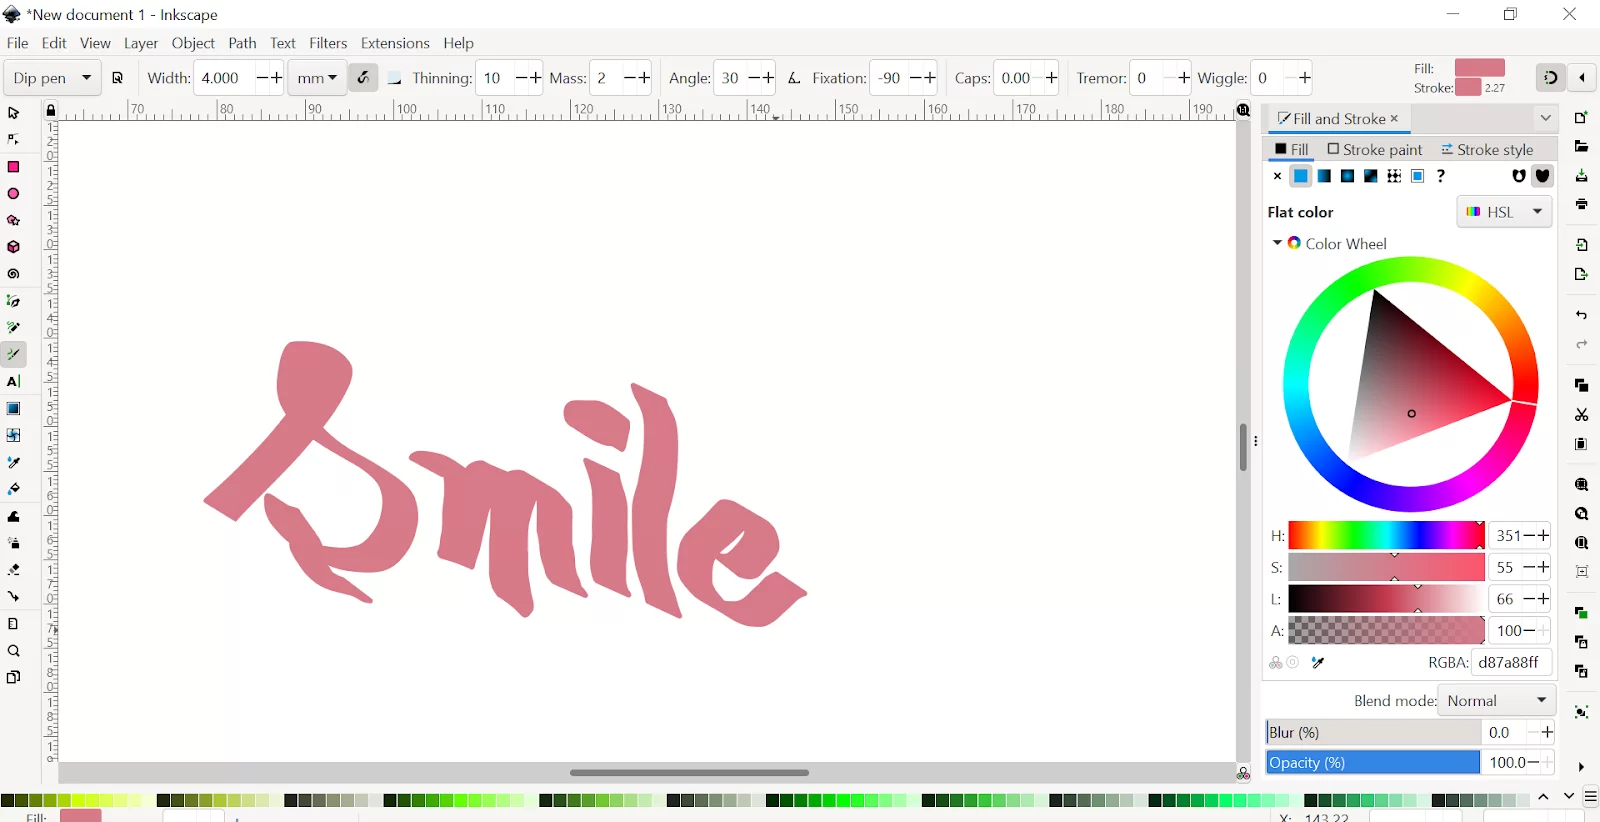
- Calligraphy Tool
- Create freehand objects with brushstrokes, which can decrease or increase the width of the strokes that are used.
- Text Tool
- Use it to type your text.
- Adjust the font style, font size, orientation, and spacing between the letters.

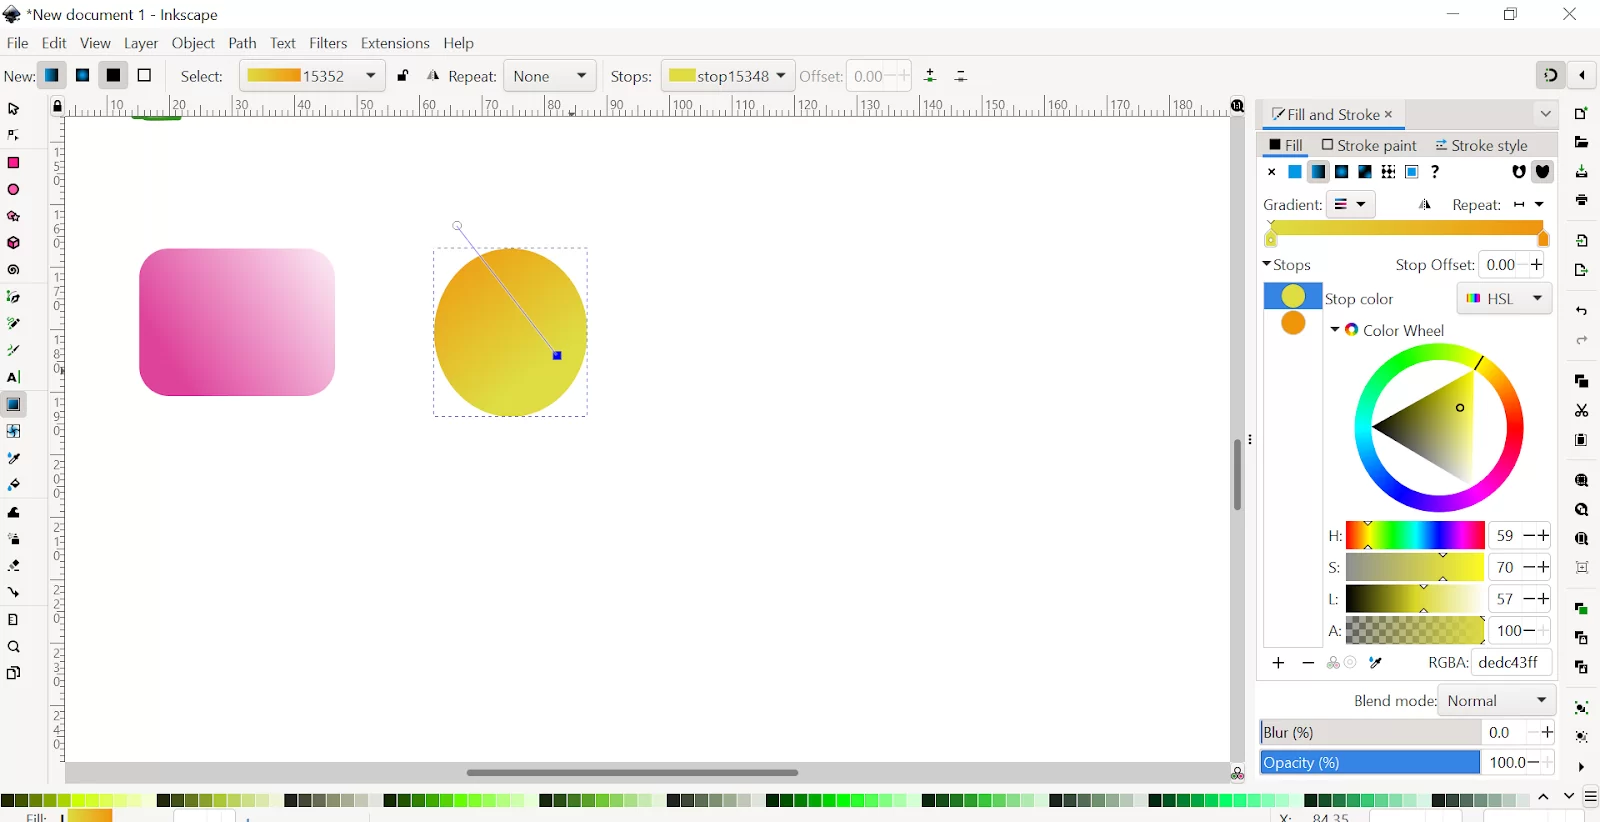
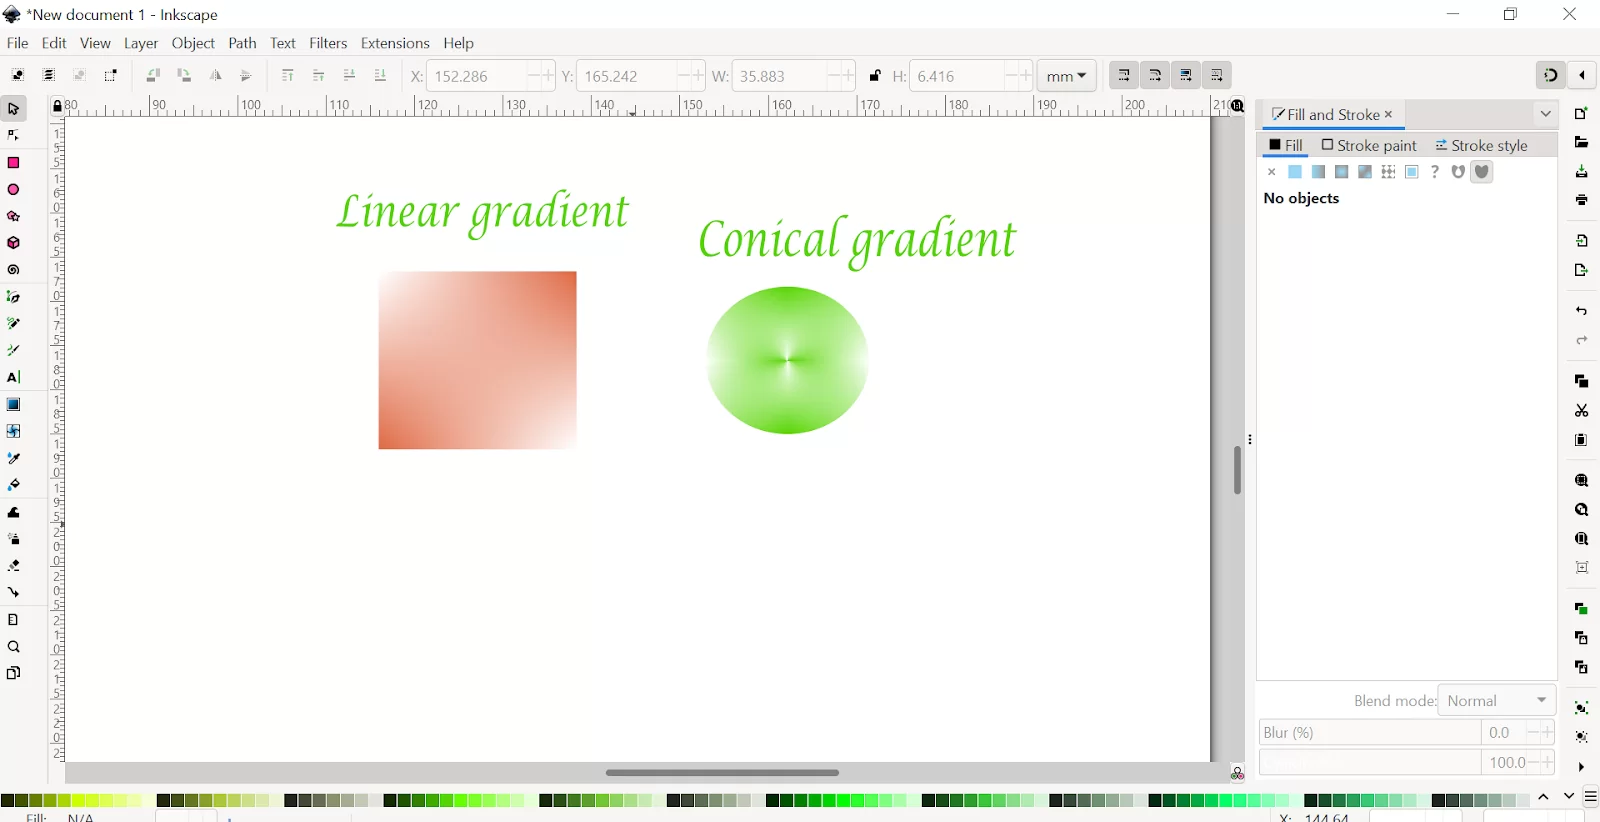
- Gradients
- Use multiple colors in any object that fades into each other.
- Edit your gradient based on color, the number of colors, and the position of the color.
- Has different paths, like straight Linear paths, and rounded paths.
- Meshes
- It’s similar to a gradient tool. Easy to use. It will give your object a gradient that could be a grid gradient or cone gradient.
- Alter the points of your meshes and cones.
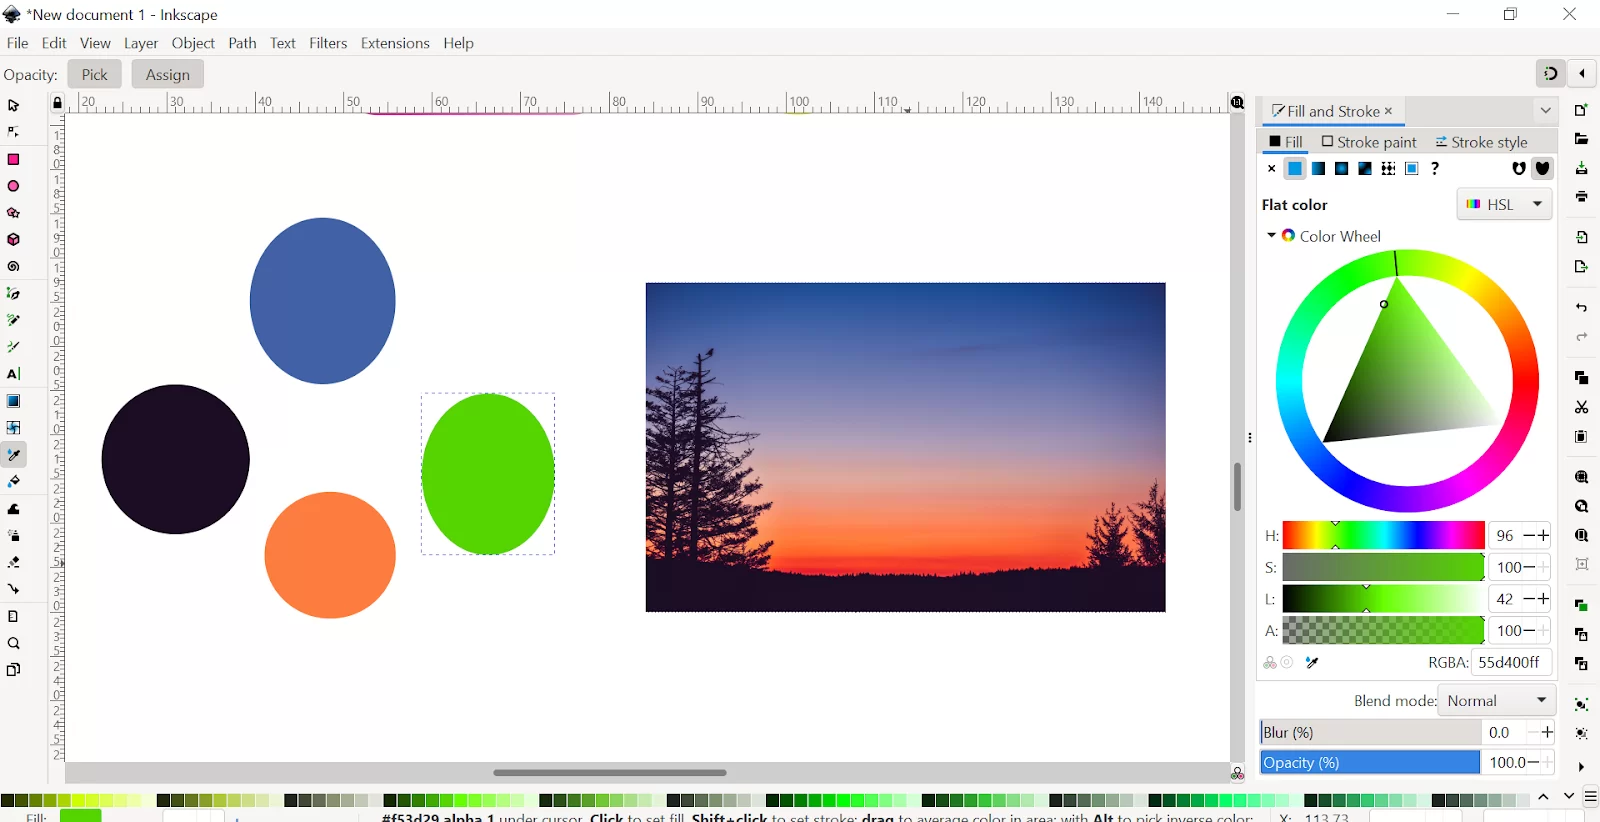
- Dropper Tool
- Pick a color from an Image.
- Your selected object will be filled in when you click on the color you want.
- Bucket Tool
- Fill the color in bounded areas.

- Tweak Objects
- Used to make compound alterations to multiple objects pads.
- Color all at once.
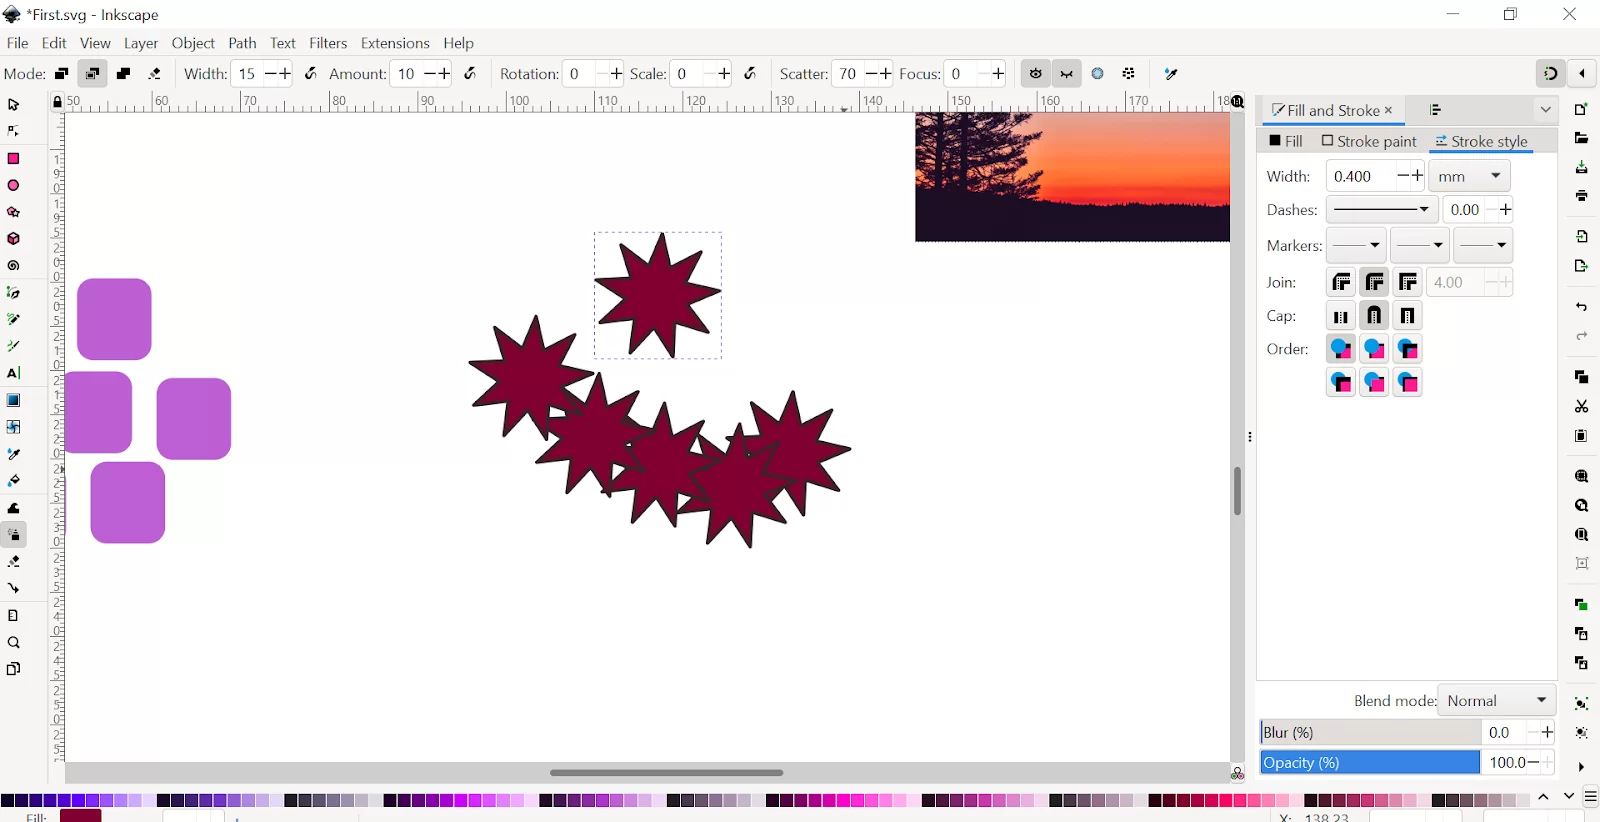
- Spray Tool
- Create objects by spraying them into canvas.
- The Object that is sprayed is determined by the object you have selected.
- Change the setting like not to overlap, not to rotate the spayed objects, and more.
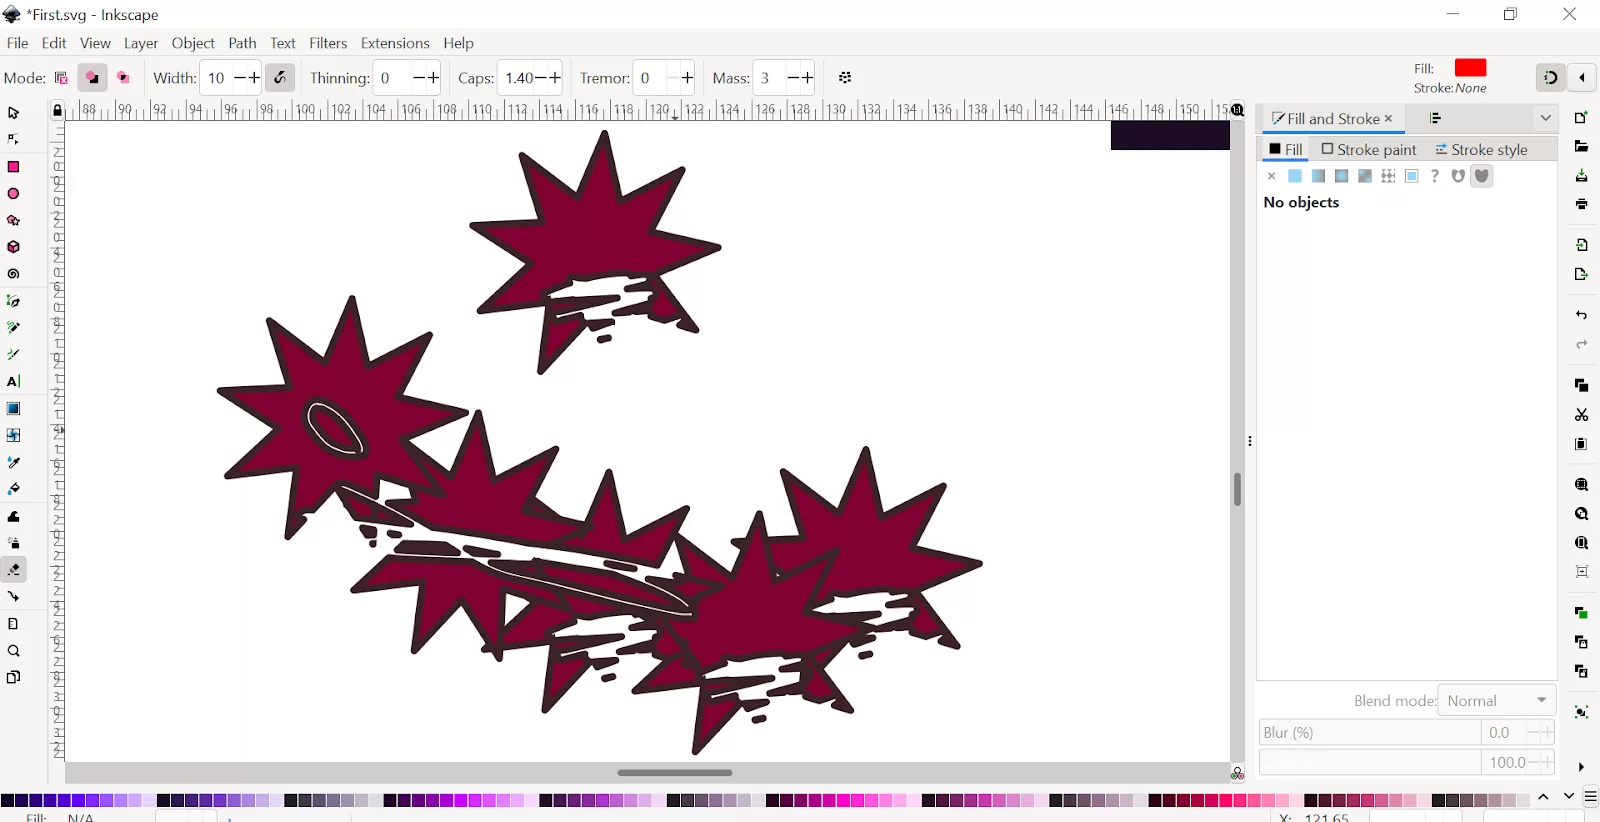
- Erase Tool
- It will erase the objects or paths by freestyle hand technique.
- Diagram connectors
- Create diagrams by generating pads and boxes that link objects together.
- Measure Tool
- Measure any object their length, width, height, radius or diameter.
- You can always choose the measurement units like pixels, inches, centimeters, millimeters, and more.

- Zoom Tool
- Help to increase or decrease your canvas view
- You can zoom in to see details or zoom out for complete view of the canvas
Q. How to save your file?
To save your project, go to File ➜ Save As another window will emerge – name your project here and choose where on your computer it will save to. Save your work as an SVG file. Click Save in the bottom right corner to complete the process.
You can also check out our step-by-step tutorial on how to erase in Inkscape.
More Ways to Use Inkscape
I have talked about features and tools that are available in Inkscape. In this next paragraph, I will show you some basics about Inkscape and how to work with it. Now, let us begin by understanding how to navigate Inkscape.
- Navigating Inkscape
Immediately you open Inkscape, you will see the toolbar first. The toolbar is on the left side of the workspace. Also, tool options are located on top of the page below the menu bar.
Keep in mind that it’s crucial to keep your design inside the canvas when dealing with precise proportions. You can alter the width and height of the canvas’s dimensions by going to File>Document Properties> Custom Size. You must always double-check the units to ensure proper scaling.
When you want to move around Inkscape, you can use the scroll bars on the right side. You can also use the scroll bars on the page’s bottom. If you are using a mouse, the scroll wheel will allow you to move up and down the page. The pointer will change to four points when you click and hold the scroll wheel, showing that you can travel about the canvas by shifting your view.
Let me give you this as a tip: If you get lost in your workspace, you can always press the number 5. The number 5 will bring you back to the Canvas.
Still talking about navigating around Inkscape, select View from the menu bar, then Zoom, and then decide whether to enlarge or reduce the page’s zoom level. Holding down Control while using the mouse scroll wheel to zoom in and out will make this process go more quickly.
- How To Select And Use The Rectangle Tool
The first tool that you will usually get introduced to when using Inkscape is the Select tool. The select tool looks like an arrow. The Select tool allows you to move, resize and rotate objects. Did you know that you can use the Rectangle to make a shape? See how below.
Step 1
From the toolbar, choose the Rectangle tool. The selected tool will have a darker gradient, and the pointer will change to square crosshairs.
Step 2
Now left click and drag the canvas to form your rectangle. When you let go of the mouse, your shape will be created. You may notice the square has two smaller squares in the bottom and top corners. Your shape can also be customized.
To customize your shape, place the cursor in the center of the square in the bottom right corner and slowly drag across. One approach to change your shape is in this way. After that, drag down on the circle symbol to curve the edges. The circle directly behind it will follow suit. Hold ctrl while dragging across to form a perfect square.
Step 3
You can also move a shape by going back to the select tool and select it and moving the shape. You may easily resize the shape by clicking and dragging the arrows on the Select tool. Keep control (ctrl) pressed to proportionally resize the shape.
If you enjoyed reading this article, you may also like this article on How To Crop in Inkscape.
Leave a Reply
You must be logged in to post a comment.