
With Canva, you can easily add text, graphics, and other elements to your video, as well as trim, crop, and adjust the video’s settings. In this tutorial, I’ll be discussing how to edit a video in Canva.
Canva Video Editing Guide
First Open Canva. There are lots of things we can create or edit in Canva such as making a table in Canva. As this is a Video editing guide, Select Video.
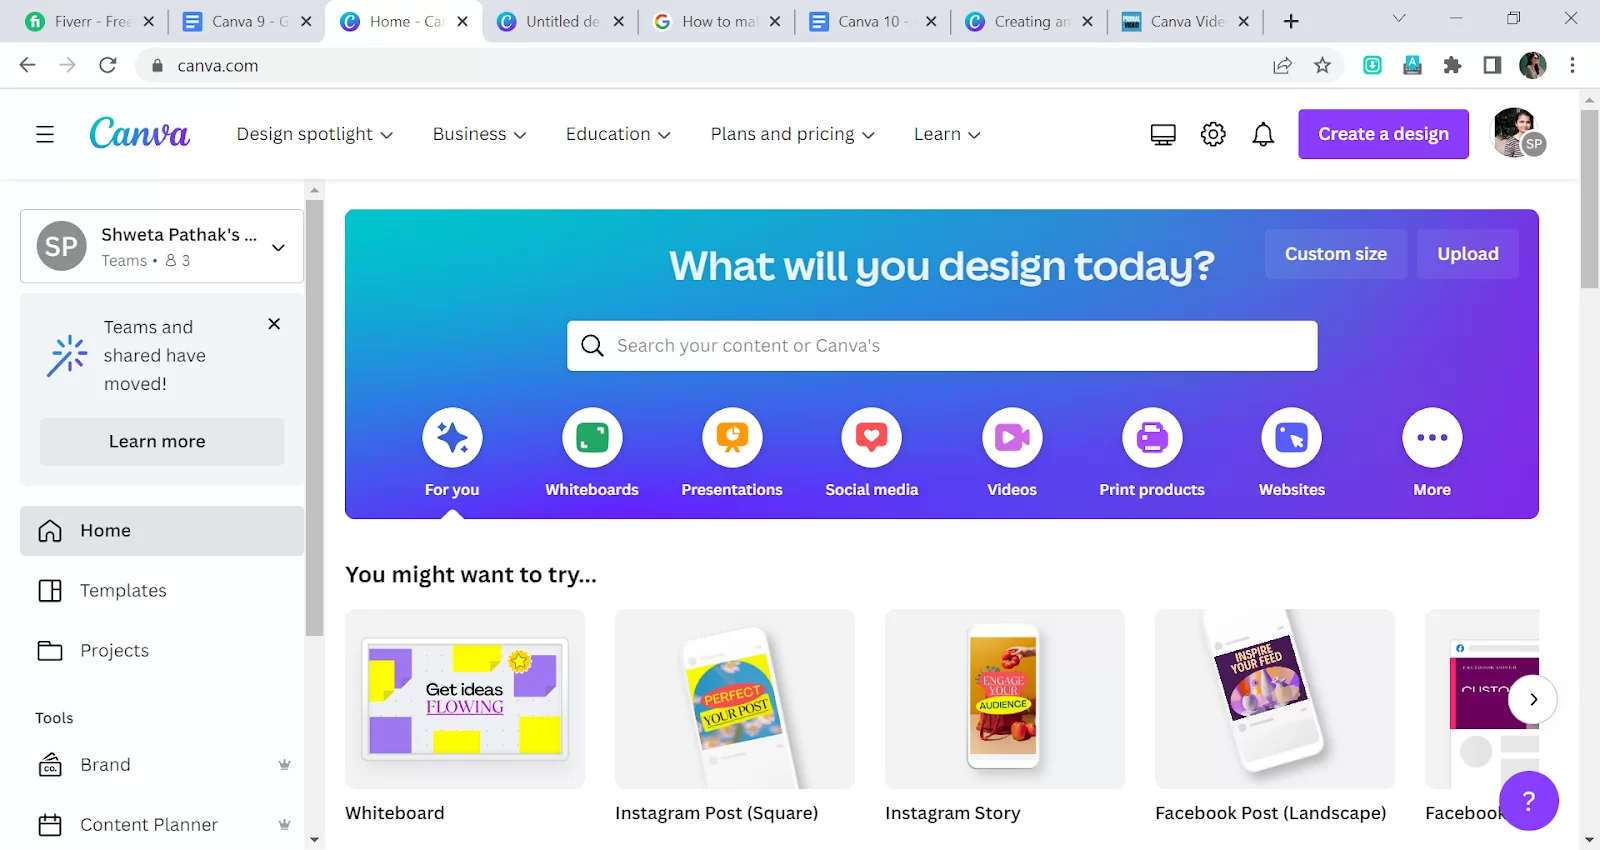
You will see different video templates with different dimensions. We have templates for Normal Video, Mobile Video, Facebook video, and Instagram.
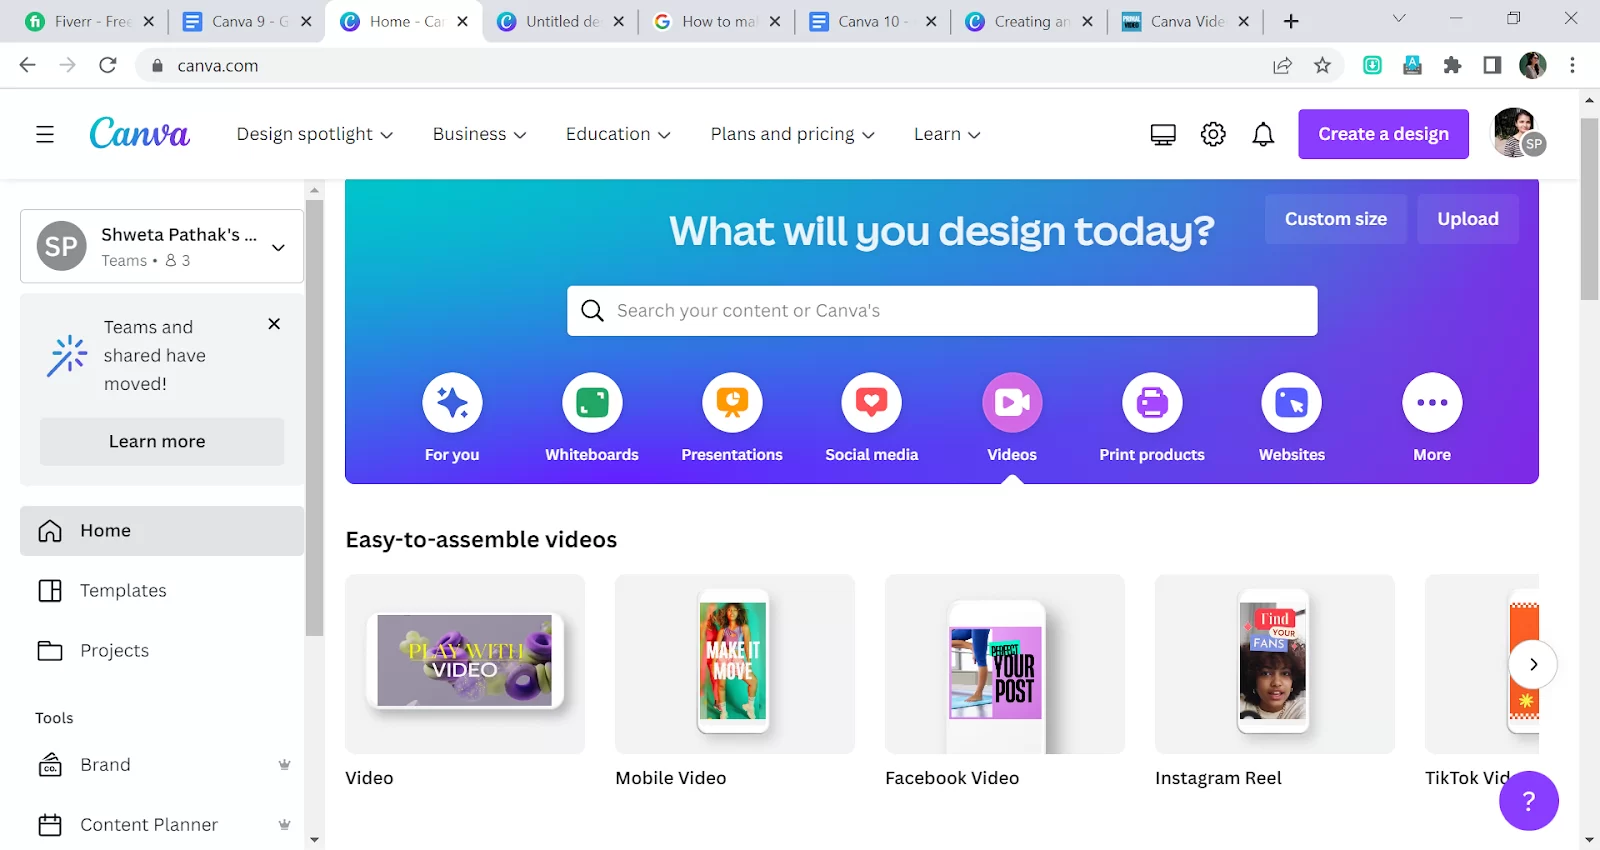
Reel, Tiktok, Youtube Video, Youtube Video Ads, Video collage,

LinkedIn Video Ad. , Pinterest Video Pin, Video Message, and Slideshow Video.

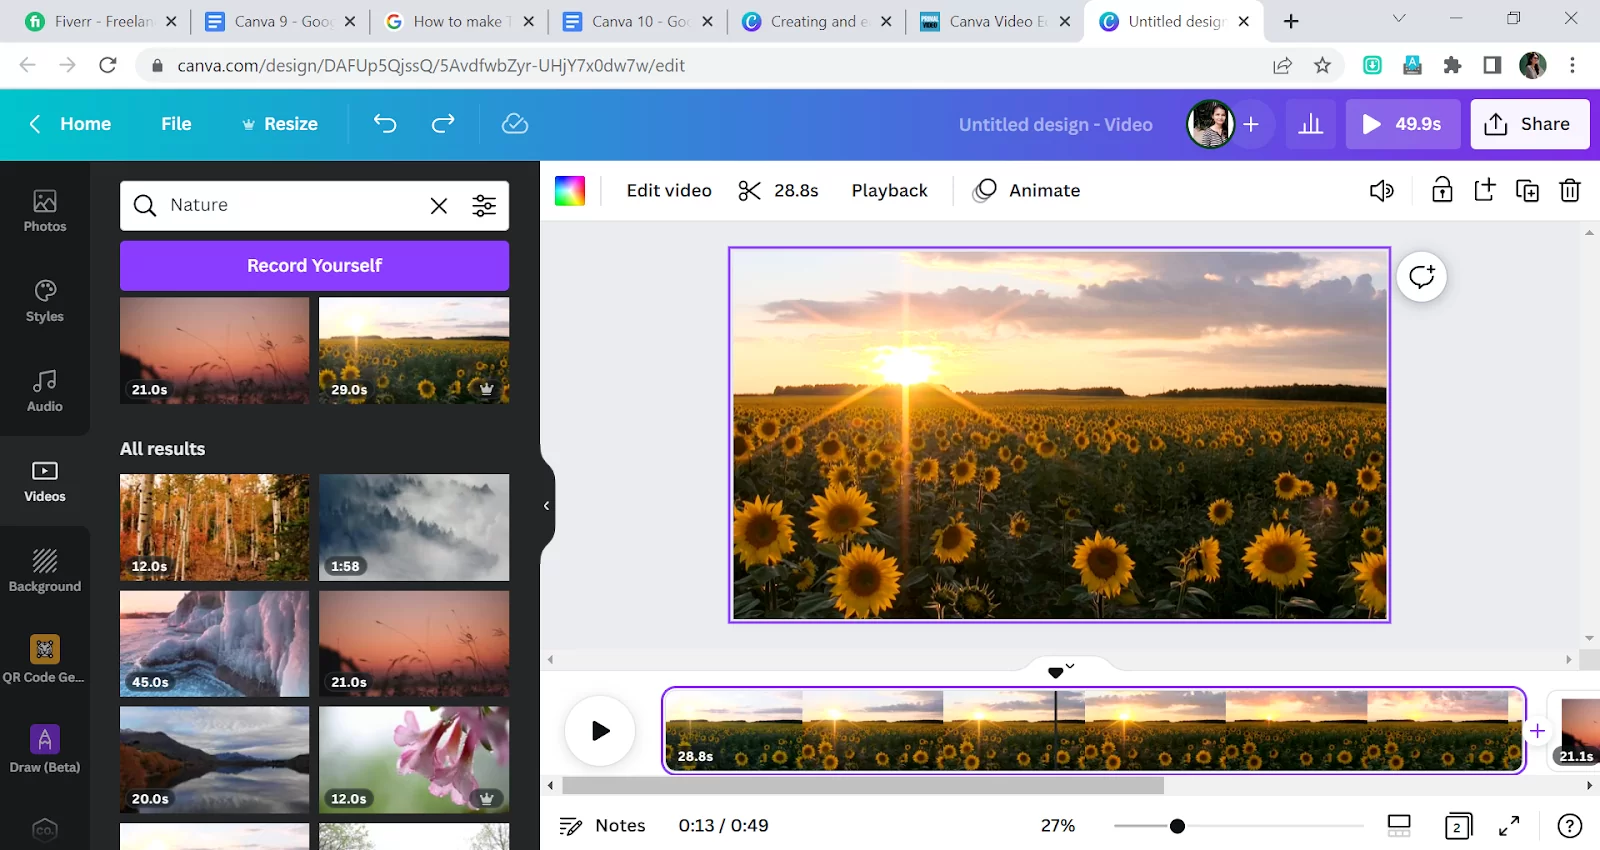
When you click on any video, I want to edit the video for the YouTube channel. This is the interface for your video editing.
At the bottom, there is a timeline where we can see the clips and how long the clip will play. You can zoom in and out on the timeline using the slider at the bottom of the screen.
To create a video in Canva, you must upload your footage.
Go to Uploads in the left menu. You can upload the footage. For now, I’m taking the videos from Canva itself.
After importing your video, click on it so it will show on the screen, and we can edit it.
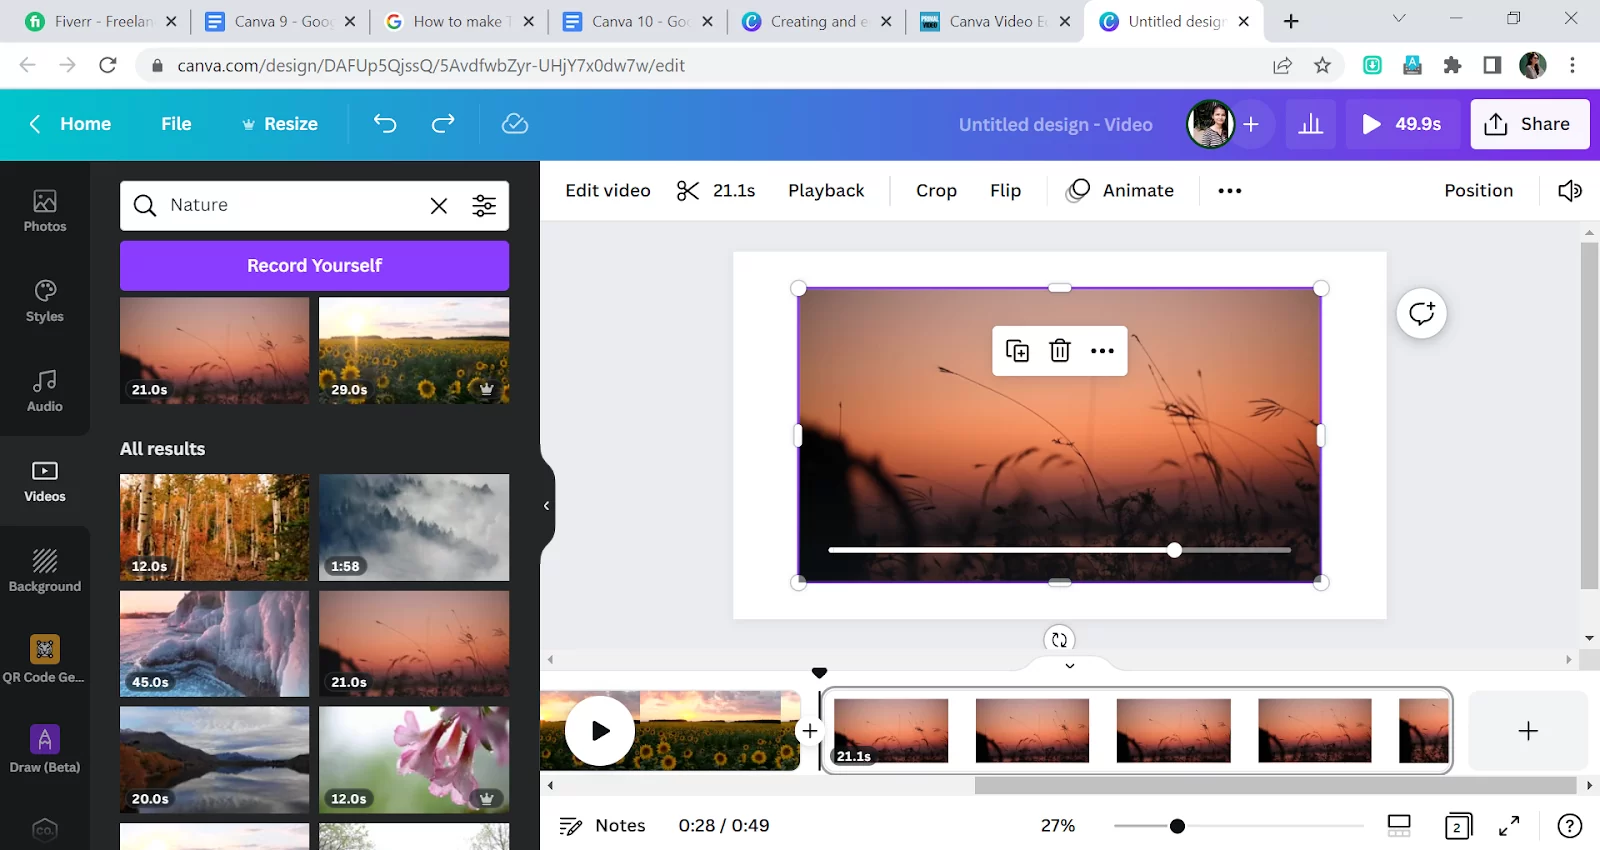
I’m adding another Video. For this, I’ll click on the Add Page on the timeline.

This is the second video I have added.
If you have a long video and you want to make it into a smaller one, then you can do the trimming. For example, you have a 1-minute video. Then you can do the trimming and select the clips you want to show and can make it into 20 seconds.
One should know the basics for editing the videos, like how to trim the video, add the animation, and add the audio track you wanted.
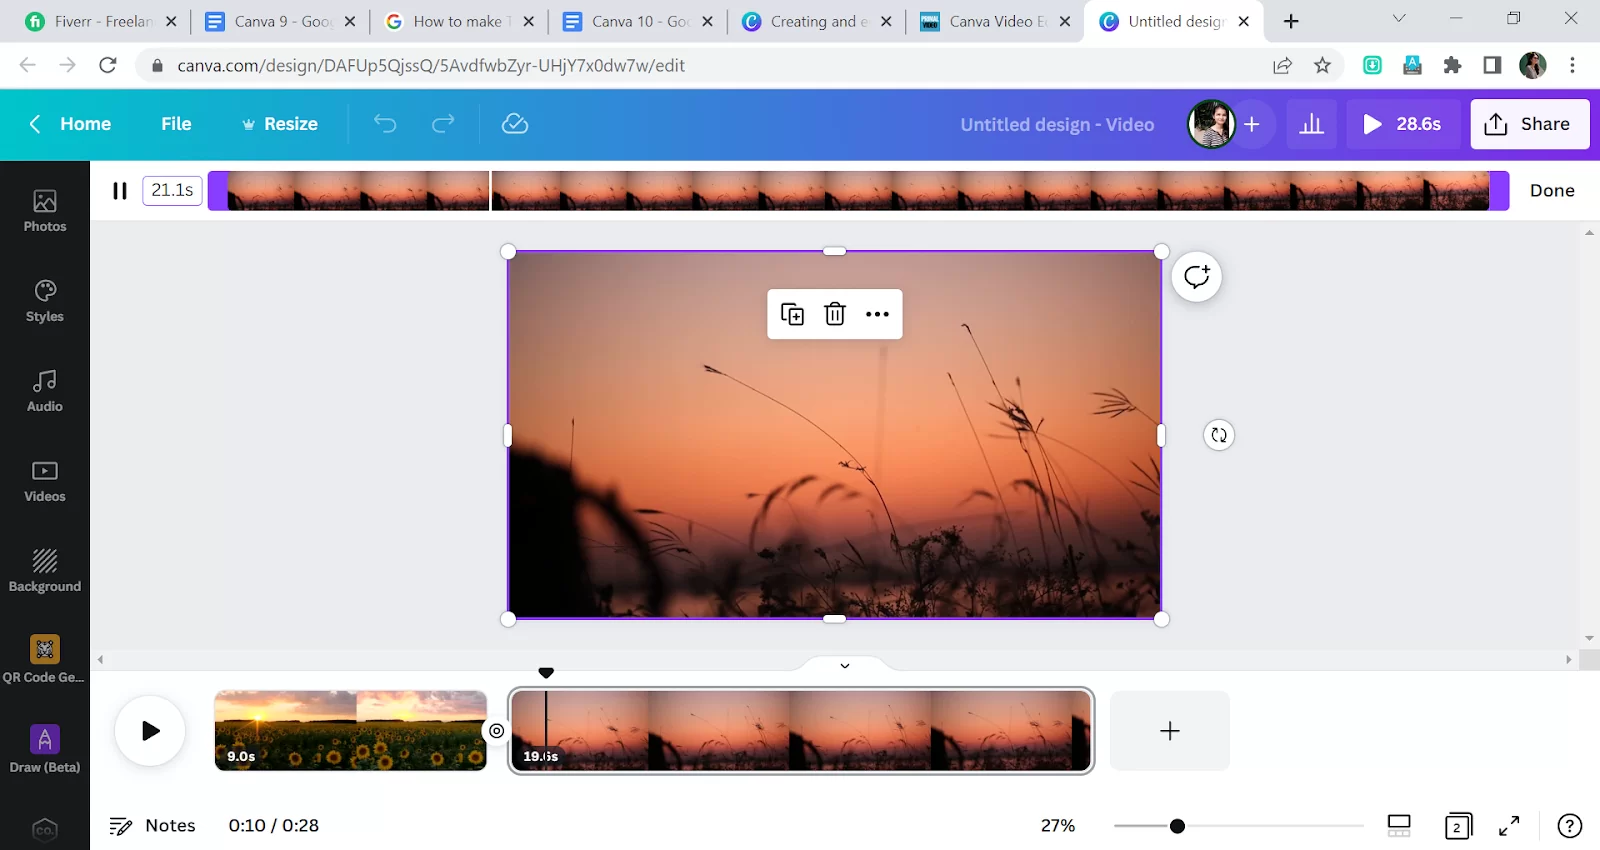
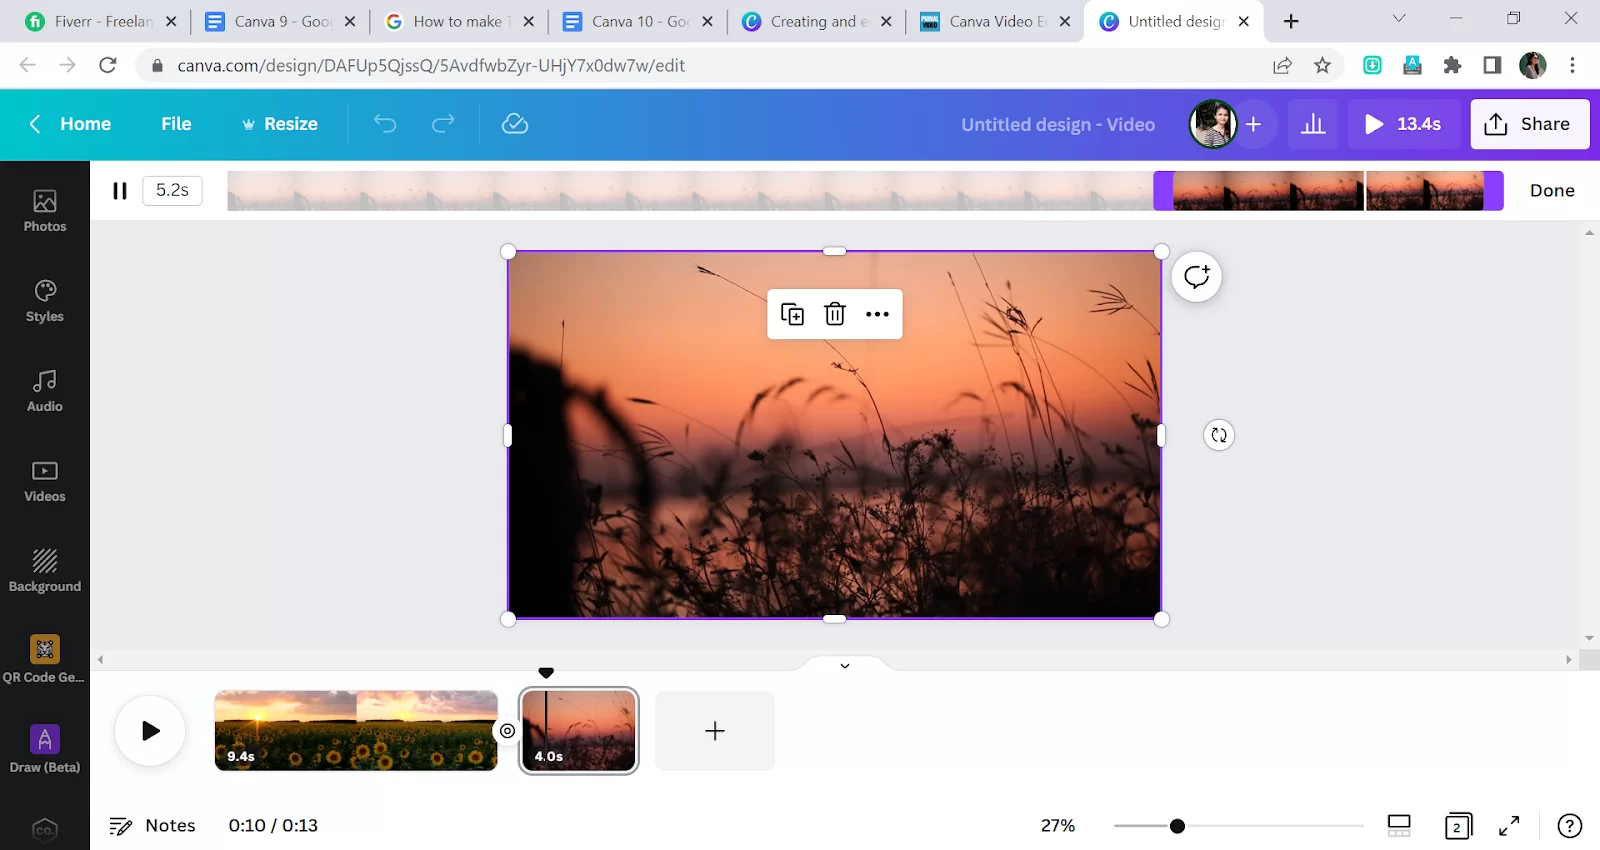
For Trimming, you can drag the panel (to the left or right side to cut the before or the end clip) which is present on the timeline.
Another way for trimming the clip. First, click on the clip and click on the scissor icon, which is on top. Then you can trim or decrease the time.
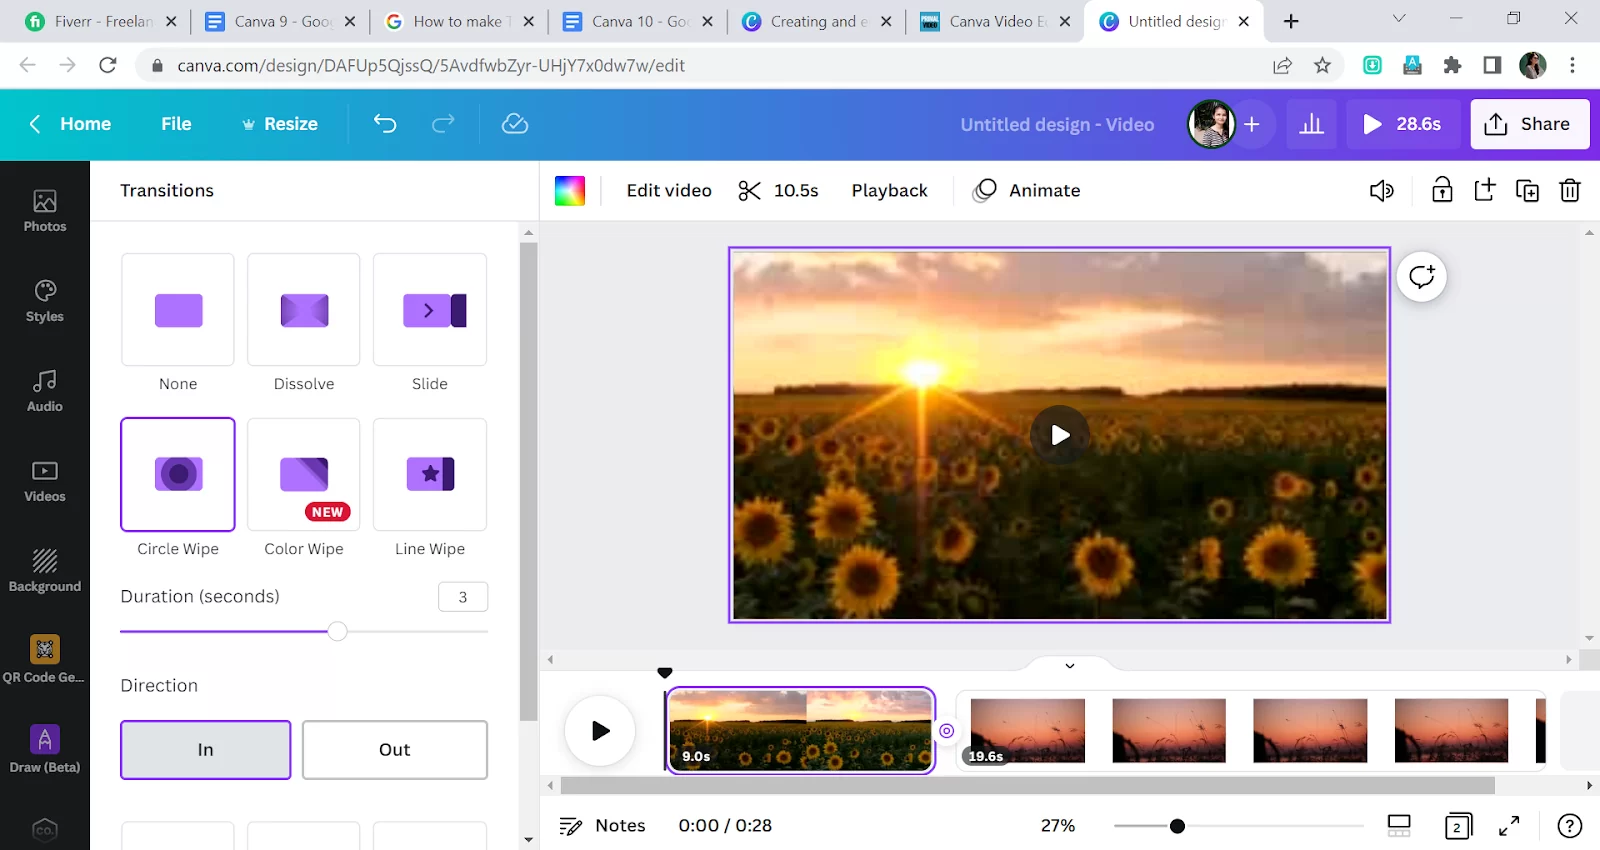
Click on Add Transition to add the transitions.

There are transitions like dissolve, slide, circle wipe, color wipe, and line wipe. You can also change the duration by dragging it from the left to the right or right to the left side.
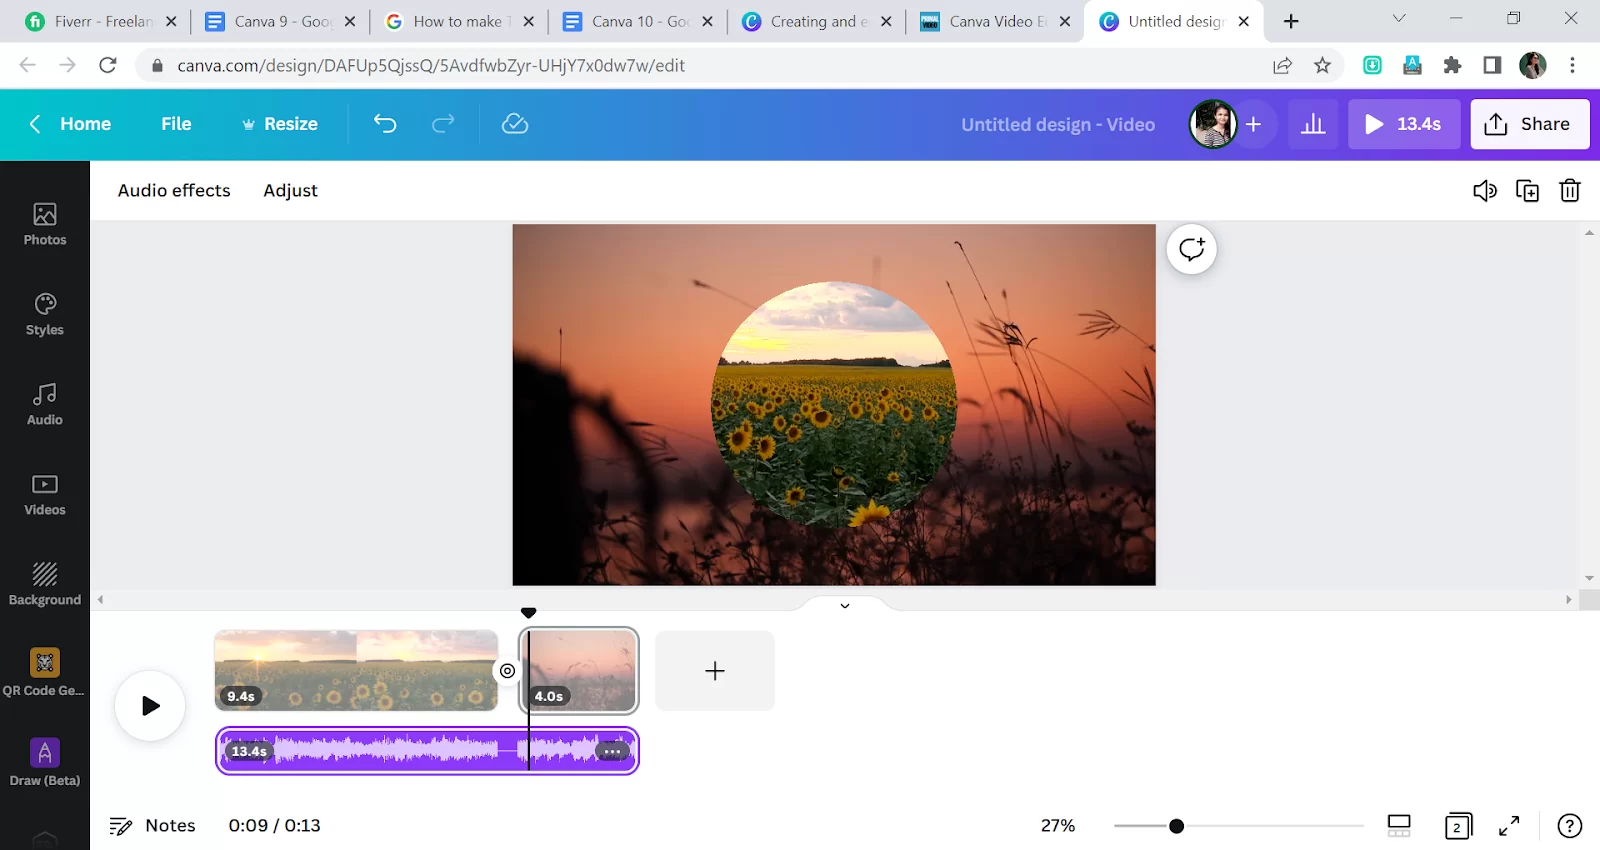
After trimming and adding transitions, let’s add some relaxing music.
Click on Audio and search for the audio you want for the footage. You can also upload audio for the footage.
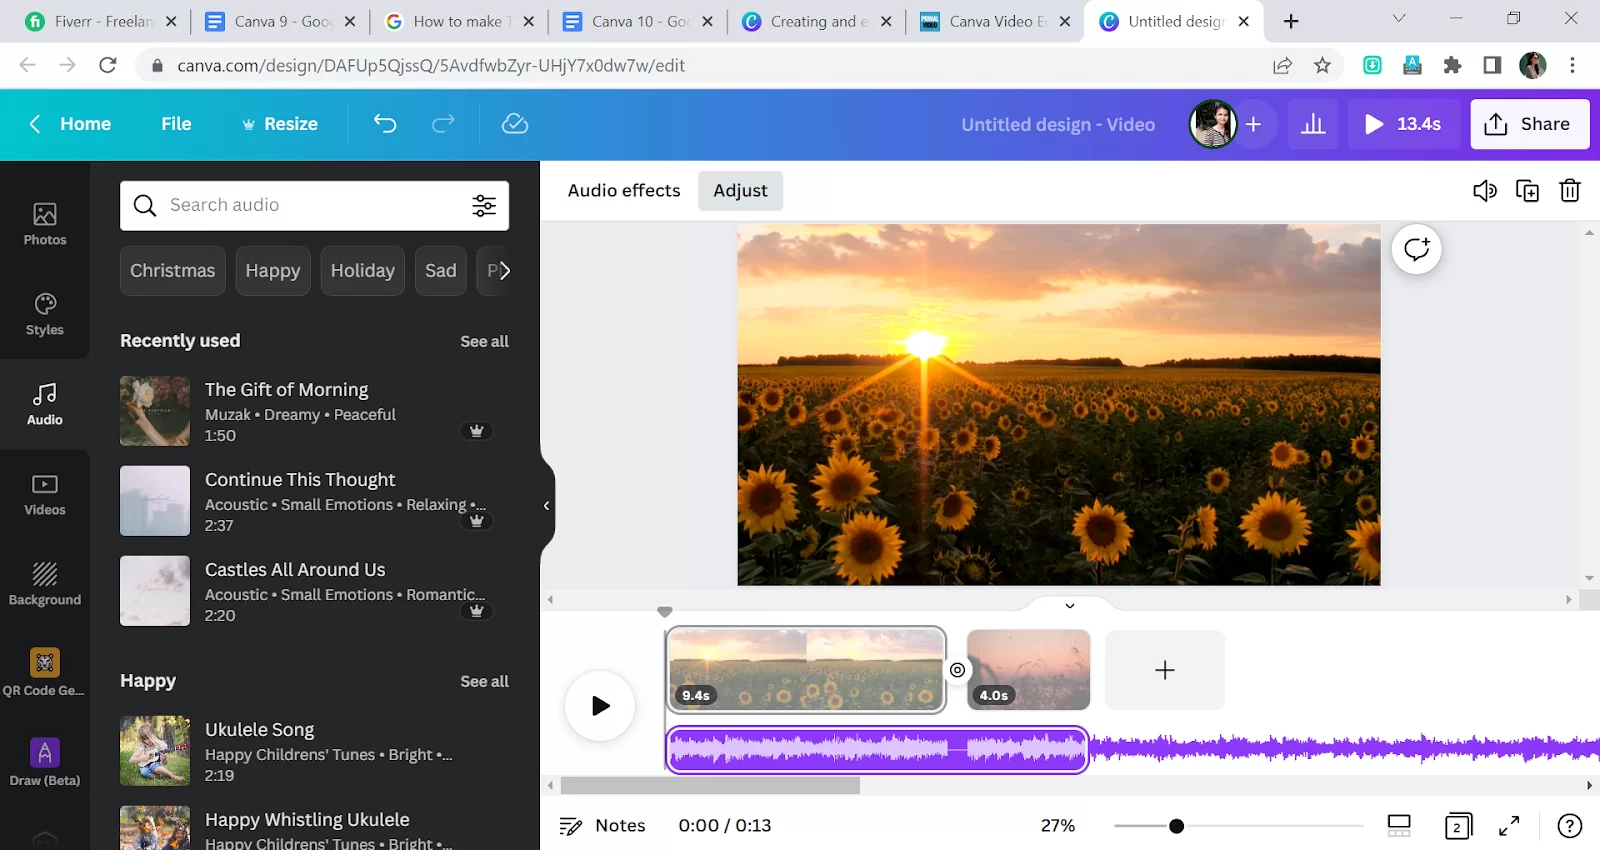
Now we have audio in our footage so let’s hear the sound while playing video.
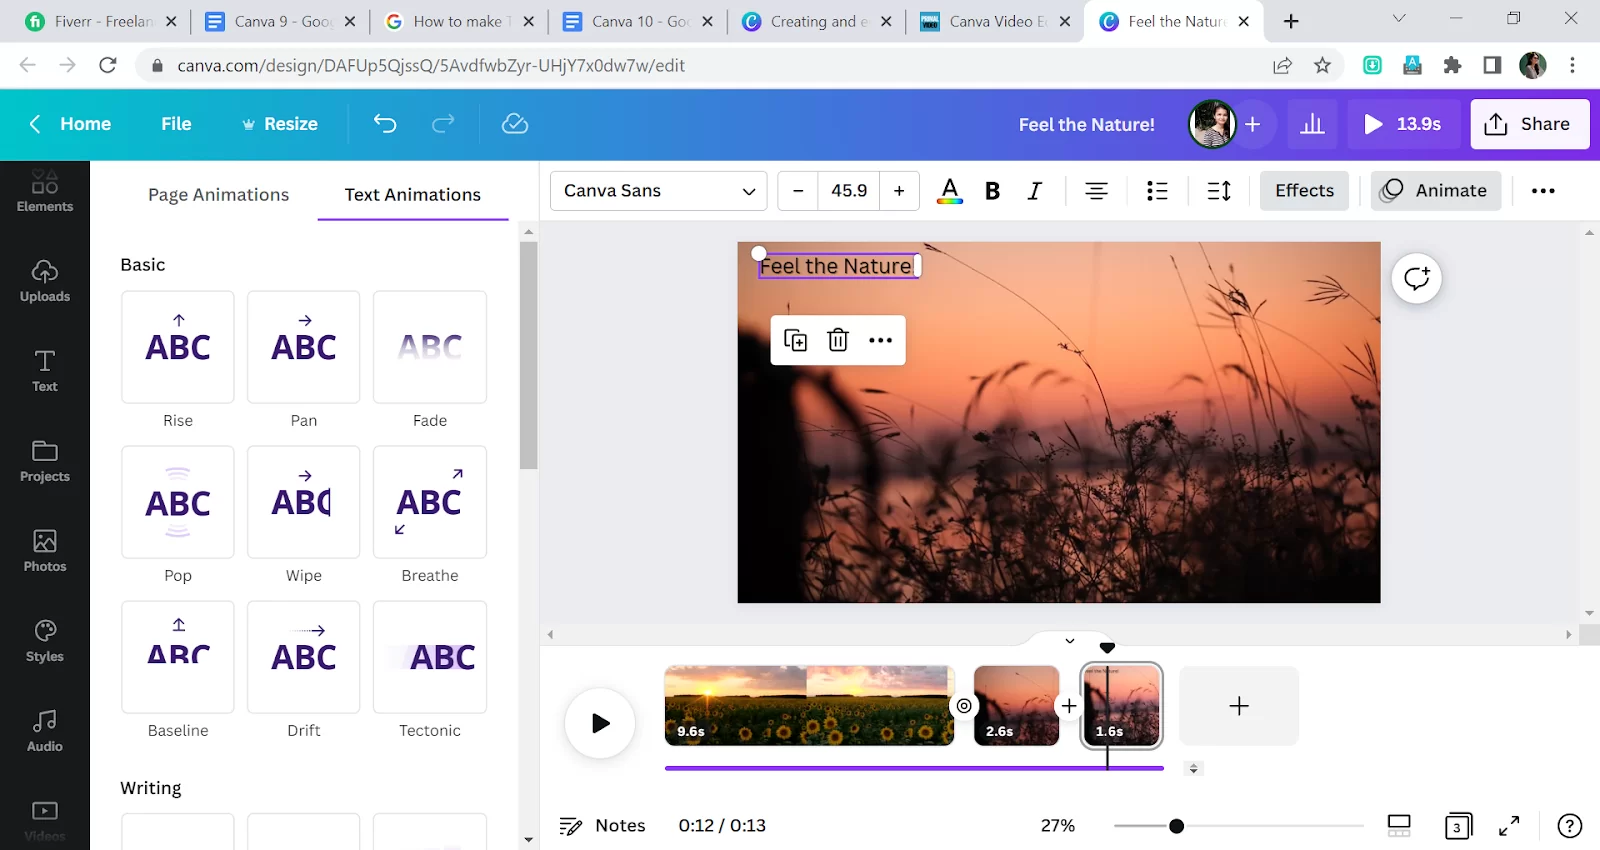
For adding the Text, first, play the clip and find the location or the time when you want to add your text. Locate your Palyhead to that time. Then do the double click. And click on the Split page.

Now type whatever you want into your text box. You can add effects and animation to the text.
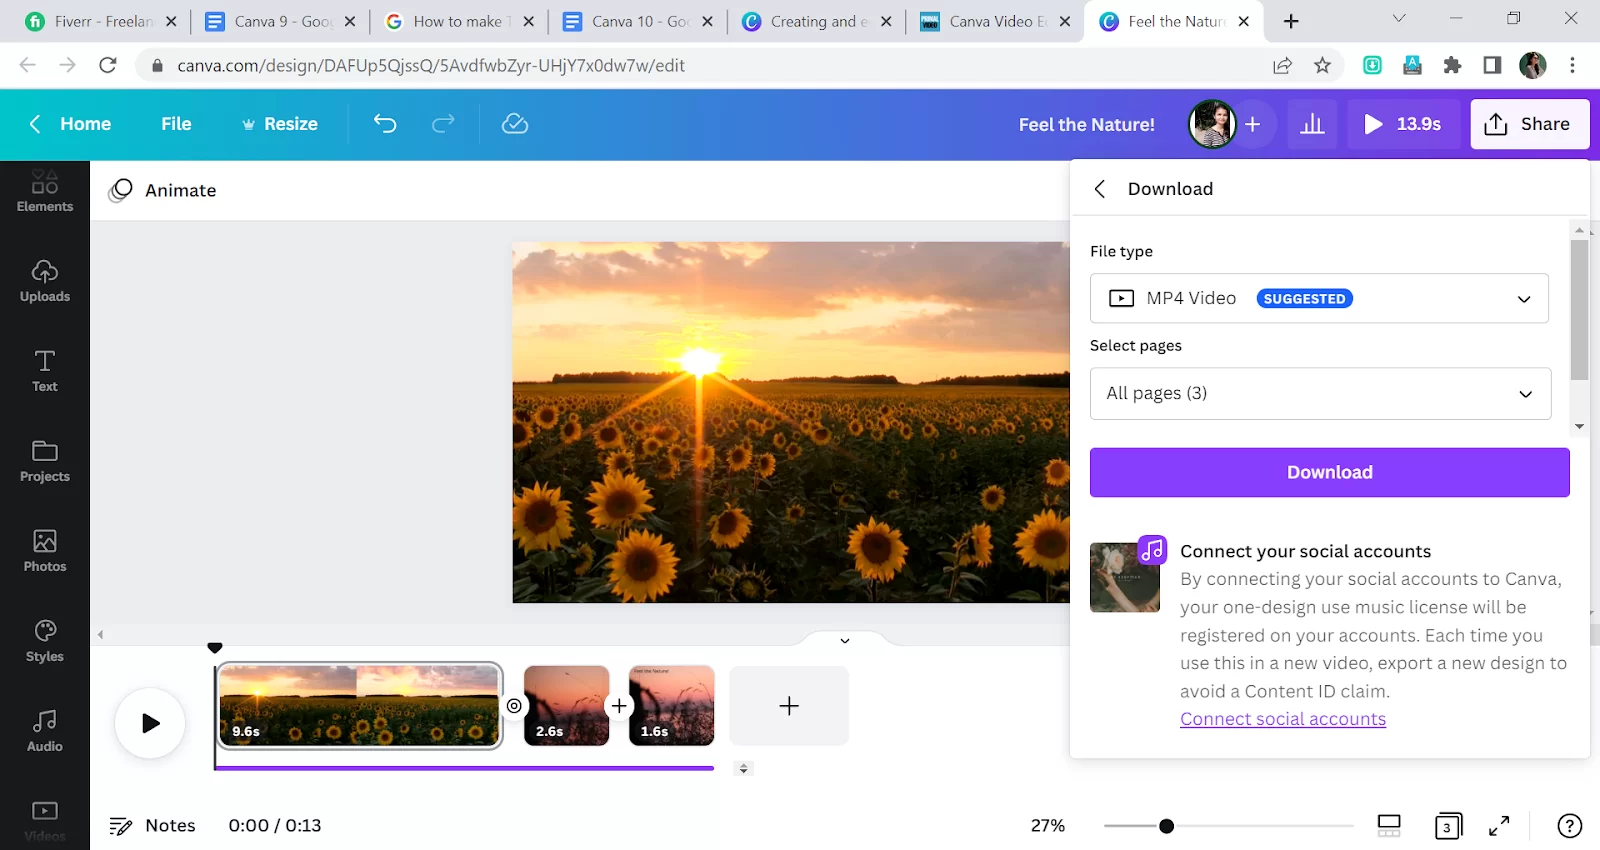
Your first video is ready. Play the Video. And do Download your MP4 Video.
Trimming Videos on Canva
Follow the steps below to trim your videos using Canva.
Step 1
Tap the video you wish to alter on your design.
Step 2
Tap the symbol on the toolbar underneath the editor. Below the editor, you will notice highlighted and grayed-out sections of your video.
Step 3
Move either of the sliders on its ends to reduce or lengthen the highlighted section of the video.
Basic Things To Know About Trimming Using Canva
Canva is a editing tool that allows users to trim videos. Trim refers to permanently removing a portion of the video to shorten or make it smaller for easy sharing and exporting. Splitting a video, on the other hand, entails chopping it into two or more pieces.
The beginning, middle, or end of the video can be removed. If you are new to video trimming, trimming a video from the midway may be more challenging than trimming it from the beginning to the end. How many video parts can be trimmed depends on what you want. It is usually not advisable to heavily edit the video because doing so can change the message it seeks to portray.
You can also read our step-by-step guide on how to make transparent background in Canva.
How To Fade Out a Video in Canva
Canva’s Fade Out tool is the first method for fading a video. The Edit menu contains a function that enables you to make your video fade to black at the conclusion. This is a great choice if you want a seamless transition at the end of your video.
Utilizing Canva’s Crossfade tool is the second method for fading out a video. You can make your video fade in and out at the conclusion by using this tool, which is accessible from the Edit menu. If you want the final effect of your video to be more dramatic, this is an excellent choice.
Utilizing Canva’s Fade To Color tool is the third approach that can be used when fading a video in Canva. You can use this tool, which can be found in the Effects menu, to make your video fade to any color at the conclusion. If you want a specific color at the end of your video, the fade-to-color option is the best for you.
The Export As GIF function in Canva is the fourth method for fading out a video. You can use the export as Gif, which can be found in the File menu, to export your video as a GIF file. This is a smart alternative if you want your video to be usable on websites or social media platforms that don’t allow videos.
Did you enjoy reading this? You will also like our in-depth article on curving text using Illustrator.
Leave a Reply
You must be logged in to post a comment.