Creating a table in Canva is a simple process that allows you to add organized data to your designs. Whether you’re creating a business presentation, a social media post, or a marketing campaign, a table can be a useful tool for displaying data and information in a clear and visually appealing way. In this tutorial, I’ll show you how to create a table in Canva, a popular graphic design platform.
How to make a Table in Canva?
So, let’s learn how to make a table in Canva.
Open Canva and go to Elements and scroll down.
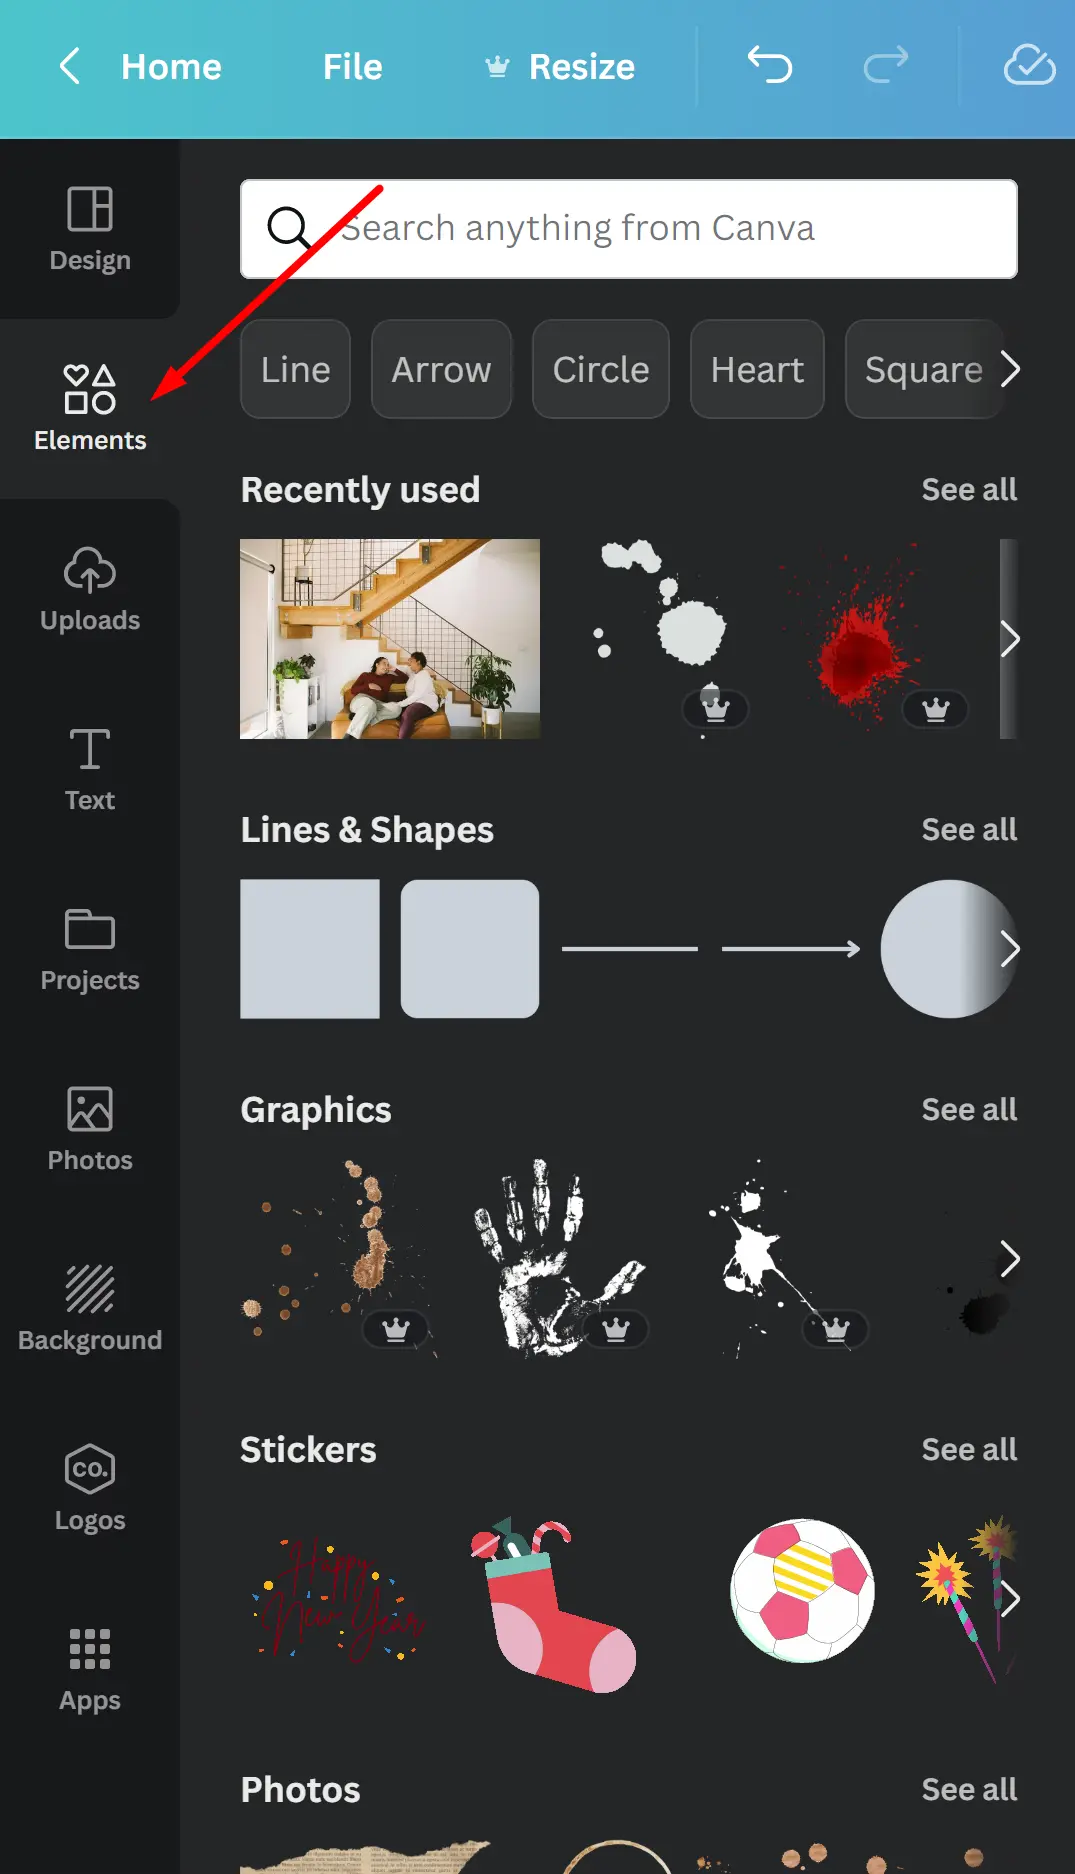
Scroll down and click on “See All” beside Table.
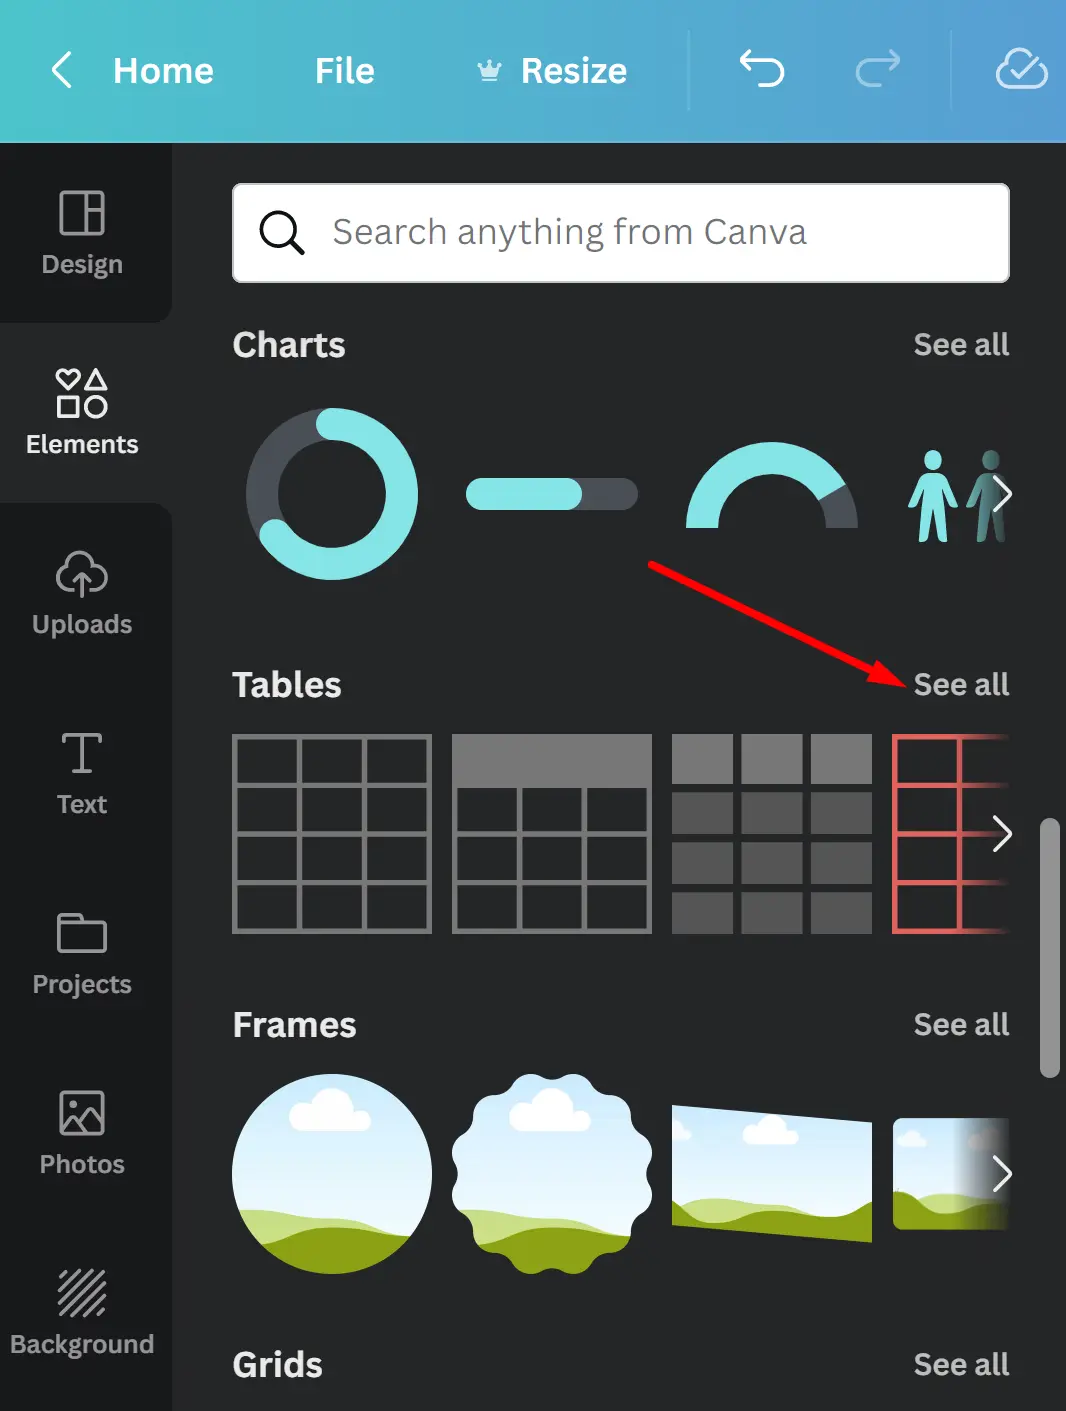
Then select a table that you want to use.
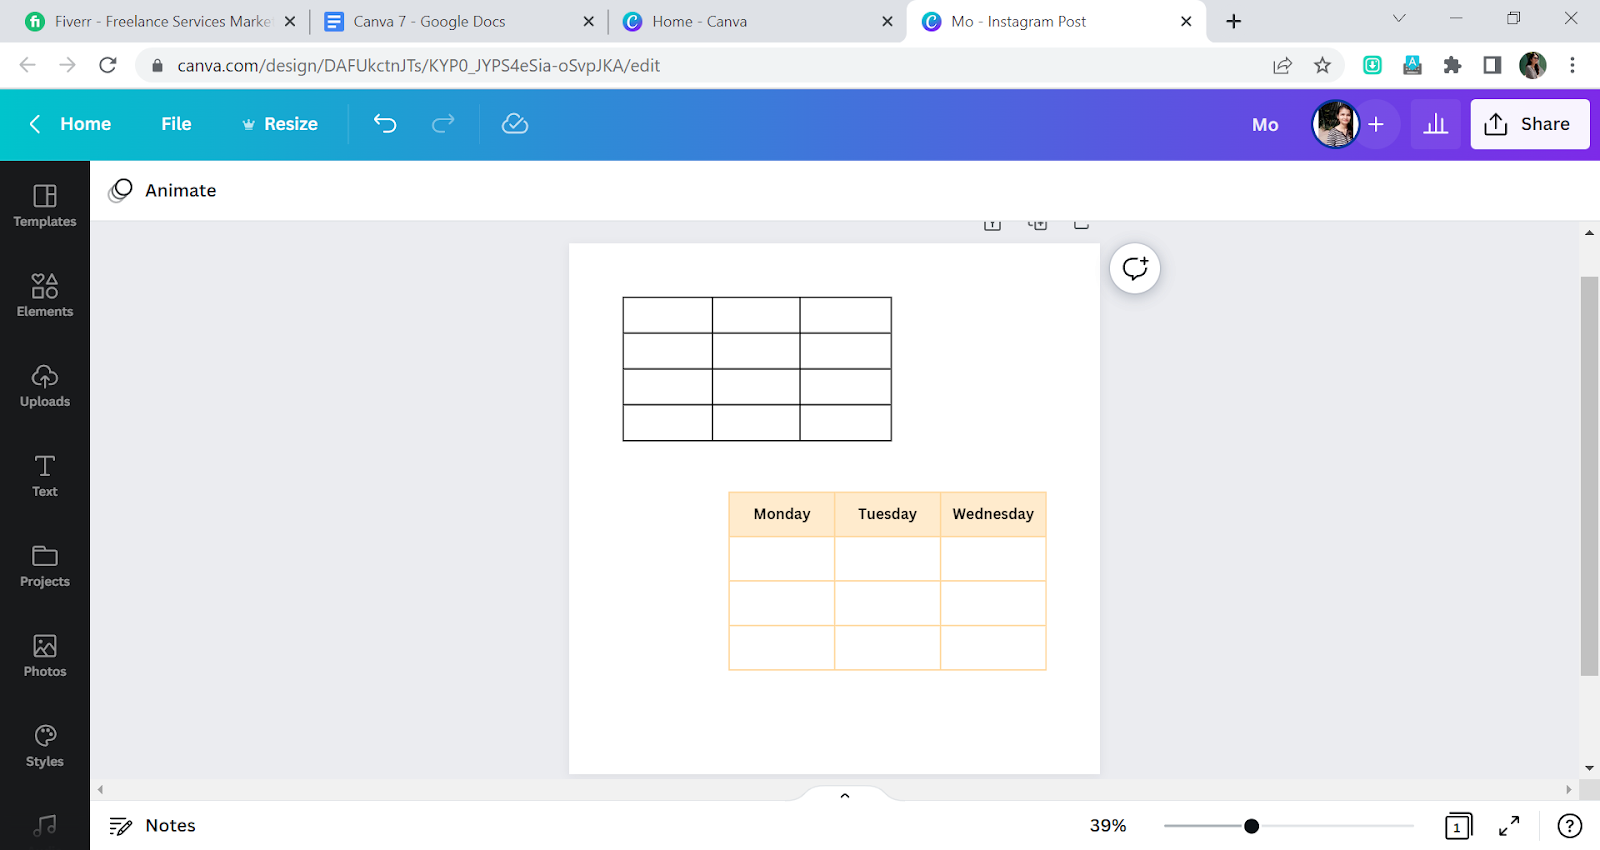
You can always change the color of the table.
If you want to add text, double-click on any cell. You will get the cursor, and then you can do the typing.

If you want to add rows and the column or delete rows and columns, you can click the row or column in any direction and just right-click.
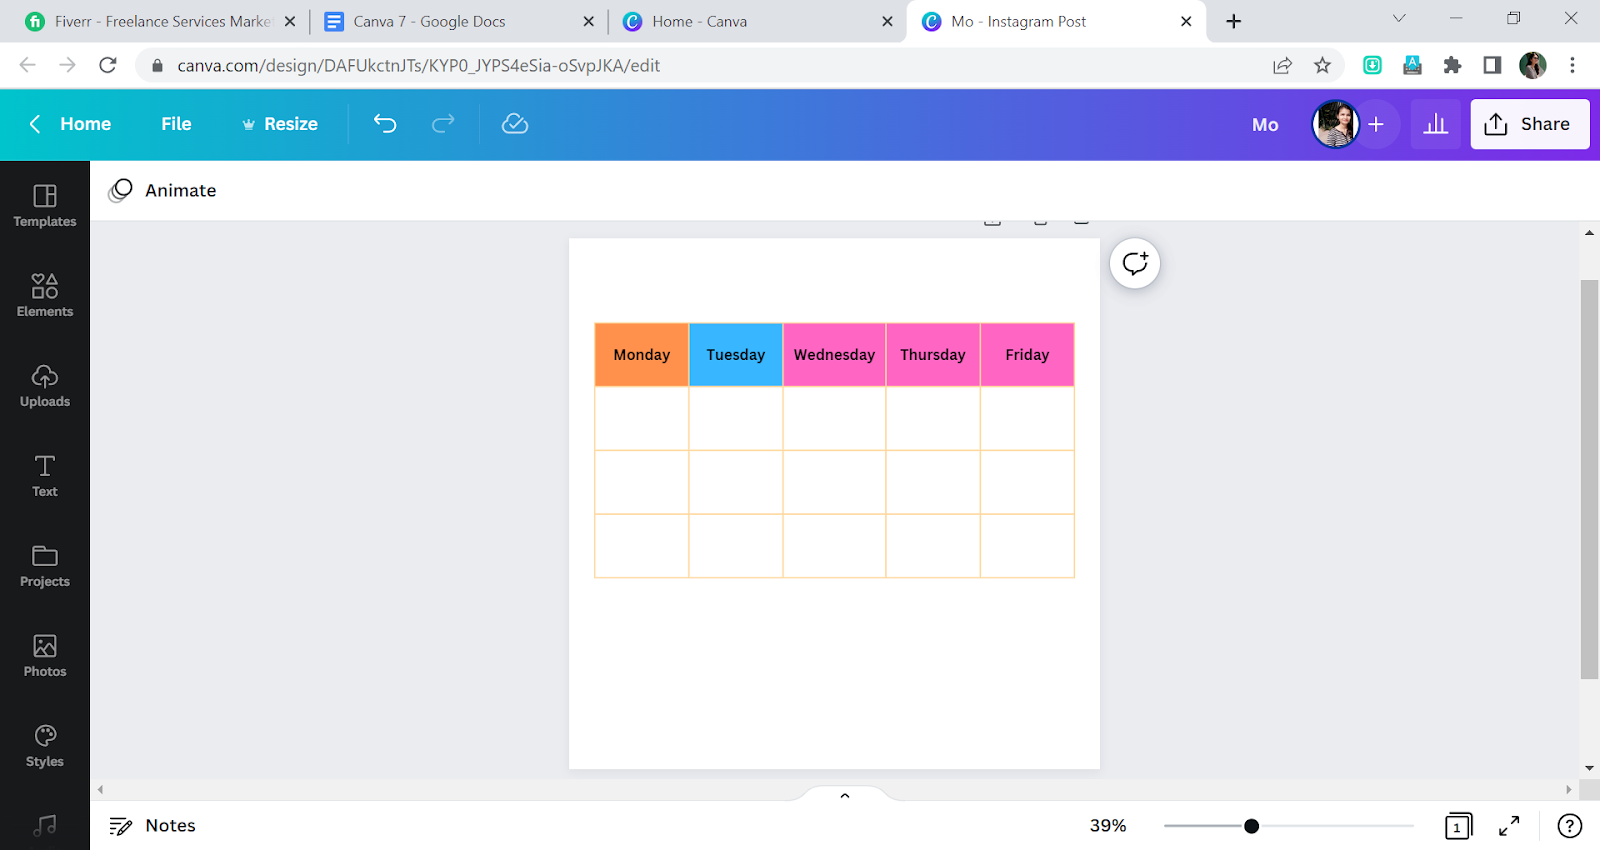
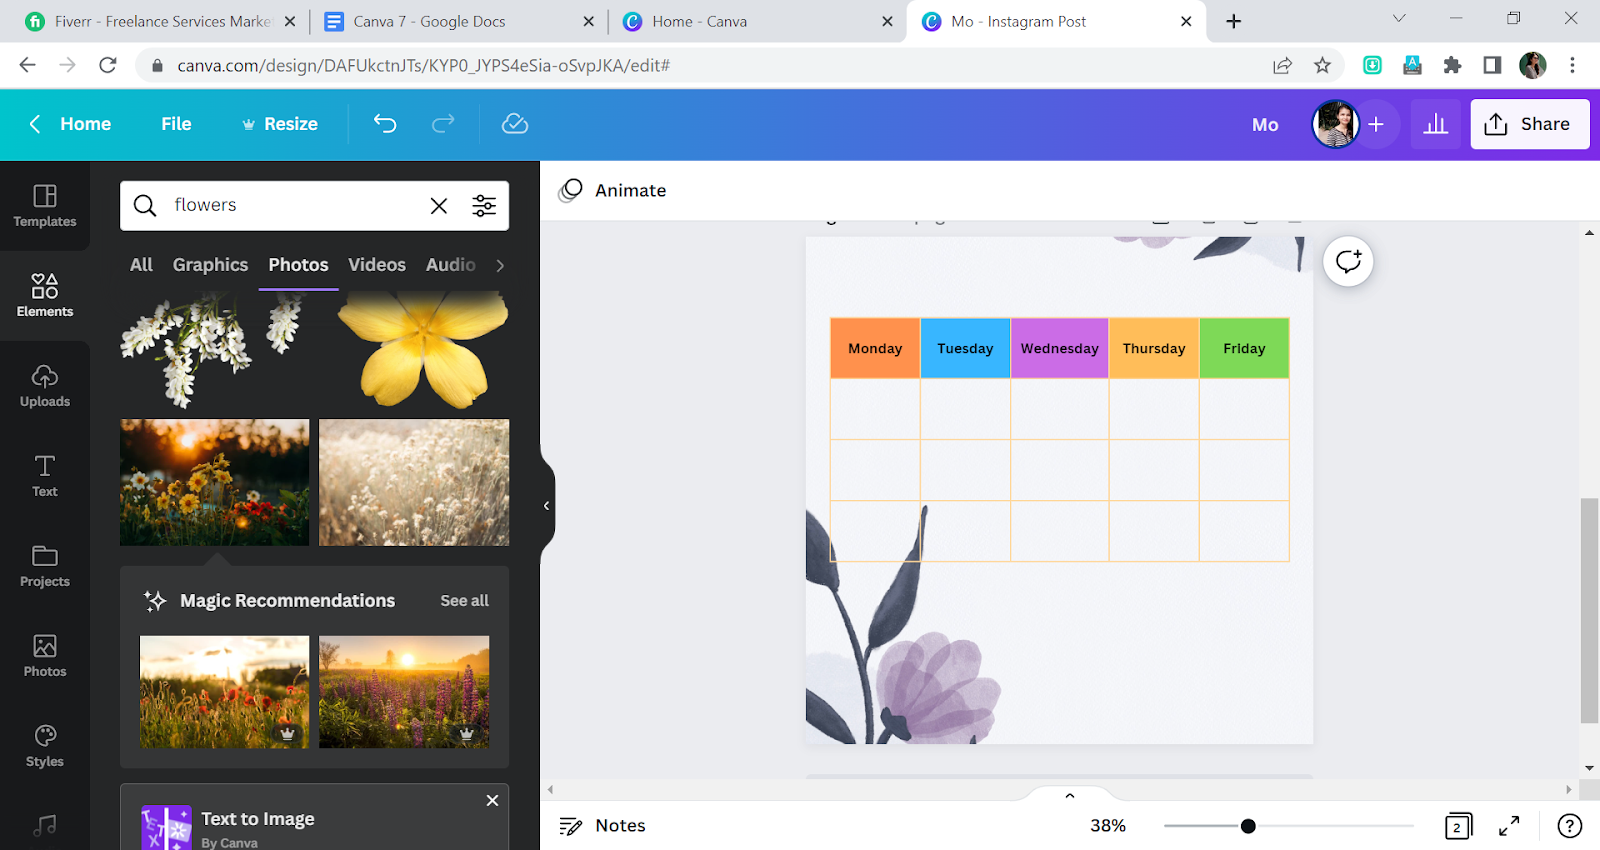
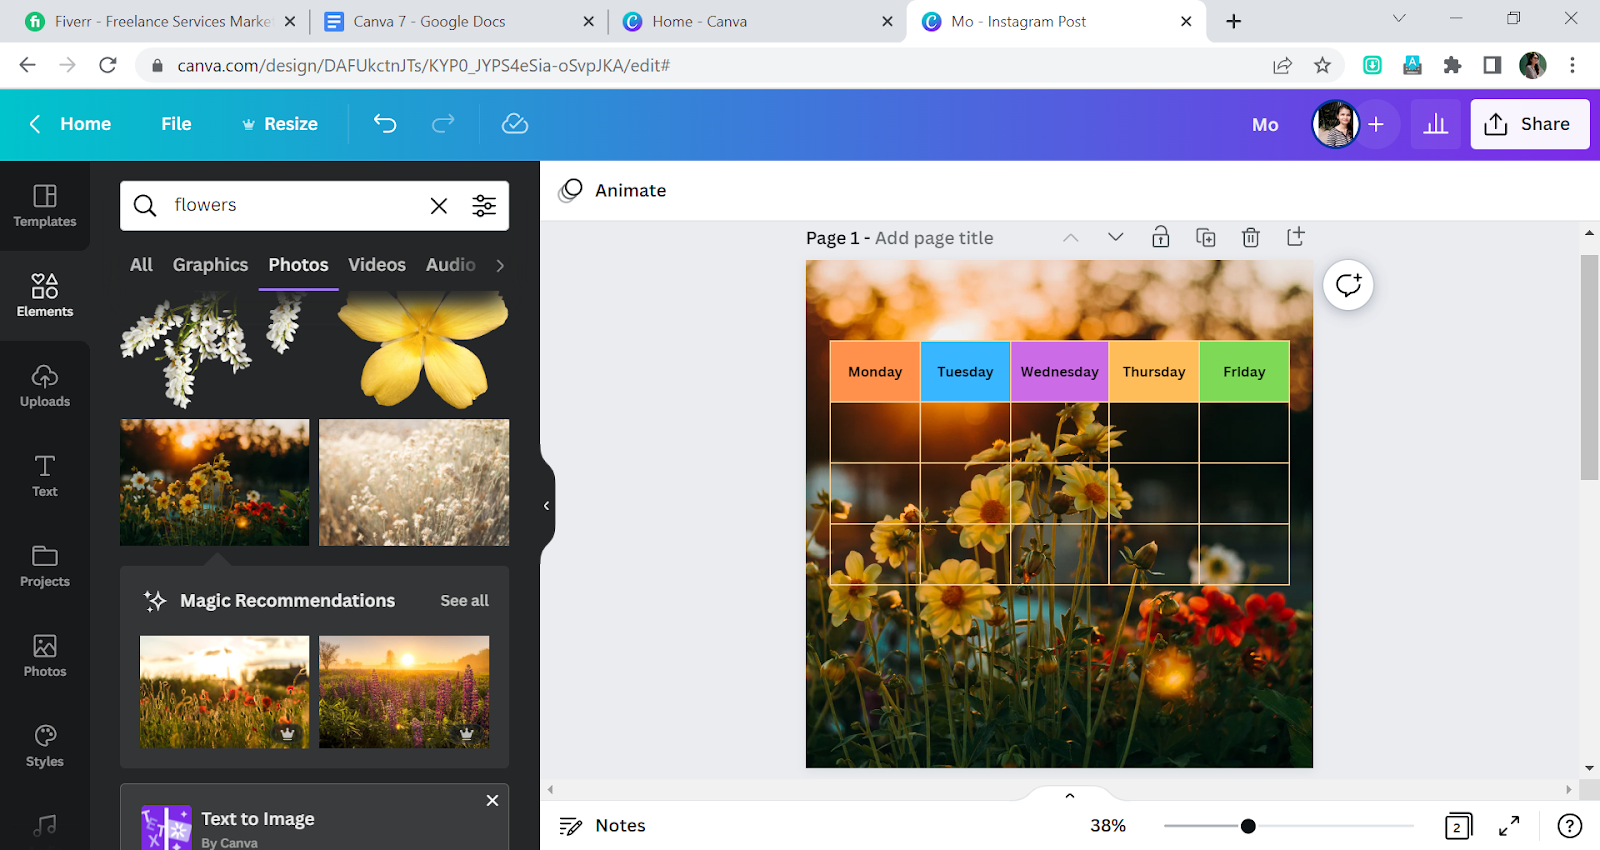
You can always set the background by just searching in the elements option. We have two tables with different backgrounds.

Go to Share and click on Download the design, select your file type and click on Download again.
How to Make a Table in Canva Using Lines
The Canva lines feature is the alternative method for creating a table in Canva from scratch. Using the line creates a straightforward table that looks like a spreadsheet but can be edited within Canva. To begin using lines to create your Canva table, Go to the Elements tab and choose the Lines option to add lines to the table’s columns and rows.
Put the first line at the top of the page or beneath if you want a header. Go ahead to duplicate the second line and shift it to the bottom of the table. Make a second copy of the line, rotate it 90 degrees, move it to the side, and stretch it to connect the top and bottom.
Next, repeat the line and move to the opposite side. By now, you will have the table’s outside lines. It would help if you then build the columns. When building your columns, you might slightly reduce the pixel size or leave them the same size as the surrounding lines. It is up to you. Create your columns by duplicating the sidelines, then place them where you want them.
The next step is to create your cells. To generate individual cells, copy the top or bottom line and transfer it into position. You can select all the horizontal lines if you are having trouble getting an even space and moving each one into position. Then, on the Position tab, choose the Vertical option, which will distribute your cells equally from top to bottom throughout the opening. If you wish to straighten the cell, select Tidy Up from the menu. Also, you may add features like a text box for a header cell, a backdrop color, or even cell characteristics.
Check out our in-depth article on curving texts in Canva.
Making a Table Using The Calendar Method
Using a table template from a calendar is an additional quick-table creation method. You can find Calendar-related templates by going to the sidebar’s templates section and using the search box.
You can also utilize the editable tables on some of these. Using tables is a terrific starting point for creating your printables because they already feature entertaining design components.
Proceed to fill out your sheet with the template and remove any components you don’t require. After removing any unnecessary components, you can make any necessary modifications.
How to Resize a Table in Canva
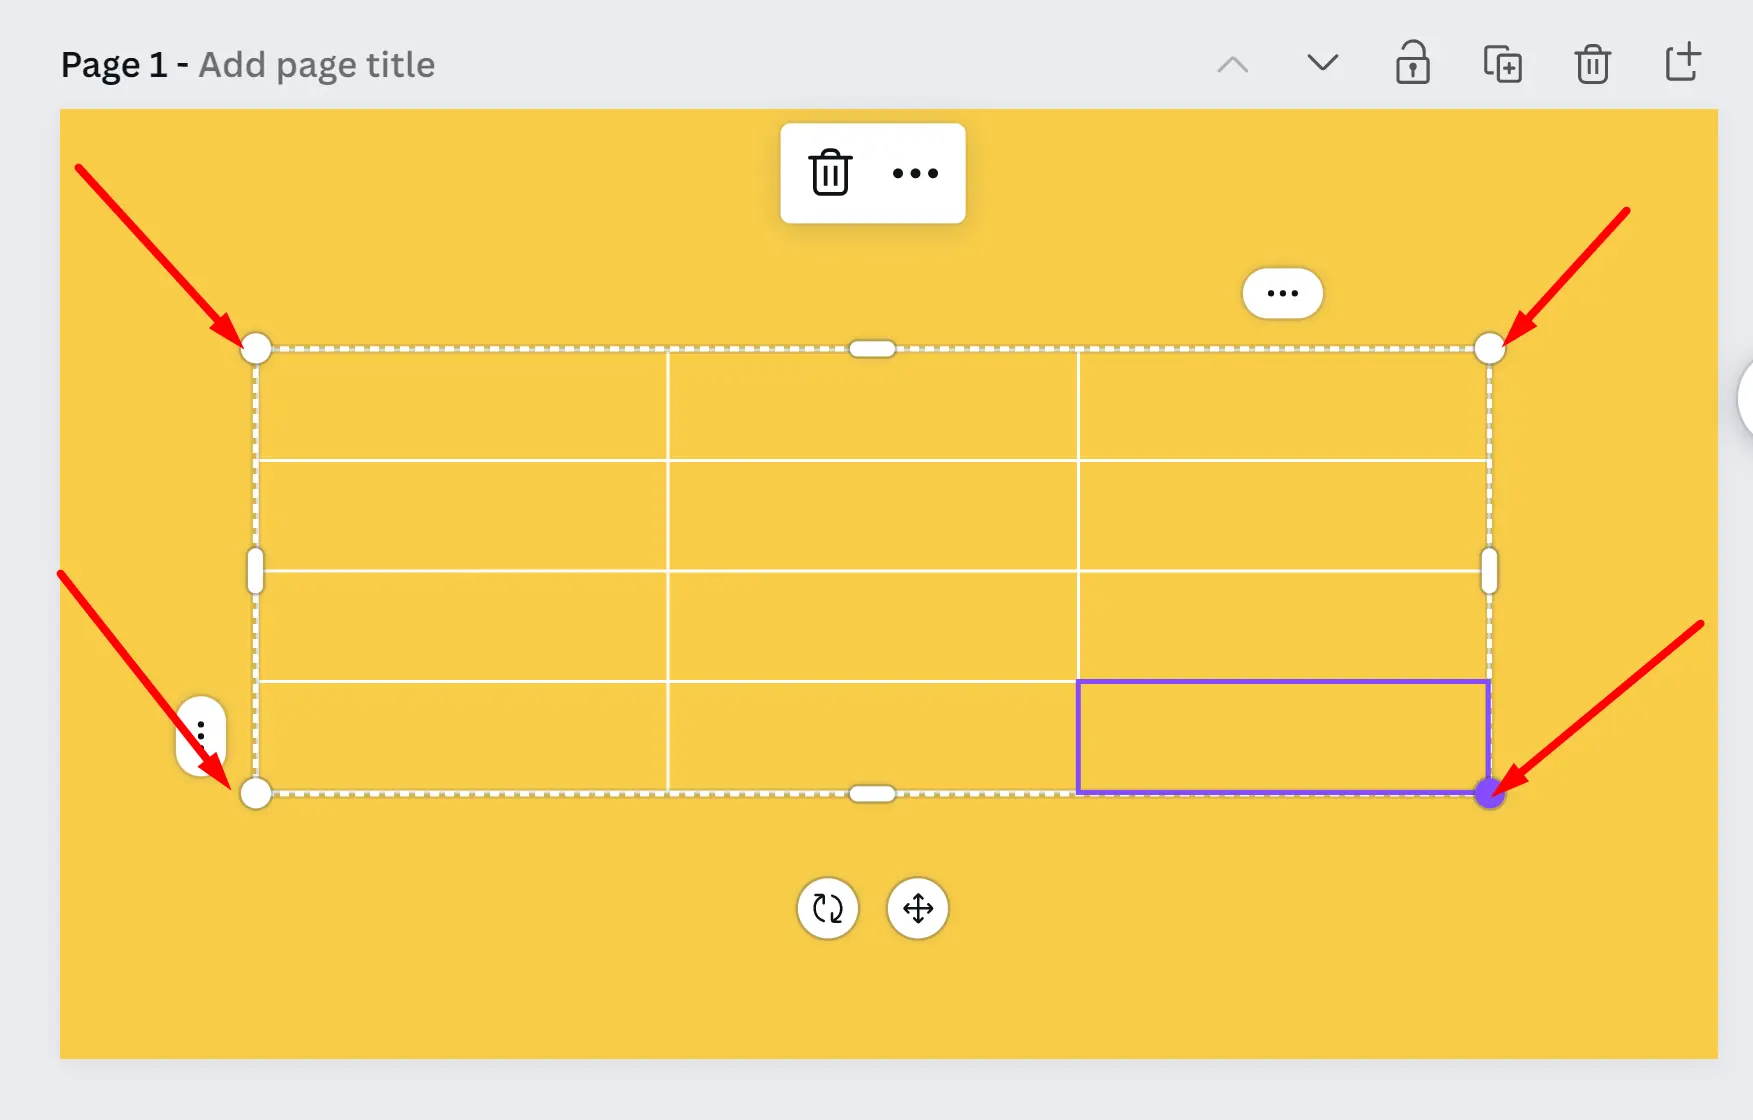
To expand your tables proportionately, simply hover your mouse on any of the four edges and the arrow will change to a resizer cursor. Click, and drag outward or inward to resize.
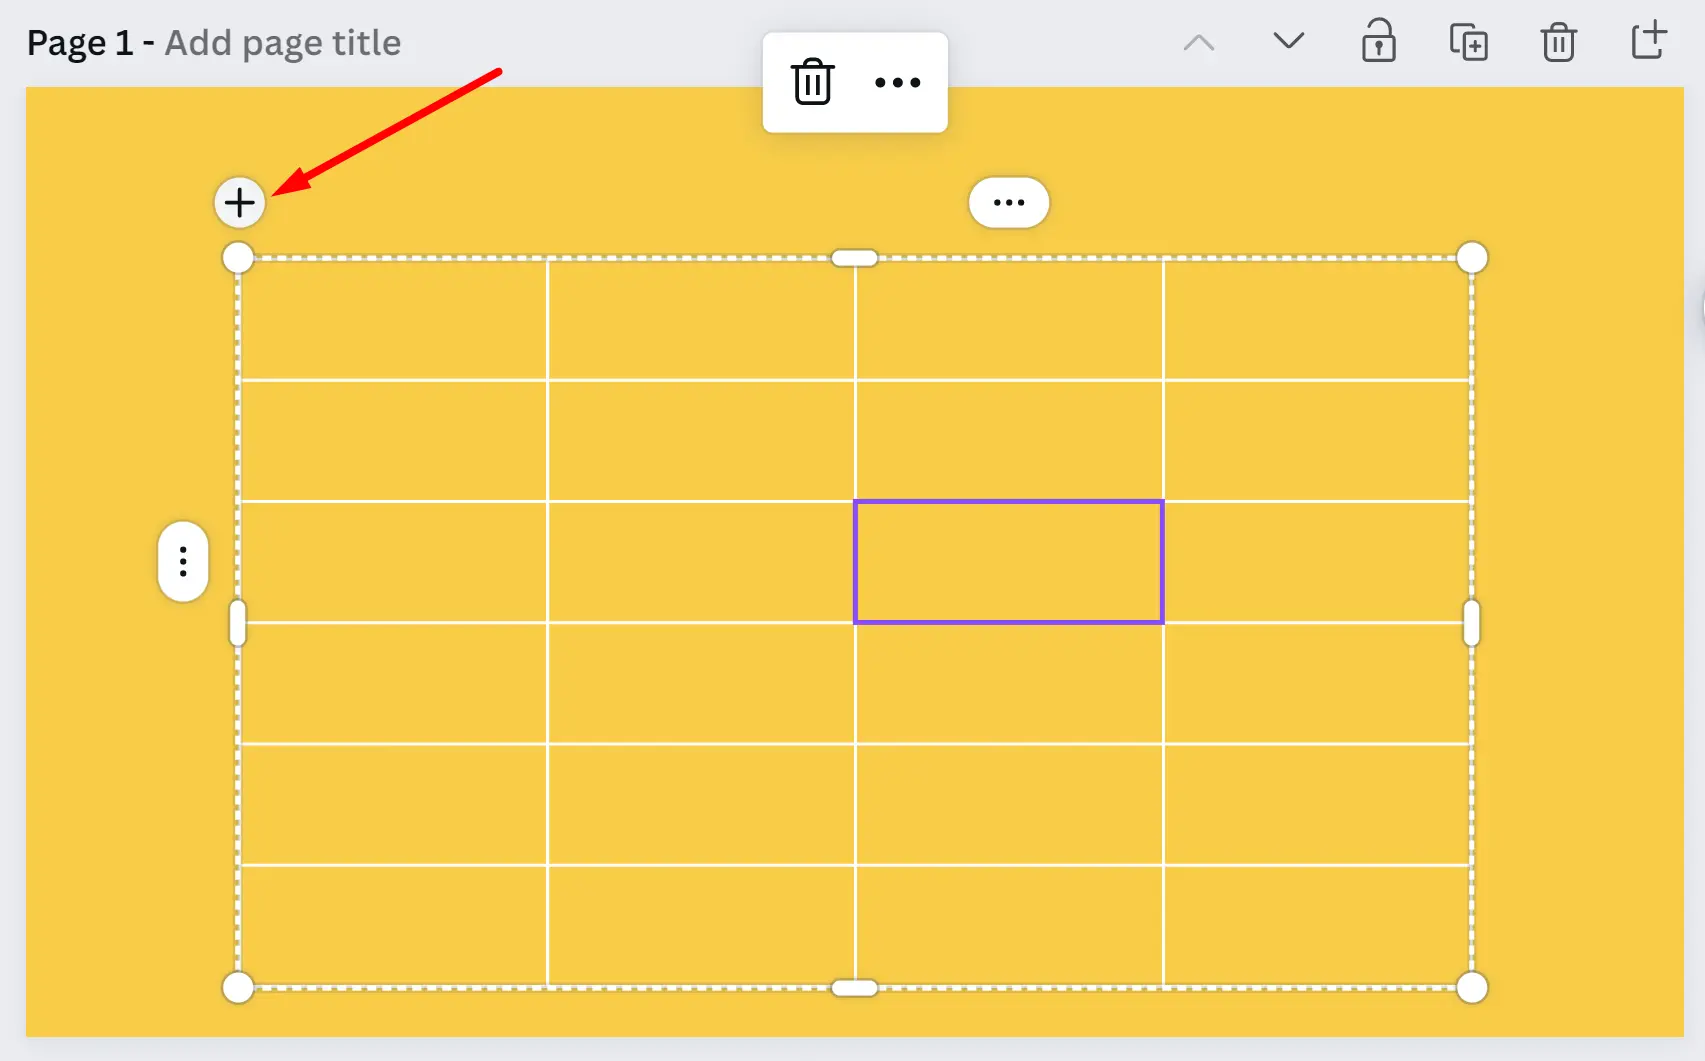
Adding Columns and Rows
To add additional rows or columns, simply hover on the edges until the + sign pops up. Note that there are different + signs for columns vs rows. The plus sign will appear on any side you want to add additional columns or rows.
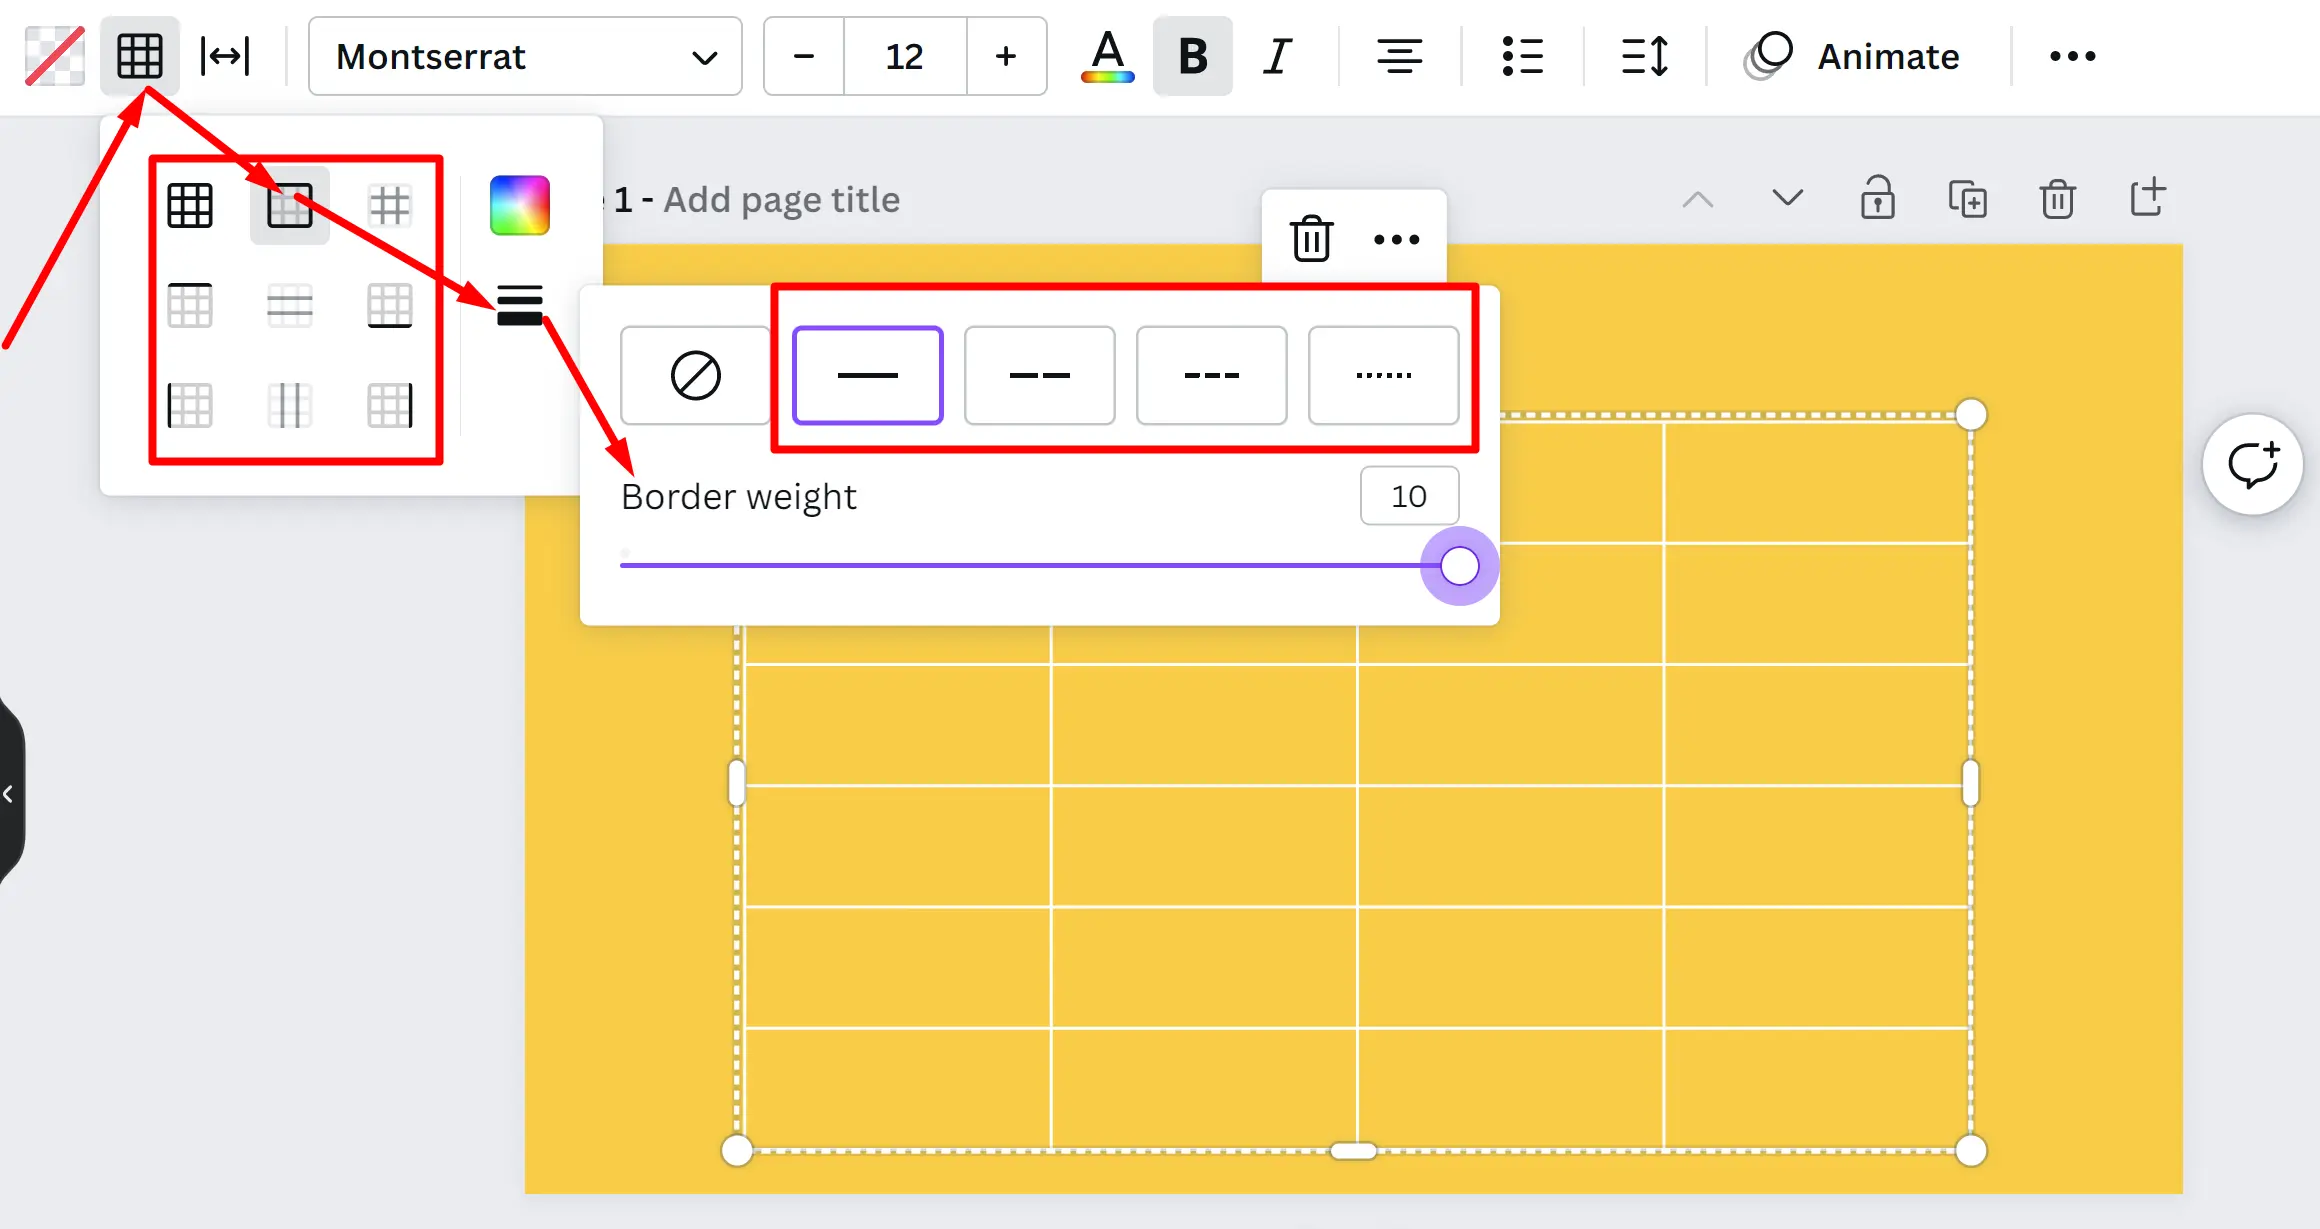
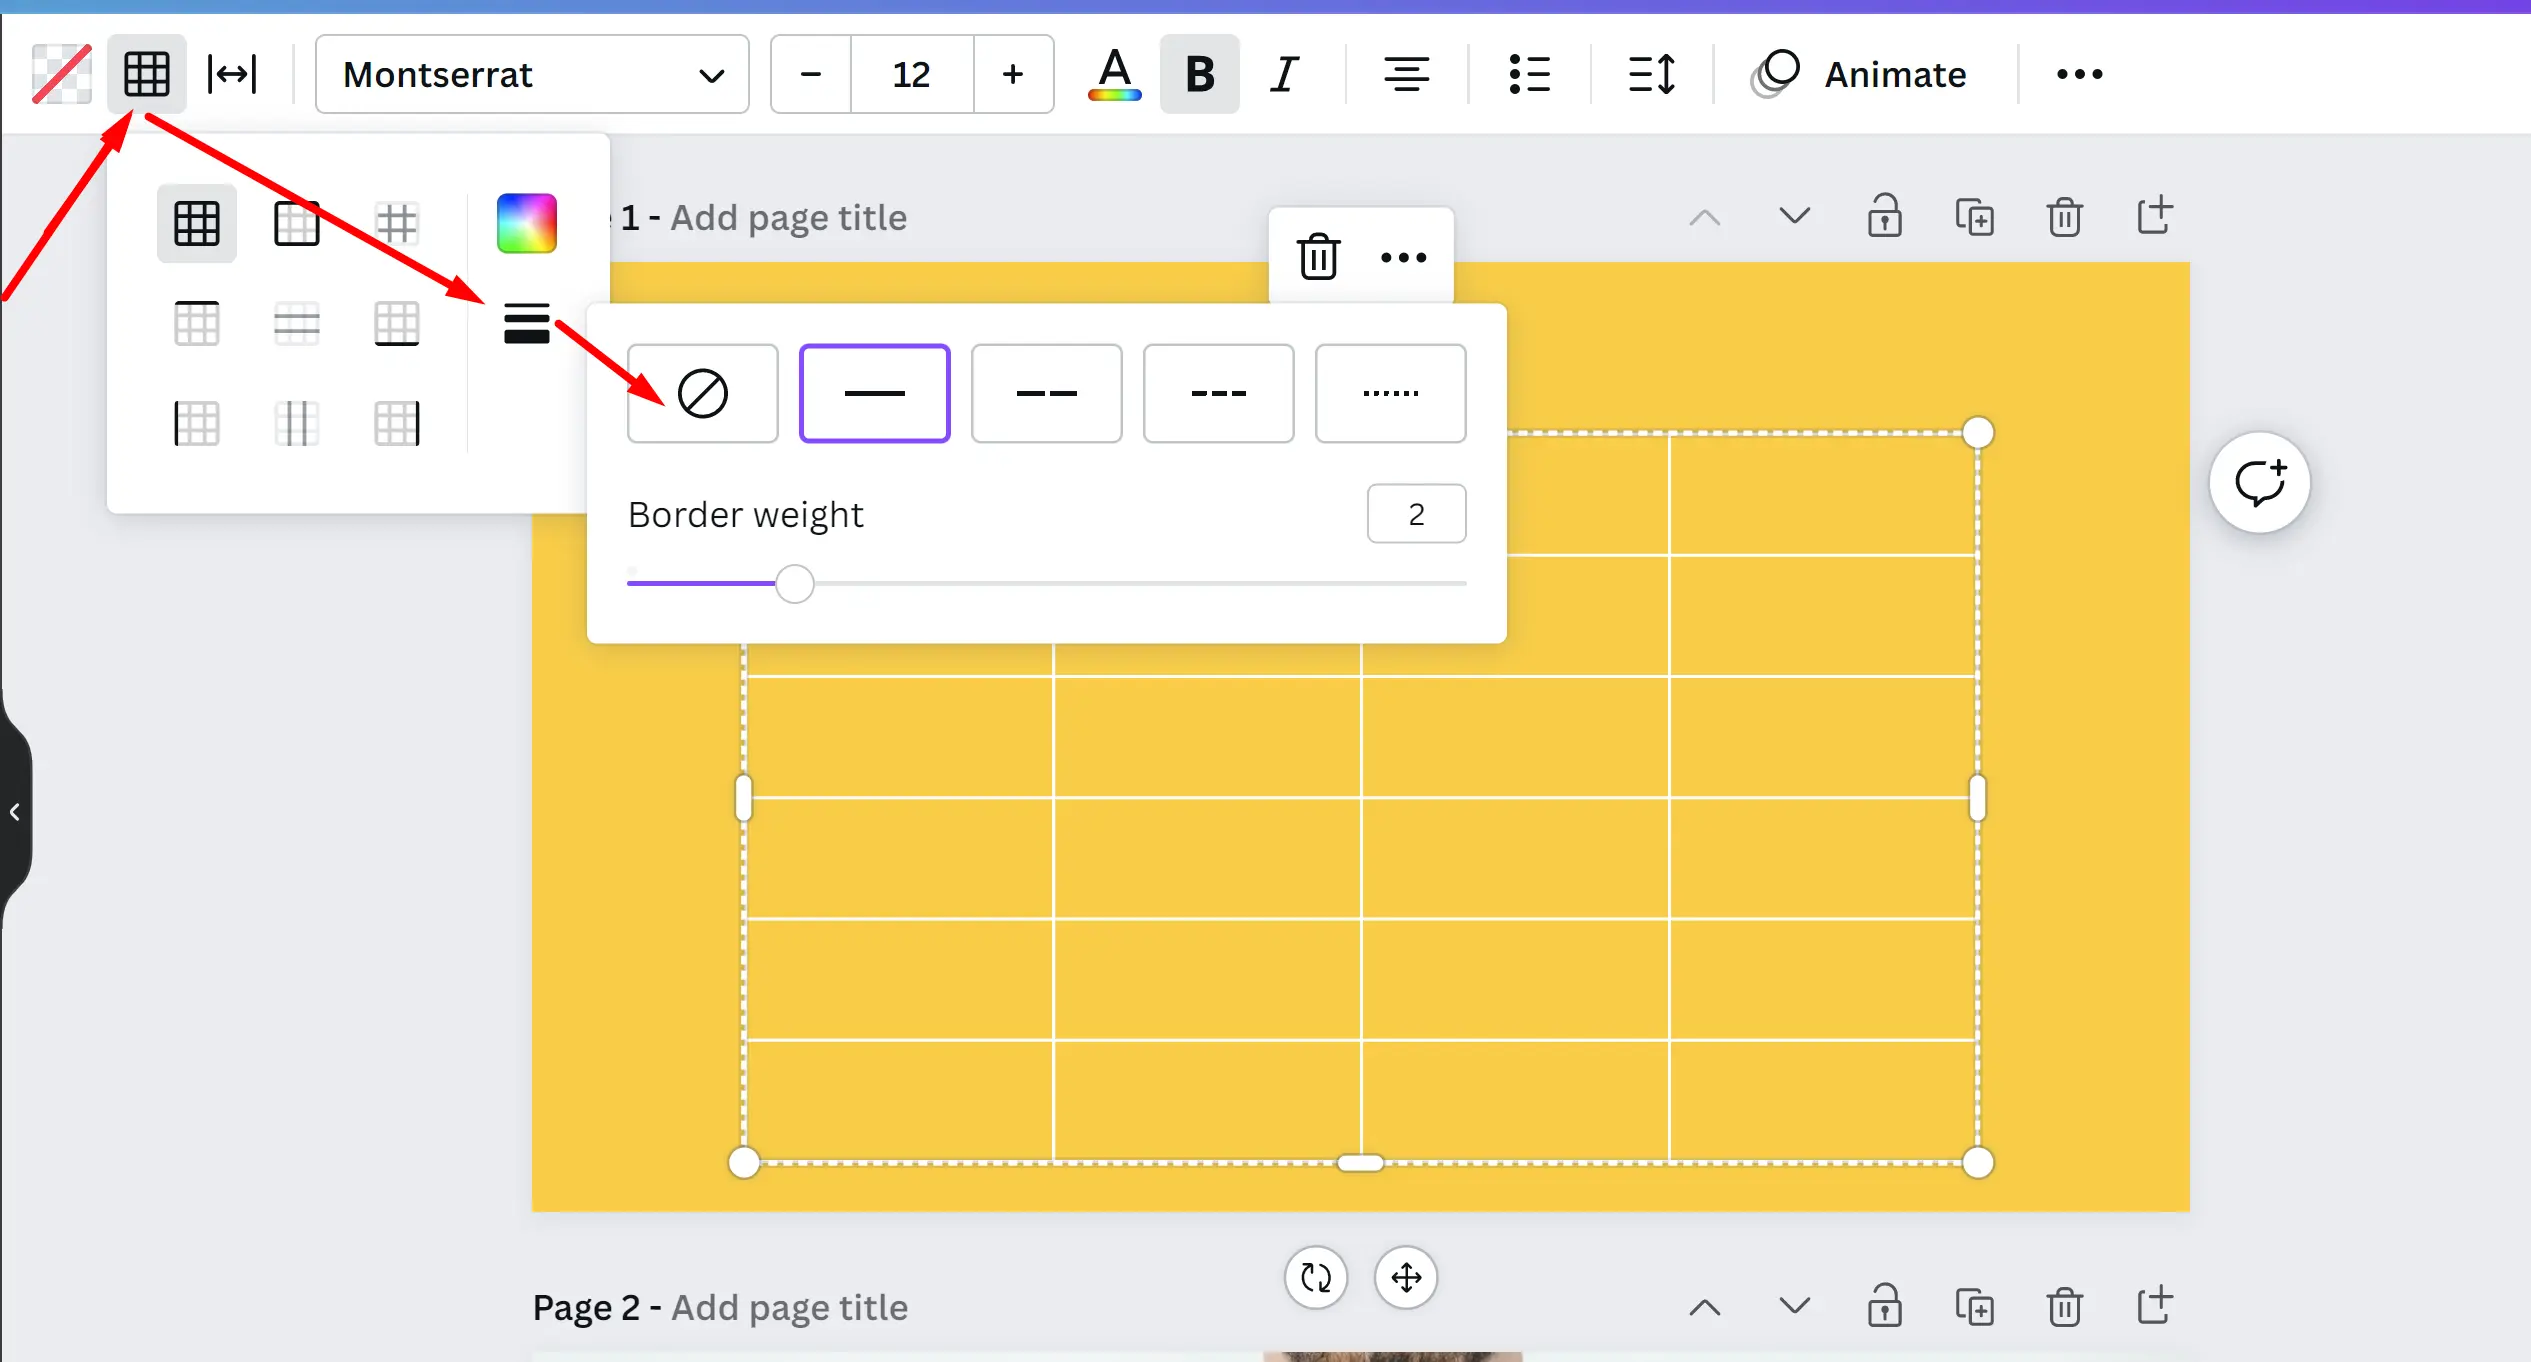
How to Edit Table Borders in Canva
To add borders to a table design, click on the table icon at the top left. Select one of the border options, click the lines icon under the color palette box, pick a borderline and increase or decrease the borderline intensity under ‘border weight’
To remove borders to a table design, click on the table icon at the top left, click on the lines under the color palette box, and click the 🚫 sign. The table borders will be erased.
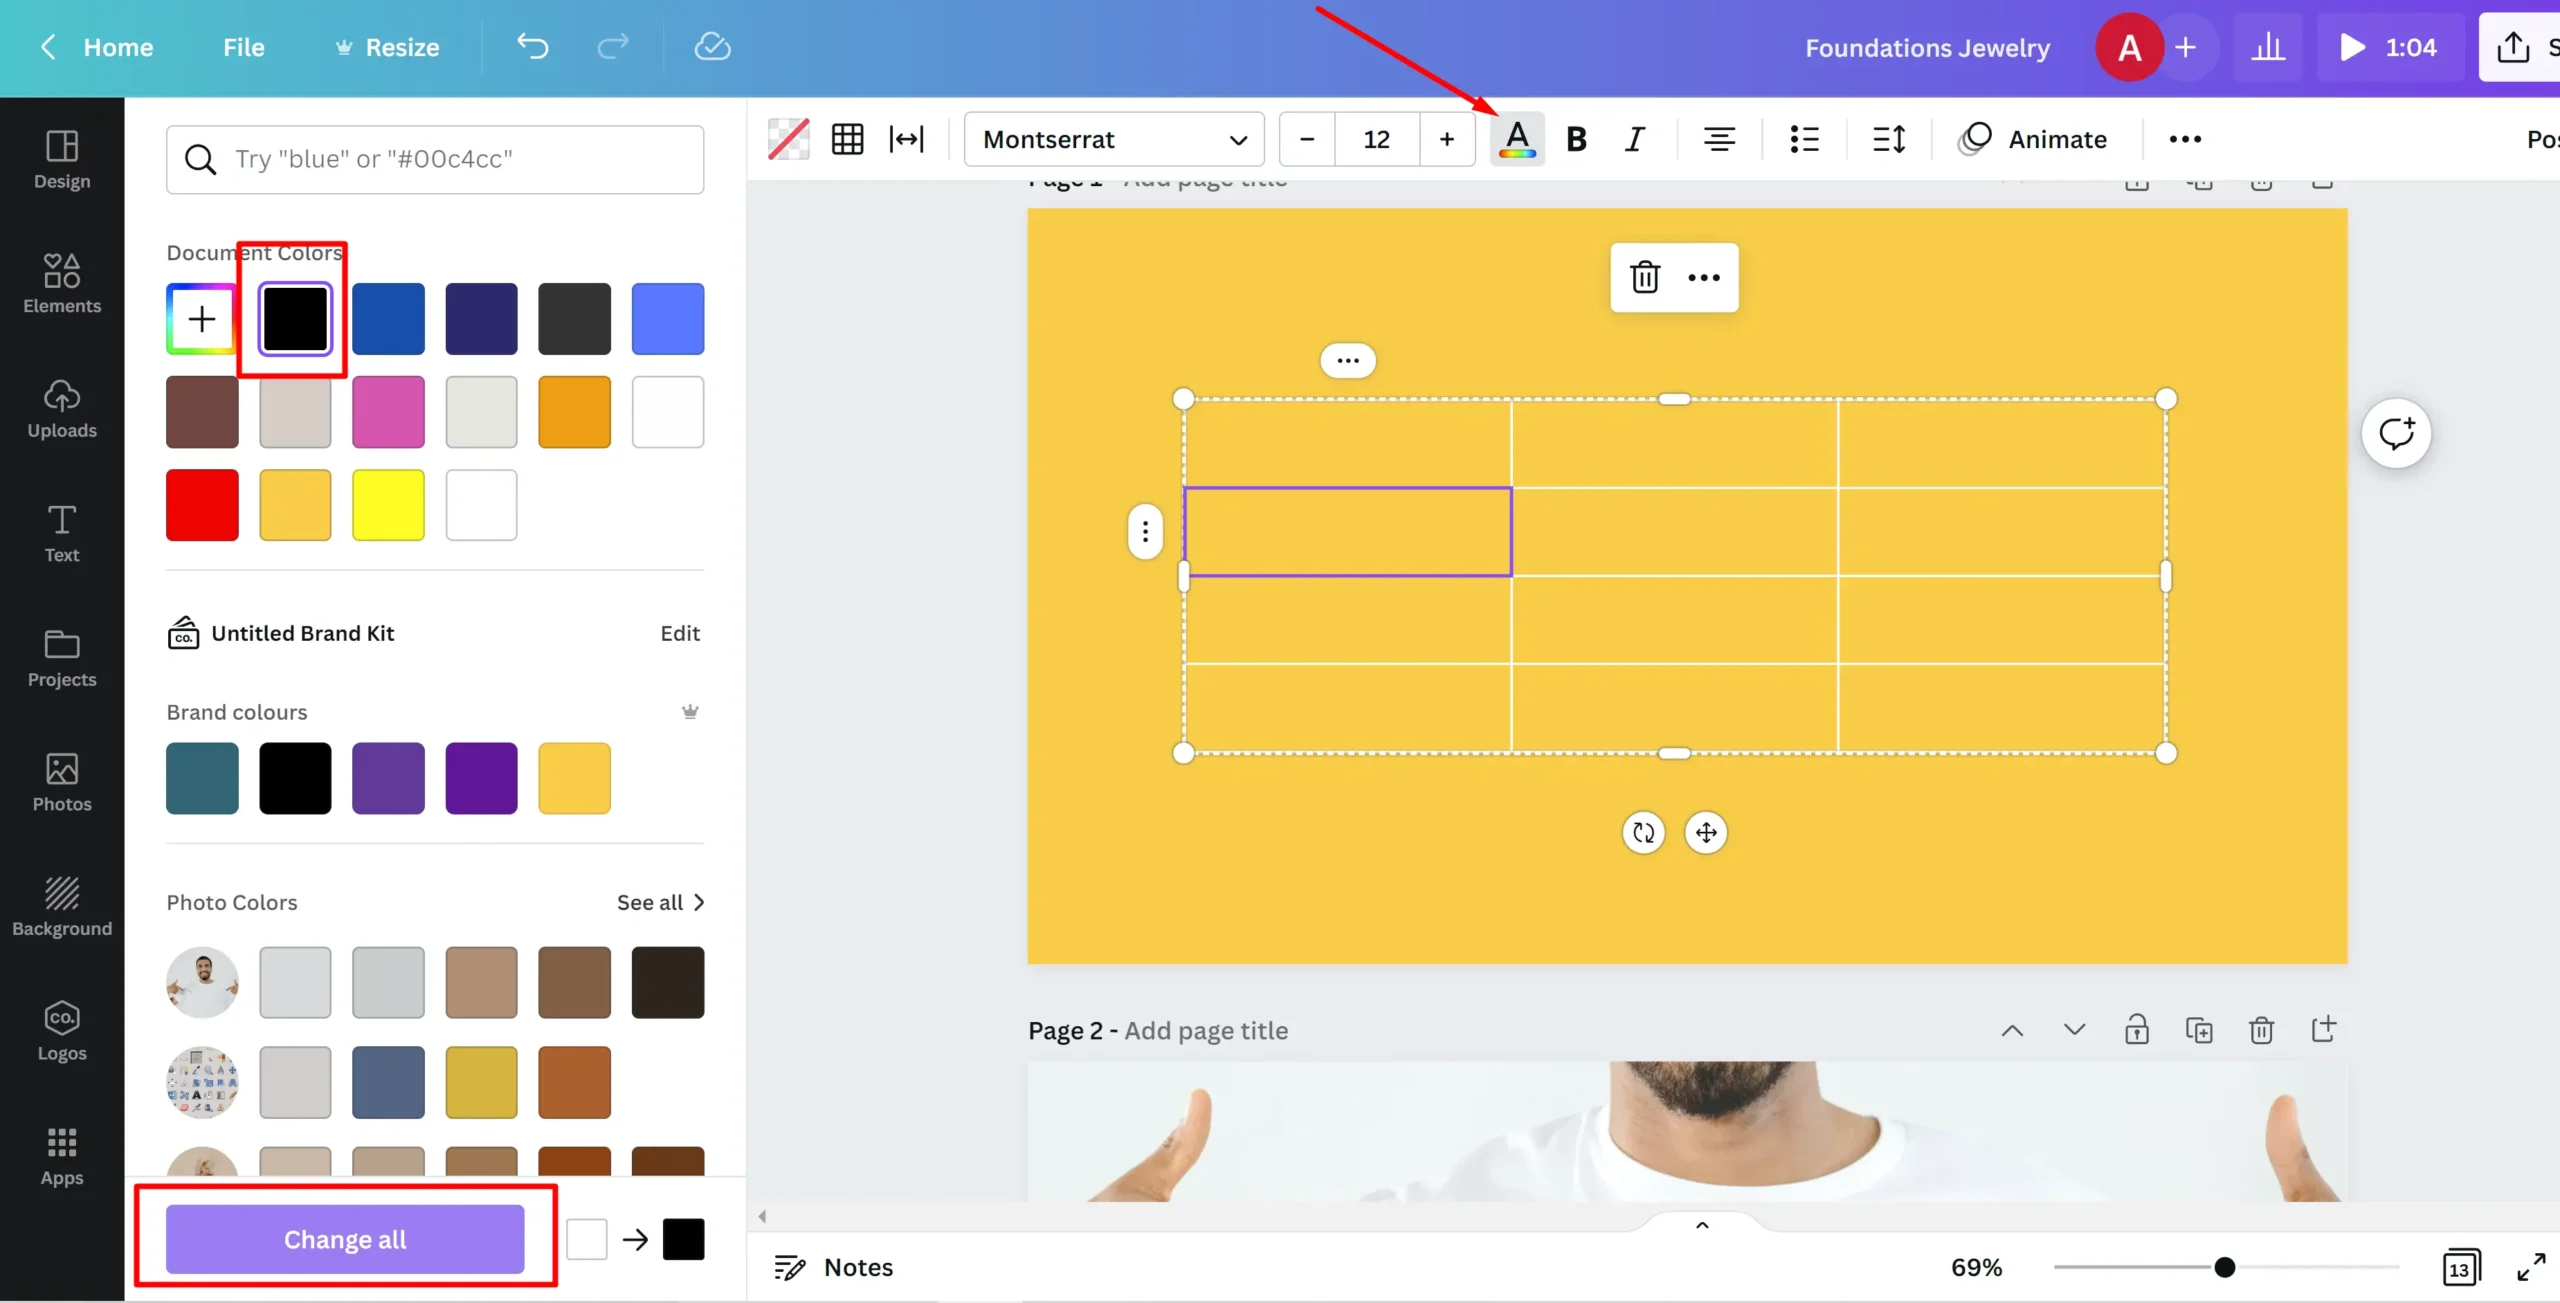
How to Change Table Color in Canva
To change the table color, click on the A icon. Select a color under ‘Document Colors.’ Select your color of choice and click ‘Change all.’ To help you get better with Canva,
If you enjoyed reading this article, you will also like our in-depth guides on how to highlight in Canva and how to print from Canva.
Leave a Reply
You must be logged in to post a comment.