One of the editing capabilities that iMovie provides is the ability to crop a video. Crop a video allows you to remove unwanted elements from the frame, focus on a specific area or change the aspect ratio. This guide will explain the process of cropping a video in iMovie, covering the necessary steps to achieve a professional outcome. By the end of this guide, you will have a clear understanding of the process and be able to crop videos in iMovie with ease.
How to Crop a Video In iMovie
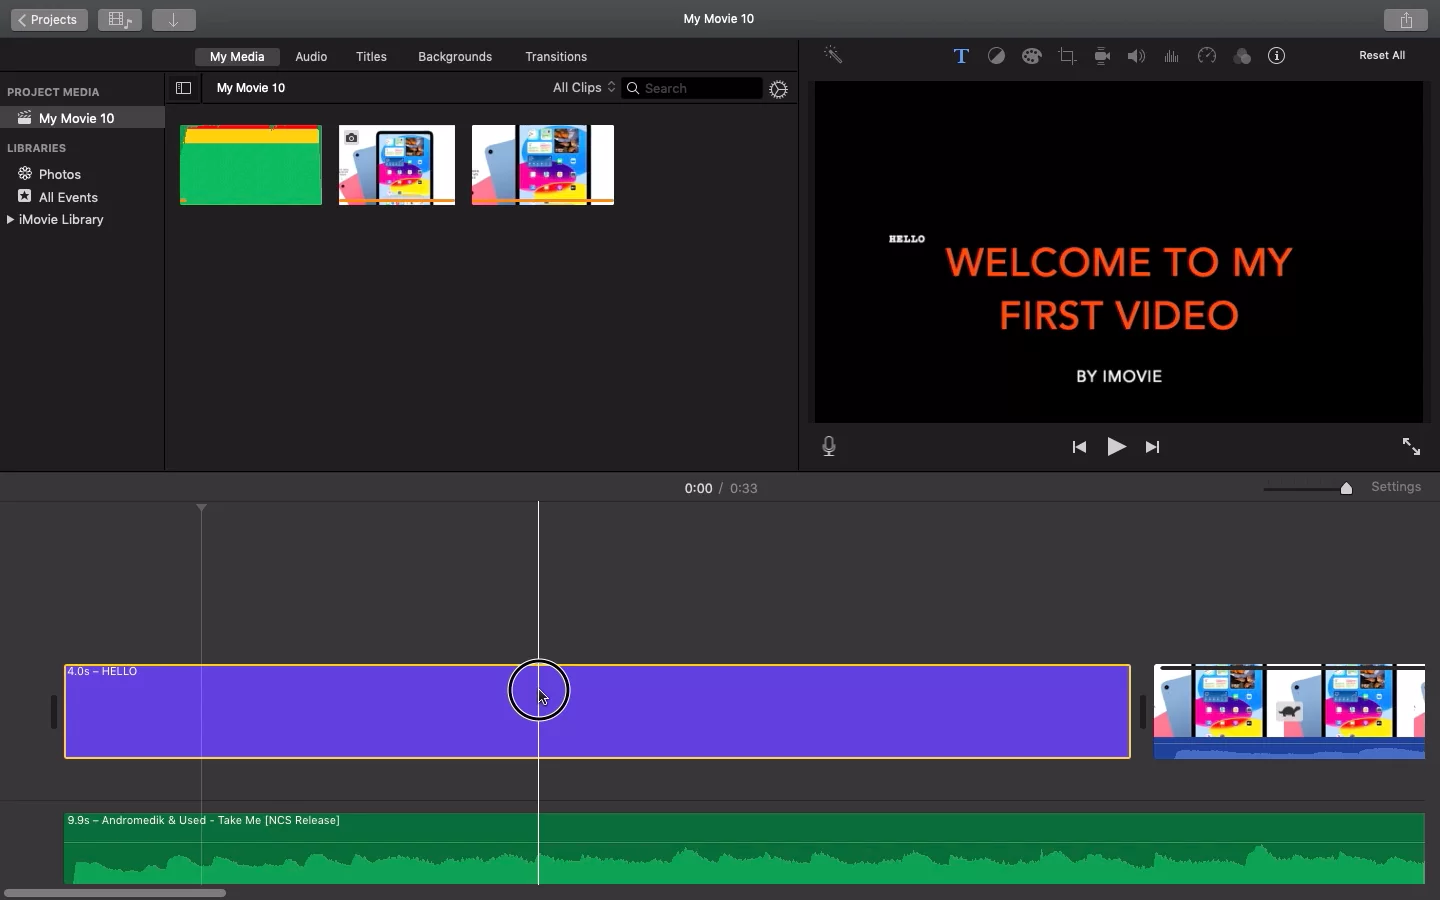
Step 1: Select the clip you want to crop using your mouse cursor.
Tip: Once a clip is selected, you will notice a yellow border around it.
Step 2: Select the crop option from the toolbar present on top of your video view area.

Step 3: Now select the crop style you want to achieve on your video clip.
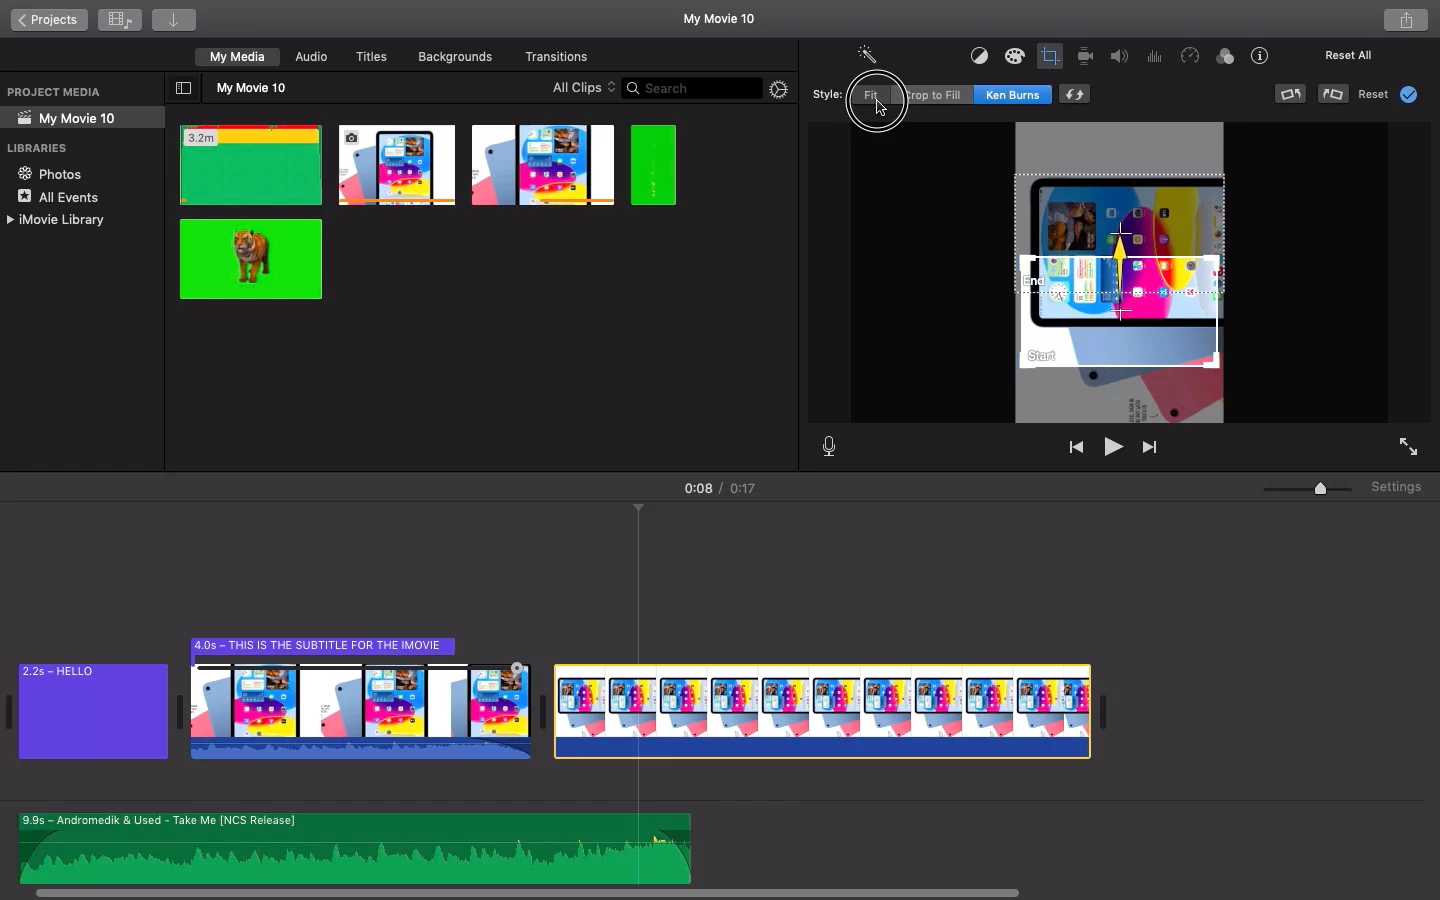
There are 3 crop styles available:
Fit -> To fit your entire video within the frame, this might lead to black bars in your video.

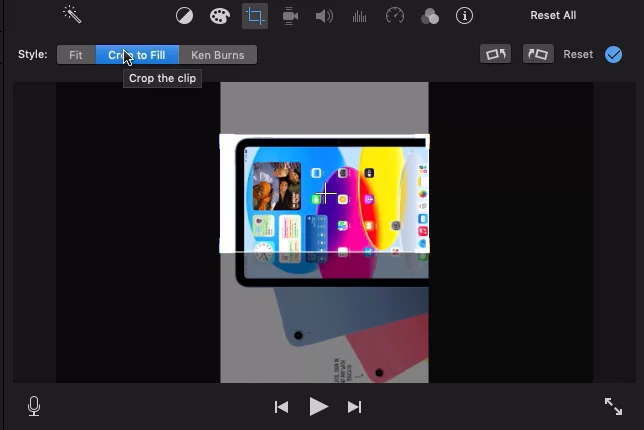
Crop To Fill -> To fill your entire frame using the zoomed-in version of your clip.
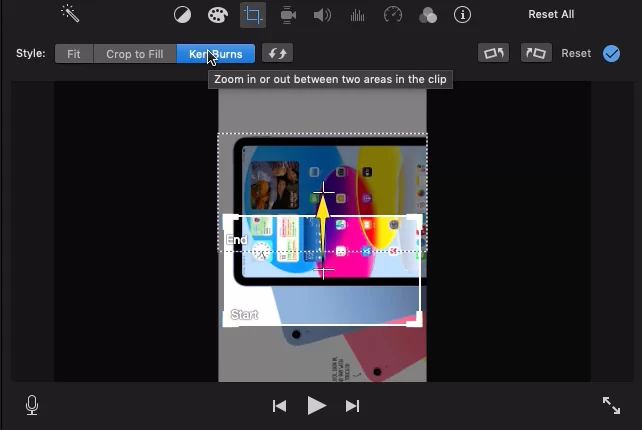
Ken Burns -> To Pan & Zoom from one part of your clip to another.
How To Crop a Video in iMovie Using iPhone
The steps that will be highlighted below can be used to crop a video on iPhone or iPad.
Step 1
Open iMovie, select the Projects tab at the top, and then select the addition icon button.
Step 2
Next, pick Movie from the pop-up menu.
Step 3
Choose the video you wish to crop from your collection. Then press Create Movie at the bottom of the app’s screen.
Step 4
Tap the video in the timeline at the bottom to bring up the cropping tool. You’d see a button that says Pinch to zoom video and has a magnifying glass icon. Tap this button to begin cropping the video. Now you may zoom in or out and rearrange the movie however you want by pinching or spreading your two fingers. Tap the Done text button in the top left corner of the app screen when you are finished cropping.
How to Crop Aspect Ratio in iMovie
The aspect ratio can be changed any time before exporting the File when starting a new project in iMovie. The aspect ratio can be set for the finished movie after it is exported. Follow the steps below to crop the aspect ratio in iMovie.
Step 1
Choose or open a project from the Project Library, then select Project Properties from the File menu at the top of your screen.
Step 2
Choose options from the pop-up menu for aspect ratio. You can use any of the aspect ratios: Widescreen (16:9)—This gives the impression that the video is considerably longer than it is. You will get a squarer video thanks to the standard (4:3) ratio.
Cropping Vs. Zooming: What is The Difference?
Moving or altering an image’s edges is the process of cropping. Of course, there are additional methods of video editing besides cropping individual photos or segments of your film—Cutting and splitting come to mind.
Zooming is ideal when you need to show a detailed perspective of a user interface in software tutorials and demonstrations. By altering the size or scale of clips and pictures, video editing software lets you zoom in or out on your films.
Trimming typically refers to cutting out a portion of a video clip’s beginning or end. Trimming is essential to ensure that your video starts promptly and you don’t lose your audience’s attention. You may cut the audio and video files apart using an editing software video cutter.
You can also read this informative article on how to add text in iMovie.