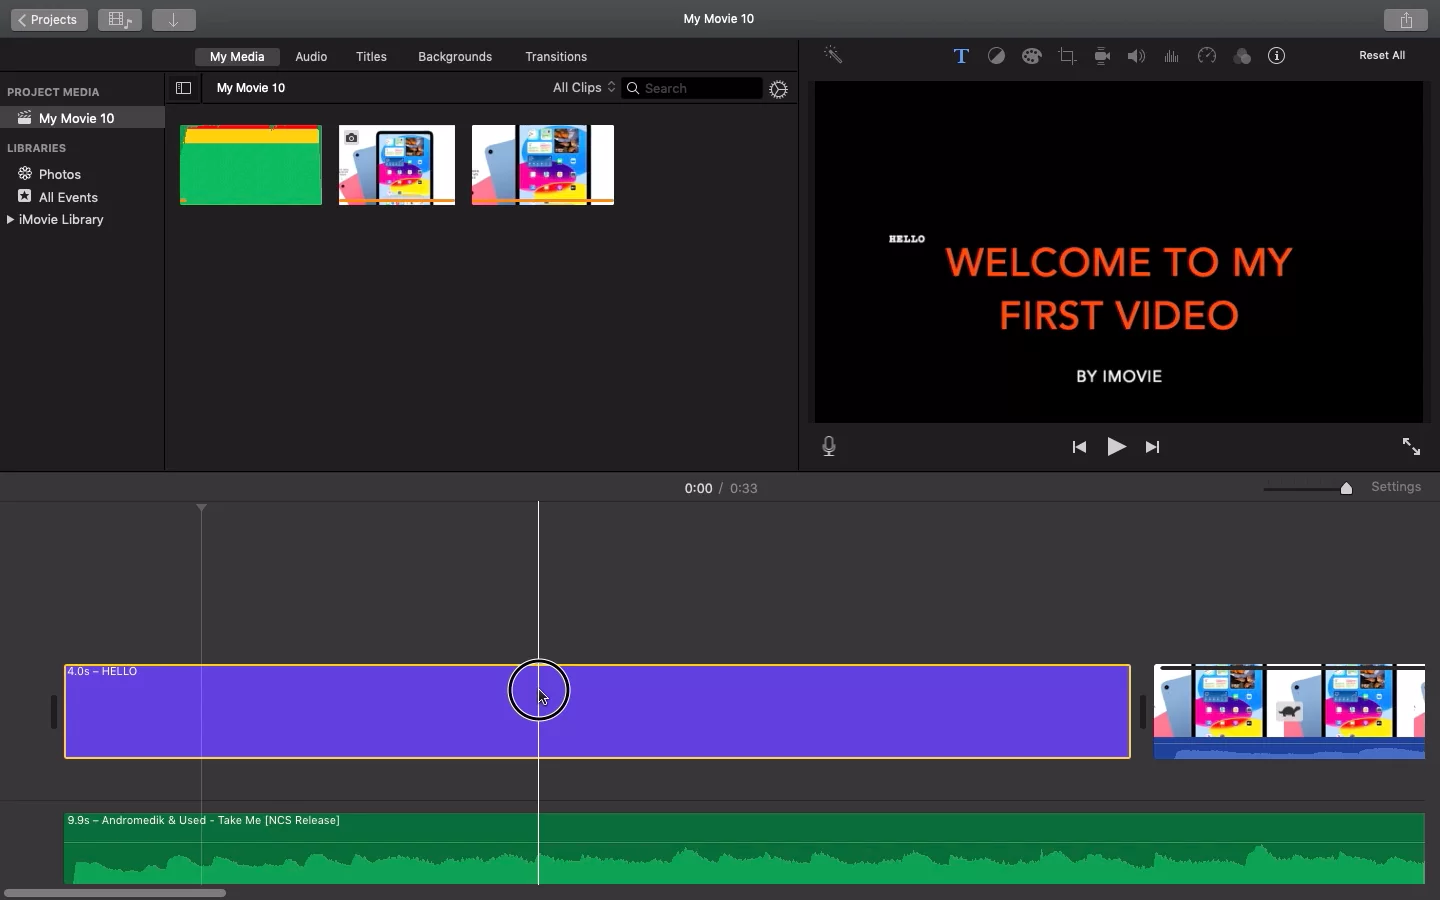
iMovie is a video editing software developed by Apple for Mac and iOS devices. One of the essential tools in iMovie is the ability to zoom in and out on a video clip, which can be useful for focusing on specific parts of the footage or for creating a sense of movement.
In this tutorial, we will show you how to use the zoom feature in iMovie to add visual interest to your videos. Whether you’re a beginner or an experienced iMovie user, you’ll find the instructions easy to follow and the results impressive.
How to Zoom In and Out on iMovie
Step 1: Select the clip you want to change the zoom-in/out using your mouse cursor.
Tip: Once a clip is selected, you will notice a yellow border around it.
Step 2: Select the crop option from the toolbar present on top of your video view area.

Step 3: Now select the Crop to Fill option from the Crop Style.
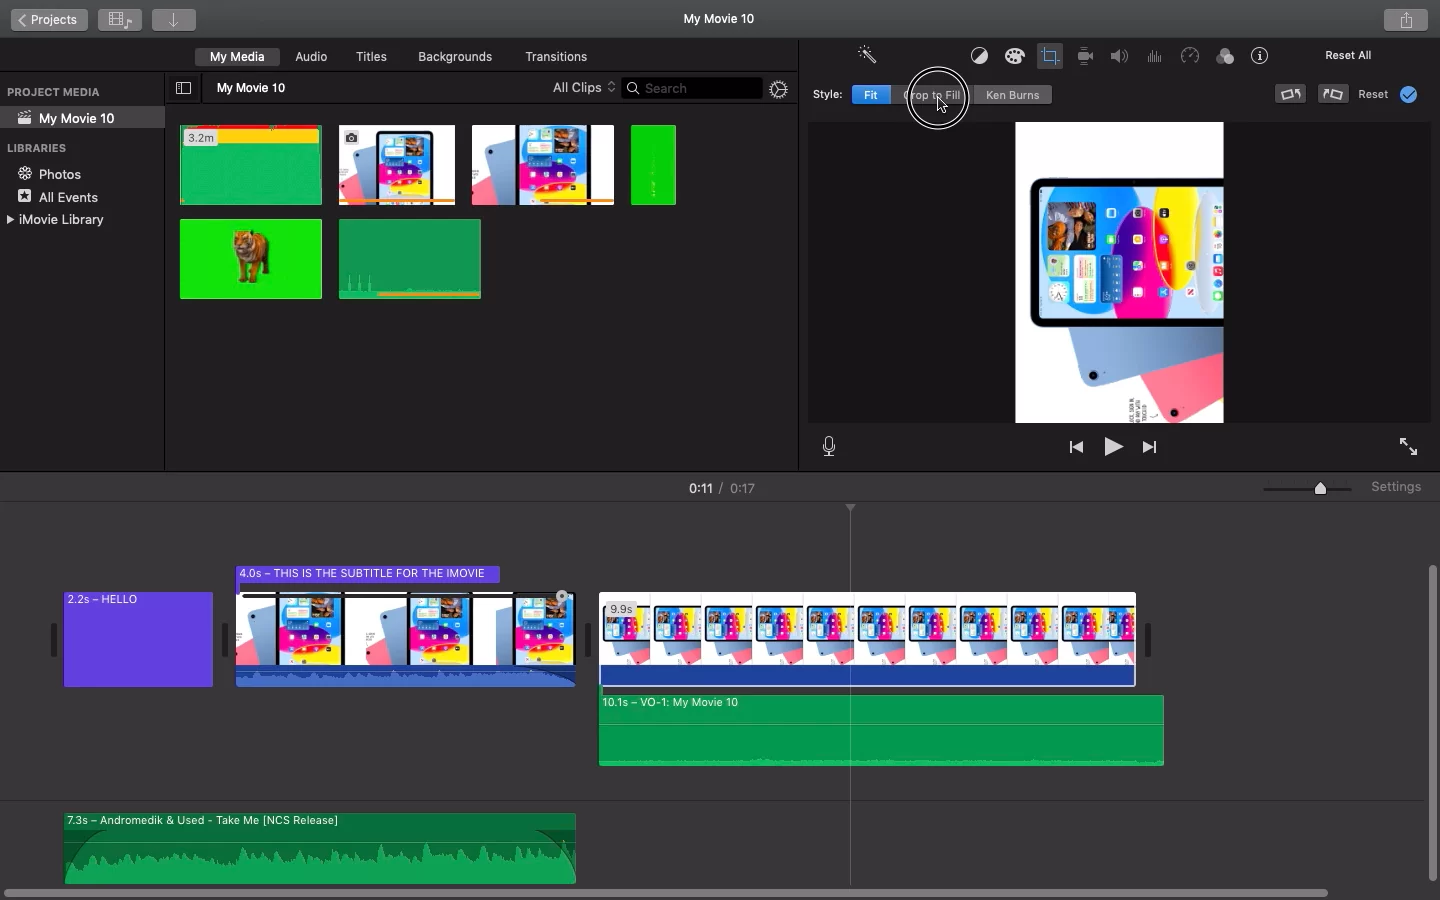
Step 4: Go to the video view area and drag the clip from the edges to change the zoom-in/out ratio according to your needs. Zooming in and out is an essential part of editing in iMovie, which is why you need to go over these steps till you understand them.


Adjusting Your Zoom in Imovie Using The Ken Burns Effect
The images you include in your project can be the Ken Burns treatment by iMovie. The Ken Burns treatment gives the impression that the camera is moving across the image as it zooms in and out.
iMovie uses face detection to keep faces within the viewing area if there are people in the picture. The Ken Burns effect can be changed so that the motion begins and ends in the areas of the image you want.
Step 1
Open a movie project with the iMovie software on your iPhone.
Step 2
Next, tap the image you want to edit in the timeline.
Step 3
In the viewer’s lower-right corner, you can see the controls for the Ken Burns effect.
Step 4
Tap the Start button to customize how the photo is framed at the start.
Step 5
Drag the image in the viewer to resize it as needed after pinching to zoom in or out.
Step 6
Tap the End button to customize how the photo is framed at the conclusion.
Step 7
Drag the image in the viewer to resize it as needed after pinching to zoom in or out.
Step 8
Tap outside of the clip to close the controls.
Check out this information packed article on cutting a clip in iMovie.
Awesome Tips For Creating a Great Video Zoom Effect
Follow the steps below to create awesome videos with excellent zoom effects.
- When zooming, you need to watch your manual camera movement. If your camera won’t let you zoom while the shutter is open or you don’t have a zoom lens, you can manually move the camera away from or toward your subject.
- Also, you need to keep the camera still. When using a slow shutter speed, camera movement can significantly impact your photo. By placing your camera on a stable surface or utilizing a tripod, you may avoid camera shake.
- Emphasize fluid zooming. To acquire fine, smooth lines in your photo, you must emphasize “smooth zoom.” For this method to be mastered, a lot of practice is required.
- Lights of many kinds, including neon signs and city lights, are crucial to the zoom effect. If used properly, lights may create breathtaking effects.
- You can also employ the use of backward zooming. Zooming in on a subject rather than out can yield better results if you have a moving object.
- Partial zooming is also a good tip when zooming. Given that some zoom lenses have wide focal lengths, you can also zoom in partway.
- Check out our information packed guide on how to trim your videos in iMovie.