Cropping is a simple yet effective way to get the most out of every image. GIMP, short for GNU Image Manipulation Program, can help you crop any image quickly and easily.
This blog post will cover exactly how to use GIMP’s intuitive cropping tool and discuss some best practices for making those finishing touches count.
So let’s dive in and transform the mundane into masterpieces while keeping the picture quality intact.
What is The Crop Tool in Gimp?
In GIMP, the Crop tool is a function used to crop or trim an image. It allows you to select a portion of the image and remove the areas outside the selection. It operates on both visible and invisible layers of the image.
This tool frequently removes boundaries or eliminates unnecessary sections to give you a more concentrated work area. It is also helpful if you require an image at a size that differs from its original dimensions.
With the introduction of Gimp v2.4, the new crop tool has also been improved. Also, the crop tool interacts with other GIMP tools naturally in the Gimp v2.4. Did you know that the crop tool plays a role in resizing an image?
Check out our in-depth article on How to resize an image in Gimp to learn more about how the crop tool plays a role in resizing.
How to Locate The Crop Tool in Gimp
Follow the steps below to locate the crop tool in GIMP.
Step 1
Start by opening your Gimp.
Step 2
Next, look for the toolbox. The toolbox is displayed on the right or left side of the screen.
Step 3
Then, find the paper-knife icon to crop your image. You can also use a second method to locate your crop. Below are the steps to using the second method.
Step 1
Click on “tools” in the image window.
Step 2
Next, select the “Transform” tools.
Step 3
The next step is to look for the “crop” button.
Easy Steps to Crop in GIMP
1. Open the image you like. The tool menu will display on the top left side.
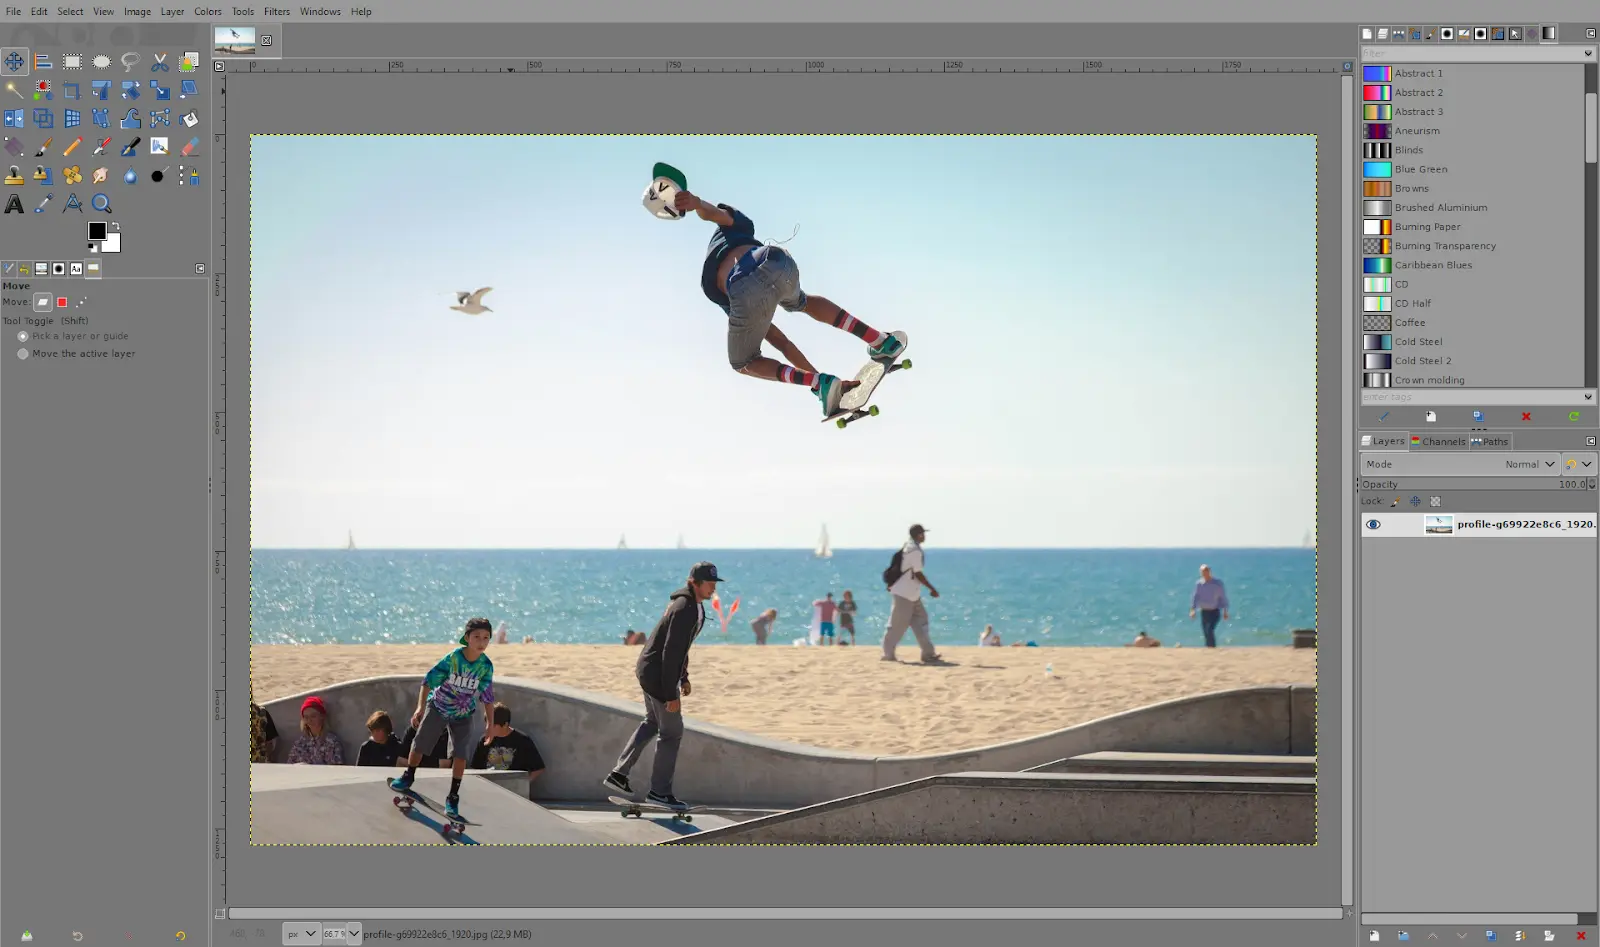
2. Click on the ”Crop Tool”
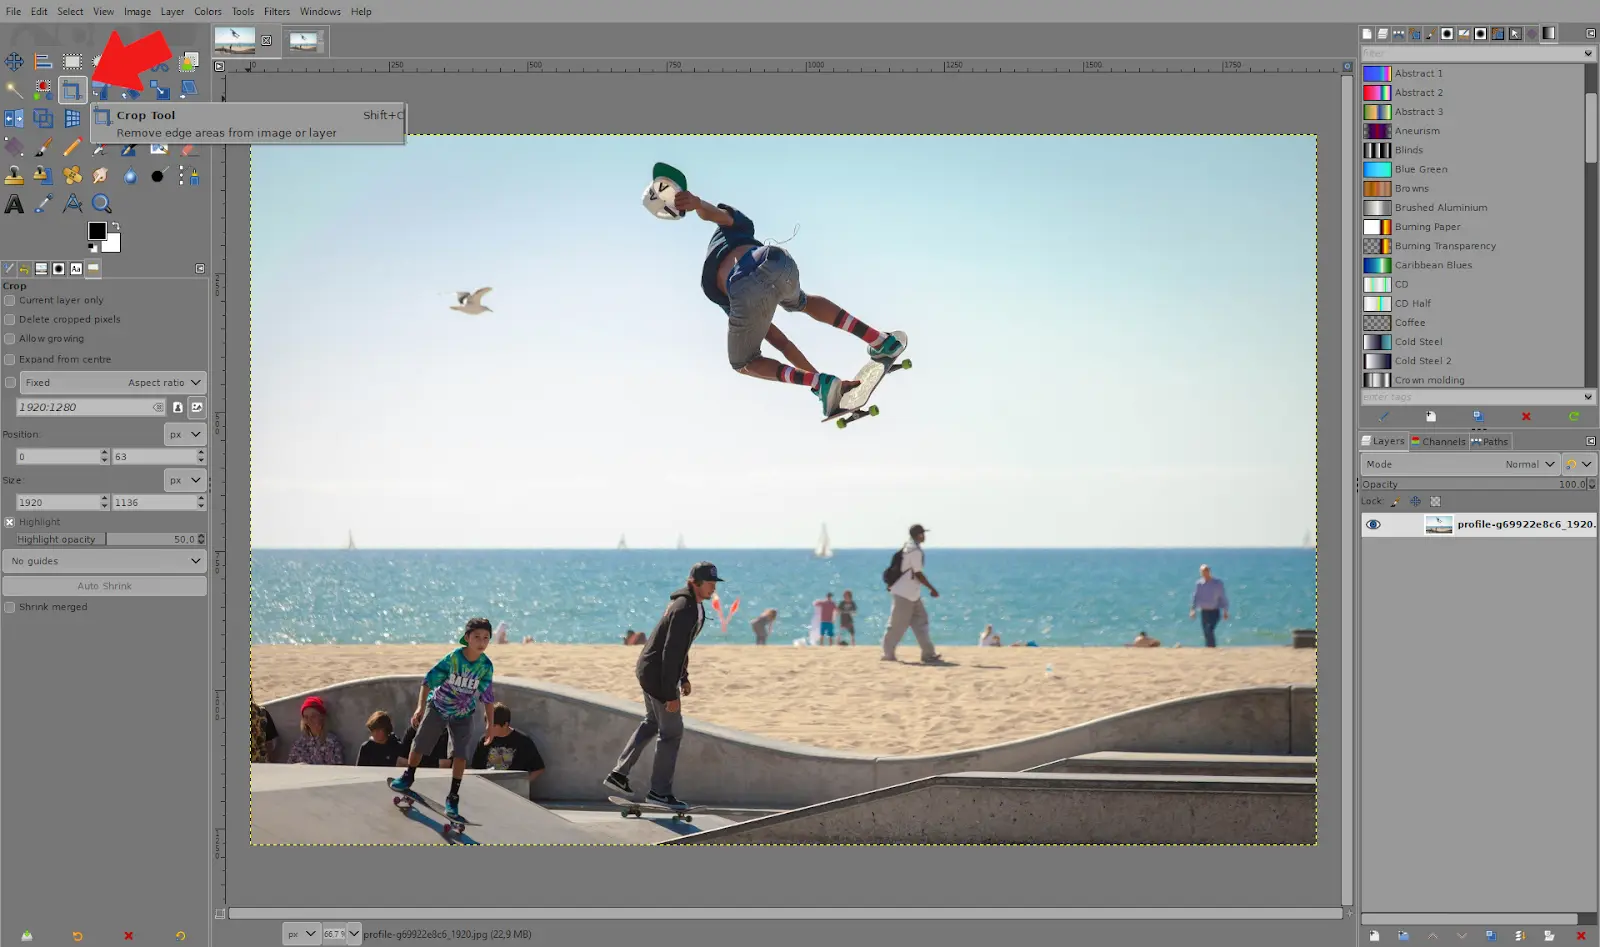
3. Click and hold on the image to choose the area you wish to crop
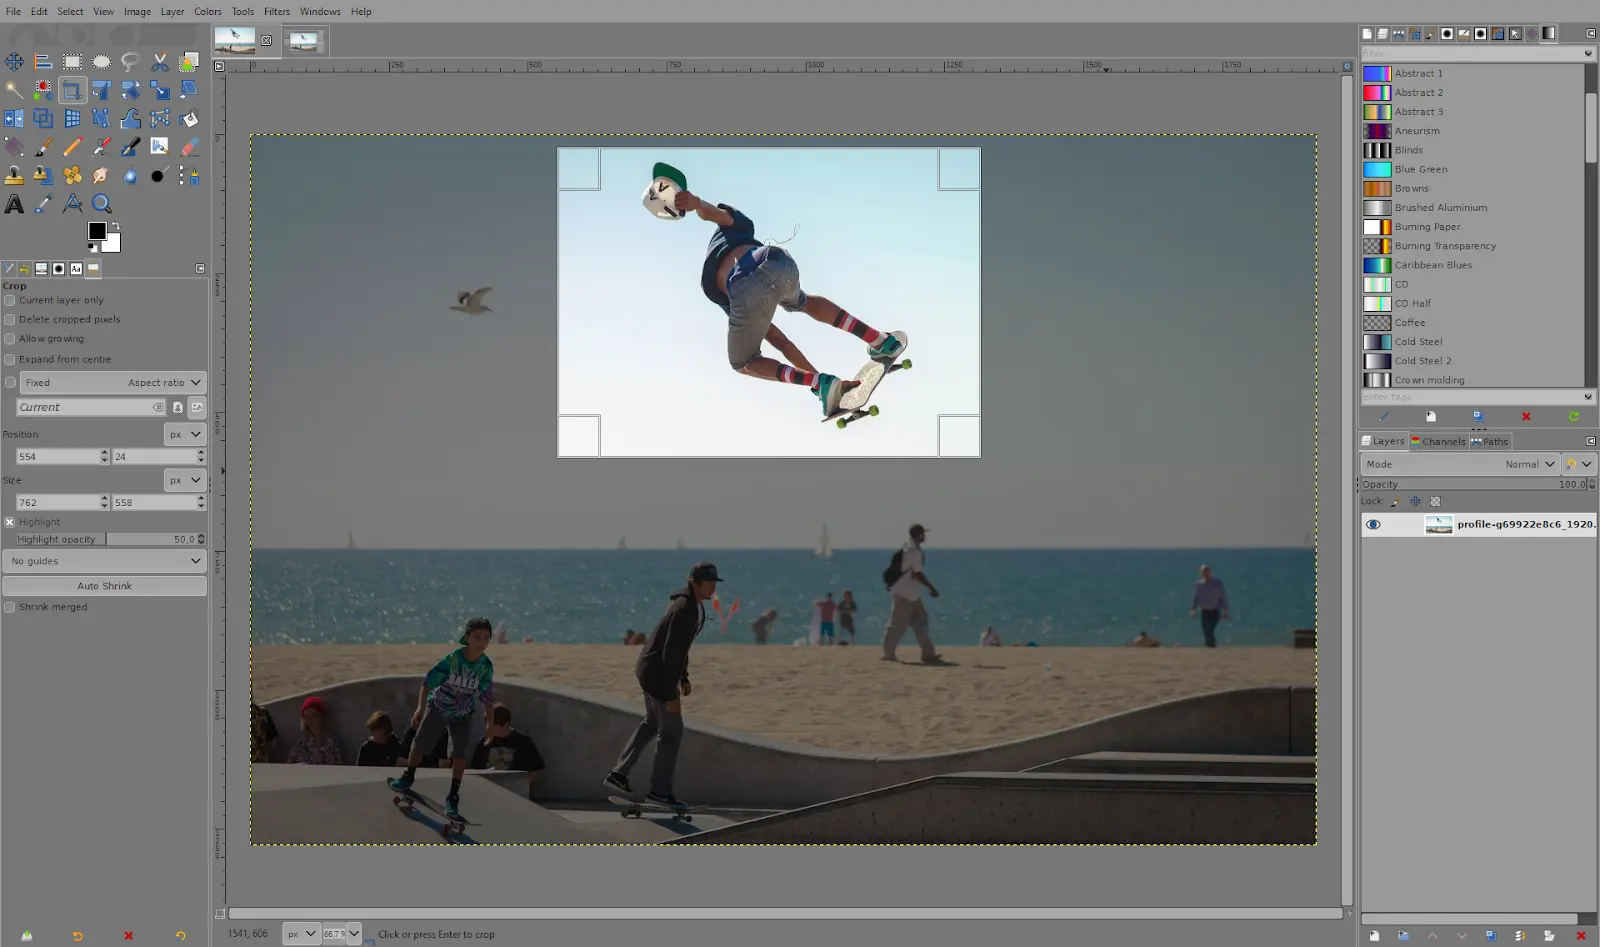
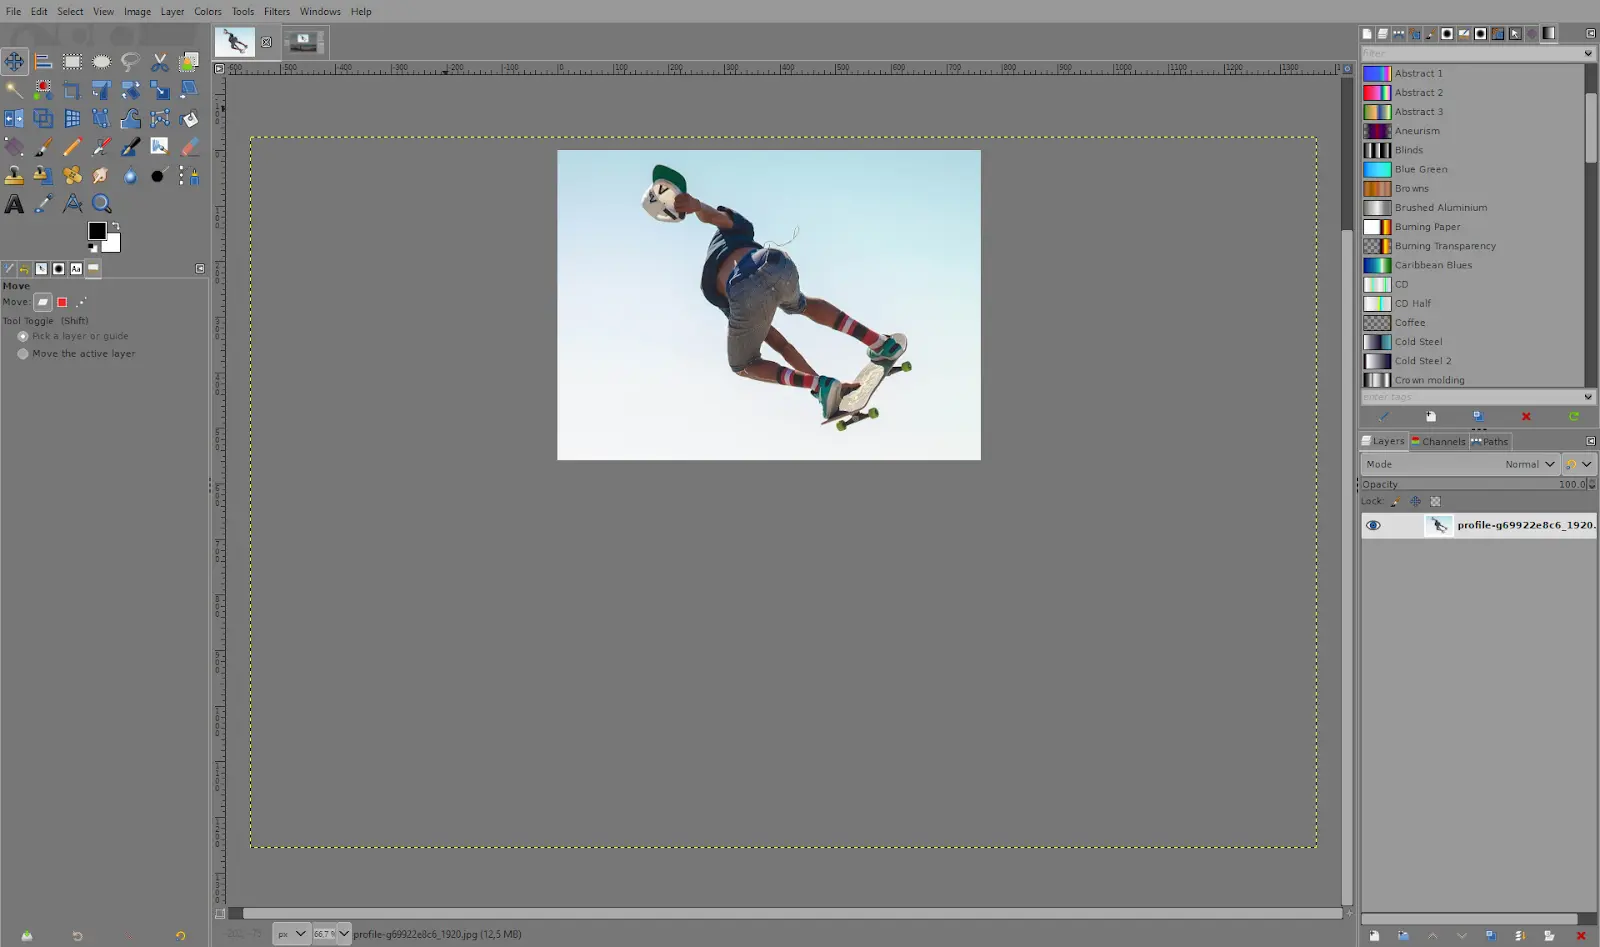
4. Once you are happy with it, press enter to finalize it. Remember that you need to save as JPG when you are done.
How to Crop an Image to a Specified Size
You might want your image to be cropped to a particular size, and using simple cropping tools may not work. Instead, follow the steps below.
Step 1
Start by launching Gimp on your desktop. If you are not sure about how to do it, we’ve written an easy guide on how to start Gimp on your desktop.
Step 2
The next step is to click on “file.” Go to “open,” and choose the image you wish to crop.
Step 3
Choose the “scale image” option, and a new window will open under the “image size” type in your desired height and width.
Step 4
The next step is to insert your desired “resolution.”
Step 5
Finally, click “scale. “
Image Has Irregular Shape? Here is How to Crop It
GIMP has a great tool for cropping off odd picture shapes, which is perfect if you want to remove unusual or irregular image shapes. Below are the steps to take to crop an irregularly shaped image.
Step 1
Start by opening the image that you wish to crop.
Step 2
Go to “toolbox” and click on “paths.”
Step 3
Go ahead to draw freely around the image that you wish to cut.
Step 4
Next, press “enter” and then go to “menu” and click on “edit.”
Step 5
The next step is to click on “copy” and go to the “menu.”
Step 6
Choose “edit” and then choose “paste as.” This would allow you to paste the selection as “New image.”
Leave a Reply
You must be logged in to post a comment.