One of the many features of Picsart is the ability to blur certain parts of an image, which can be useful for obscuring sensitive information or for creating a sense of depth in a photograph. This tutorial will show you how to use the blur tool in PicsArt to achieve a professional-looking result.
How to Blur on Picsart
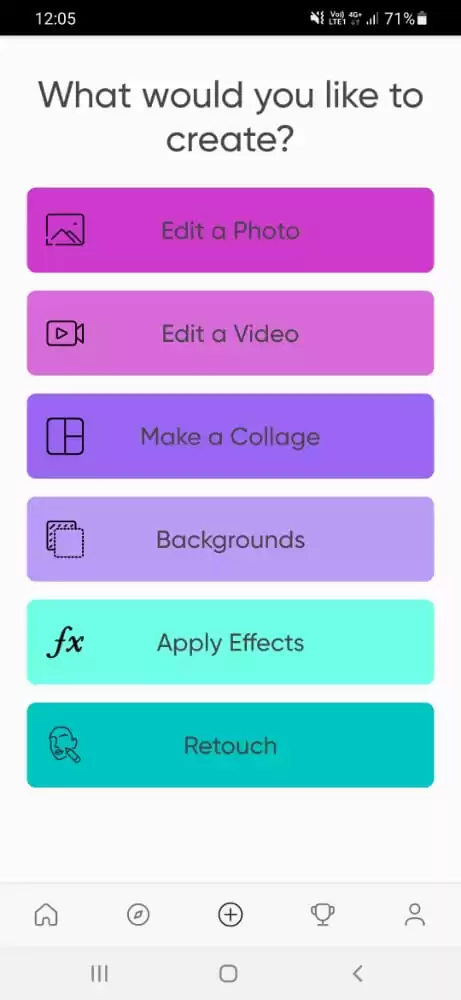
Step 1: Open PicsArt. Click on the Plus icon to add a photo. Select the photo from the gallery.
Step 2: Click on Effects and then Click on Blur.
You can do simple blur, focal blur, radial blur, lens blur, smart blur, and motion blur.

Let’s do the Simple Blur. You can click on eraser to erase some parts which you don’t want to be blurred. You can erase the area manually.

When you click on ERASER, you will get a few tools below: Select, Restore, erase, shape, and invert. If you click on the select tool, but only want to blur the background, you will need to click on a person/object and then click on invert. Remember that you can always use the eraser tool to erase on Picsart.
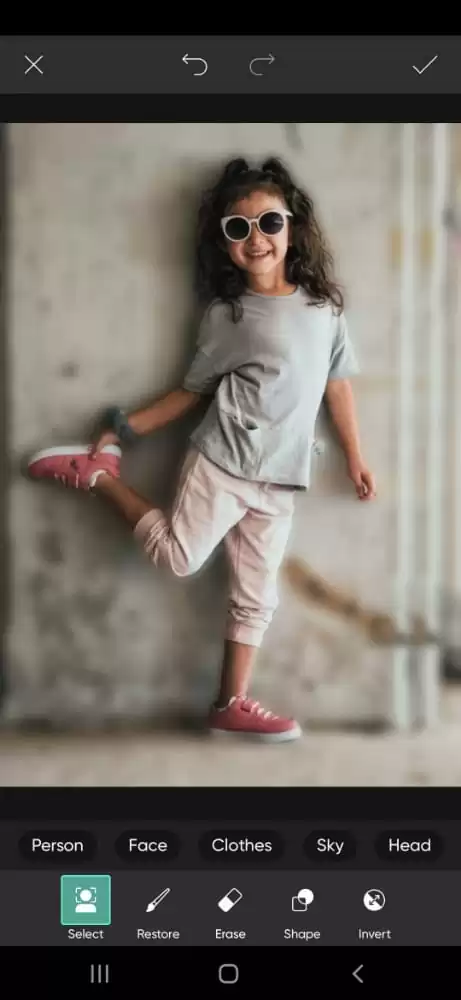
Now your person/object is in focus, but the background is blurred.

Your blur photo is ready. It’s time to save the image.
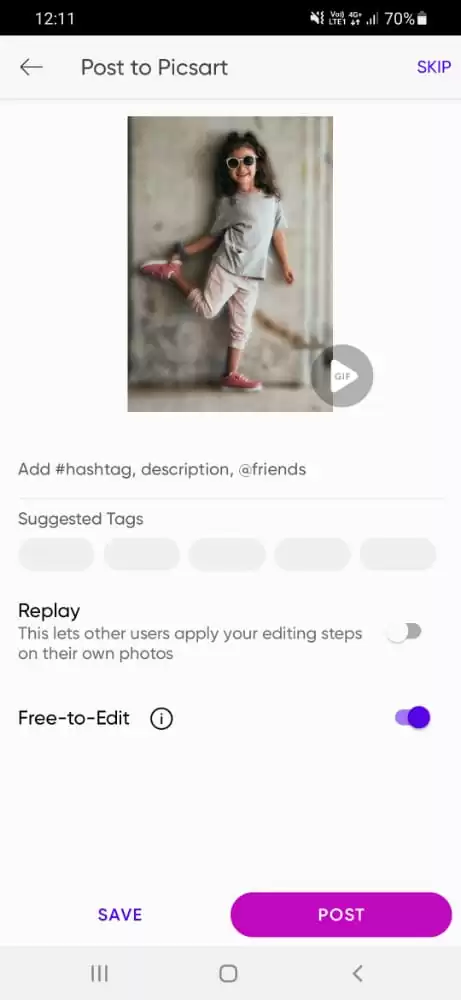
Click on Save to save. It will save on your device.

Your edited photo will be saved in your phone’s Gallery.
Blurring Faces in a Photo Using Picsart
Sometimes, a blurred face in your photo is all you need to make that picture outstanding. Blur helps you draw your viewer’s attention to the photo’s main subject. If you want to learn how to blur a face using Picsart, follow the steps below.
Step 1
To upload your photo, use the PicsArt app and click the plus sign.
Step 2
To see the selection tools, tap on Tools and then Selection. The section you want to blur will be selected here; a face will be blurred out in this scenario.
Step 3
Select must be tapped before Face. The Face in your shot will be automatically selected by the Picsart AI tool and highlighted in red.
Step 4
To access the Selection of PicsArt’s blur tools, tap Effects in the top menu and select BLUR. Choose your preferred blur filter. There are different types of Blur: Focal Zoom, Radial Blur, Lens Blur, Smart Blur, and Motion Blur. The chosen Face in your shot will be blurred as a result. Remember that you can manually modify the blur settings by tapping and holding on any available ones.
Step 5
When happy with the blur face effect, tap Apply to save. The next step is to tap Next to save and export your shot or share it online after blurring out a face. If some of steps I’m giving you are a bit difficult for you to understand, then you need to quickly take our crash course on how to use Picsart.
How To Blur Part of a Photo
Sometimes you only want to obscure a portion of the image rather than the entire thing. This is frequently done to draw viewers’ attention to a particular image area and prevent them from being diverted by other details.
You could choose to blur a person’s Face on a swing to draw the viewer’s attention to the silhouette and allude to vertigo that swinging is known to bring. Remember that blurring a portion of a photo is a very direct artistic intervention.
Step 1
Click + to import your photo into the PicsArt app after opening it.
Step 2
To choose the area of the photo you want to blur, scroll across the bottom toolbar and hit Tools, then Selection.
Step 3
There are various tools available that you can use to choose the portion you want to blur based on its shape. To have Picsart AI Select feature automatically find certain areas of your image, tap Select.
Alternatively, you can tap Oval to blur anything rounded and Rectangle to blur something rectangular. The shape will typically not fit into any categories, so you’ll need to touch on the Lasso or Brush to draw a circle around the area you wish to blur.
Step 4
Now that the region you want to blur out has been highlighted in red go to Effects on the top menu, select BLUR to open, and use the appropriate PicsArt blur filter for your project. This will produce the desired blurred effect on the area highlighted in your photo.
Remember that the blur app tool allows you to modify the blur parameters further. Tap and hold the filter to manually modify the blur effect to your preferred level if you want to make further changes. When you’re through modifying the filter, tap Apply to save your changes.
To save and export your shot or to instantly upload it to your social networking networks, select Next.
If you enjoyed reading this piece, we recommend that you see how to remove background from images using Picsart.
Leave a Reply
You must be logged in to post a comment.