
On Procreate, blending has proven to be a challenge for many individuals. Finding the perfect set of tools to assist you can be challenging because many brush libraries are available.
Choosing the correct blending brushes can affect the texture and outcome of your artwork. Some practice may be necessary to master the art of harmonious color blending. This article will explain how to blend using procreate.
What is the Procreate Blending Process?
Blending in Procreate is the act of combining two colors.
Depending on the context, these colors might be similar or complementary. The effect of mixing can help your artwork recover its individuality and stand out. This is why Procreate offers a variety of color-blending techniques.
Let’s begin the process of blending on Procreate right away now that you know what it is.
SEE: How To Trace on Procreate
The Blending Process
Procreate offers a variety of blending techniques. They all, of course, have their fair share of pros and cons. Your Procreate on iPad user experience is very important. For instance, using Apple Pencil rather than a third-party graphics pen for drawing is a major plus. A high-performance iPad Air or iPad Pro makes sense if you work with numerous layers of content.
Method 1: Using the Smudge Tool to Blend
The Smudge tool in Procreate is the simplest method for producing a blending effect. By clicking on the hand icon in the top right corner, you can change to this tool. Alternately, you can press and hold to smudge the brush you’re now holding.
The Smudge tool will blend the same no matter how you apply it. However, utilizing it with the brush you already have can help the mix seem better and more seamless. Follow these steps to use the smudge tool effectively:
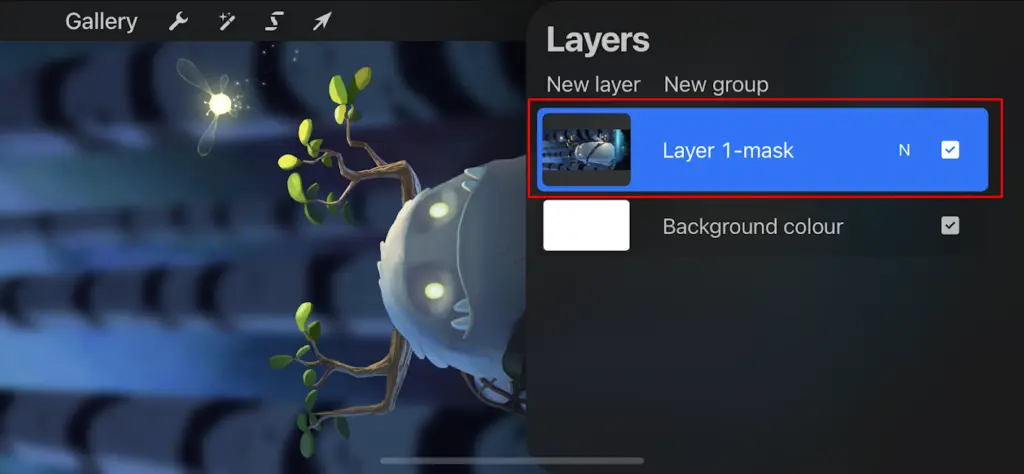
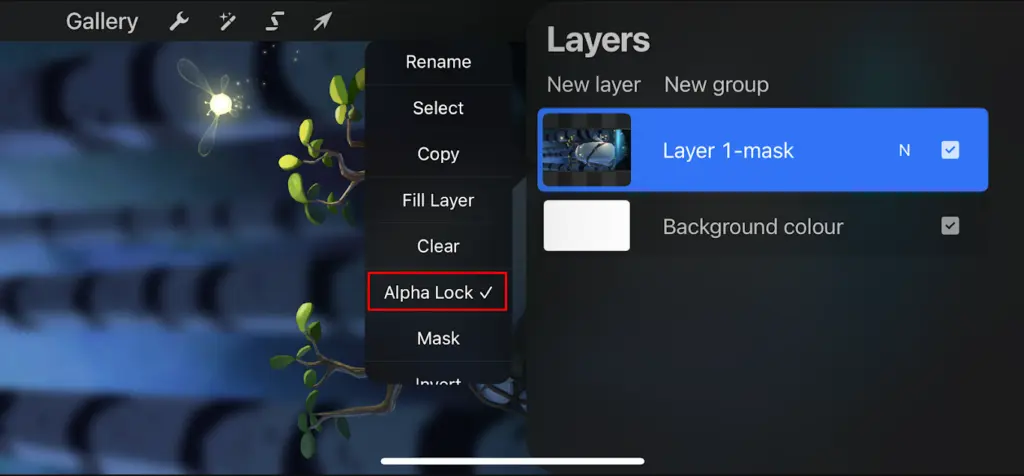
Alpha-blocking or using a clipping mask on several levels with numerous layers of what you wish to mix should be painted on one layer. By doing this, you may avoid blending outside of your drawing and be much more precise.
Start feathering the drawing after choosing the Finger tool. If you’re using an eyeshadow blend, start with a color and blend. Start in the middle of the two colors and work your way left to right in shorter strokes if you want an even mix.
When combining colors, remember that related hues will produce the best-looking result. These are not complementary colors that are opposites but rather colors that are close to one another on the color wheel.
SEE: How To Add Fonts In Procreate
Pictorial Guide:


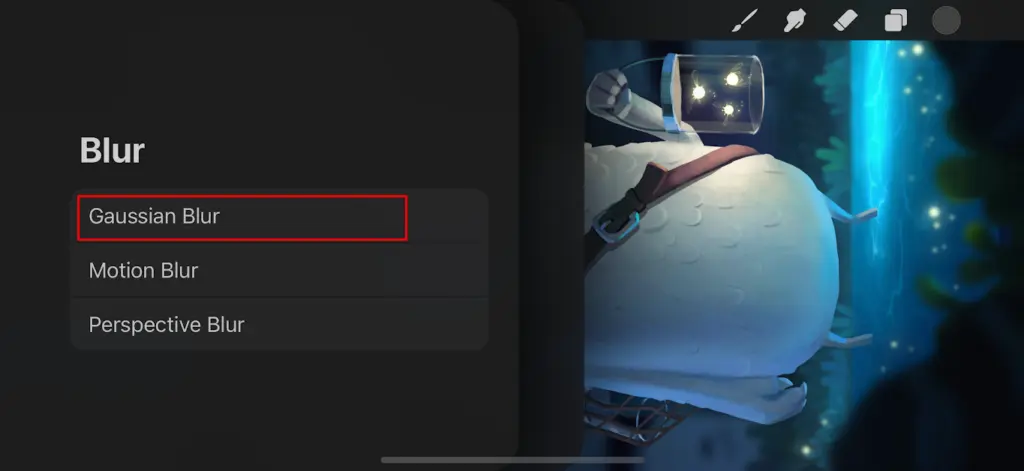
Method 2: Using Gaussian Blur to Blend in Procreate
The Gaussian blur tool is an additional blending option. This tool is helpful in various circumstances because you can use it to blur the entire layer or just the areas you draw with a pencil.
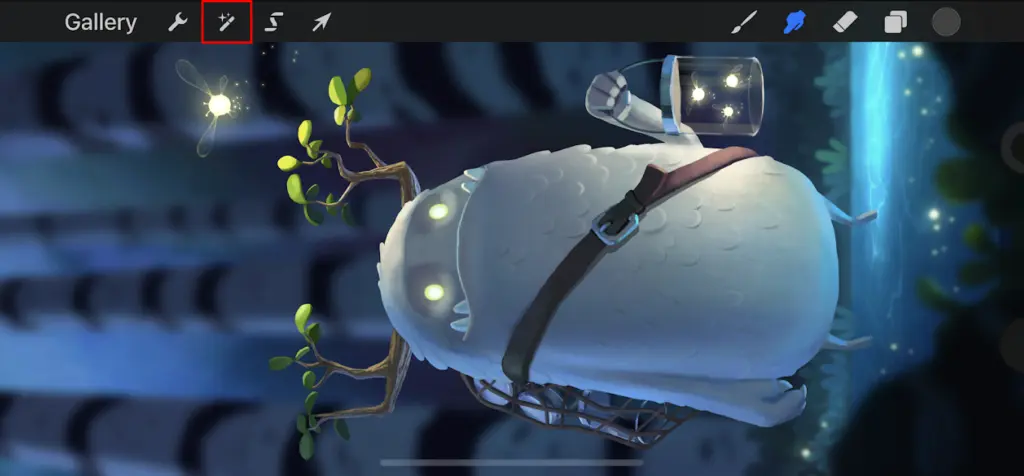
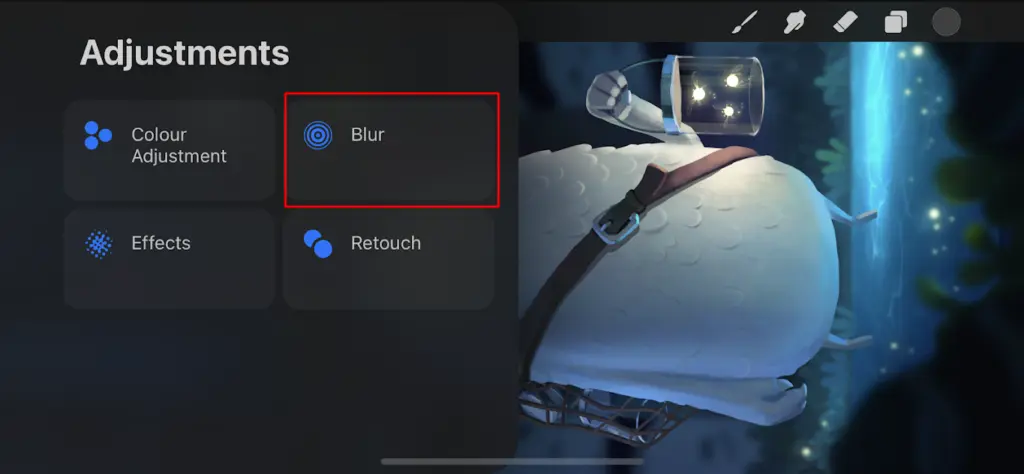
To access the settings window, click the magic wand icon in the top left corner of the screen.
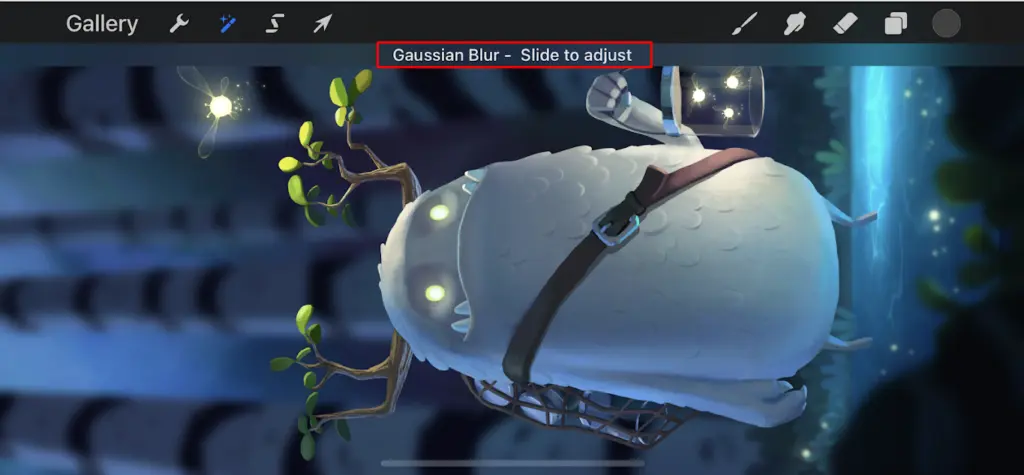
To blur an entire layer, select Layer from the Gaussian Blur section. To blend what you’re sketching, select Pencil.
The layer to be blended will be chosen if you choose “Layer.” Next, mark the area you wish to blend with a pencil.
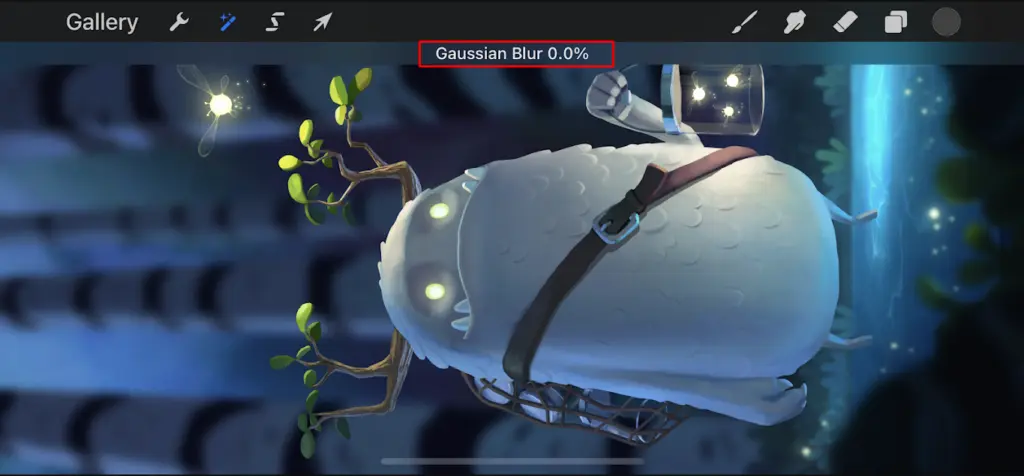
Swiping up or down the screen will allow you to alter whether the blur is more or less obvious. The fraction of the blur that is visible rises as it is raised, and vice versa.
Gaussian blur can offer straightforward blending, and altering the level quickly might be helpful.
Pictorial Guide:

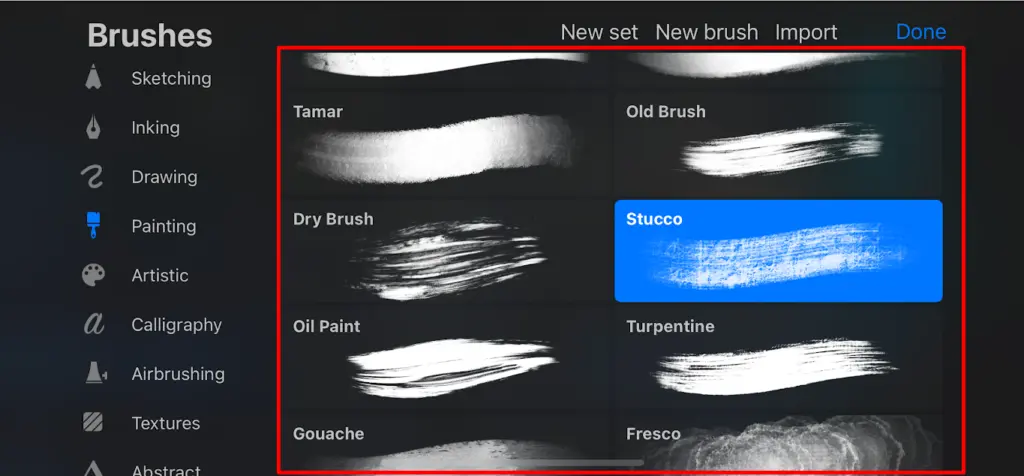
Method 3: Using Brushes to Blend
Maybe you want even more control over the appearance of your blend. Did you realize that employing brushes alone can help you create excellent, controlled blending? Try it the next time you need to blend. Do the following to achieve this:
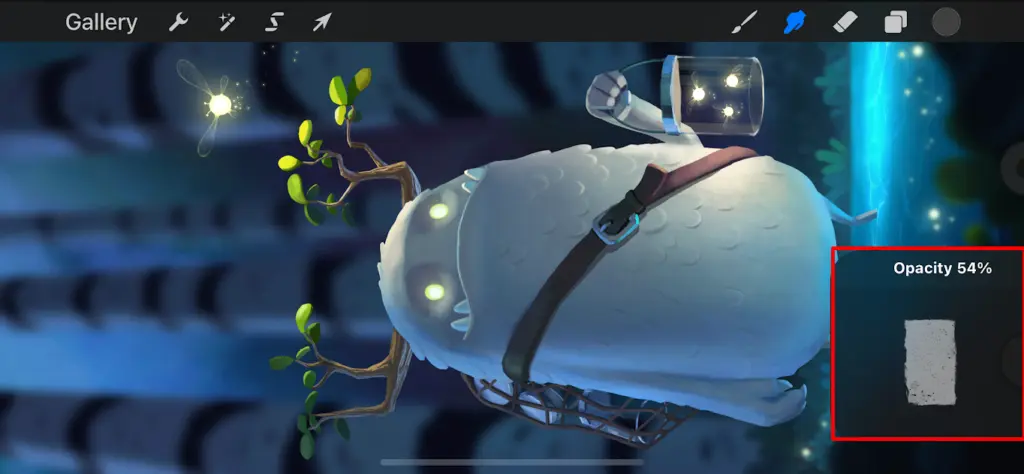
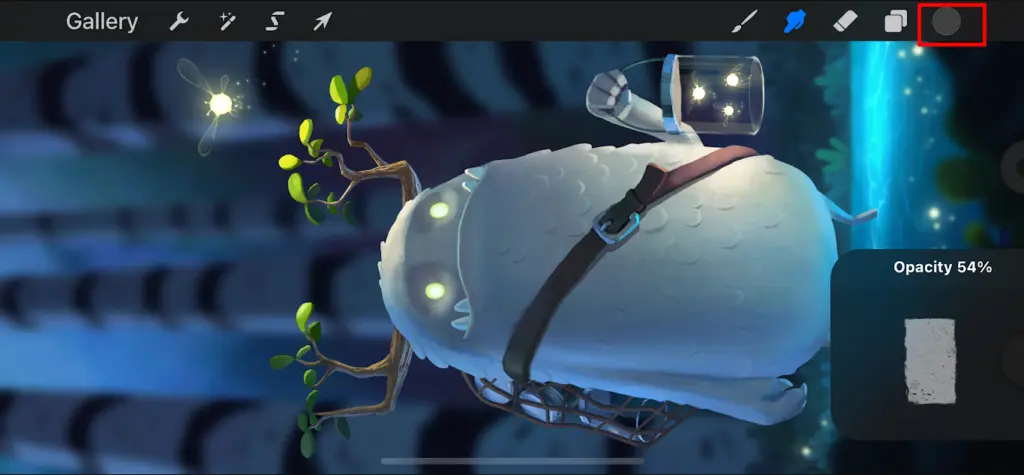
Choose the brush you want to use for blending.
Set the left slider panel’s bottom opacity slider to a low setting.
Choose the color you want to use as the blending color, then lightly sketch with it in the desired blending direction.
Using blending brushes reduces the possibility of inaccuracy and enables precise mixing. Additionally, you can alter the brush settings to create various effects.
Pictorial Guide:

Blend Modes in Procreate
Tap the letter corresponding to the blend mode on the right side of any layer thumbnail to alter the blend mode, also known as the layer opacity.
SEE: How To Make Stickers In Procreate
Darken
- Multiply: Excellent for eliminating whites or creating shadows.
- Linear Burn: Less saturated than Color Burn but darker than Multiply.
- Colour Burn: Greater saturation in the mid-tones and fewer highlights than in Multiply, making it darker.
Lighten
- Lighten: The image retains pixels in the selected layer that are lighter than those in the levels below them.
- Screen: Where the layer mixes with the pixels below, it lightens the layer. The opposite of multiply, the screen is excellent for eliminating darkness and for creating glow effects.
- Add: Screen-like, but with a far bigger impact.
- Color Dodge: more radiant than “Screen”.
Contrast
- Overlay: combines screen mode on lighter pixels and multiplies on darker ones.
- Hard Light: Utilizes the intensity of the specified layer and is comparable to Overlay.
- Soft Light: Overlay applied at half-strength
Difference
- Exclusion: Compared to the Difference blend option, it creates an effect similar to a photographic negative but with less contrast.
- Difference: Has a negative effect concerning the layering difference.
- Subtract: Subtracts the color of the specified layer from the colors beneath it.
Color
- Hue: Combines the blend color’s tone with the underlying colors’ luminance and saturation.
- Saturation: The result color combines the saturation of the chosen layer with the luminance and hue of the layers beneath it.
- Color: The hue and saturation of the chosen layer are combined with the luminance of the layers behind it to create color.
- Luminosity: The luminosity of the chosen layer is determined by this mode, which uses the color and saturation of the layers beneath it.
Leave a Reply
You must be logged in to post a comment.