Have you ever watched a video that seemed to flow seamlessly from one scene to the next? You can thank transitions for that! In this article, you’ll be learning how to add transitions in Davinci Resolve so that you can take your videos to the next level.
We’ll walk you through the process step-by-step, so you can create stunning transitions that will leave your audience in awe. So, let’s roll up our sleeves and get started!
Adding Transitions – The Process
You should be aware that Resolve has five main types of transitions. However, there are only three major kinds. Each one may have a different impact on the flow of your film, so let’s attempt to figure out which one is ideal in each case.
- Dissolve: One of the most iconic cinematic transitions. A shot fades into the next one, or a dark screen appears.
- Iris/Shape: Shot B progressively masks out Shot A, forming a circle or any other shape you can imagine until it takes over the entire screen.
- Wipe, Motion: Shot B moves away from or covers Shot A.
While several alternatives are available, the essential thing to remember is to stay consistent. Transitions should not be a one-time-only method since they will stand out to your viewers. Your transition selections should be part of your editing style, meaning that if you use a transition once, you should use it again or extensively throughout the film.
Let’s look at how to use these preset video transitions in DaVinci Resolve.
Also read: How to cut clips in Davinci resolve.
Import Your Video Into DaVinci Resolve
Enter your video content into the media pool using the keyboard shortcut Cmd + I. The video may be dropped from the Finder’s window by dragging it there.
Timeline Creation And Editing
It’s time to start a new timeline after that. The simplest method is to choose to Create New Timeline From Selected Clips from the context menu after selecting your clips.
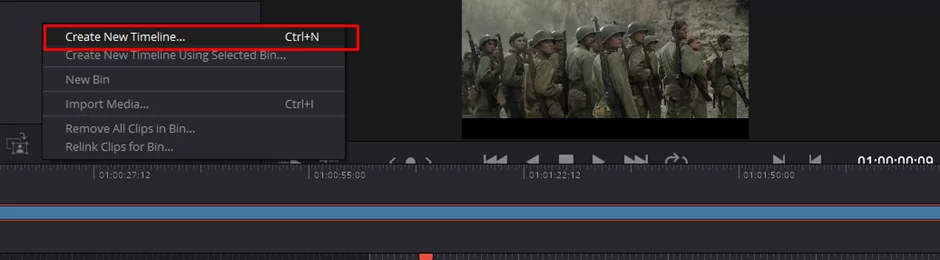
This method of timeline creation ensures that the size and frame rate match those of your clips. When constructing the timeline, choose Use Custom Settings if you want a different configuration.
Then begin working on the Edit tab. You are ready to use the transition once your clips are next to one another on the timeline.
More on Davinci resolve video editing effects, check out this information packed guide on how to crop a video in Davinci resolve.
Use the Transition
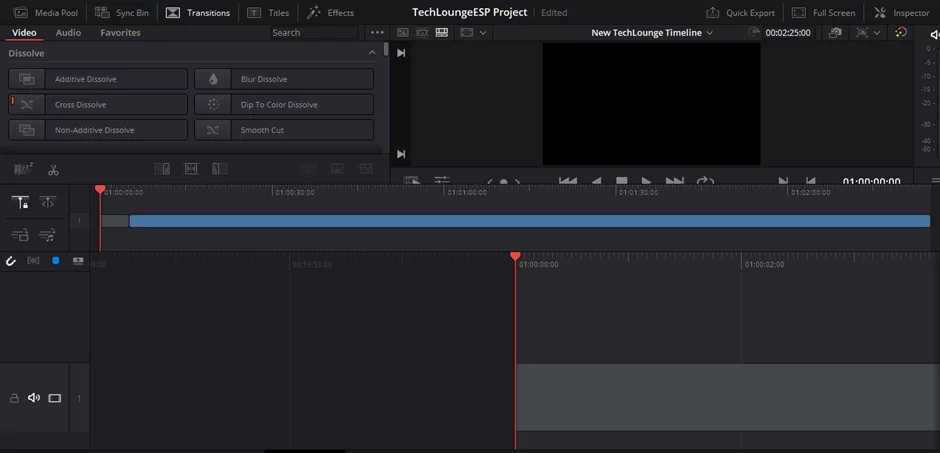
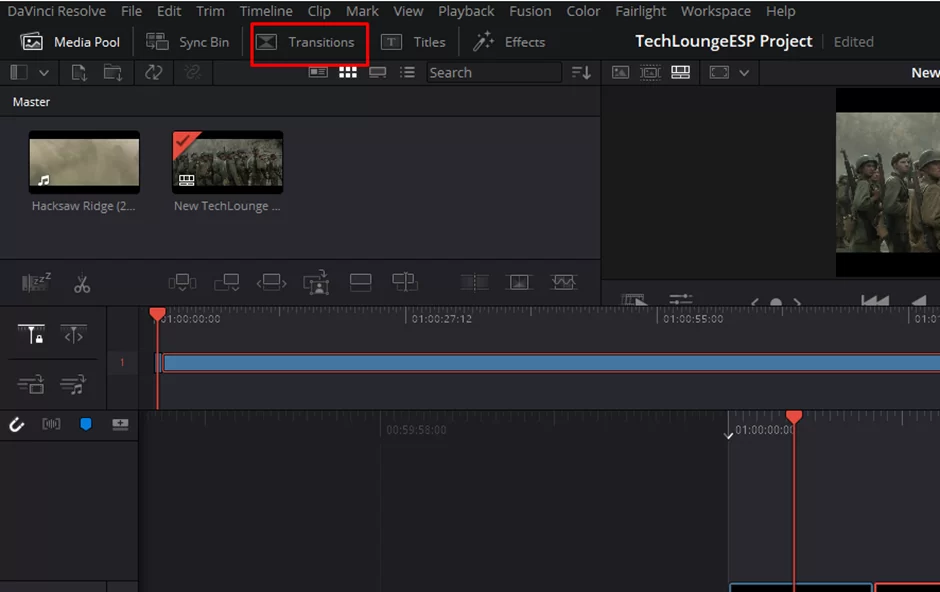
For DaVinci Resolve 17, there’s a menu for ”Transitions”, located on the same line with “Titles” and the “Effects” menu (which is where you can find the Effects Library). It is on the screen’s upper left side, adjacent to the Media Pool. All effects will be visible after clicking on it.
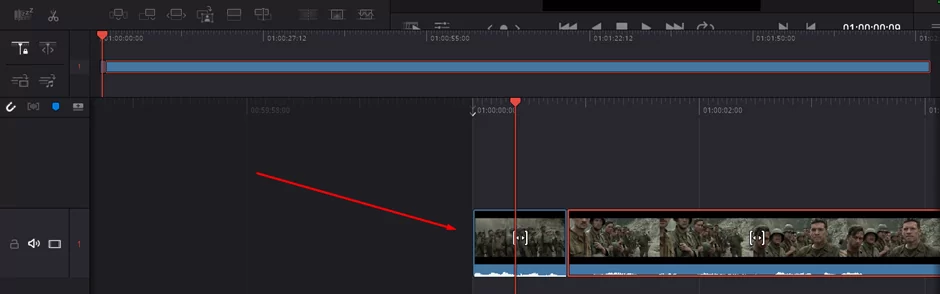
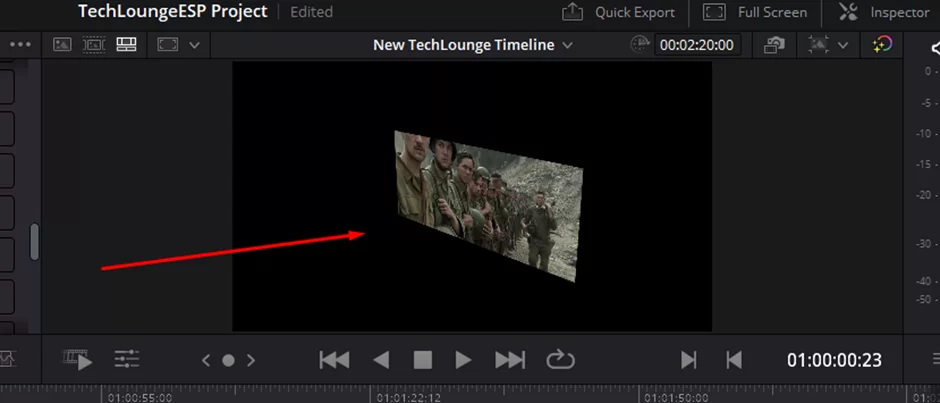
Over the clips in the timeline, drag and drop the appropriate transition. A clear box will show between the clips
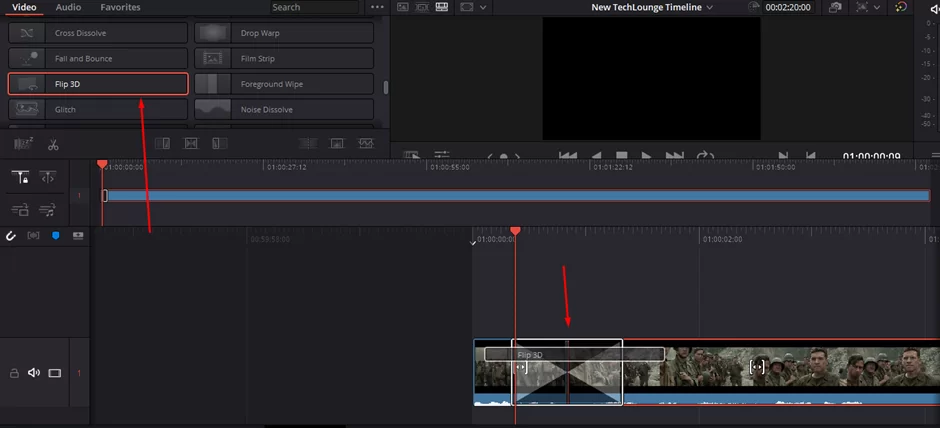
And that’s it! Your transition is complete!
Don’t be alarmed if the white box appears over one clip or doesn’t display. The settings are correct at this time. It simply signifies that there aren’t enough frames in one clip for the transition. The length of the clips must be sufficient.
Make Some Adjustments Where Necessary
Drag the white box’s sides to the appropriate length to change a transition’s duration directly on the timeline. The appropriate time depends on how your edit flows. Watch the sequence from around 10 seconds before the cut, not just the impacted segments, to ensure the transition flows smoothly.
By choosing the transition in the timeline and then clicking the white square button inside the transition, you can also change the timing of the transition. You may modify the transition’s acceleration using keyframes in the curves below.
There is good news for you if visual modifications are inaccurate enough: parametric customization. This is the procedure.
Make sure the Inspector panel is turned on first. By selecting the Inspector symbol in the top left corner of the screen, you may access it. Select your transition after that for the Inspector to provide its possibilities.
Every essential parameter may be changed, including length, style, color, timing, and more. Play around with the choices on this page if you need to figure out what they do if you’re not familiar with them.
You may also like our guide on how to freeze frame on Davinci resolve.
Importance Of Adding Video Transitions
Some of the significant reasons why video editors enjoy adding transitions to their videos include the following:
- The purpose of video transitions is to provide the viewer with a sense of continuity between clips.
- They also contribute to the professional appearance of videos.
- Transitions can indicate changes in time and place or create a smooth flow between scenes.
- They may be applied to videos to represent alterations in mood or sentiment.
- Transitional effects are also helpful in showcasing a video’s primary idea or bringing attention to certain parts of a scene.
Conclusion
You’ve made it to the end of our guide on adding transitions in Davinci Resolve. We hope you found it helpful and feel confident in your newfound editing skills. Remember, practice makes perfect, so don’t be afraid to experiment and try new things. And if you ever get stuck, you can always refer to this article as a helpful guide. Now go forth and create some fantastic videos that will wow your audience with your new transition skills.