Adding text to a video in Adobe Premiere Pro helps to enhance your video content and grab the attention of your audience. If you’re looking to add text to your video in Adobe Premiere Pro, you’re in the right place.
In this tutorial, I’ll walk you through the steps I personally use to add text to my videos using Premiere Pro. I have used Premiere Pro to add text to many different types of videos and have learned a few tips and tricks along the way.
Let’s get to it.
How to Add Text to Premiere Pro
Step 1:
Select the type tool [T]
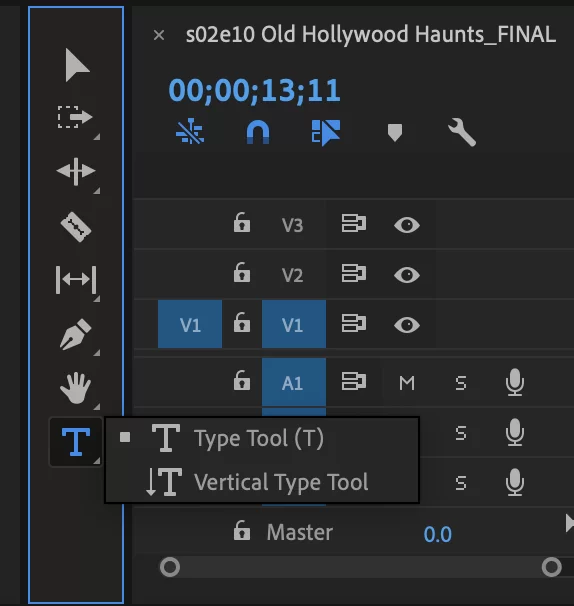
You can add text to a video clip from the Essential Graphics panel, by using the tool or by using the short key for windows [ Ctrl + T ] and Mac [ Cmd + T ]. If you want to customize the text, being in the Essential Graphics panel will be the easiest way to Edit.
Step 2:
Adding a text box
To add text using the type tool, navigate to the toolbar. You need to go to Windows > Tools. Simply click and hold down the Type Tool (T) for a moment and the Type Tool and Vertical Type Tool options will come up.
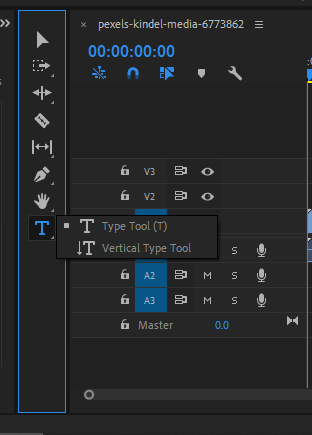
Once you’ve selected the Type Tool, you have the option to simply click anywhere in your program panel and start typing.
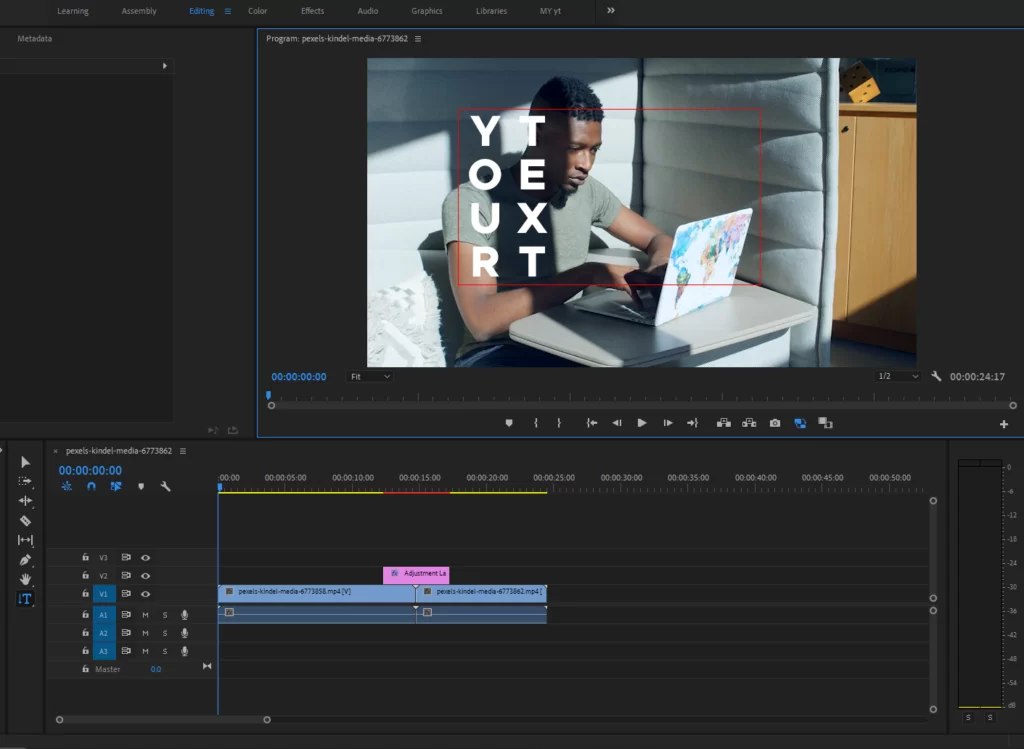
The difference is that creating an actual text box confines your text within the space of the box, which is great if you’re going to be adding a lot of text. Also, as you are learning how to add a text, it is also important to know how to edit a text in Premiere Pro!
Step 3:
Customize the text shape, Size, and color.
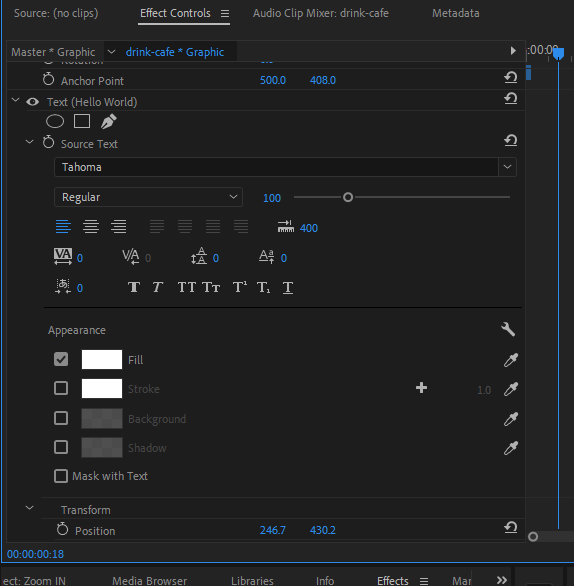
To customize your text size, shape, and color in Premiere Pro, you need to be in the Essential Graphics panel. There, you can find all the text setting options such as shape, color, background color, stroke, size, etc. You can then change color, shape, stroke, etc.
Step 4:
Consider Adding a Custom Font
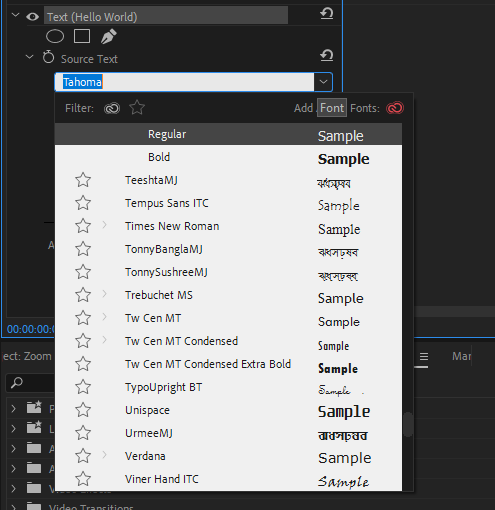
The settings to change your text the font is also on the Essential graphics panel. Here you can change your text font.
Adobe Premiere Pro has a set amount of font styles already loaded in the program. But you might want to use a different font in your project, and premier pro has not had the font. You can install any custom font and use it in Premiere Pro.
How to Add Text Title to Premiere Pro
Titles are similar to text because they’re words. However, they often have a little more personality than texts. Whether it be through animation, 3D effects, or distinctive coloring titles are a good way to go further in your editing prowess.
Step 1
Now, let us look at some steps you should follow when adding a title. First, you want to go to select Windows > Workspaces > Graphics from the main menu or the Essential Graphics panel.
Step 2
Once there, you can look through the ready-made title templates. Look through both animated and motionless ones. Alternatively, you can utilize one of the several Motion Array Premiere Pro title templates.
Step 3
When you have finished creating your text and placed it on the timeline panel, go to Effect Controls to add a rolling or crawling title.
Put the rolling or crawling title below the frame in the middle of the screen.
Step 4
By choosing the stopwatch symbol under Position in Transform, you add a keyframe or marker. After adding the keyframe then you must move the playhead to the desired location for the end of the credits. Move the credits to the last after choosing this.
Step 5
When using the Essential Graphics panel, after choosing the piece you wish to utilize, you can work in the Edit tab to modify and edit the title. The edit tab can be found right next to the Browse tab. Adding a text to Premiere Pro is an essential part of editing.
Check out our in-depth article on how to export to mp4 in Premiere Pro.
Premiere Pro Text Usage Tips
Text in Premiere Pro can be added in at least five different ways. However, there are a lot of ways to use text in Premiere Pro. When you use text in very creative ways, you will be able to engage your audience.
For example, you can use title sequences, which is a way to show your viewers the scene they are going to see in a very creative way. Also, you can use text for opening credits.
Opening credit introduces the film and its creative team. On the other hand, closing credits are used to ensure that the cast and crew have gotten their due credit.
Another way to use text is by adding time and place. Time and place will help your viewers in the story by introducing cities and time stamps. Finally, you can also use dialogue texts to show conversations that may be difficult to understand.
Leave a Reply
You must be logged in to post a comment.