Inkscape usually comes with its own preset font. However, sometimes the font we want is not in the designing software, and we often need to find and import custom fonts to Inkscape.
Adding Custom Fonts to Inkscape
Here, we’ll learn how to add fonts to our Inkscape software.
Follow these steps for adding font:
Step 1: Select the Font you want to Install. You can download the fonts from websites likes https://www.fontspace.com/, https://dribbble.com/resources/best-free-font-websites, FontSquirrel.com because all of their fonts are free for both personal and commercial use.
Open any website
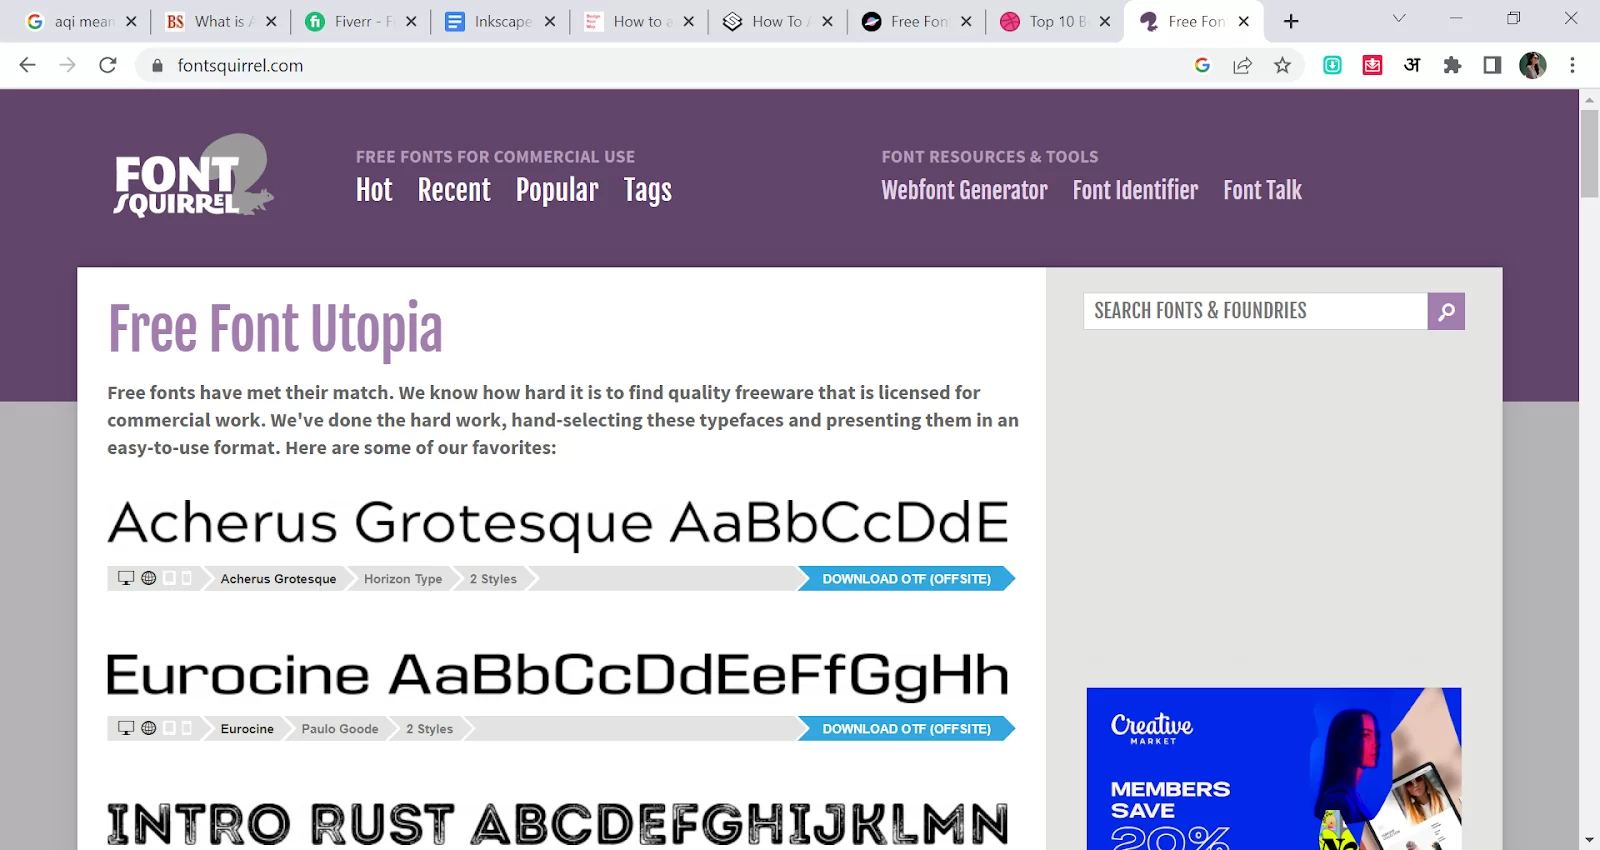
Step 2: The search icon is on the right side. Type your Font name.
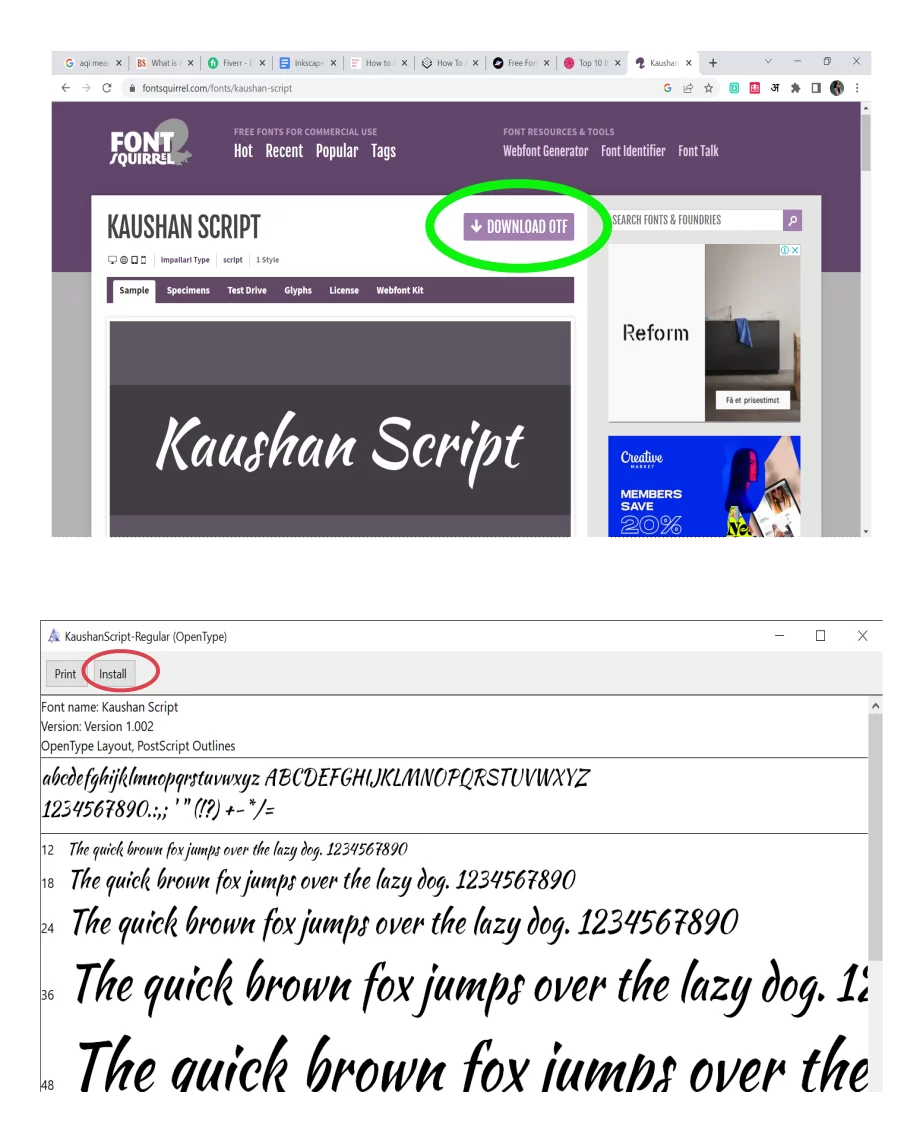
Example Kaushan Font

Step 3: Your Kaushan Script is on the screen.


Step 5: After completing the download, it will be saved in a ZIP folder.

Step 6: Open your File Explorer and Go to the download option.

Step 7: Click on the folder. Look for the font file. It should end with either .ttf or .otf.
Here it is ending with an OTF (Open type font) file type. Do the double-click.

Step 8: A new window will appear. Click on the Install option, which is on the top left side.
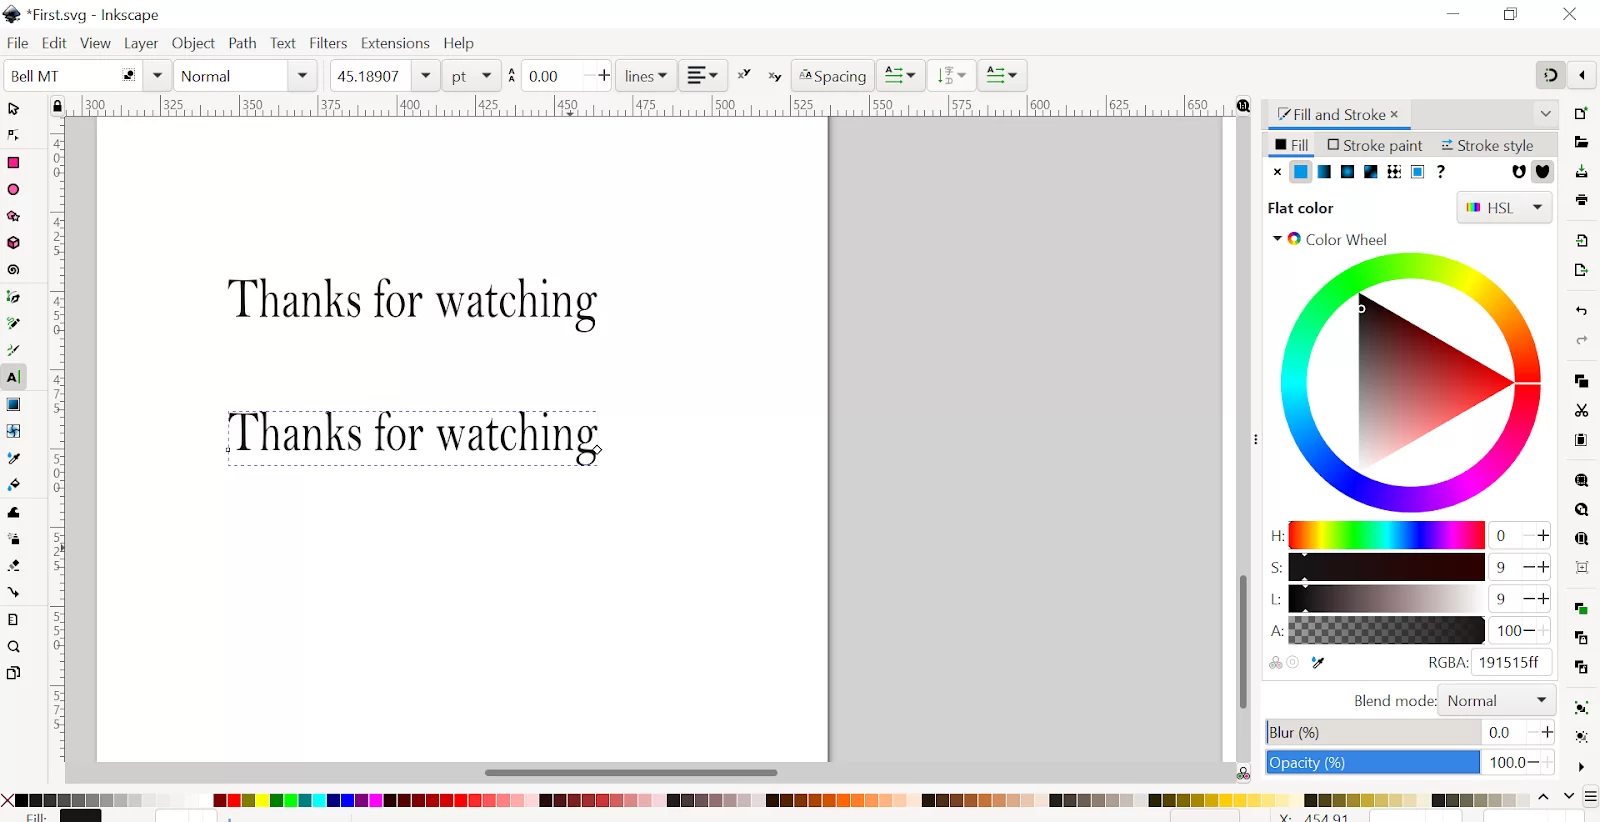
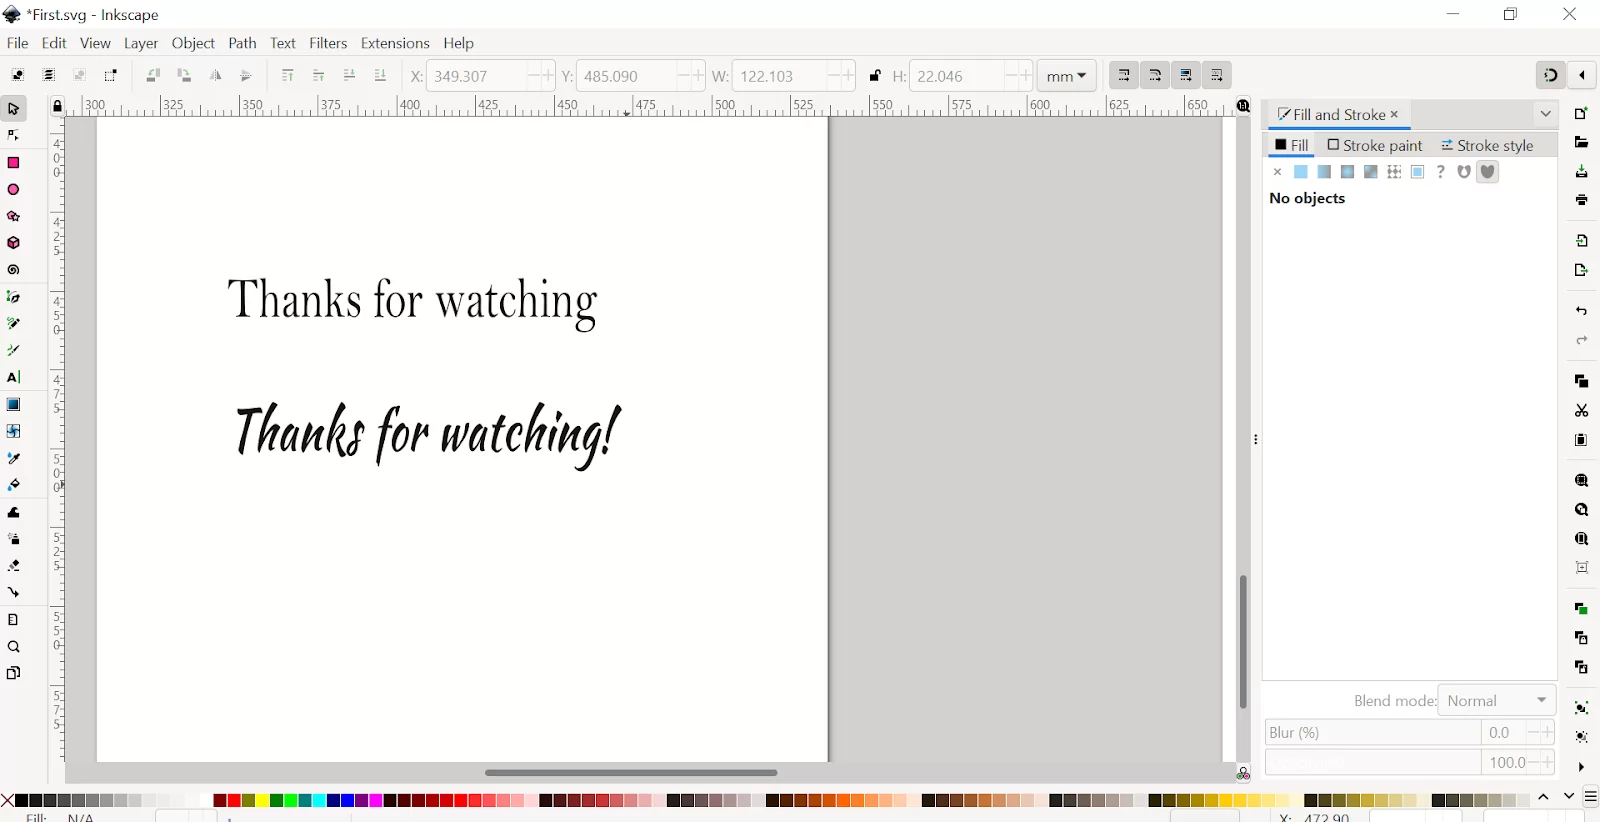
Step 9: Open the Inkscape. Type anything you want.
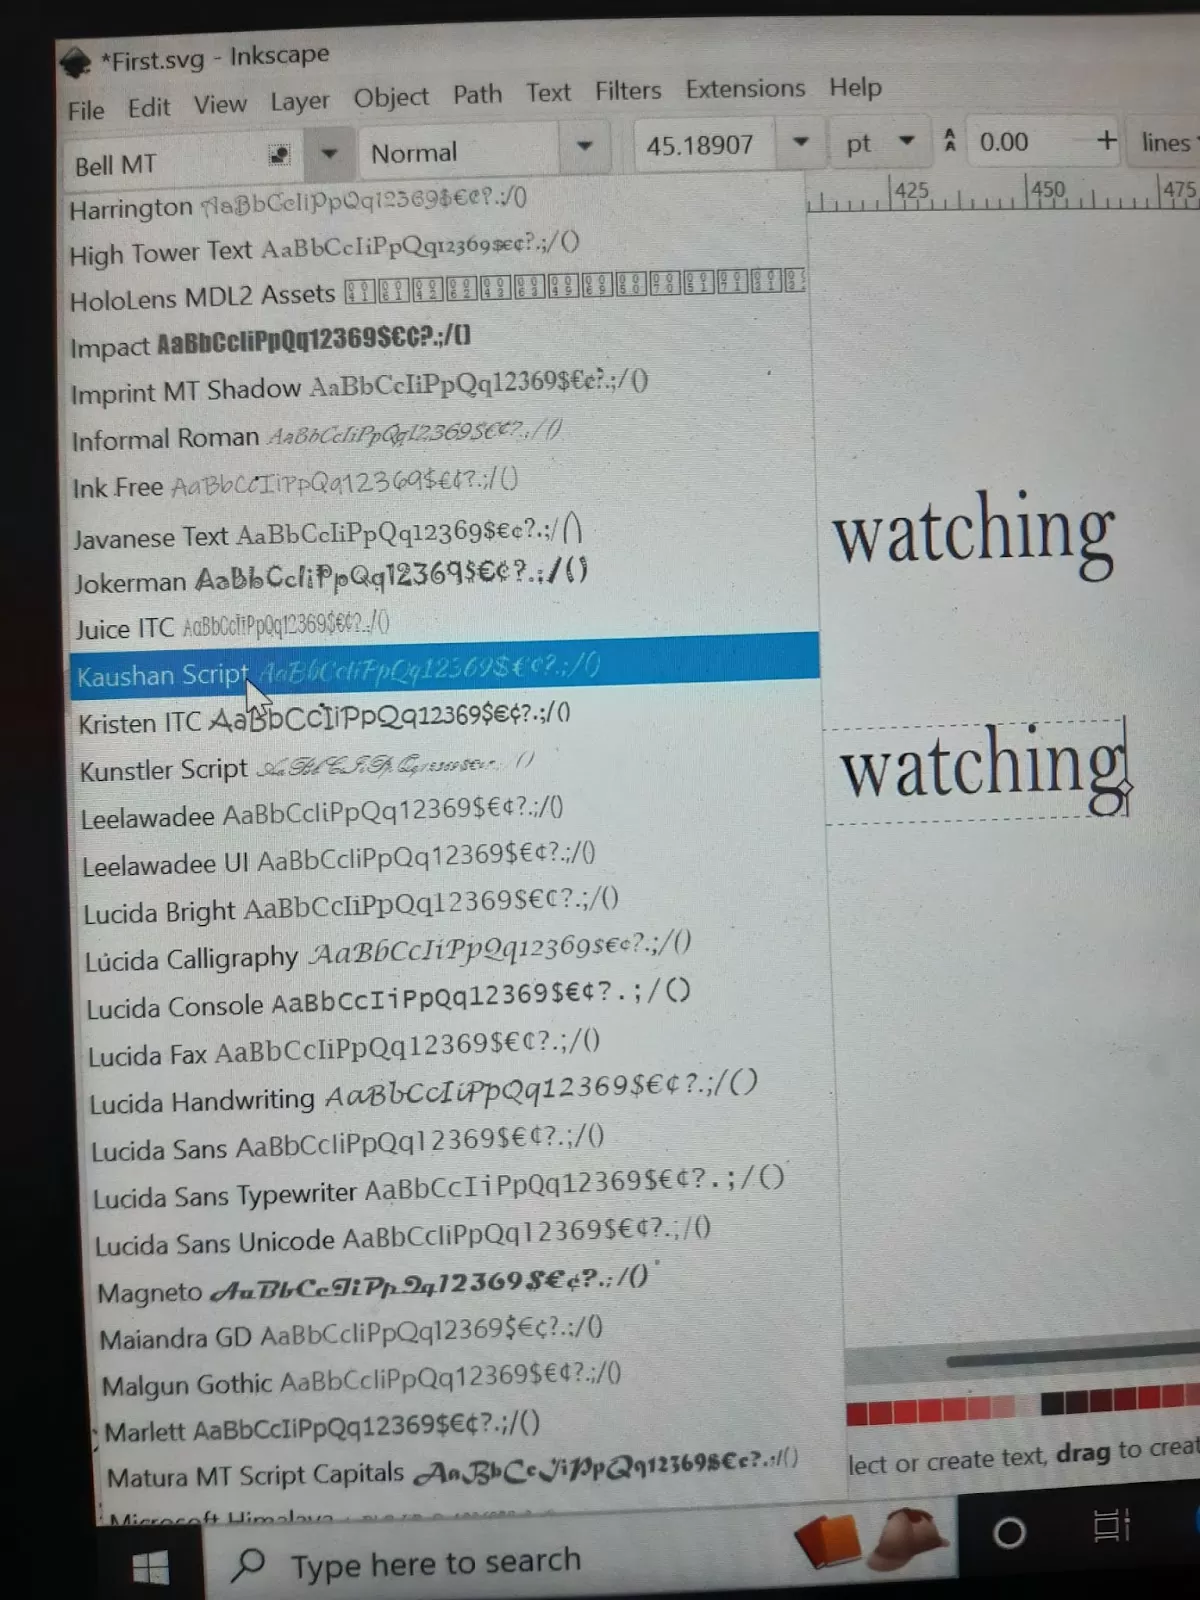
Step 10: Search your downloaded font. In my case, it’s Kaushan Script. See, it’s on the list.
We also recommend that you check our article on how to crop in Inkscape.
How To Add Fonts in Mac Computers
You can easily install each Mac computer user manually if you want to use the fonts only in specific areas. This can be done using the root directory with the user’s name. Now from the user, you have to enter the library folder and then go to fonts. Drag and drop the file that you want to install into the folder.
There are cases where you won’t find the folder manually. This is because the operating system has hidden the folder. You can make the folder visible by going to the finder window. When you are in the finder window, click go to find the folder.
Also, see our information packed guide on how to download Inkscape software.
Adding Fonts To Inkscape Using Font Book
Mac has its unique installer. When you double-click a compatible file, the Font Book program, and locate all the fonts installed on the system, you can view a preview of your fonts for Inkscape from that location. To use the font book to add fonts, click Install to begin.
Finding Fonts and Using its Special Characters on Inkscape
If you have successfully installed your font, you will need to start using its features. To find it within the program, you just have to create any text, look in the font option, and select it. When you select it, you should look in the font option for the characters.
There is also the option to scroll through the entire list until you can find the font. Alternatively, you can use the search engine that can be found in the drop-down menu. The Windows font directory has a few special letters with more intricate PUA-encoded designs. These “special characters” can be used in Inkscape if you have a compatible file. The special character menu will be blank if the font you installed lacks the needed encoding.
How To Fix Missing Fonts in Inkscape
Sometimes you may install Inkscape on Mac, but you won’t see the fonts. This can become a real problem when you need to use fonts quickly. To fix this problem, you have to check the library/fonts—be careful not to change any other files you find in this directory. Follow the steps below to get to the font directory.
Step 1
Open up the finder and hit Command+Shift+G to get to the fonts directory. When the dialog appears, type /library/fonts and press enter. Put any fonts in this folder that you want Inkscape to find. It will be necessary to restart Inkscape for it to locate the fonts. As an alternative, you can open this dialog from the Finder menu. Select Go from the drop-down menu, select Go to Folder.
If you liked reading this guide, you may also enjoy reading our step-by-step guide on how to curve text in Inkscape.
Leave a Reply
You must be logged in to post a comment.