Unswirling a photo on PicsArt can help you fix distorted or skewed images and achieve professional-quality results. Whether your image has been affected by camera shake or lens distortion, the Unswirl feature can help you fix these issues and create a more balanced and pleasing final result.
One of the biggest benefits of Unswirling a photo on PicsArt is its ability to correct distorted or skewed images. By using this feature, you can fix issues such as keystone distortion, which can make your images look unnatural and unbalanced. This can help you achieve a more pleasing result.
Using the Unswirl a photo feature on PicsArt, you can create more balanced and composed images. You can also straighten and align your images, you can ensure that your final image is perfectly framed and composed.
Unswirling an image is very easy to do, and I’ll show you how in just a few simple steps.
How to Unswirl a Photo on Picsart
Step 1: Import an image in PicsArt.

Step 2: Go to the Tool option.
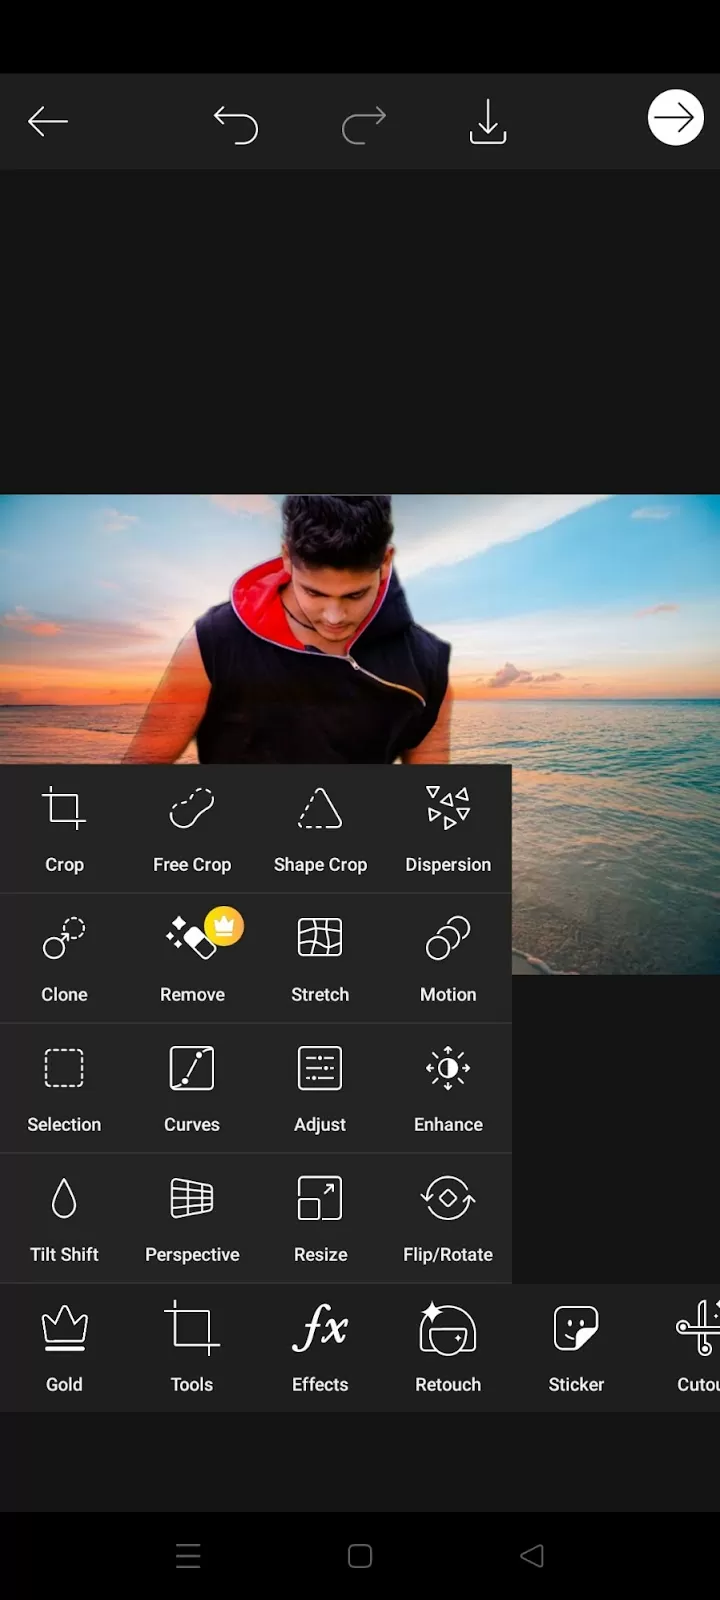
Click on the Stretch option.
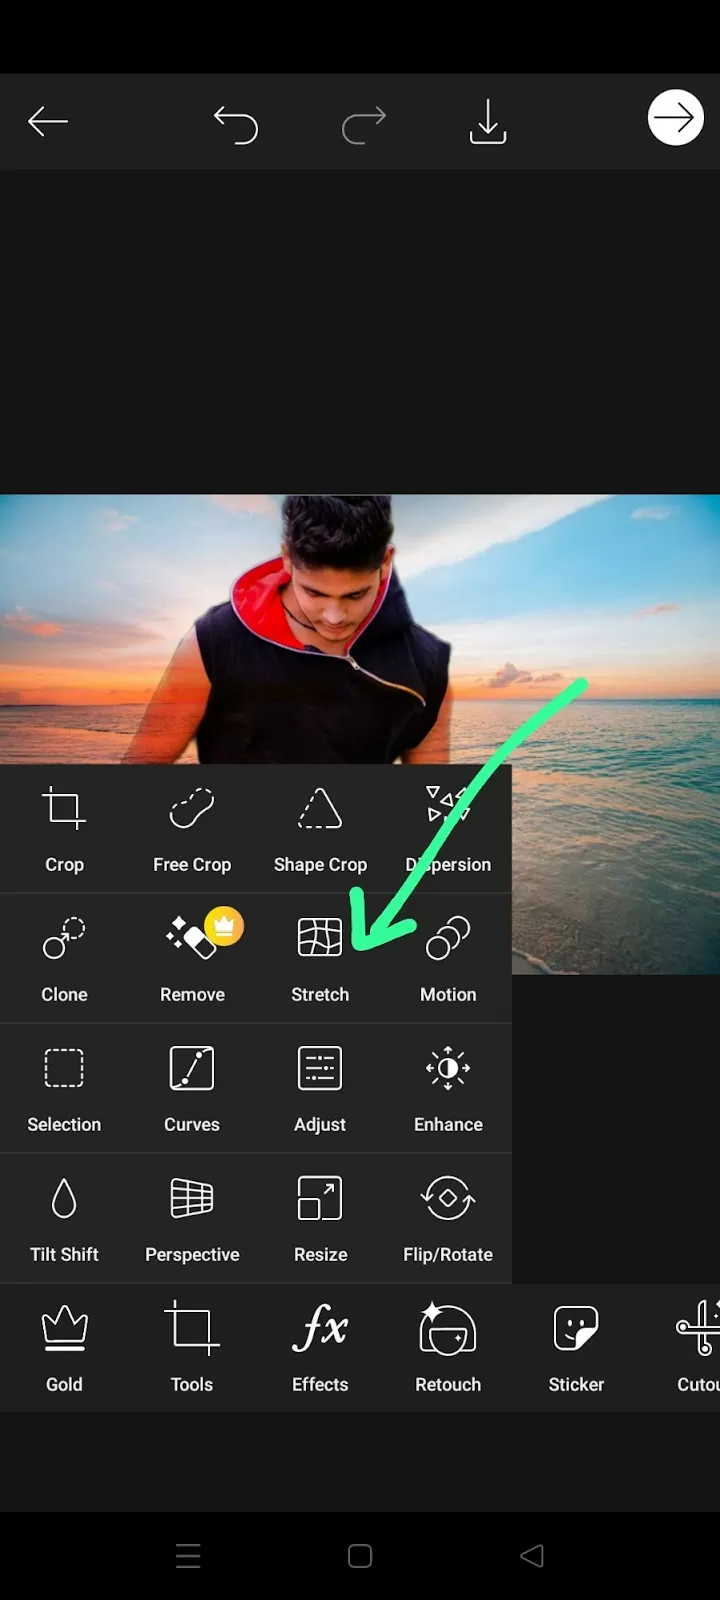
You will find your Swirl tool in the stretch option like Swirl CCW and Swirl CW.
You can see in the image that the lake is normal and there are no waves. When you click on the swirl, drag your finger to the image where you want to swirl.

The lake is now swirled.

Tap the “Tick” icon once you’re done with swirling.
For unswirl, click on Restore and drag again on the Image.

Tips for Unswirling a Photo on Picsart
Here are some tips for successfully unswirling a photo using Picsart:
- Start with a high-resolution photo: The higher the resolution of the photo, the better the unswirl effect will be.
- Use the zoom feature: Use the zoom feature to focus on specific areas of the photo that need to be unswirled. This will give you more control over the effect. If you are not sure about how to use the zoom feature, then read our crash course on how to use Picsart.
- Adjust the intensity of the unswirl effect: Use the slider to adjust the intensity of the unswirl effect to achieve the desired result.
- Use the eraser tool: Use the eraser tool to remove any unwanted areas that may have been affected by the unswirling.
- Experiment with different settings: Picsart offers different settings for unswirling, such as “strong” or “mild,” so try experimenting with different settings to see which one works best for your photo.
- Use the clone tool: Use the clone tool to copy and paste the unswirled effect to areas of the photo that were not affected by the unswirl effect.
- Save your progress: Always save your progress frequently to avoid losing your progress.
- Save the final image in a high-resolution format: When you are done editing, save the final image in a high-resolution format such as JPEG or PNG for better quality.
By following these tips, you should be able to successfully unswirl a photo using Picsart.
You can also learn more photo editing tips by reading our step-by-step guide on how to outline photos in Picsart.
Leave a Reply
You must be logged in to post a comment.