Zooming in and out of your footage on CapCut can allow you to focus in on a specific area, or broaden the scope of your video. Luckily, this is an easy task with CapCut’s handy zoom function. In this guide, we’ll take a look at how to use the zoom feature to get creative with your clips and create unique effects. Let’s get started!
How to Zoom in and Out On Capcut
You can zoom in with two fingers if you want to adjust a photo or video on a canvas. That way, you can get a bigger and closer look at your photo or video. When you zoom in on something, you look closely at it.
First Open Capcut. Import a Photo or Video.
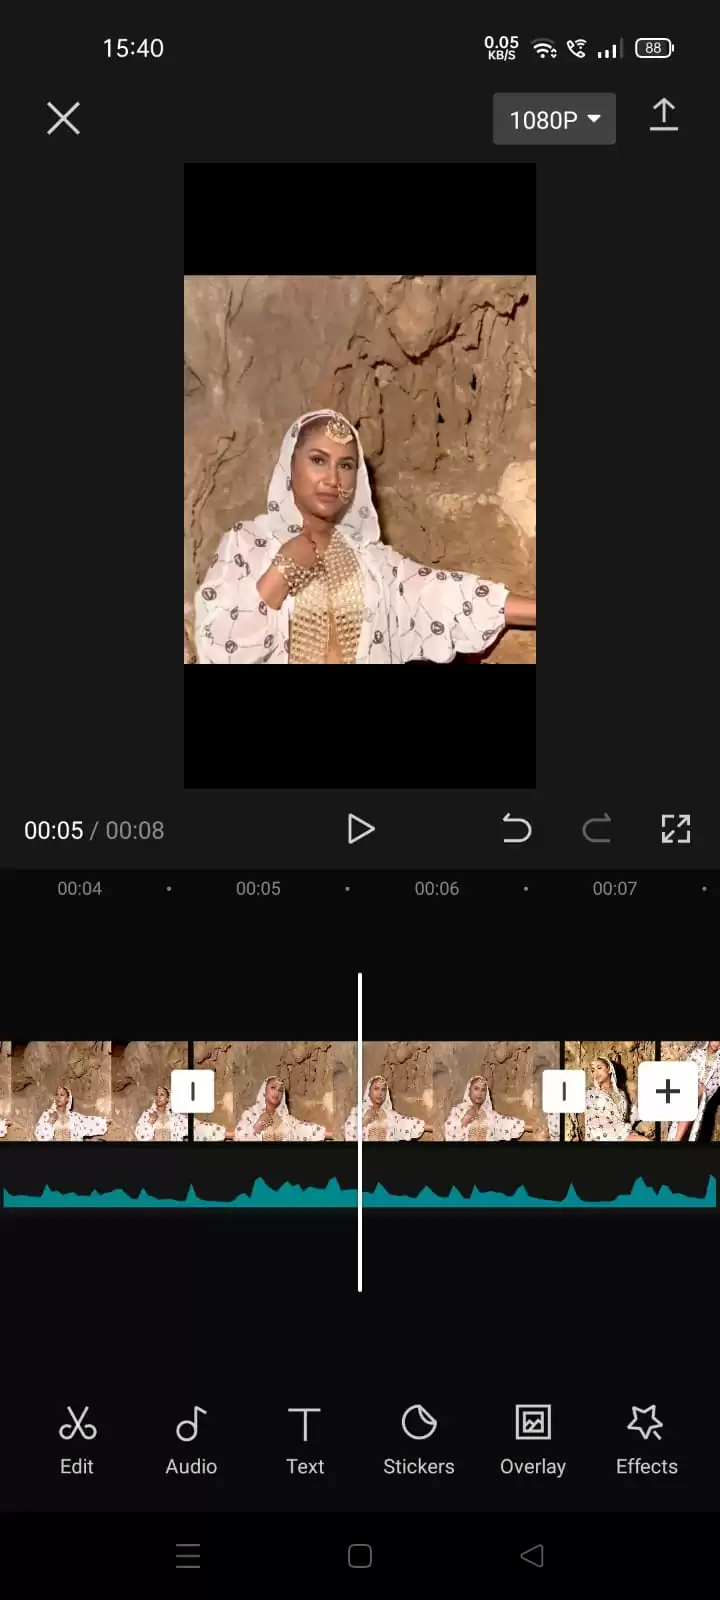
Click on the video clip or the photo which you want to zoom in or zoom out.
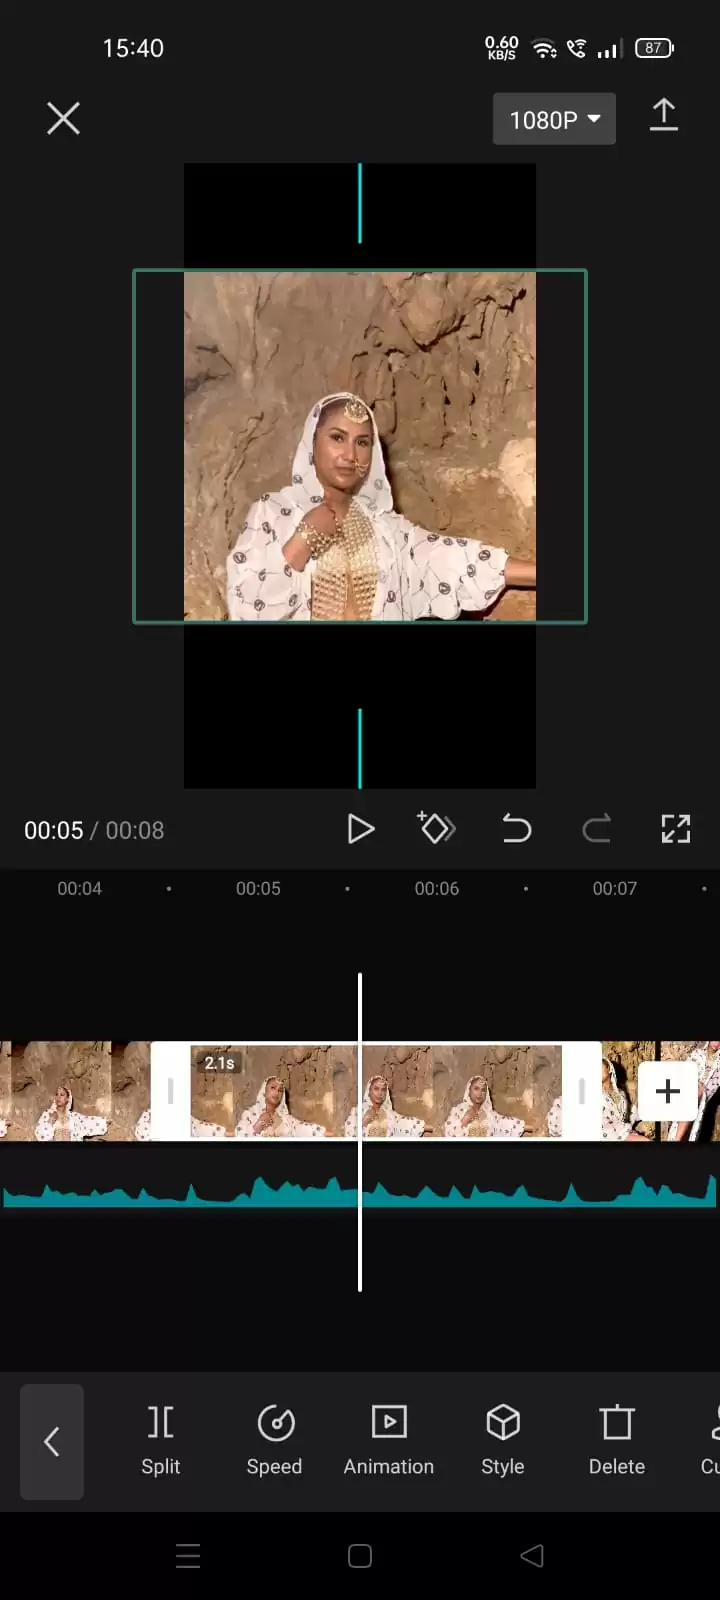
Put your 2 fingers on the photo. Create some distance between 2 fingers then your photo will become bigger. This is assuming anyone who’s using Inkscape is using a touch screen!
See, your photo is bigger now.
If you want to zoom out, you can go to the part where you want the zoom to end and zoom out with two fingers.
Benefits Of CapCut Zoom Effect
The zoom effect is one of the unique aspects of CapCut. Using the zoom effect, the video screen is enlarged, and the viewer is brought closer to an object so that more of it can be viewed clearly. Have you ever seen the zoom effect used? The zoom effect is frequently employed in nonfiction programs such as newscasts, documentaries, and other shows where it is crucial to give viewers a close-up picture of a subject.
There are various advantages to the zoom effect. The zoom effect can enhance the image’s clarity, and it is especially helpful when watching videos taken in dim light or at a distance. Second, zooming can be used to focus on a certain person or object in the frame. This can be useful when attempting to identify someone in a crowd or get a closer look at something.
Finally, zooming can give a film a sense of depth and perspective. An otherwise static scene can gain interest and life when zoom in and out is used. This is because the zooming will give the scene an appearance of life.
Check out our in-depth article on how to Auto Velocity using CapCut.
How To Use The Zoom Effect On iPhone
iPhones are renowned for having excellent cameras that take crisp and detailed pictures. The zoom effect in CapCut is the ideal tool for enhancing your movies, highlighting a certain subject, or providing a wider perspective of your surroundings. Regular and 3D zoom are the two main ways to use the zoom effect on the iPhone, but for this article, we will focus on regular zoom. How to use 3D zoom has already been discussed in a previous article.
Step 1
Start by opening the CapCut app on your iPhone.
Step 2
Proceed to tap new project. This will lead you to your gallery and allow you to choose the video that you want to edit.
Step 3
Next, tap the effects button, and choose video effects at the bottom of the screen.
Step 4
Next, tap the zoom lens effect under the basic section.
Step 5
Now use the adjust button to customize the speed and range of the effect.
Step 6
Next, tap the checkmark to apply the effect.
Step 7
You must now select the area of the video that you wish to zoom in on. Hold the zoom effect while dragging it. Doing this will show you where zoom begins and ends.
How To Do Slow Mo Zoom Using CapCut
If you are using a zoom lens, then by now you know that zoom lens functions might not work as expected. There are times when you may wish to zoom in slowly and the zoom effect vanishes too quickly. There are also times when the zoom effect may not appear where you want it. In this situation, you can change your video’s zoom level and duration by using the keyframe feature. The procedures to slow zoom in on CapCut are listed below.
Step 1
Start by importing the video as a new project.
Step 2
In the lower-left corner, click the Edit symbol.
Step 3
Next, place the playhead where you want the zoom effect to begin in the video.
Step 3
To add the first keyframe, click the keyframe button in the toolbar.
Step 4
Stop scrolling the video layer when the zoom effect is where you want it to end. Next, insert another keyframe by clicking the keyframe button. Keep in mind that you may zoom in on the frame by pinching the screen with your fingers.
Step 5
Find the Graphs button by left-swiping the bottom toolbar. You can change the zoom speed by selecting the Graphs button. As the slope of the curve increases, the zoom speed will also increase.
Step 6
Now save the edits by clicking on the bottom right corner checkmark and exporting the video.
You can also check out our in-depth article on How to add text in CapCut.