Vectorizing images in Inkscape is an easy and efficient way to make sure your artwork is clean and ready for use. In this piece, we’ll take a look at how to vectorize an image in Inkscape so that you can create stunning visuals for any project.
Steps to Vectorize an image in Inkscape
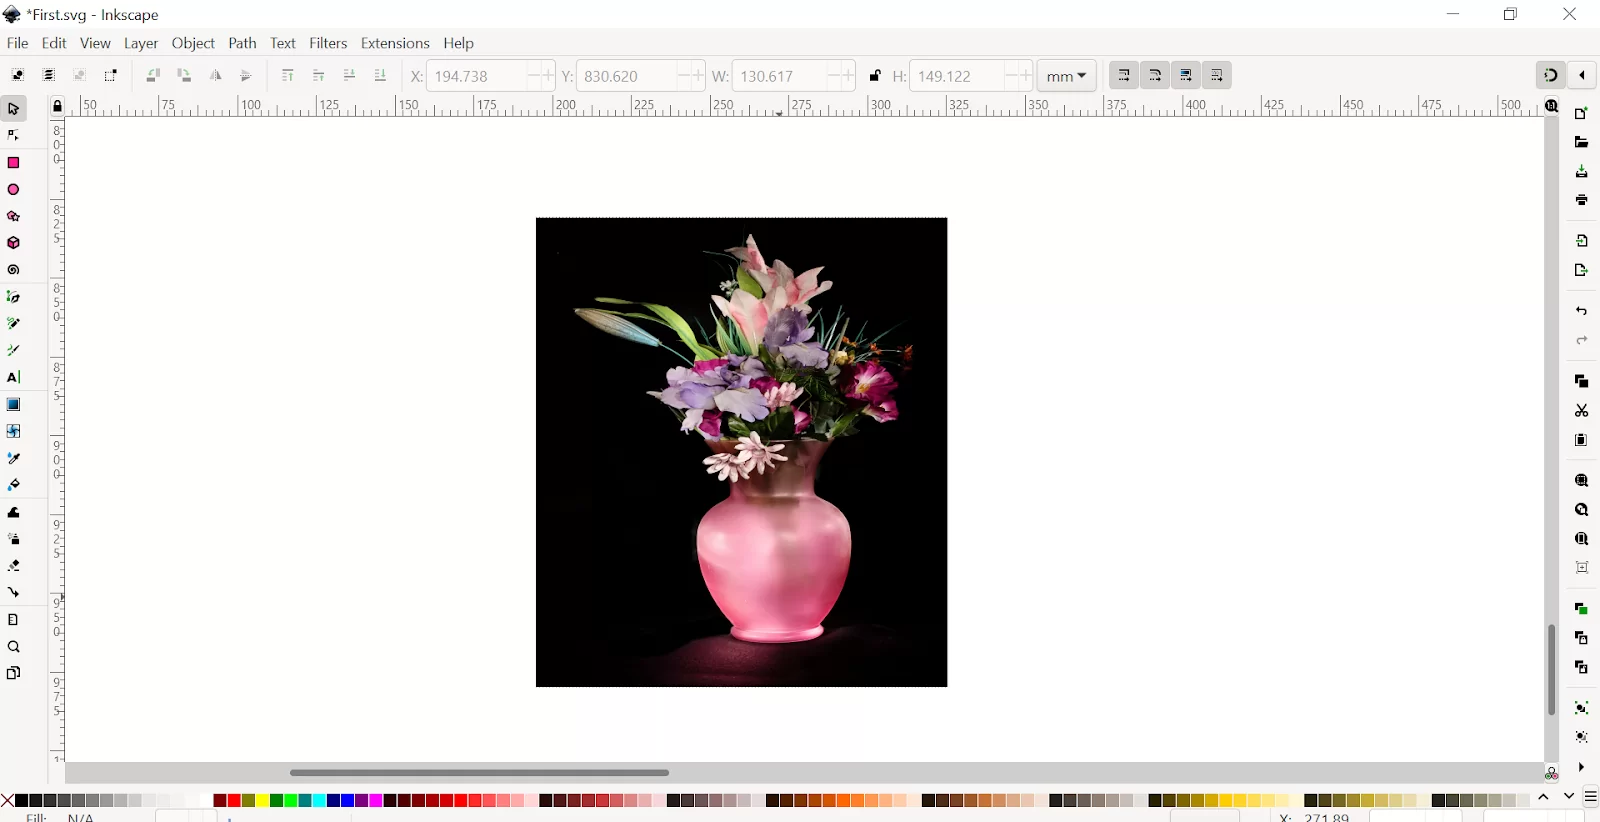
Step 1: Import an Image.

Step 2:
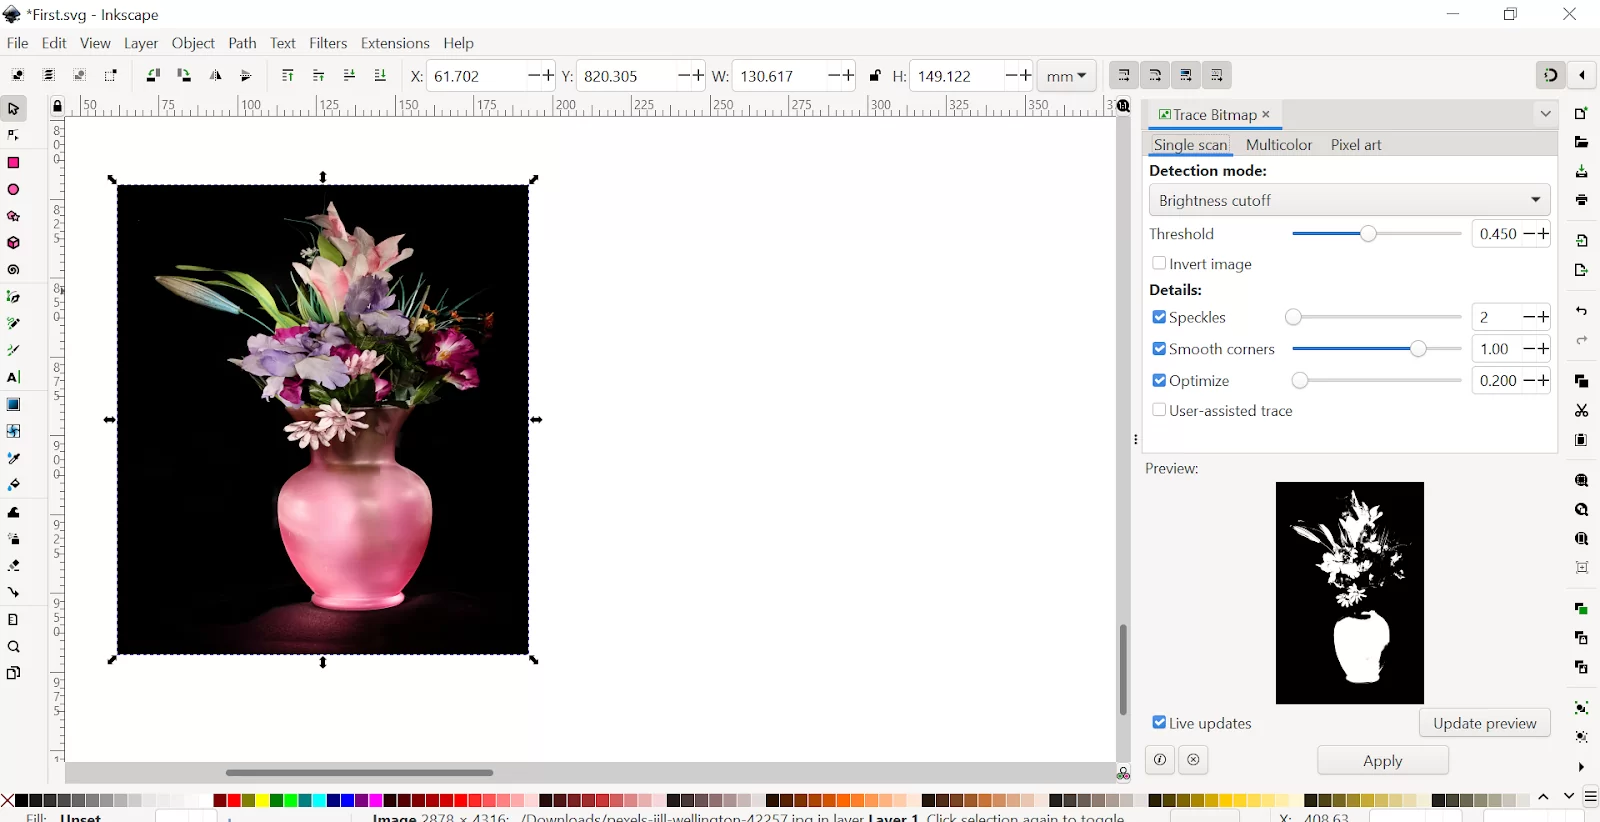
Go to Path➜ Click on Trace Bitmap.

Step 3: A dialog will open where you can set different options. You can use a few detection modes, like Brightness cutoff, edge detection, color quantization, autotrace, or centerline tracing.

Step 4: Set the detection mode to Brightness cutoff.
Click on Update preview to get a new preview image whenever you change the settings. When the preview result looks right to you, click on Apply.

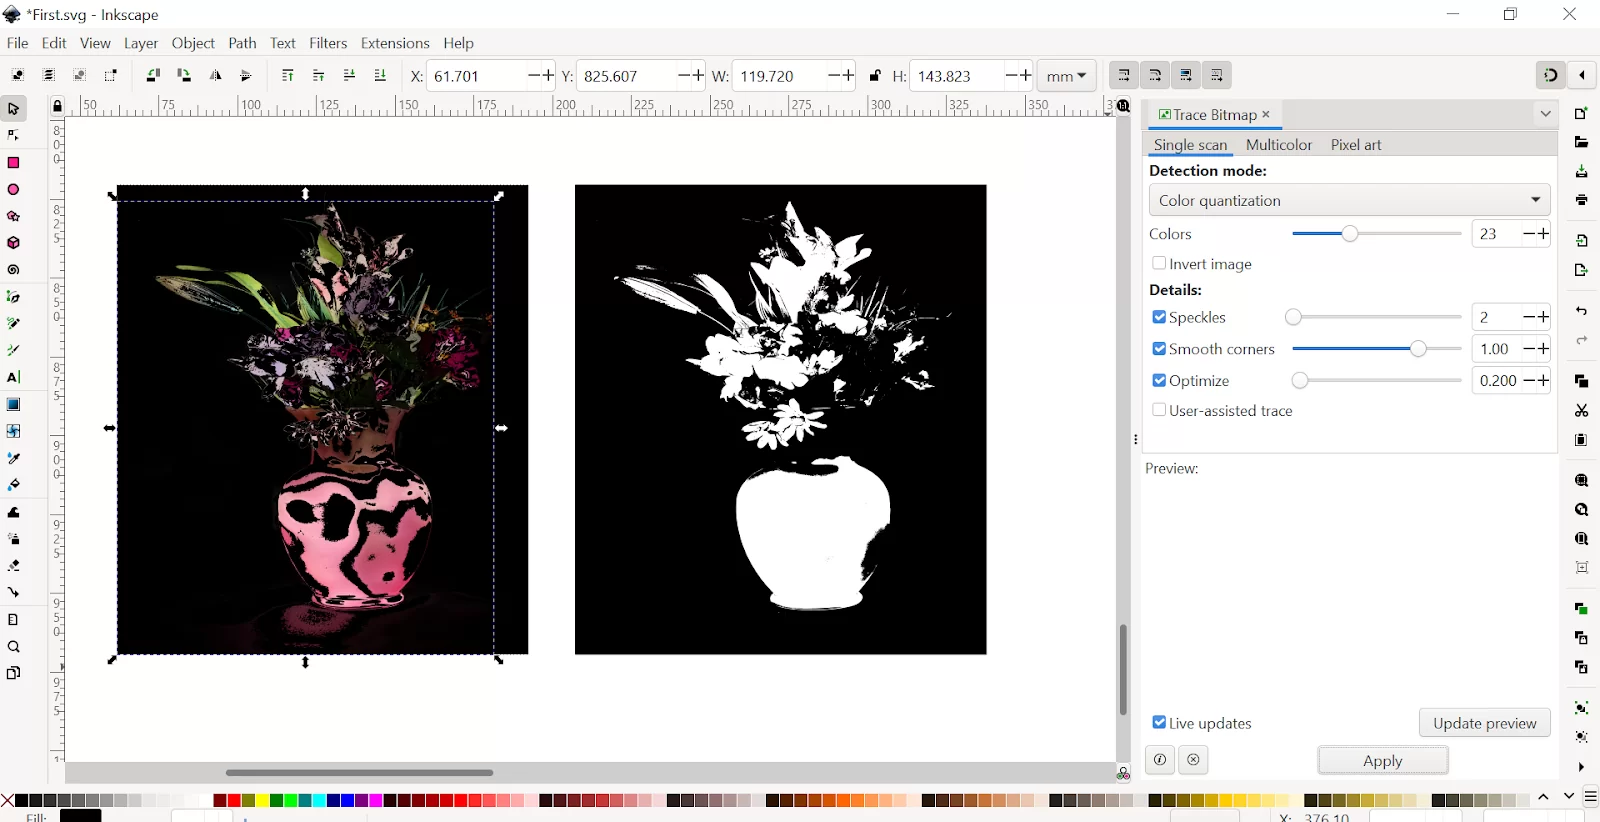
The vectorized image will be available right on the canvas. It will be positioned exactly above your picture.
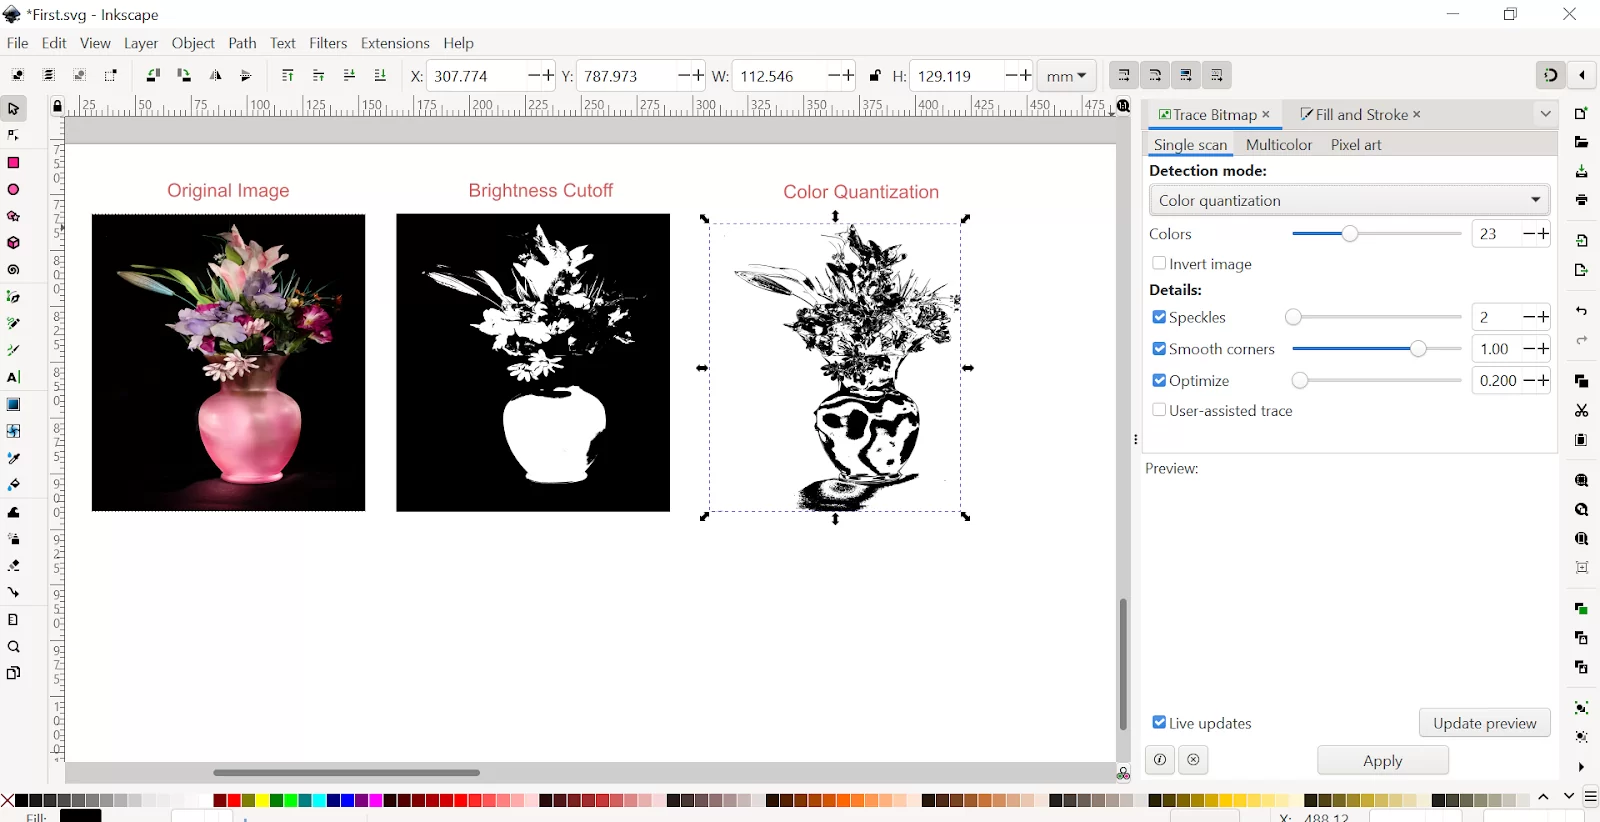
Step 5: Set the detection mode to color quantization with a single scan.

Step 6: If you want to trace the object with its colors, you can use Color detection mode with multiple scans. Increase the scan number to get more a detailed color.

Click Update preview and Apply.
You have made a simple image into a vector image. Ready to save your SVG file?

Filters That Can Be Used When Vectorizing an Image in Inkscape
Some filters will become available when you are attempting to vectorize an image using Inkscape. I will talk about a few of them in the next paragraph.
- Brightness Cutoff
The brightness cutoff merely uses the sum of red, green, and blue of a pixel as an indicator of whether it should be considered black or white. The threshold can be set from black to white.
You should remember that the higher the threshold settings, the fewer the number of pixels that will be considered to be white. Also, the higher the threshold settings, the image will become darker.
- Edge Detection
Edge detection uses the edge detection formed by J. Canny as a way to find isoclines of the same contrast quickly. When the isoclines are found, an intermediate bitmap that will look less like the original image will be produced.
The threshold settings adjust the brightness of the threshold whether a pixel opposite to a contrast edge will be added in the output. The threshold settings can also adjust the darkness or thickness of the edge in the output.
- Color Quantization
Color quantization produces an intermediate image that is different from edge detection and brightness cutoff. However, color quantization is also very important. Instead of showing isoclines of contrast or brightness, color quantization will find edges where the color changes even at the same brightness and contrast.
Number of colors—the setting found in color quantization decides how many output colors will be found if the intermediate bitmap were to be in color.
You may also like our in-depth guide on how to download Inkscape software.
When Do I Need to Vectorize Using Inkscape?
If you are looking to convert artwork to vector graphics format, Inkscape is your best bet. Inkscape doesn’t do especially well if you attempt to convert more complex images with many colors.
Why Do Vector Images Matter?
Below are some reasons why you may need to vectorize an image.
- Vector images make your branding look like what was professionally done. Vector images are a huge part of printed materials. For example, logos should always have vector images. The smooth line and shapes that are associated with vector images, produce the best results when they are printed. Vector images can be used on huge billboards and for screen-printed t-shirts.
- JPG and other pixels will lose file data each time they are opened. Every day, users hardly use vector images because most people don’t have software that can open them. One of the best reasons to use Vector images is the fact that they will hardly lose quality.
Did you enjoy this article? You may also like our piece on How to curve text in Inkscape.
Leave a Reply
You must be logged in to post a comment.