Uploading an iMovie video to YouTube is a great way to share your creations with the world. With a few simple steps, you can upload your iMovie videos to YouTube and share them with friends, family, and a global audience.
This quick tutorial will show you how to upload iMovie to YouTube, from exporting the video from iMovie to the final step of uploading it to YouTube.
How to Upload iMovie to Youtube
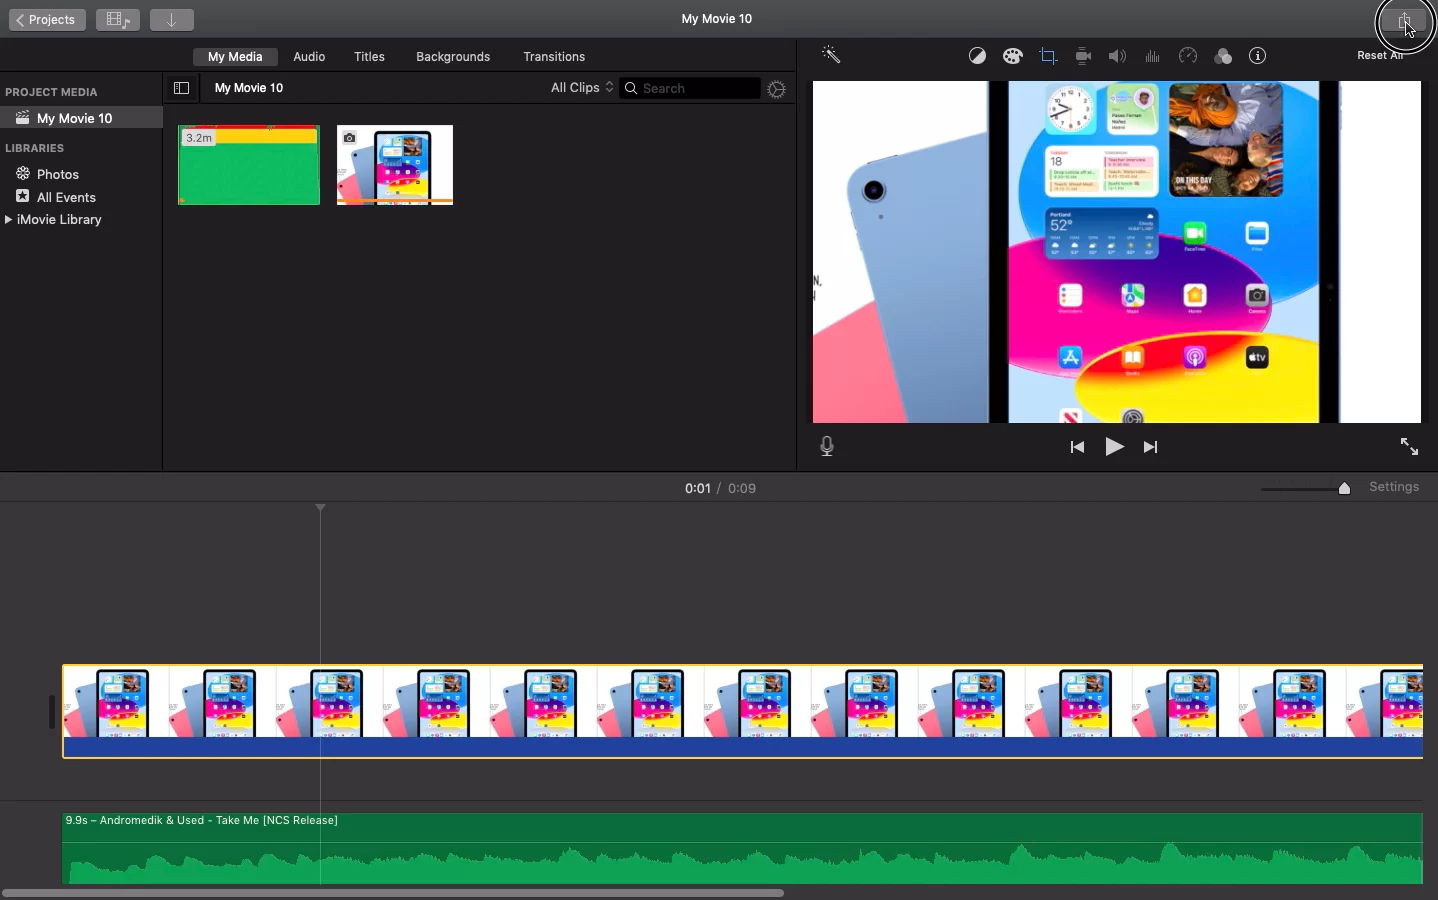
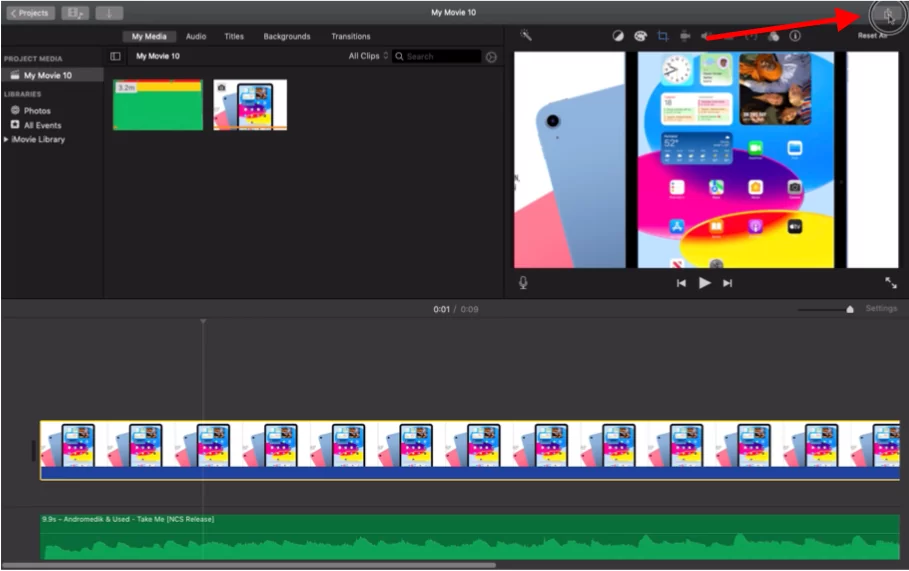
Step 1: In the top-right corner, try locating the share button.
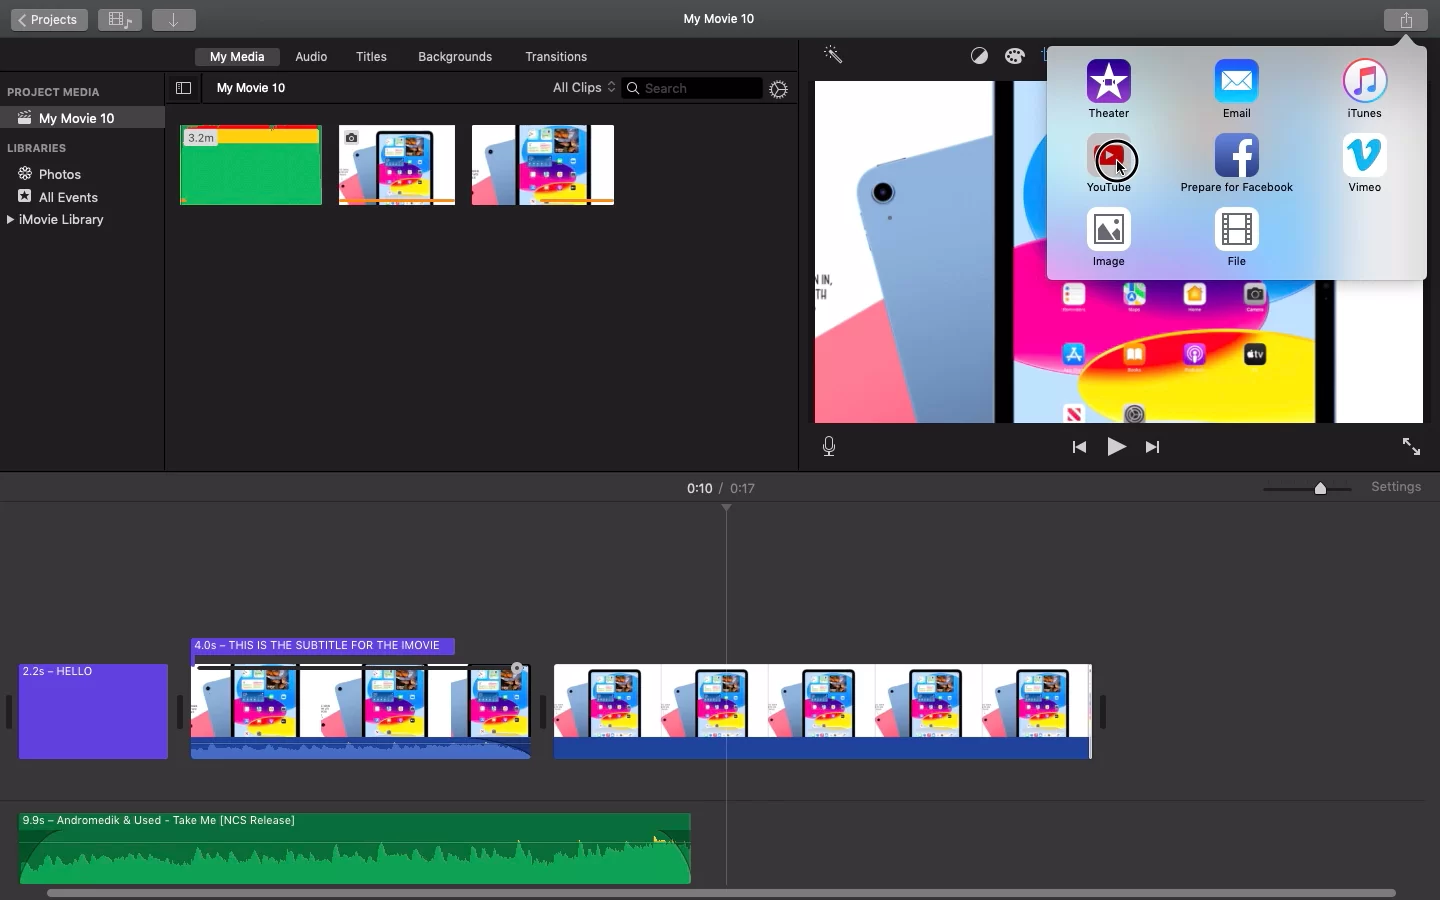
Step 2: In the pop-up menu, select the Youtube option.
Tip: If you want to publish your video on Facebook directly, you can go with the corresponding icon.
Step 3: Now you can give an appropriate name and description to your video file
Tip: You can always rename it later, so don’t worry if you miss this step.
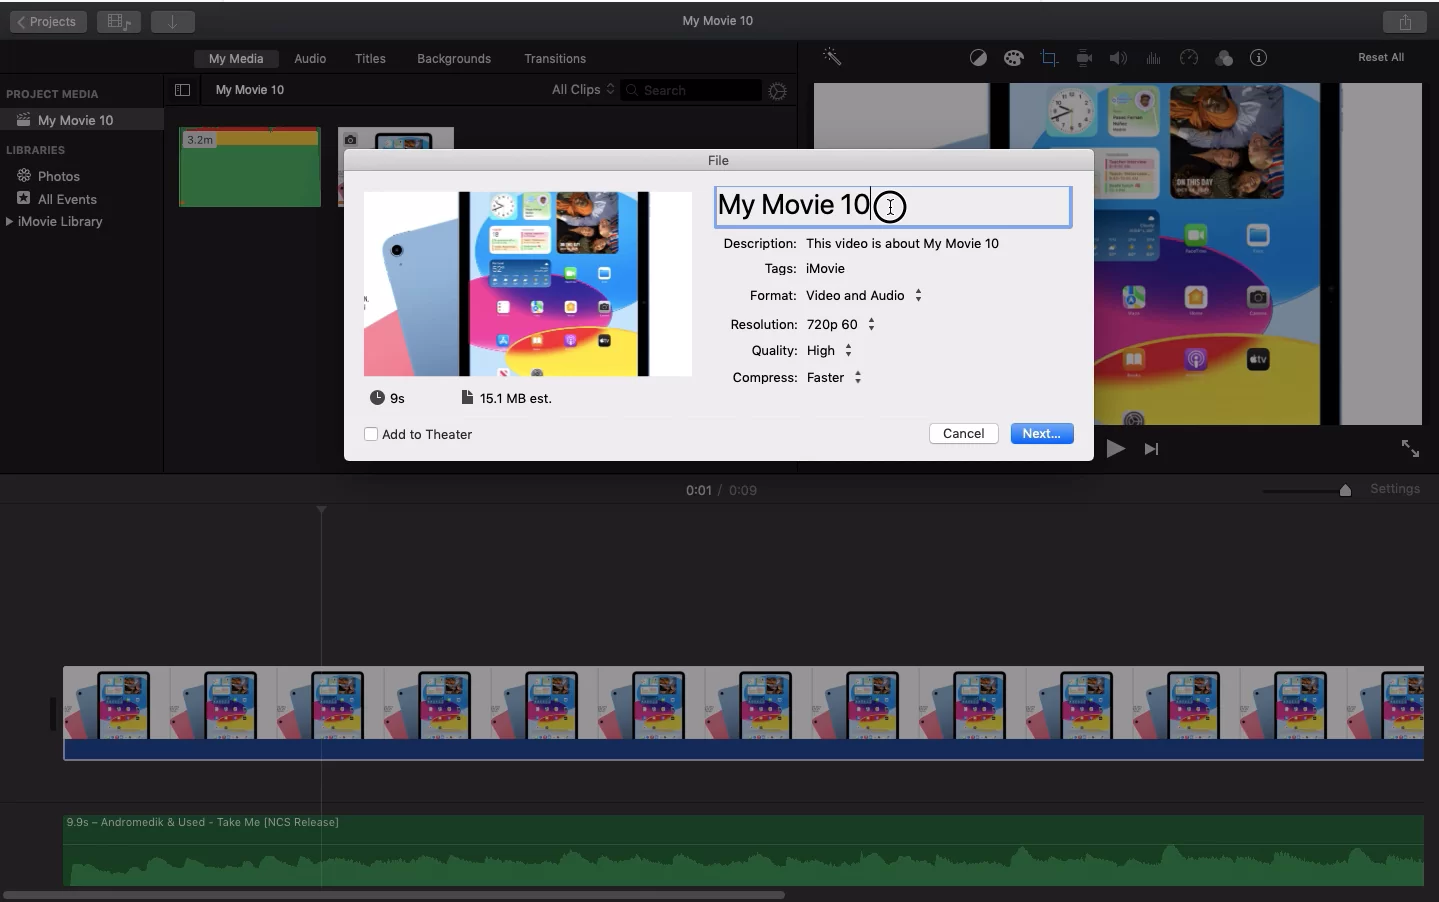
Step 3: You can also choose to adjust other attributes like Format, Resolution, Quality & Compress
Tip: Always prefer choosing the highest available resolution, keeping quality high, and avoiding any compression unless you are short on time.
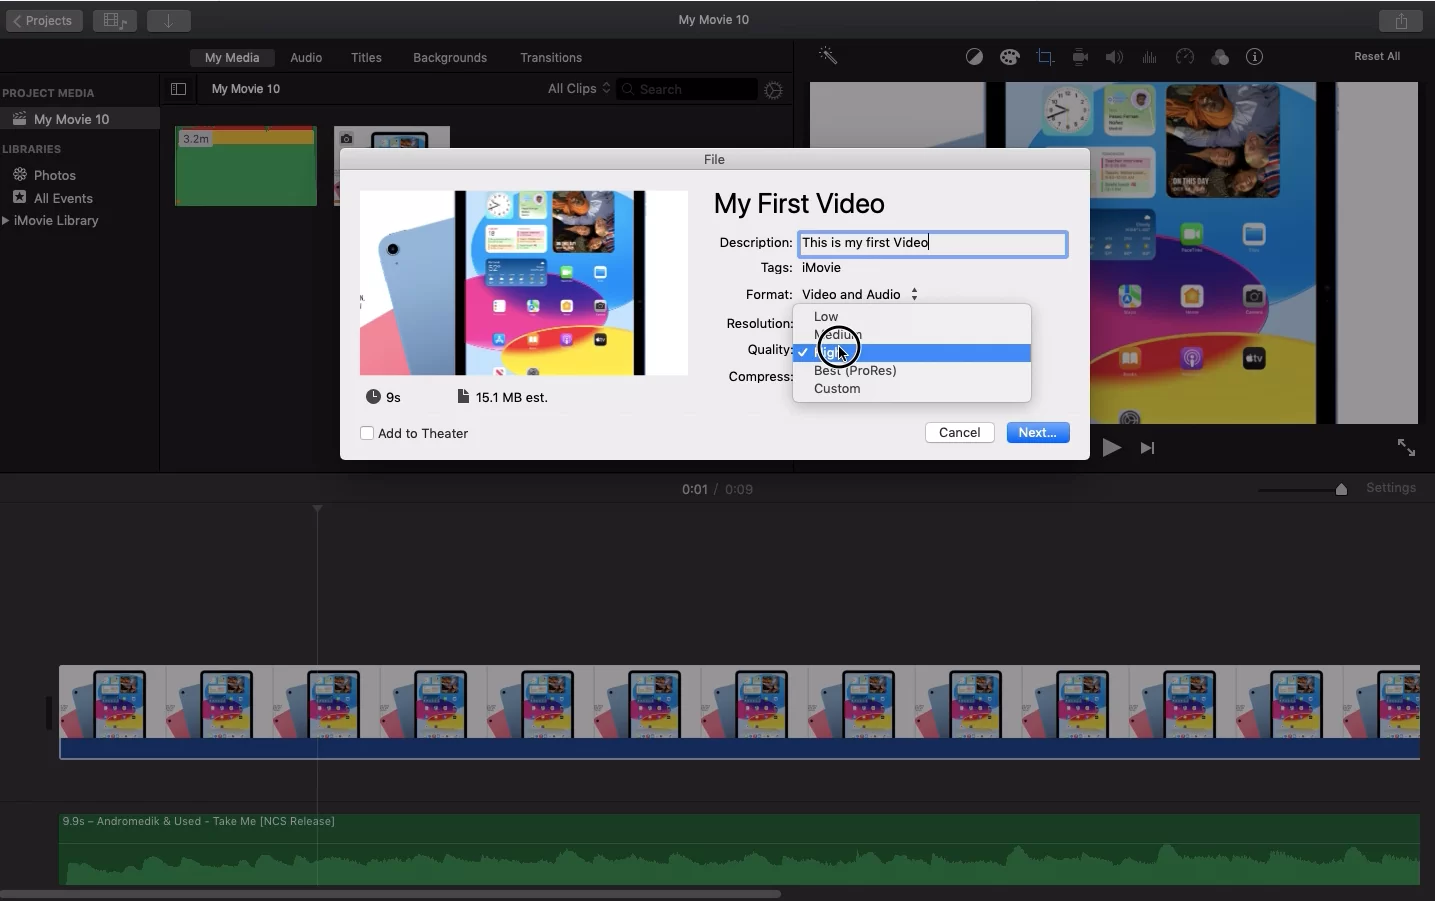
Step 3: Now click on the Next button to start exporting your video
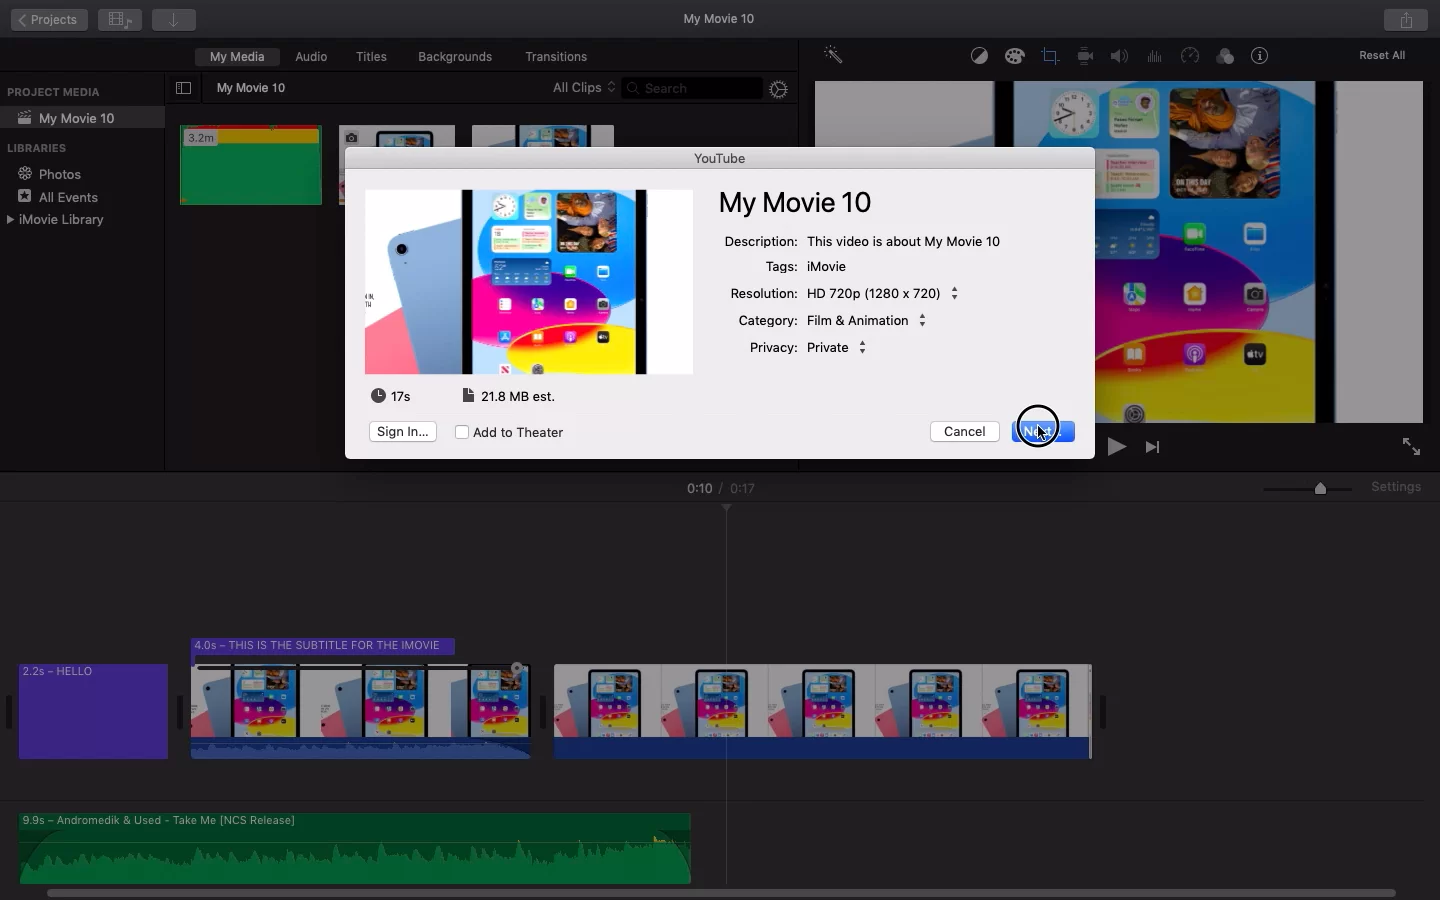
Step 4: You will be asked to Sign In to your Youtube account. After signup, the video will start uploading to YouTube.
Check out this step-by-step guide on how to export in iMovie.

Uploading iMovie To YouTube Using iPhone
If you are using iMovie on your iPhone, it is now easy to upload to YouTube. Follow the simple instructions below.
Step 1
Go to the Projects Browser in the iMovie program. You can choose the project you want to share from the browser. The box icon with an upward-pointing arrow shows the share button. At the top of your screen, click Options. Changes to the project’s aspect ratio, orientation, and other advanced choices will now be available.
Step 2
To download the file to your Photos library, click Save Video. The film can also be accessed on your drive using other Apple devices if you have your iCloud enabled. Next, open the YouTube app on your mobile device. You have to upload a video by selecting it by clicking the bottom Plus icon. Adjust your thumbnail, description, and other elements, and once you click Publish, you’re done! It is important to note that if your account isn’t verified, YouTube won’t let you upload videos longer than 15 minutes.
We recommend that you see our detailed guide on how to change aspect ratio in iMovie.
What is The Upload Duration From iMovie To YouTube?
A lot of people are worried about how long it will take to upload a video from iMovie to YouTube. To give you an idea, if your internet speed is good, it will take you 1 hour to upload an iMovie video that is 3 GB in size. This means that you will need 5 minutes to download 200 MB.
Due to your internet upload rates, your video’s file size, and the video quality choices, upload times can range from a few minutes to possibly several hours. It should be noted that having a high download speed does not guarantee a fast upload speed. To determine your upload speed, you can use a speed test website.
Can an Upload Be Made To Go Any Faster?
Is it possible to make an upload go faster? It is necessary to have an answer to this question before uploading a video on YouTube Using iMovie. YouTube advises MP4 format for video uploads. You can also change the resolution of your video from 4K to 1080p. Do not use ProRes, instead, use MP4 files because they are sufficient.
The file size decreases with decreasing video length. Reduce the amount of silence and shorten intros and outros. Focus on the core of your material to produce brief but worthwhile videos that your subscribers will appreciate. This is also another way to make your uploads go faster.
Troubleshooting Upload Problems on iMovie
The importance of troubleshooting cannot be overemphasized. If you encounter a problem where your iMovie failed, then you need to check if you have enough space on your Mac’s hard disk. You also need to ensure that your video isn’t glitchy and there are no errors on your timeline. Alternatively, you can try exporting using another resolution.
If you encounter a problem with your iMovie upload being slow, iMovie is most likely being utilized alongside other applications competing for memory. Try closing all open programs and purging memory and storage space using a clean tool. If you’ve tried closing all open programs and the speed is still slow, your computer probably can’t run iMovie.
If your video trailer isn’t showing correctly, Use the Fonts app to make all fonts active. iMovie will restart once you’ve checked in. You’ll need to select repair permission and restart OS X from the disk utility menu.
If you find yourself in a situation where your iMovie keep crashing, you can try emptying the cache folder. Click on Preferences in the iMovie program to clear the cache folder. To erase files, select destroy render files. Destroying render files will help you, especially if you have a project that demands a lot of space. You can also try deleting your preference file from iMovie or empty the preferences folder. Com. Apple.iMovie app.plist is the name of the file. This is located in the user folder with the title Library/Preferences.
The .plist file for your iMovie can be found on the system desktop after you close the iMovie application. Open it once more and check to see if anything has changed. As a last resort, update the iMovie program to the most recent version or reinstall it.
When you finally get your iMovie up and running, you can use it to do various edit jobs such as splitting a clip.