RPG Maker MV is a powerful tool for creating your own RPG games, but like any software, it requires regular updates to fix bugs and add new features. Keeping your RPG Maker MV updated is important for ensuring smooth gameplay, stable performance, and access to the latest tools and resources.
Updating RPG Maker MV is a simple process. The software will usually notify you when an update is available, or you can check for updates manually by navigating to the “Help” menu and selecting “Check for Updates”. We’ll show you how to update RPG maker MV in very easy steps.
How to Update RPG Maker MV Step-by-Step
Step 1: Open your Steam application and go to Library
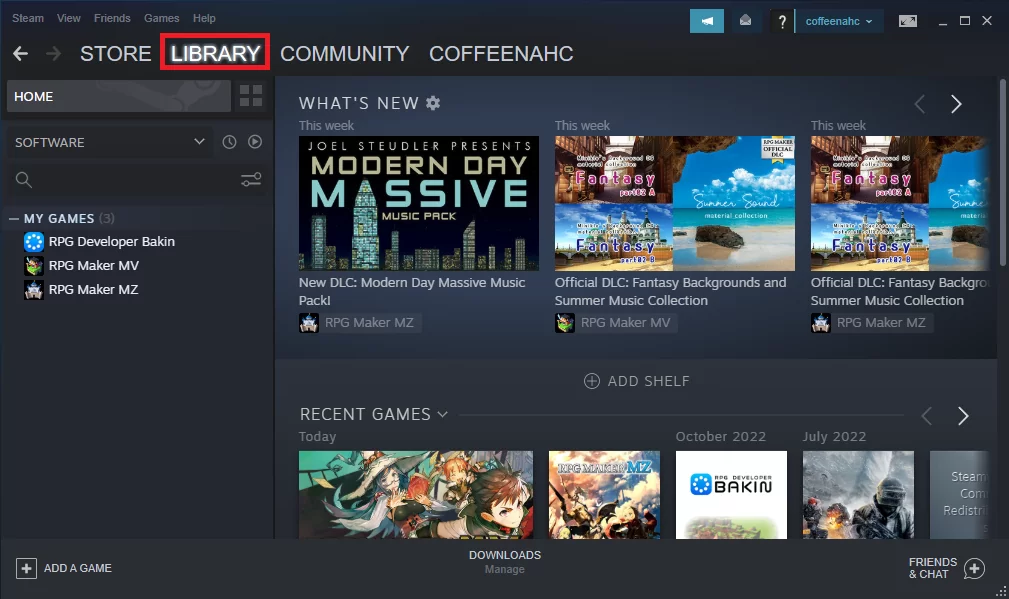
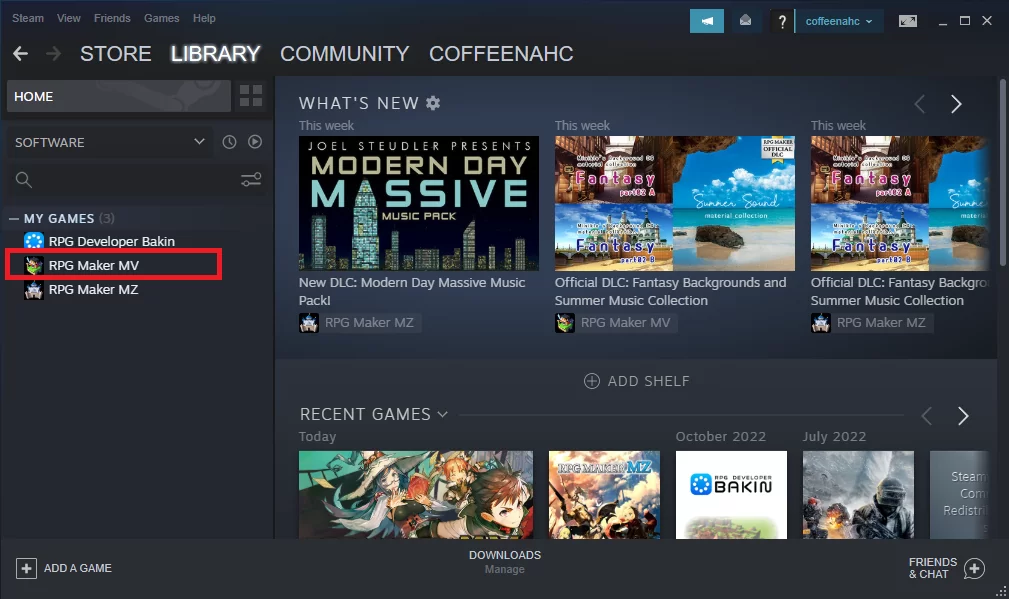
Step 2: Select RPG Maker MV from the list of games in your library
If you cannot see it, try using the search bar and type in ‘RPG Maker MV.’
Step 3: See if there are updates available
The update button should prompt if there are available updates to download. In my case, my RPG Maker MV is up to date, and so the ‘Launch’ button is shown instead
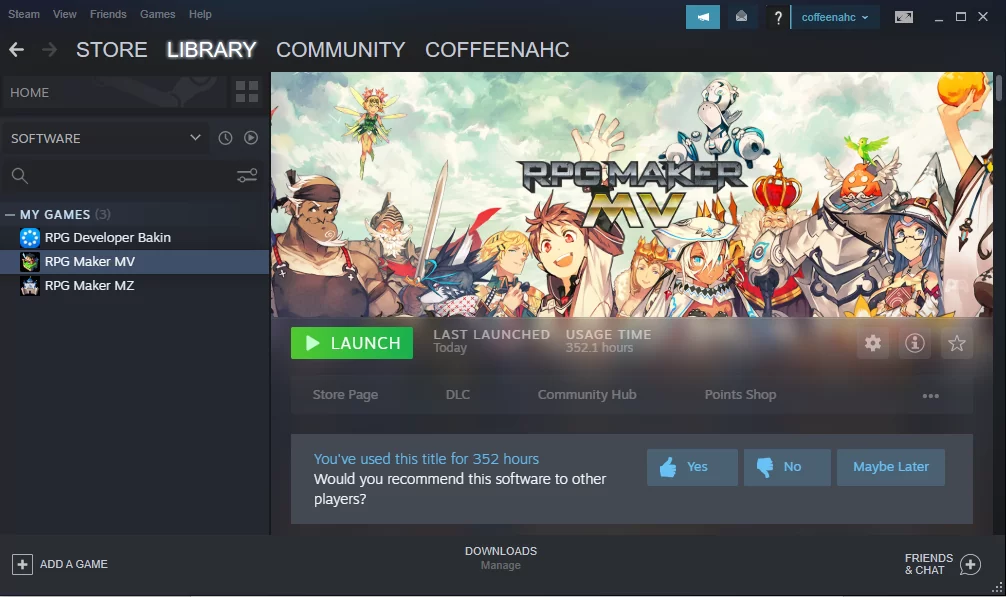
Viola! Your RPG Maker MV is now up to date.
We also recommend that you check out our in-depth guide on how to add music in RPG Maker.
Can’t Launch RPG Maker From Steam After Update? How To Fix it
Follow the steps below to fix most problems you will encounter after updating your RPG maker.
Step 1
Start by making a backup copy of your project in a new folder first. Now that you have a backup in a secure location, you can tweak without worrying that you’ll accidentally harm your project.
Step 2
Turn off ALL plugins. If it’s not possible, take them away temporarily. It is important to remove some plugins since they might become incompatible after a significant update. Place your plugins in a different folder.
Step 3
New projects should be saved.
Step 4
Open the new project’s folder. Then, open the project’s broken folder. Put a copy of the new project’s index.html in the broken project folder. The old one will be overwritten.
Step 5
Now you need to open the new project’s js folder. You also need to access your broken project’s js folder.
Step 6
Now overwrite everything from the new project to the malfunctioning one. Then, copy-paste the folder libs.
Step 7
All JS files should be copied and pasted into the js folder of the broken project. You need to replace the js files from the damaged project.
Step 8
The plugins folder from the new project should be copied and pasted into the broken project. If you have modified the plugins, it will overwrite them. If you made the backup I asked you to in step 2, then you should not have a problem.
Step 9
To replace the existing fonts folder, exit the js folder and copy the fonts folder from the new project. Then, paste the new fonts folder onto the broken project folder.
With these steps, you can update everything about javascript. What about the plugins that were removed? I’m glad you asked. You should test them to see if they function after adding each one. You can start with the new project if you’d like. If it malfunctions, notify the script’s creator of the problem and wait for a fix.
If you liked this article, you may also enjoy our other well written guides on using character generator and making custom tilesets in RPG Maker.