The Final Cut Pro Rotate Video function can be extremely useful in a variety of situations. For example, if you’ve recorded a video on your phone and it was held in portrait orientation, you may want to rotate it 90 degrees to make it landscape. Or, if you’ve recorded a video upside down by mistake, you can use the rotate function to flip it back to the correct orientation.
Additionally, the rotate function can be used for creative purposes, such as giving a video a dizzying or disorienting effect. Overall, the rotate video function is a versatile tool that can be used to improve the aesthetics and effectiveness of your video projects.
Have you been trying to rotate a video in Final Cut Pro but are not quite sure how to do it? Don’t worry, it’s actually a pretty simple process. I’ll show you exactly how to get your video rotated to the desired angle, whether it’s 90 degrees, 180 degrees, or any other angle of your choice.
How To Rotate Video in Final Cut Pro
Here are 2 Methods to Rotate videos in Final Cut:
Method 1:
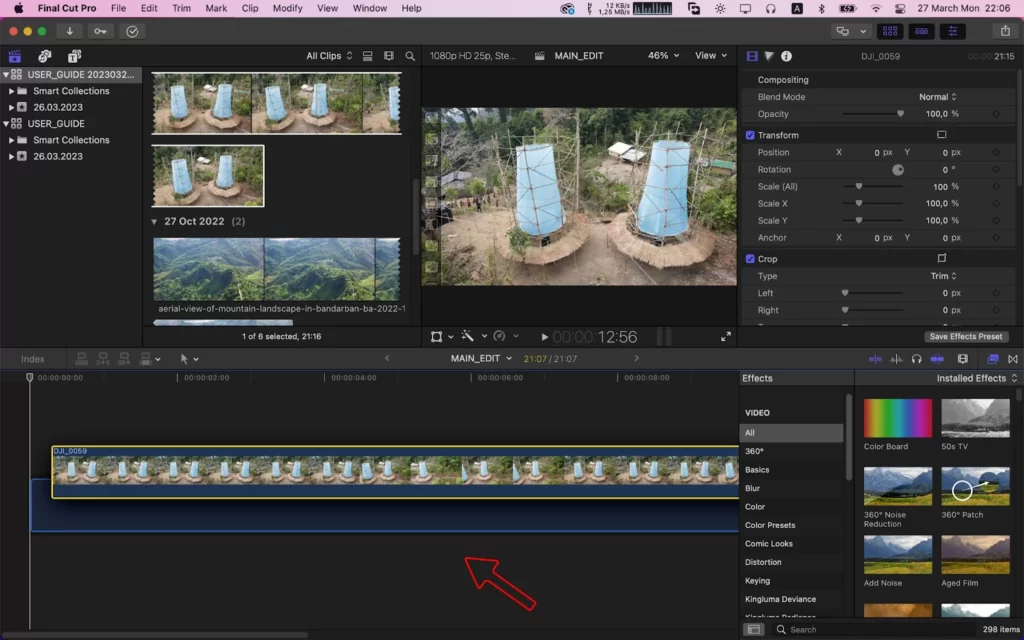
Select the clip from the timeline that you want to Rotate. Now position the playhead over the clip in the timeline so that you can see the video on the preview panel viewer. Click the dropdown arrow in the lower-left corner of the preview panel and choose Transform. Or you can use the short key [ Shift + T ].
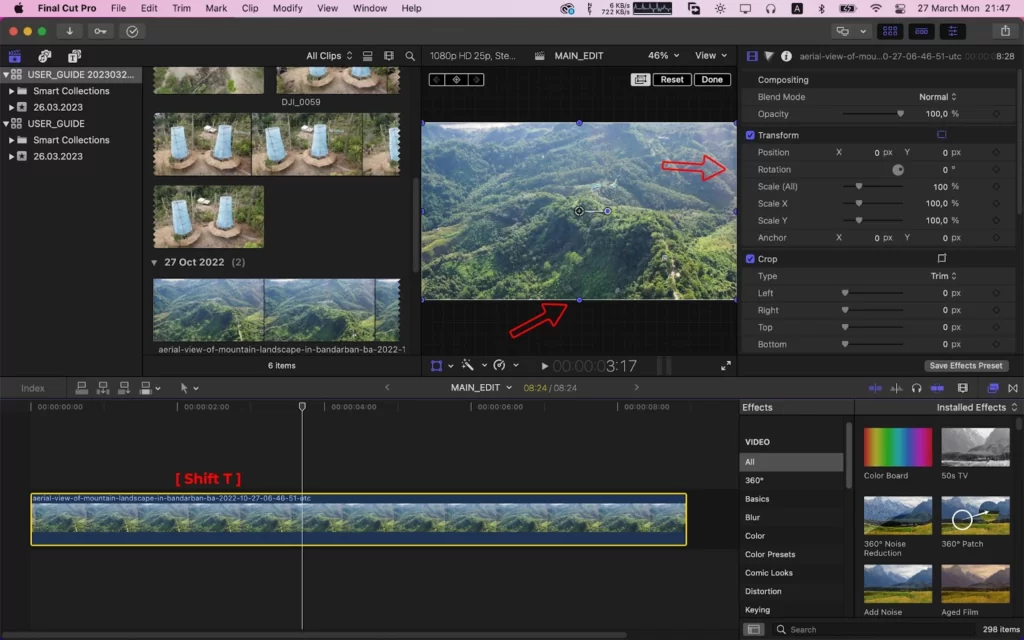
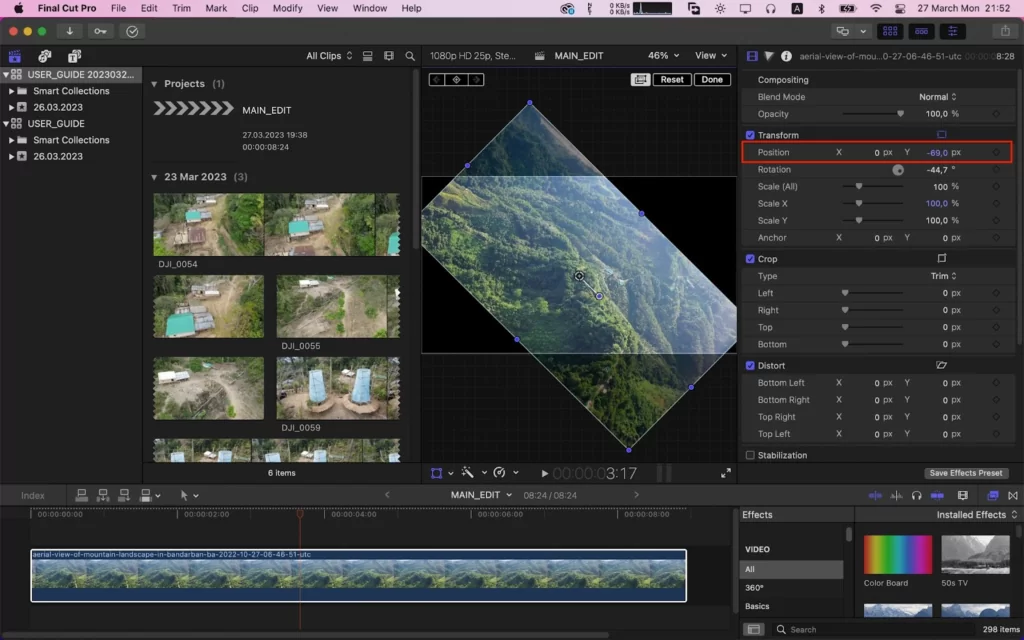
Now you will see your video will have a rectangle with the anchor points. In the middle, you will see a straight line with a circle.

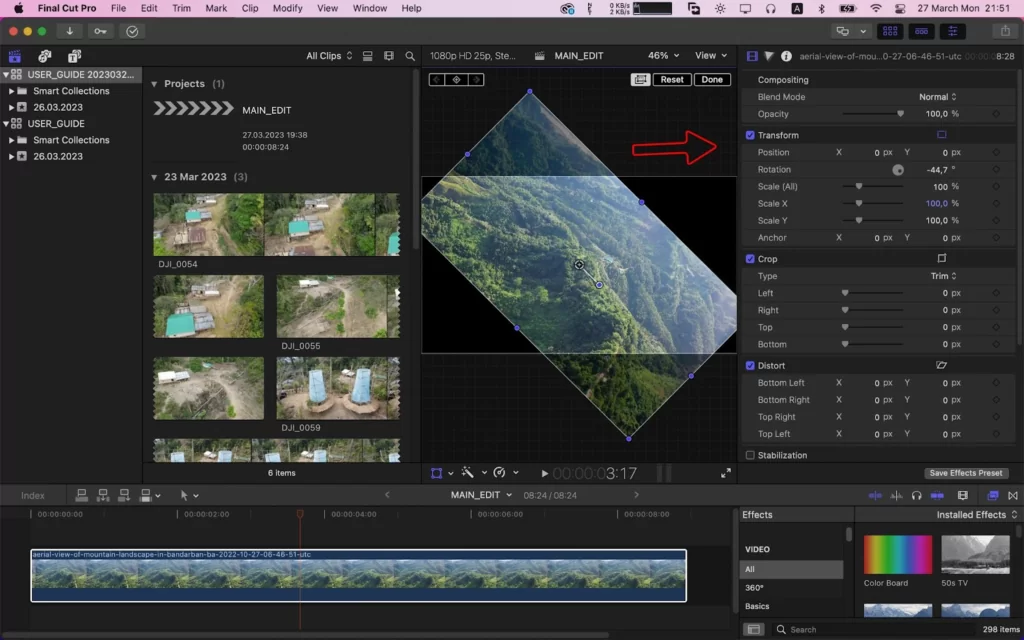
Now click and drag the middle circle counterclockwise or clockwise as your desired rotation. For this example, I will use counterclockwise. Hold shift for perfect rotation.
Method 2:
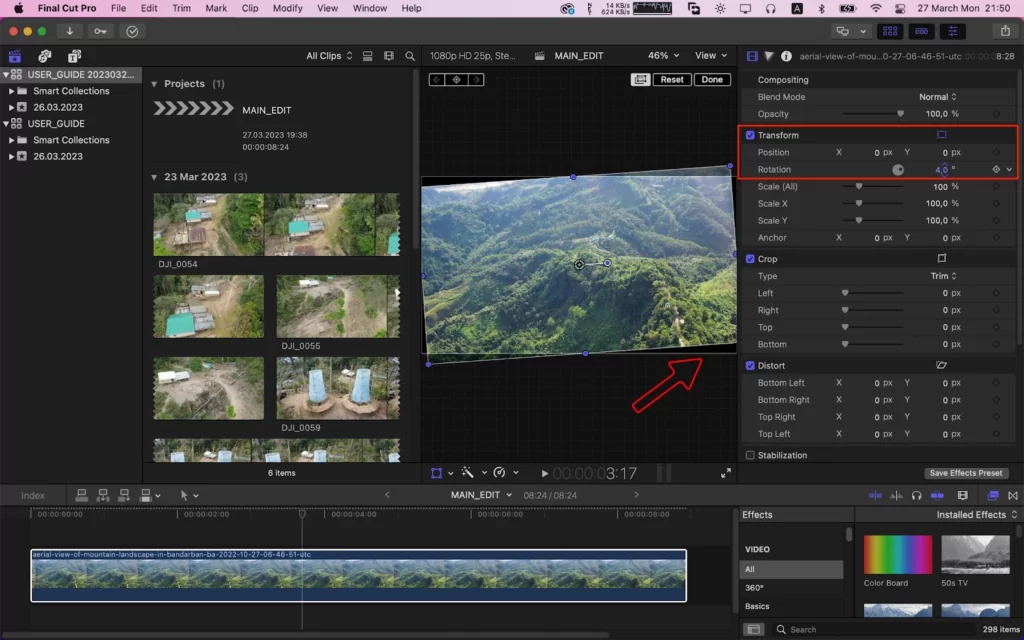
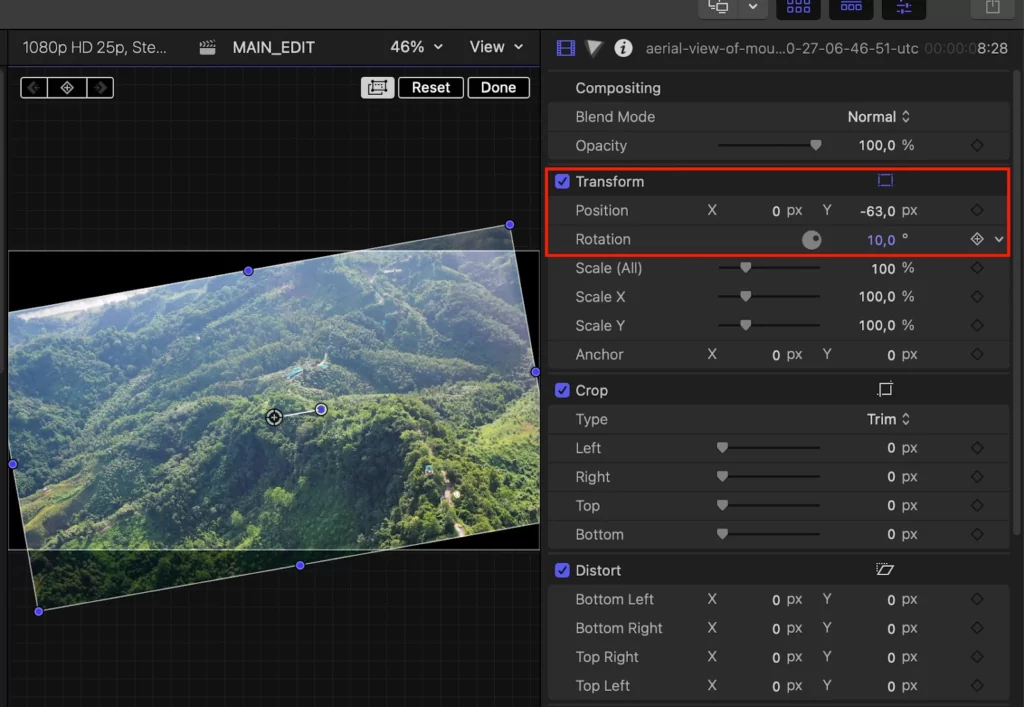
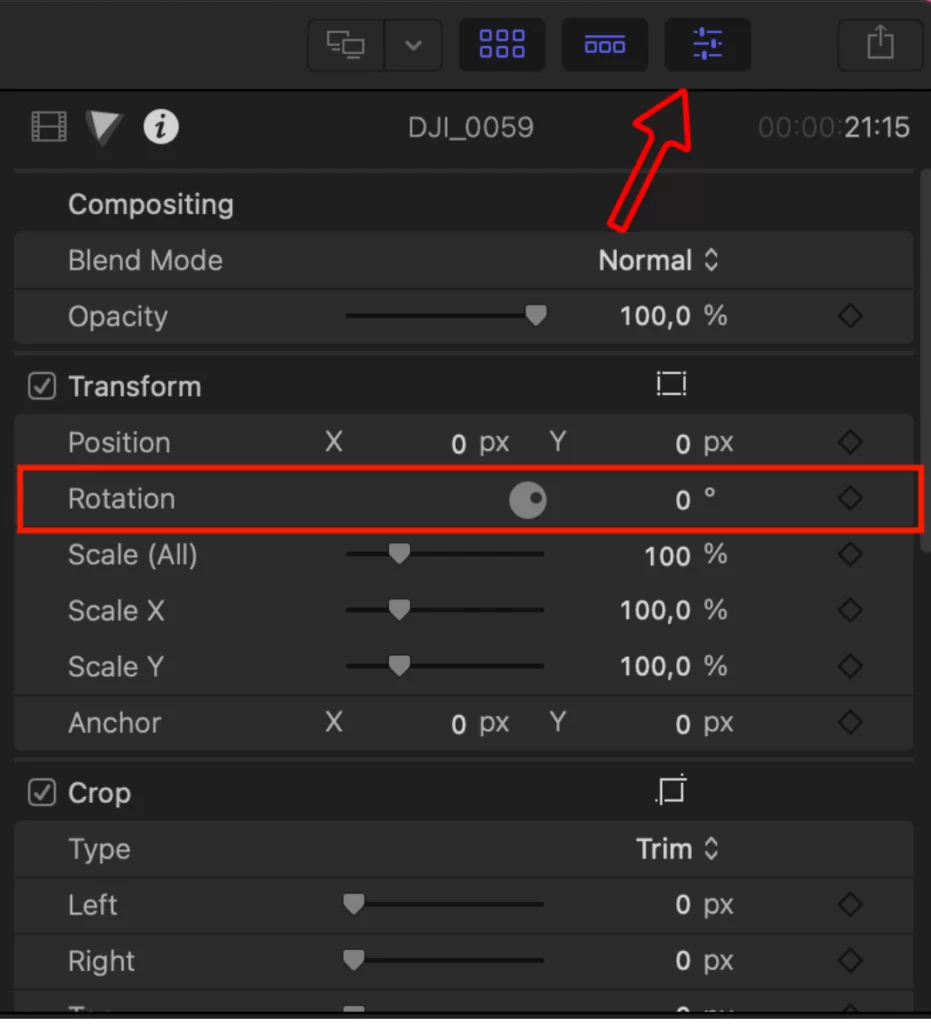
In this method, you can rotate using the transform panel by adding your rotation value.
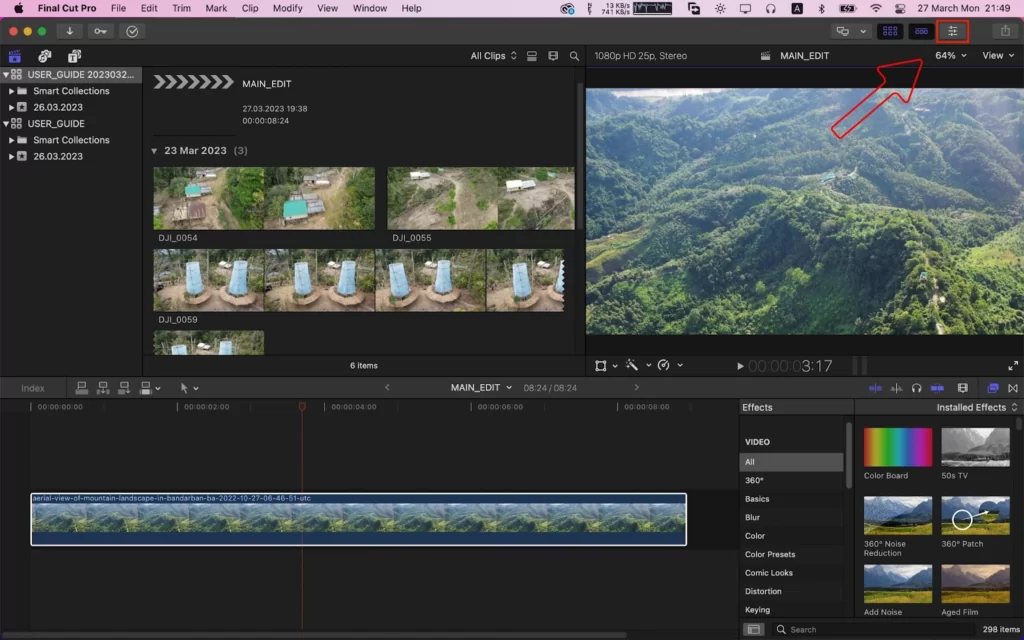
Click on the right-side upper corner three-line menu, and then you will see a panel will appear.
Now add your rotation value into the rotation option under the position. And your video will be rotated. You can also use these two methods to rotate your image.
Avoiding Black Corners After Rotating Video
There is a high possibility that you will leave some black area around the viewer’s boundaries if you rotate a video clip. This can be fixed by making a few straightforward changes in the Inspector or the Viewer. Follow the simple steps below to avoid blank corners after rotating a video.
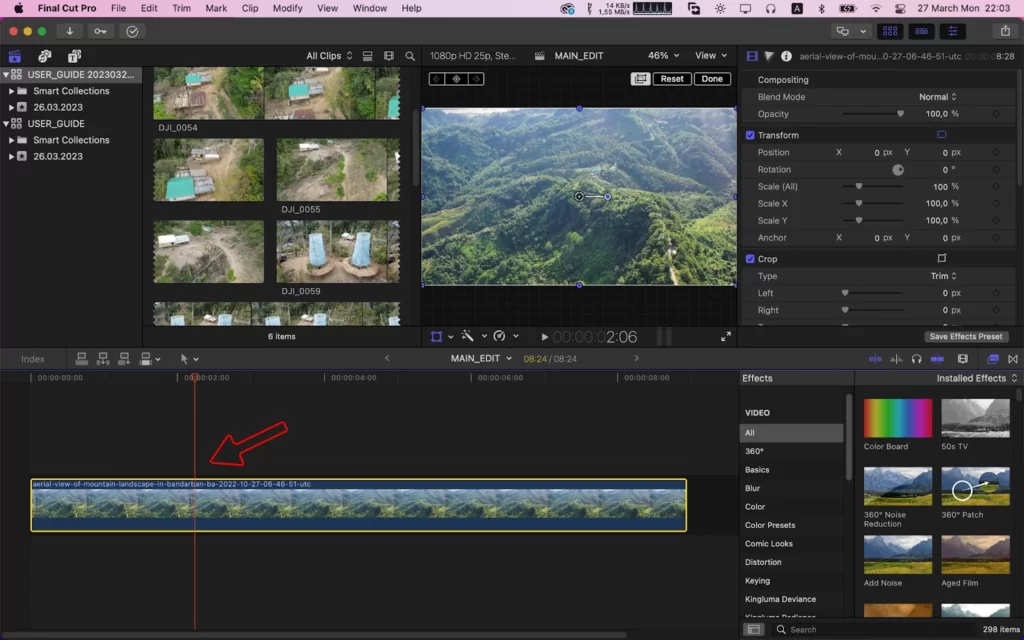
Step 1
To make your video occupy the entire screen, use the Position control in the Inspector to adjust the X and Y characteristics. The image in the Viewer can also be moved by clicking and dragging it.
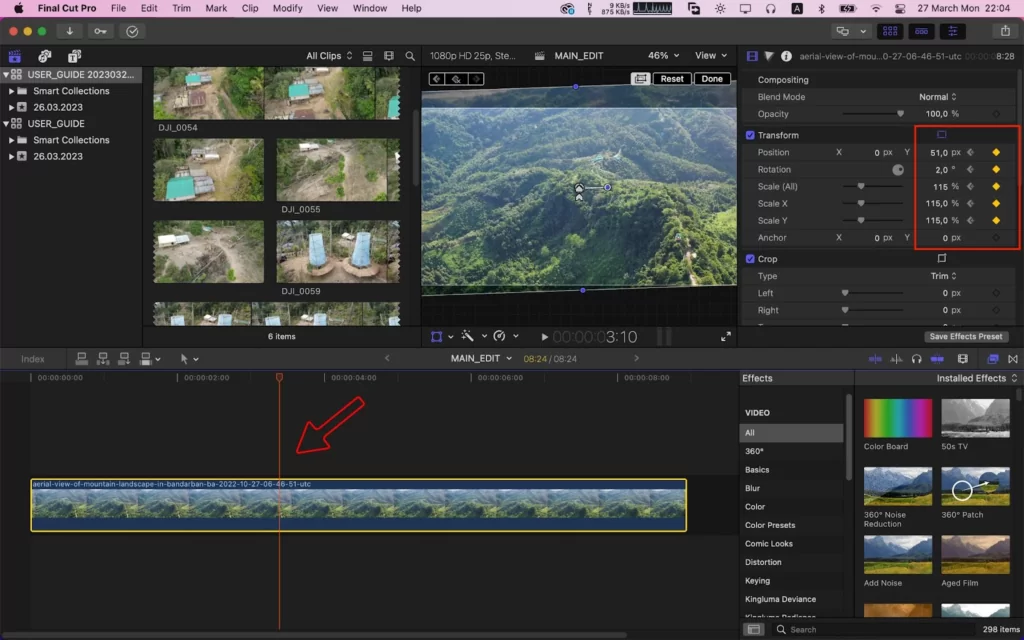
Step 2
You may have to adjust the Scale control to increase the size of your video. In the Inspector, this is located underneath the Rotation and Position controls.
Step 3
Keep adjusting the Position and Scale sliders when your image fills the frame without any black borders on the sides. It is important to ensure that there are no black corners before exporting videos from Final Cut Pro.
How to Use Keyframes to Animate Video Rotation
You can turn and reposition your video using any of the above techniques. These techniques will ensure that your video is correctly orientated throughout the entire clip. Keyframes are a quick and easy way to make the video spin. Adhere to the steps below to use keyframes to animate your video rotation.
Step 1
Start by placing the Playhead where you want the spin action to begin in your Timeline.
Step 2
Next, click the diamond next to Inspector’s Position, Rotation, and scale controls. Each of those controls will have a keyframe created as a result. These controls “lock” your video in place at that precise moment.

Step 3
Now you need to create a new keyframe for each of those controls by moving the Playhead forward to the point where you want the rotational movement to cease.
Step 4
Use the Inspector or the Viewer to make any Position, Rotation, or Scale changes you desire. However, you must wait to move the Playhead until you finish.
Step 5
When finished, return the playhead to the start and hit play to review your work.
We also recommend that you check out this article on how to zoom in and out of Final Cut Pro.
How To Rotate Video in Final Cut Pro For Precise Angle
Here’s how to use Inspector to rotate your movie.
Step 1
You must drag a video clip to the timeline after importing it.
Step 2
Next, you must access the tool’s Inspector option.
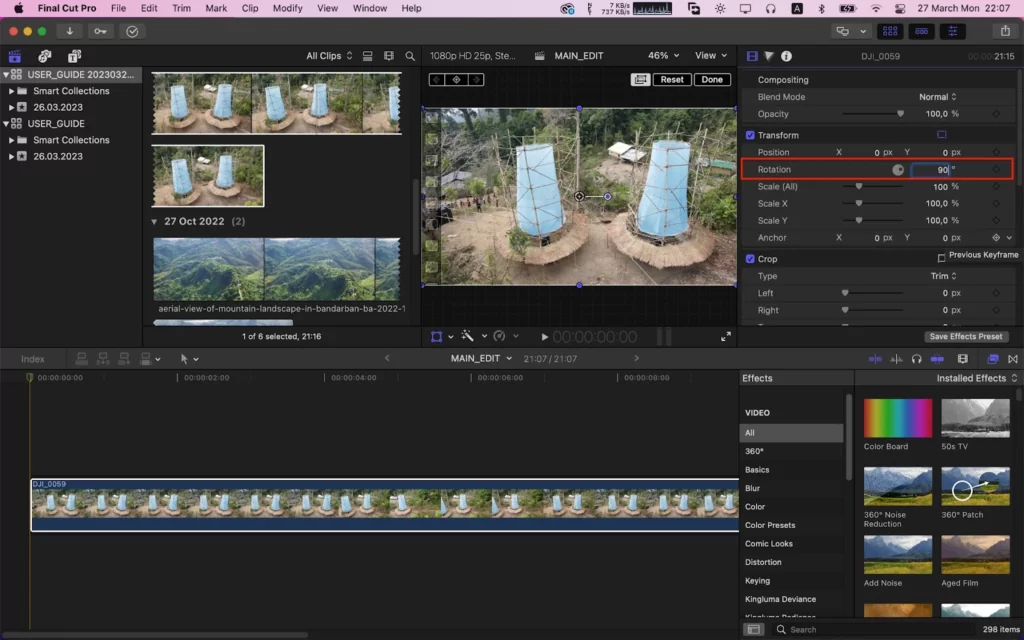
Step 3
The next step is to navigate to the Rotation option and enter the desired rotation number. To rotate your video at a right angle, for example, type 90. Once finished, you must press Enter.
Step 4
Additionally, you have the choice to change Anchor control. Your video’s rotational center may vary as a result of this operation. You’ll also need to update your Position controls to re-center the video if you decide to change Anchor. Rotating your videos in Final Cut Pro is only the tip of the iceberg when it comes to editing videos on the software.

If you enjoyed reading this article, you will also like our in-depth article on adding LUTs to Final Cut Pro.