Reverse a clip in DaVinci Resolve is a great way to add an extra layer of creativity and impact to your video projects. Whether you’re looking for a unique effect, creating an instructional video, or simply want to try something new with your footage, this guide will show you how to reverse clips quickly and easily in the powerful editing suite.
We’ll cover everything from the basics of reversing clips in Davinci Resolve, tips for achieving quality results, as well as some advanced techniques for adding more complex effects. With this comprehensive guide at your disposal, you should have no problem getting started and mastering the art of reverse-editing with ease!
Understanding the Timeline
Before we get started, it’s essential to understand the layout and functions of the timeline in Davinci Resolve. The timeline is where you will be working with your clips, and it’s divided into several sections: the source viewer, the timeline viewer, and the record viewer. To locate and select the clip you want to reverse, simply click on it in the timeline viewer.
Also read: How to add transitions in Chroma key using Davinci resolve
Reversing the Clip
Once you’ve located and selected the clip you want to reverse, you can begin the process of reversing it. Here’s how:
Open the program and navigate to the “Edit” tab, which is typically located at the top of the screen.

Locate the video clip that you wish to reverse in the timeline. Right-click on this clip to bring up a menu of options.
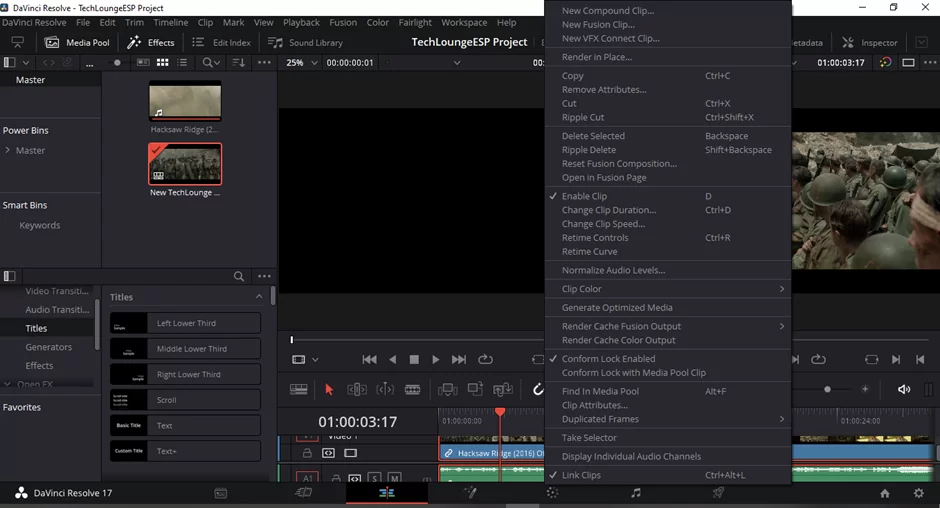
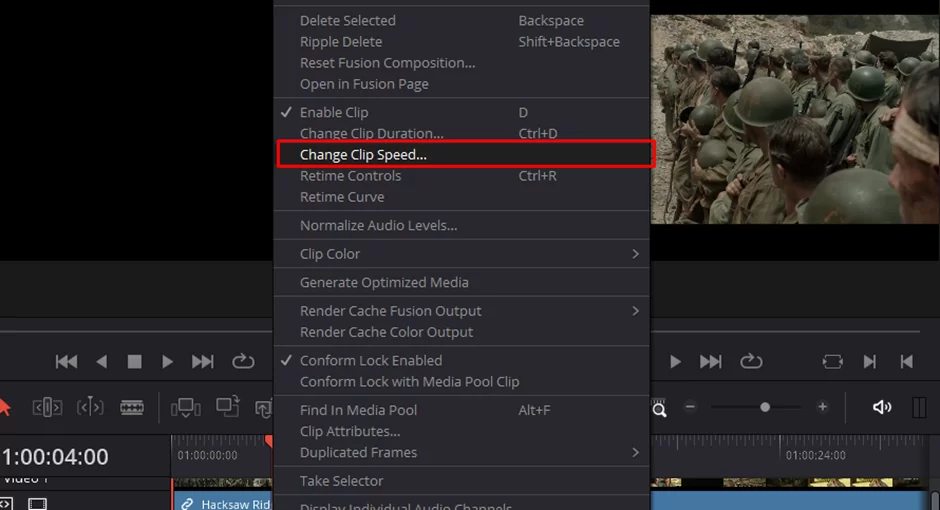
From the menu that appears, select the option labeled “Change Clip Speed.”
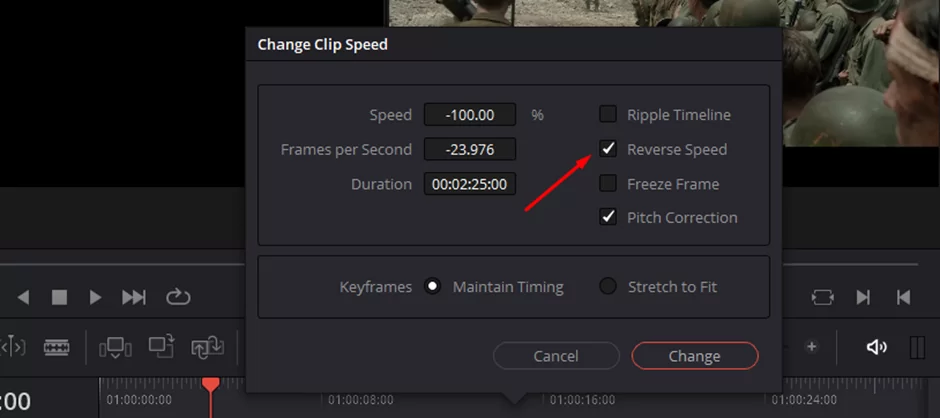
A new window will appear, allowing you to adjust the speed of the clip. Within this window, there will be an option to enable “Reverse speed” usually checkbox, tick this.
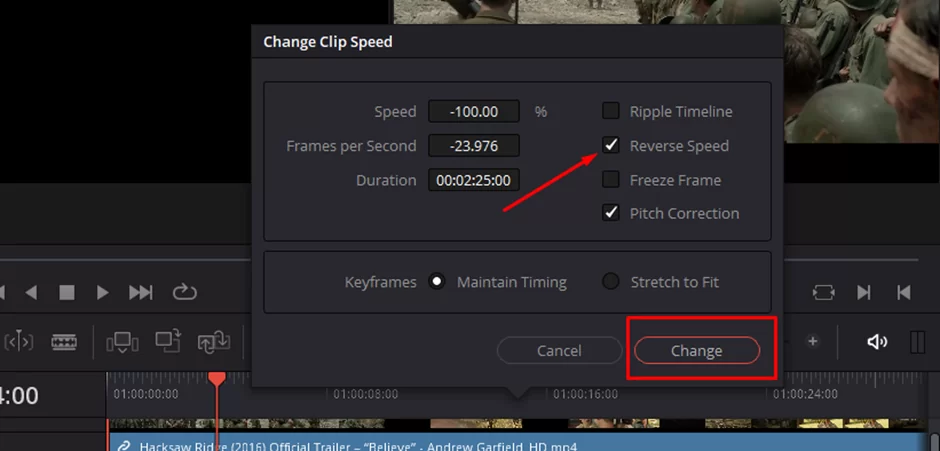
Once you have enabled the “Reverse speed” option, click the “Change” button to apply the changes.
Finally, you can export or render your video if you wish to save or share it.

It’s worth noting that reversing a clip will also change the audio, so if you want to keep the audio playing forwards, you’ll need to detach it from the video before reversing it.
You may also like our detailed article on how to freeze frame on Davinci resolve
Tips and Tricks
Here are some tips and tricks to help you create unique effects with reversing clips in Davinci Resolve:
- Combine reversing with other editing techniques, such as slowing down or speeding up the clip to create even more interesting effects.
- Experiment with reversing different types of clips, such as dialogue or action scenes, to see how the effect changes.
- Try reversing a clip and then using the “Ripple Edit” function to trim it to a specific length.
- To reverse the audio of the clip, you can use the audio editing tools in DaVinci Resolve.
- You can also use the “Reverse” function to reverse the playback of multiple clips at once by selecting multiple clips on the timeline before clicking the “Reverse” button.
- You can also reverse the clip in the Fairlight audio tab if you want to reverse the audio only.
Also see our step-by-step guide on cutting clips in Davinci resolve
Additional Functionality
- You can also use the speed control feature in DaVinci Resolve to play the clip in slow motion, or even backward at different speeds.
- You can also use the keyframe feature to create different speed variations throughout the clip.
- You can also use the “Reverse” function in the Fusion tab to do compositing and visual effects work and then reverse the result.
Using Retime Controls To Reverse a Clip in DaVinci Resolve
Here are the steps to reverse a clip in DaVinci Resolve using the “Retime Controls” feature:
Open DaVinci Resolve and navigate to the “Edit” tab.
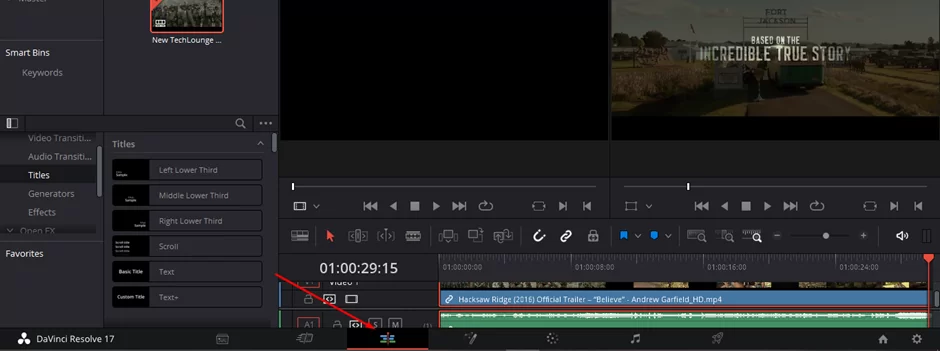
Locate the video clip you wish to reverse in the timeline.
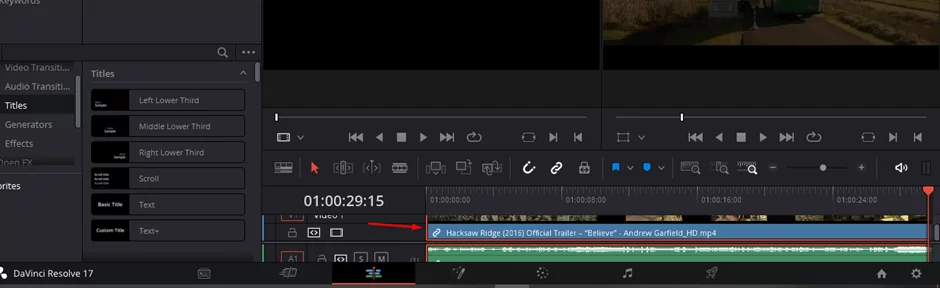
Right-click on the clip and select “Retime Controls” from the menu.

To reverse a video in DaVinci Resolve, click on the small black triangle at the bottom of the footage layer and select the option “Reverse Segment”. The direction of the blue triangles at the top of the footage layer will change, indicating that the video has been reversed.
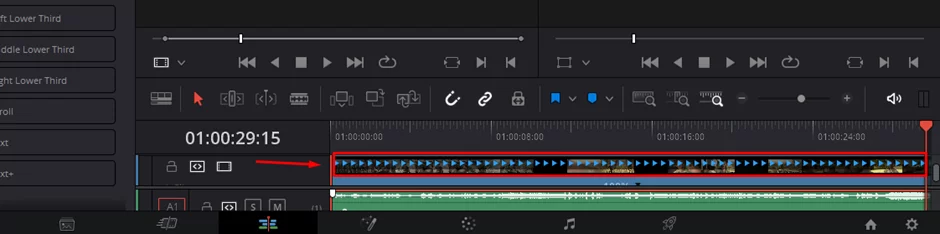
Additionally, the percentage at the bottom of the layer will also change, confirming that the reversal has been applied. Remember to export or render the video if you wish to save or share it.
This way of reversing a clip in DaVinci Resolve allows you to have more control over the speed of the reversed clip and you can adjust it to your liking.
Why We May Need To Reserve Clips In Davinci Resolve
Reversing a video clip in Davinci Resolve can bring a whole new dimension to your videos. Not only can it add a creative and visually striking effect, but it can also change the video’s narrative, adding an element of surprise and intrigue for the viewer. it can also be used for technical purposes like fixing filming mistakes.
Moreover, by synchronizing a reversed clip with other elements such as audio, it can create a more natural feeling. And, it’s a great way to practice and learn about the editing process in Davinci Resolve. With all these benefits, reversing a clip in Davinci Resolve is definitely worth considering when editing your videos!
Conclusion
Reversing a clip in DaVinci Resolve is a simple and straightforward process. By following the above steps, you can easily reverse your clip and add a unique touch to your video. With the additional functionality, you can also experiment with different speeds and keyframes to create more dynamic and interesting footage. This is a great way to add some creativity and visual interest to your videos.
If you liked reading this guide, you will also enjoy our in-depth guide on freezing frame in Davinci resolve