RPG Maker MV is a game development software that allows users to create their own RPG games. One key feature of RPG Maker MV is the use of sprites, which are 2D graphics that represent characters, enemies, and other entities in the game.
In order to use sprites in RPG Maker MV, they must first be imported into the software. We’ll show you the steps to import sprites in RPG Maker MV.
Steps to Import Sprites in RPG Maker MV
Step 1: Find assets that conforms to the ‘RPGMV Asset Standards.

You can read more about the Asset Standards by selecting Help > Contents, from the RPG Maker MV software Toolbar.
Some great resource sites from which you can find this type of asset are itch.io or the rpgmakerweb forums.
Step 2: Importing the assets to your game
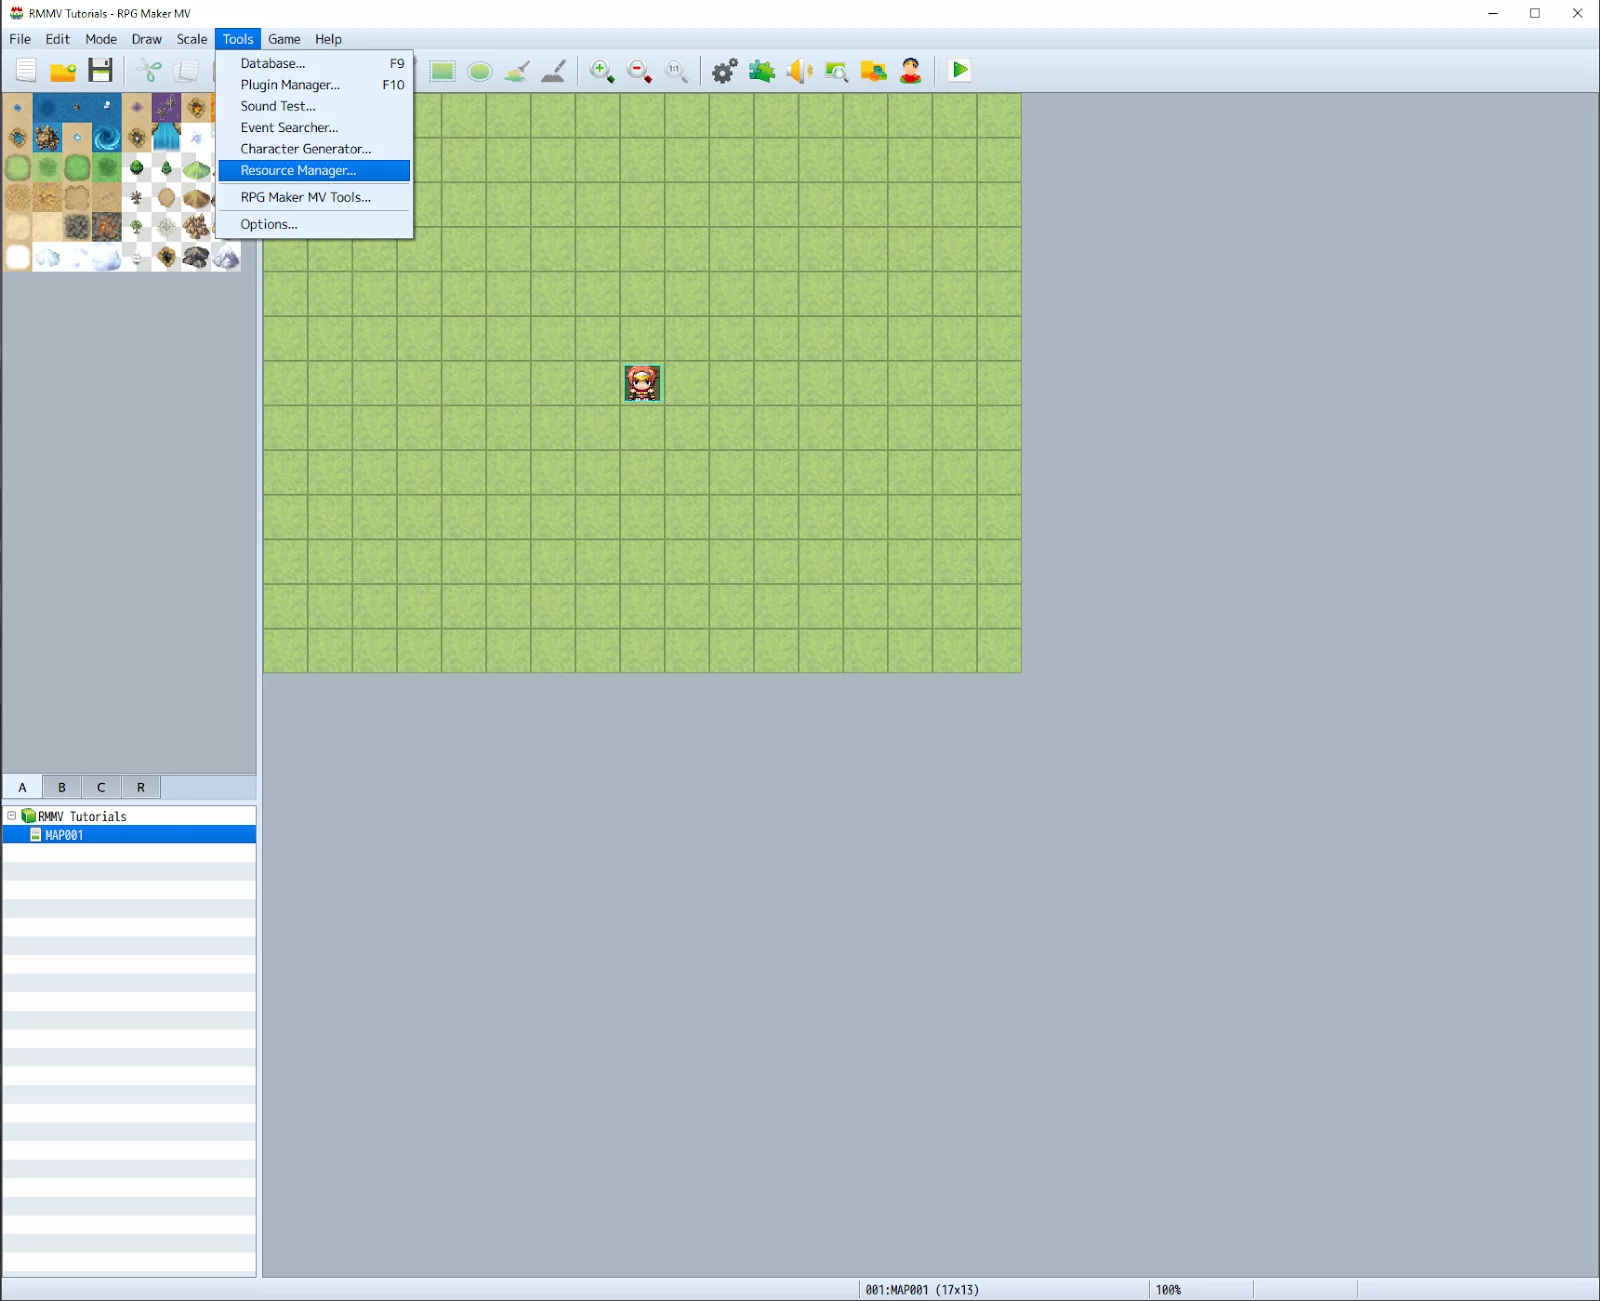
Once your assets are ready, select ‘Tools’ > ‘Resource Manager’ from the Toolbar of your RPG Maker MV software.
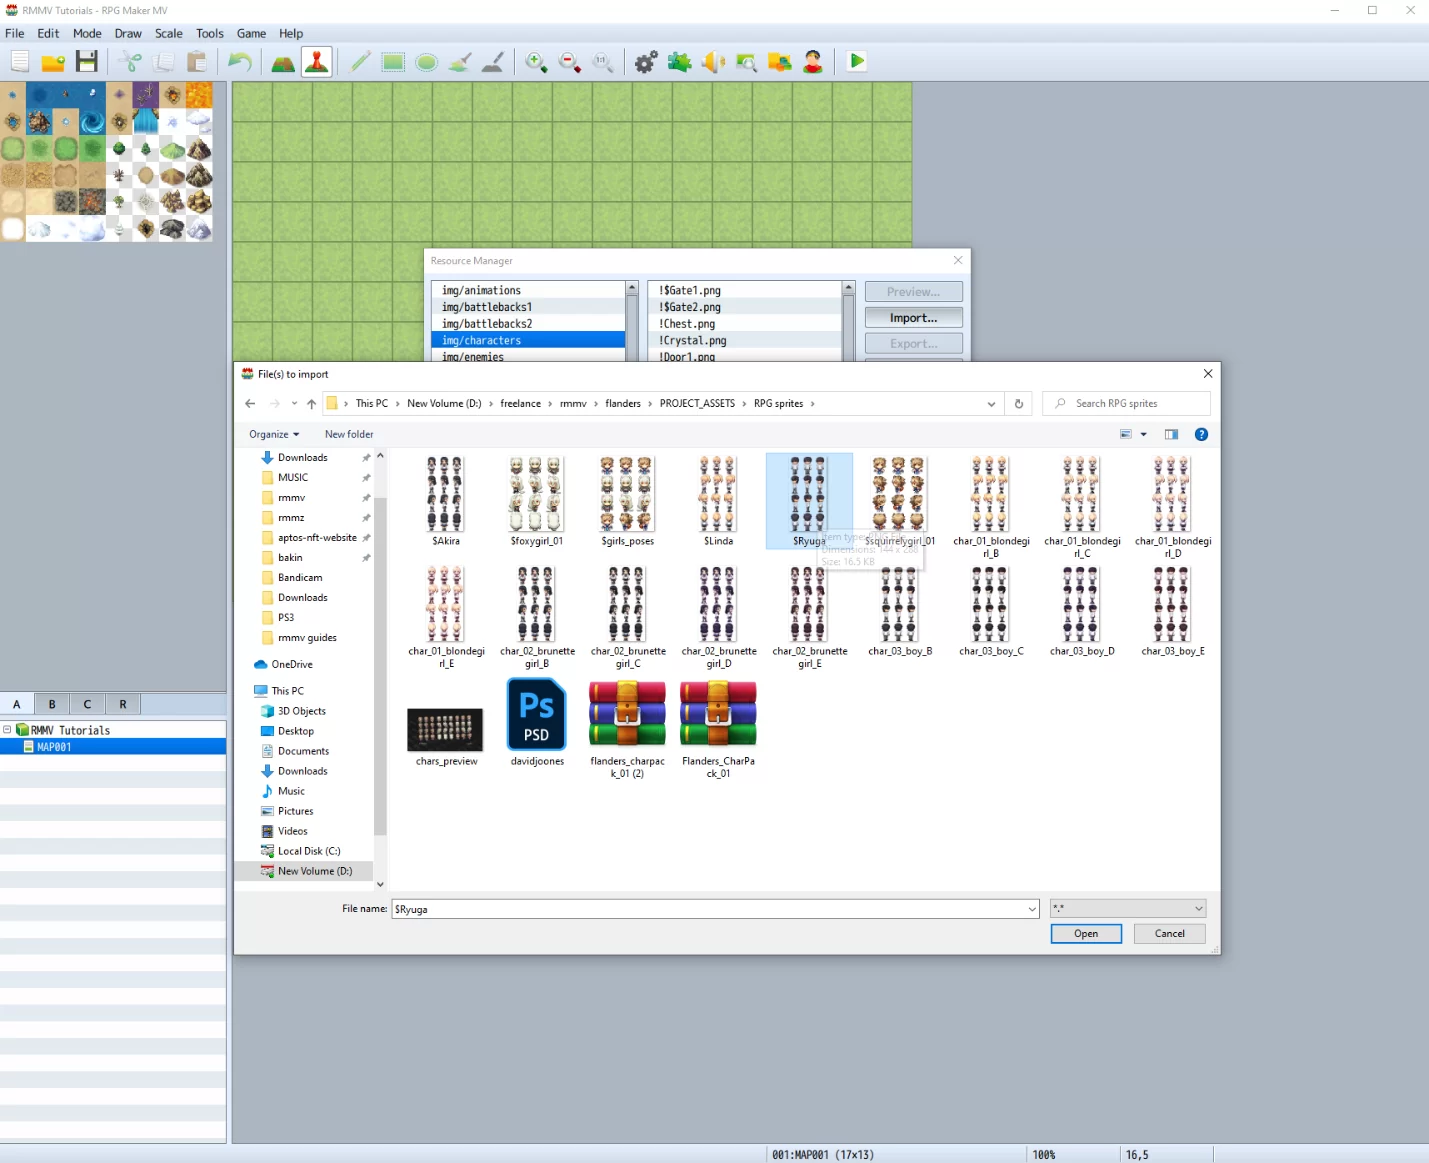
This will open up the Resource Manager window, which contains all of the assets in your game’s project folder.

Let’s add the walking sprite of our character. Select ‘img/characters’ from the left list in the window. This will bring up another list of all walking character sprites currently in your game. The ‘Import’ button will also be enabled, allowing us to add a new character sprite.

After clicking on the ‘Import’ button, locate the file(s) you would like to import. In our case, it’s this character. Click on ‘Open’ once you’re finished.
The character sprite should now be imported. Scroll through the list on the right to make sure it’s there, and use the ‘Preview’ button to view your newly imported sprite.

The process is the same for adding the face sprites and the side view battler sprites of your character (If your game features a side view battle system). For the face sprites, we wanna add them under the ‘img/faces’ folder, while the side view battler sprite goes to ‘img/sv_actors’ folder.
Another way of importing assets is by going directly to your game’s project folder, which should look like so:
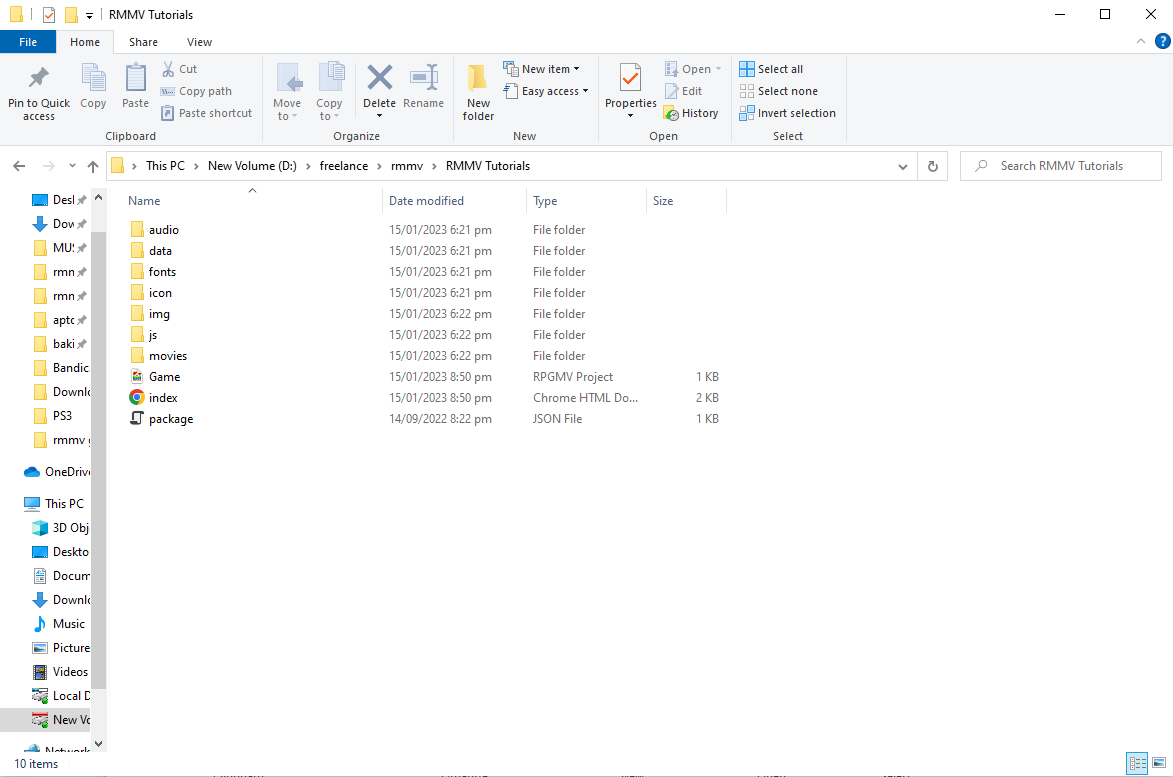
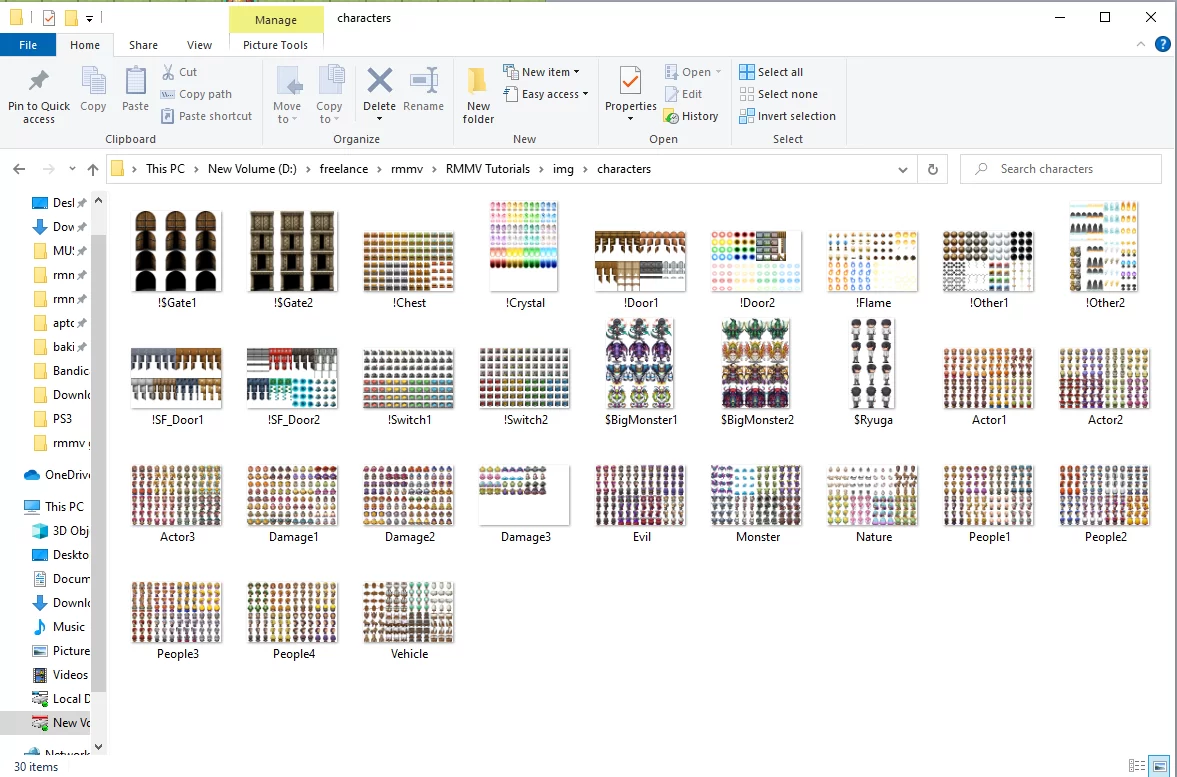
And then, from there, go to the img > characters, and paste your character sprite inside the ‘characters’ folder.
Viola! You’re done.
We also recommend that you check our in-depth guide on how to import and add tilesets in RPG Maker.
Problem Importing Larger Sprites
Sometimes you start a game, and you have to use the custom sprite for the final battle, but it is larger than the 32 by 32 sprites of the character. Now, you are faced with trying to import a larger sprite, but it isn’t just working.
Okay, here is your answer. There are no size limitations for sprites. if something doesn’t function, the sprite structure is incorrect. The size of the 3×4 pictures that make up a single sprite is irrelevant. Additionally, you’ll need $ to prove that it is a single 3×4 sprite. A regular sprite sheet consists of 4×2 sprites of 3×4 images each, for a total of 12×8 images – check the existing sprite sheets for examples.
You can also check out our detailed guide on adding characters in RPG Maker.
Let’s explore some more faqs
What is a Sprite?
A Sprite is a 2D bitmap object. The object can be a static image or an animation that is integrated into a larger scene. Sprites are used in games to create a collective scene. Each object represents an object. So, what is a Sprite Sheet? A Sprite sheet is a collection of still images that progresses. Once the Sprite sheet is displayed sequentially, it will create an animation.
Sprites are very good for creating 2D games. They can also be used to create Pseudo 3D Sprite games.
Don’t rule our Sprites in the 3D world because they’ve been used to create 3D games. They are used in 3D games by rendering a frame from certain perspectives. By doing this, the computational burden of drawing each place dynamically is eliminated. In modern 3D games, grass and other vegetation are frequently displayed using sprites in the form of billboards. Additionally, sprites may be combined with cel-shading.
I know this isn’t connected to gaming, but in recent years, Sprites have been used beyond gaming. For example, they have been used in web design to improve performance. They help improve performance in web design by combining numerous small images and icons into larger images called a tile set.
Common Sprite Drawing Methods
There are two common Sprite drawing methods. Let us look at them below.
- Buffering
When you use the buffering method, the CPU and GPU modify a frame buffer held in RAM that needs memory cycles to store and load pixels. The sprites are usually processed through a display list. The buffering method will usually need double buffering to avoid flickering and tearing. However, this method also places fewer restrictions on the number and size of moving objects.
Systems with great processing power and lots of fast RAM are the best for the buffering method. Because of their pricey CPU, GPU, and RAM technology, arcade systems were typically the only ones up until the early 1990s that could use this method particularly well.
- Hardware Sprites
Hardware sprites behave like ghosts in that they float around on top of the bitmap data in the frame buffer rather than being integrated into it. The quantity and size of sprites that can be displayed with this method are restricted. Still, two-dimensional forms can be moved about the screen either horizontally or vertically with little additional software overhead. Simply put, the entire system’s performance is not significantly impacted by hardware sprites.
This method was ideal for computers that didn’t have a very fast CPU and GPU.
If you enjoyed reading this article, you will also like like our highly informative guide on adding music in RPG Maker.