Flipaclip is a great way to make animations on your phone or computer. In this tutorial, I’ll show you how to use it and some features you can use to make your animation look great. Flipaclip is available for Android and iOS devices and desktop computers.
I’ll show you how to use the Flipaclip app step by step, with screenshots included. This guide is very easy for beginners to understand and start to do animation projects.
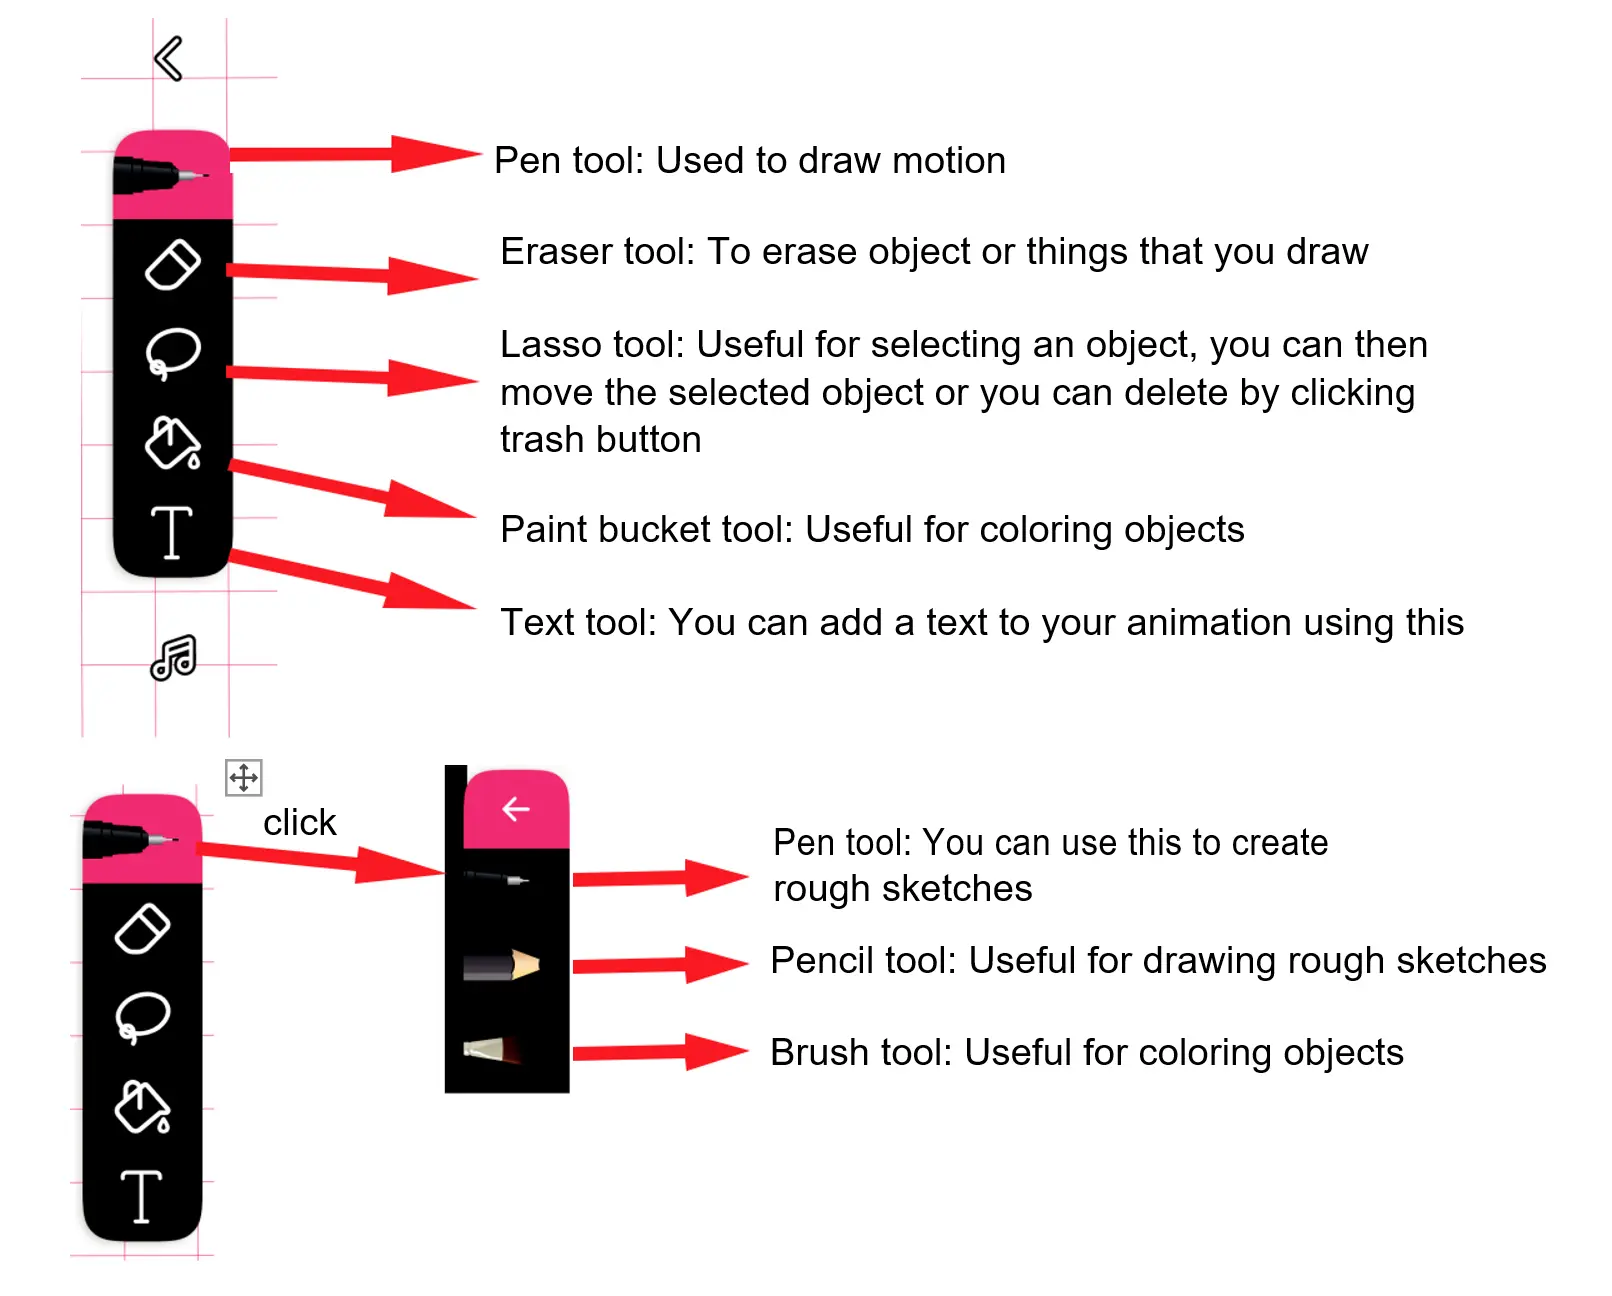
First, let’s learn the tool settings. We want to first ‘play’ around with these tools. Don’t worry; you won’t break anything!
FlipaClip Drawing Tools
Adding, Copying, Pasting, and Deleting Frames on FlipaClip
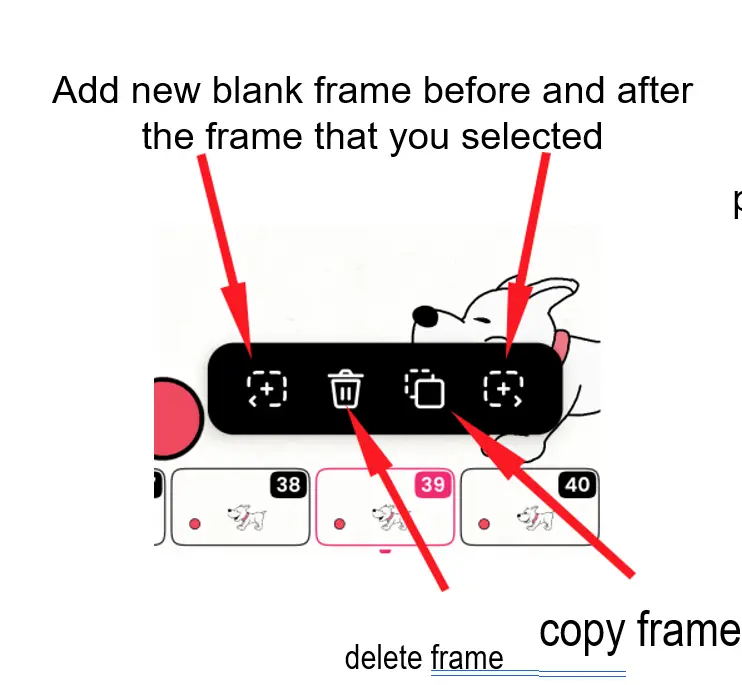
Adding a new frame to existing frames

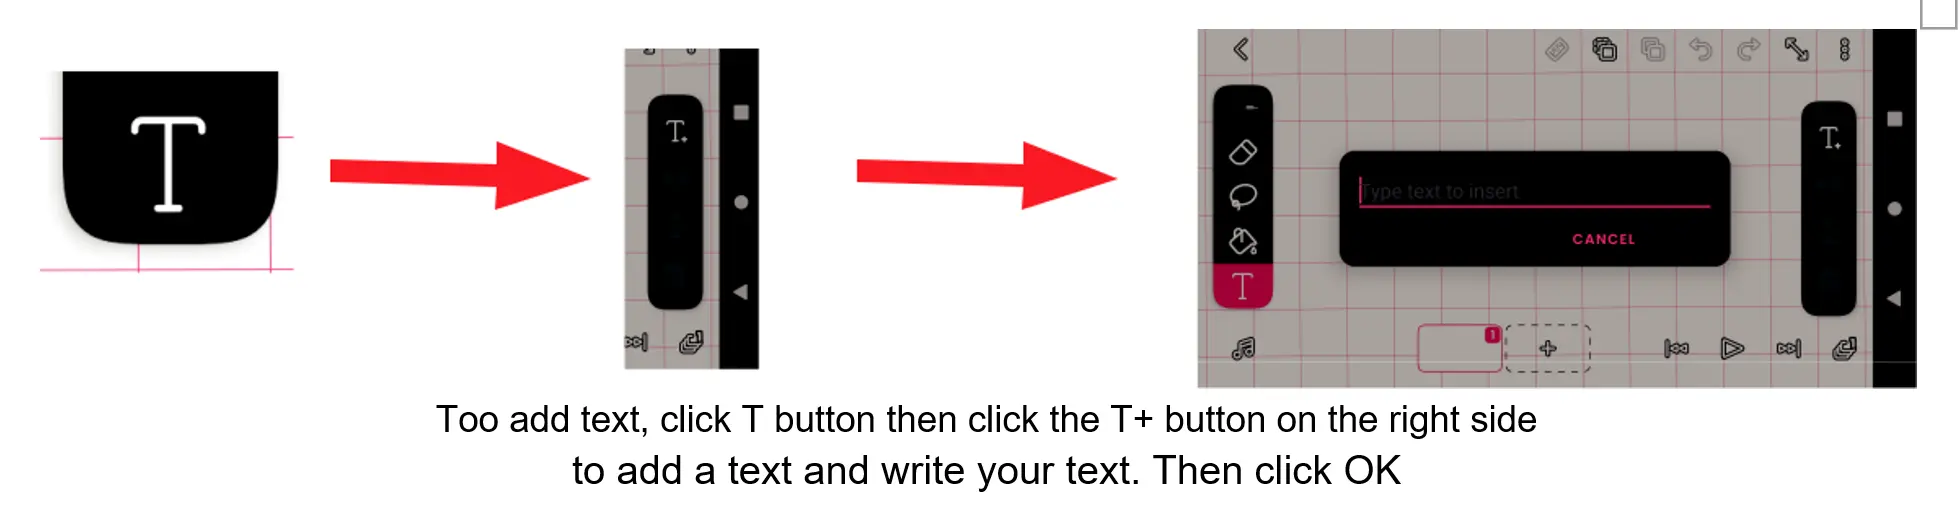
Adding Text in FlipaClip
To add text at any time, follow this:
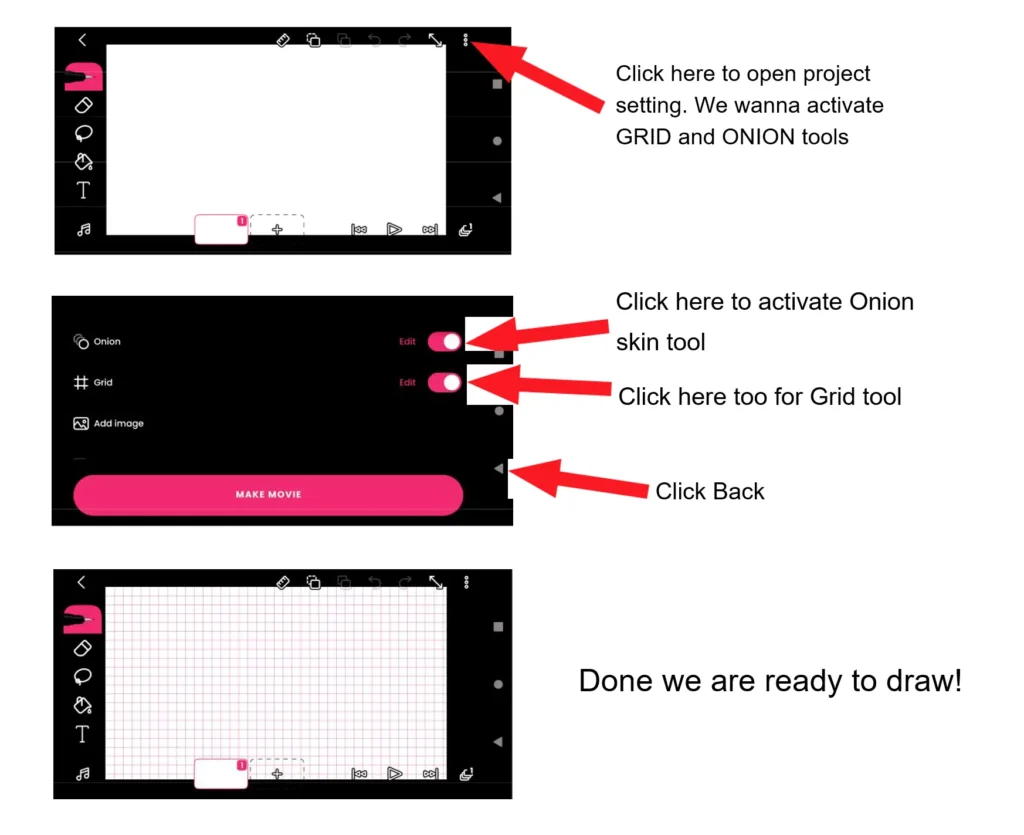
Activating the Onion and Grid Tool on Flipaclip
So, here are the steps I’ll take you through so you can start to use Flipaclip:
1. How to create a new Flipaclip project
2. How to draw with Flipaclip tools
3. How to add audio to your Flipaclip animation
4. How to export your Flipaclip animation
Note: Make sure you have a clear concept before starting to animate on Flipaclip. A concept is based on your idea.
Step 1: How to create a new project on Flipaclip
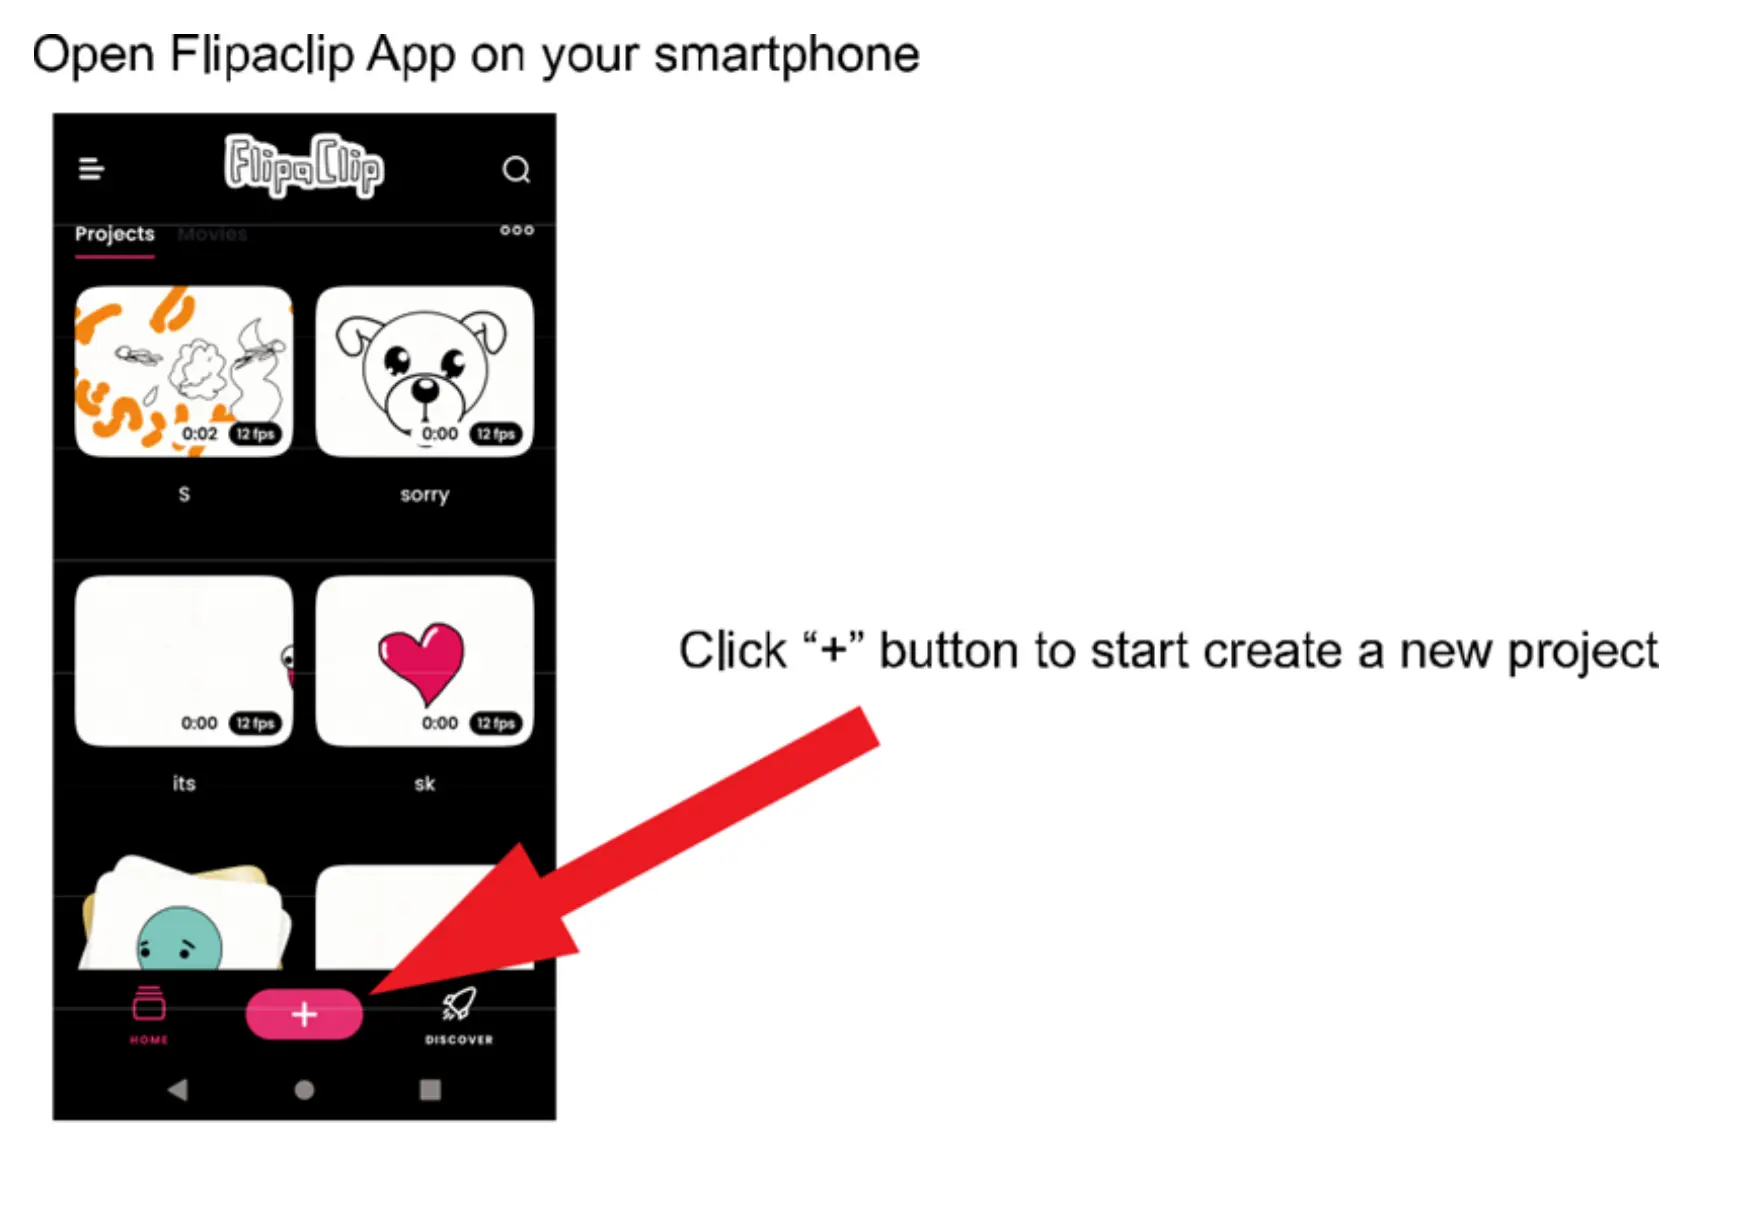
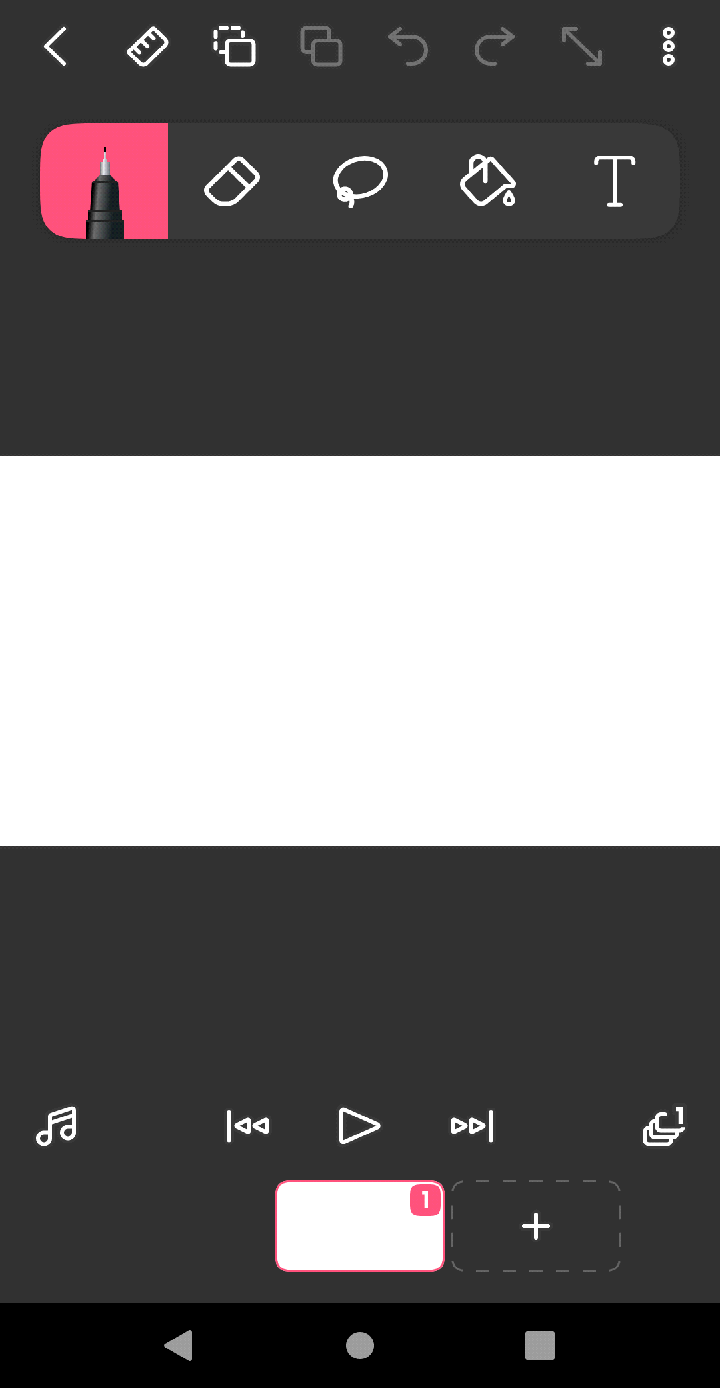
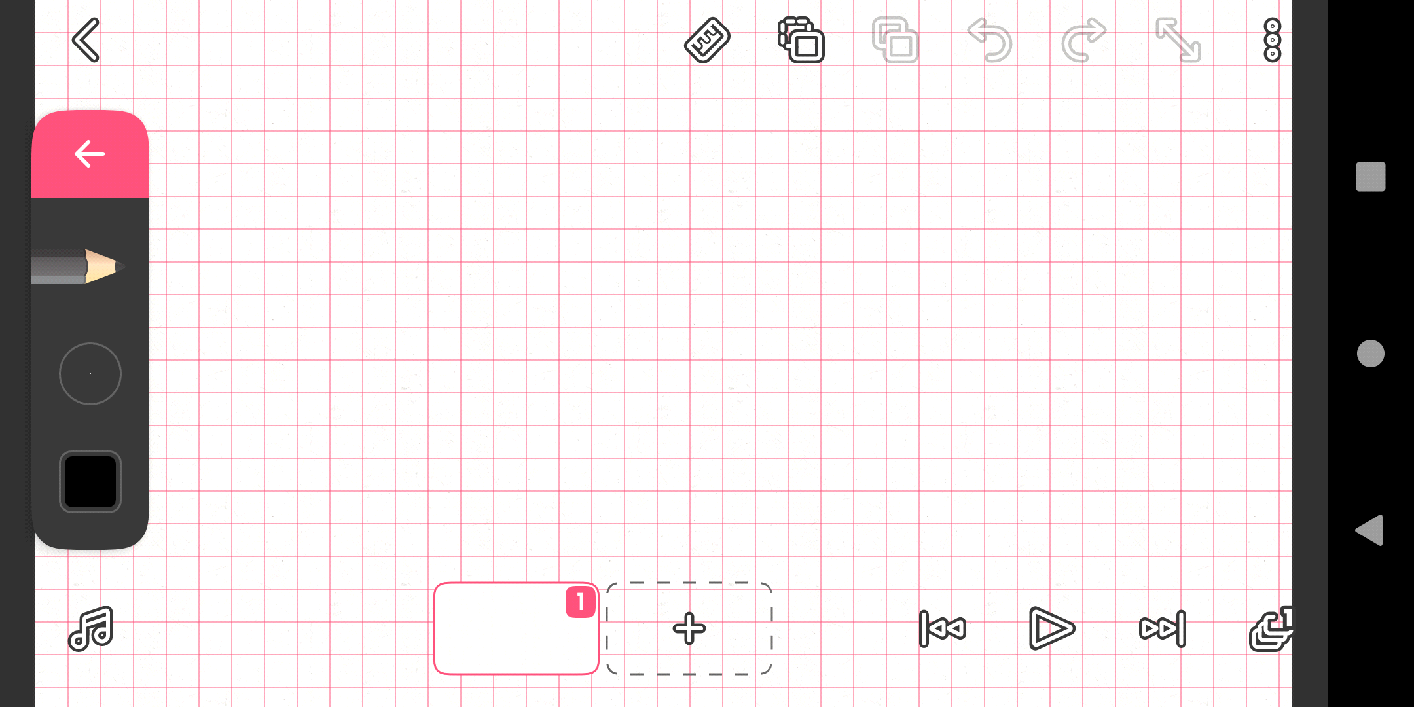
Open your Flipaclip app on your smartphone. The image below is the first interface that will show. Just click (+) button to start a new project.

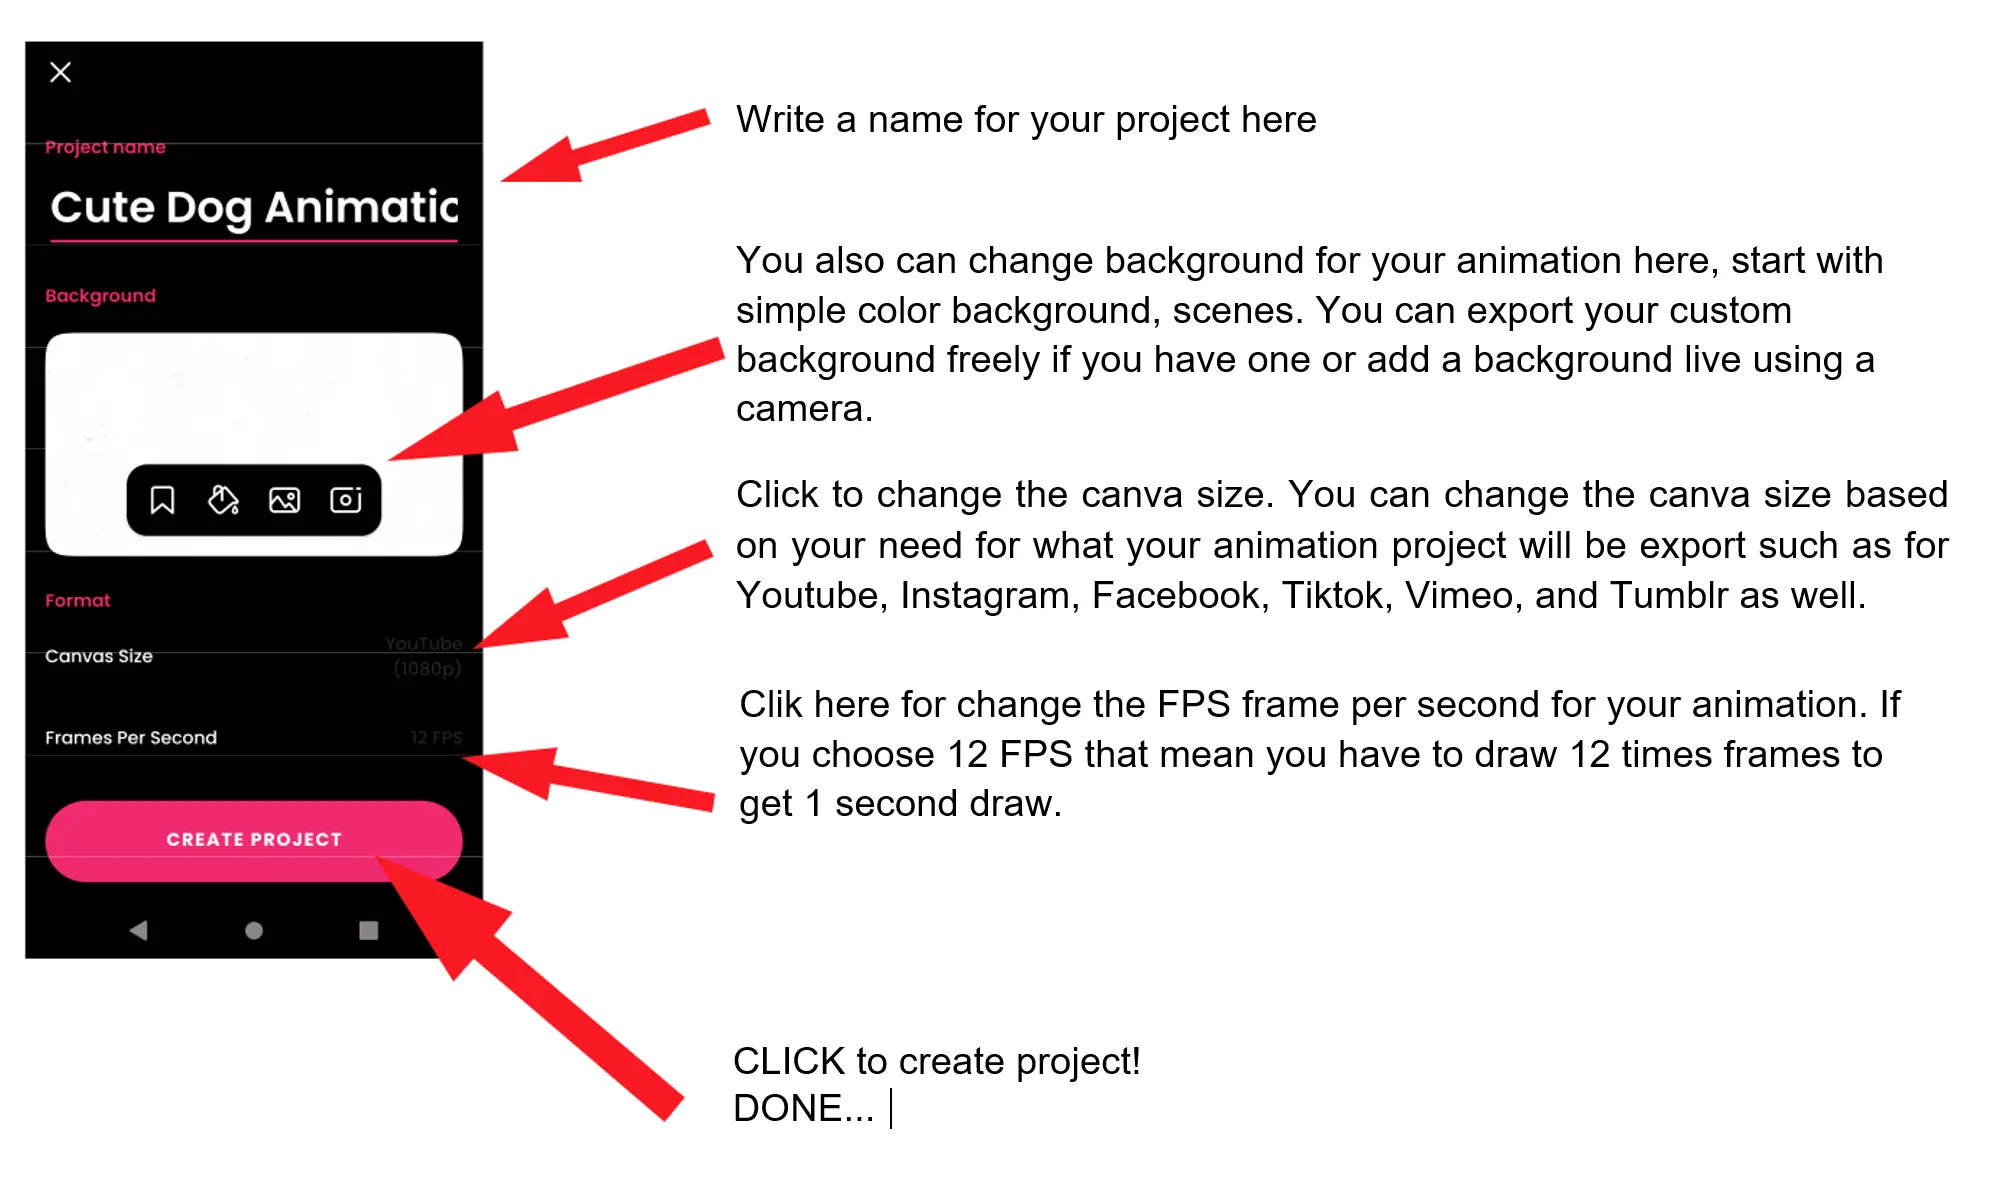
Create a name for your project. You can change the background with the templates that is available on the Flipaclip app, add a simple color, or you can also you can export a custom background or shot using your camera.
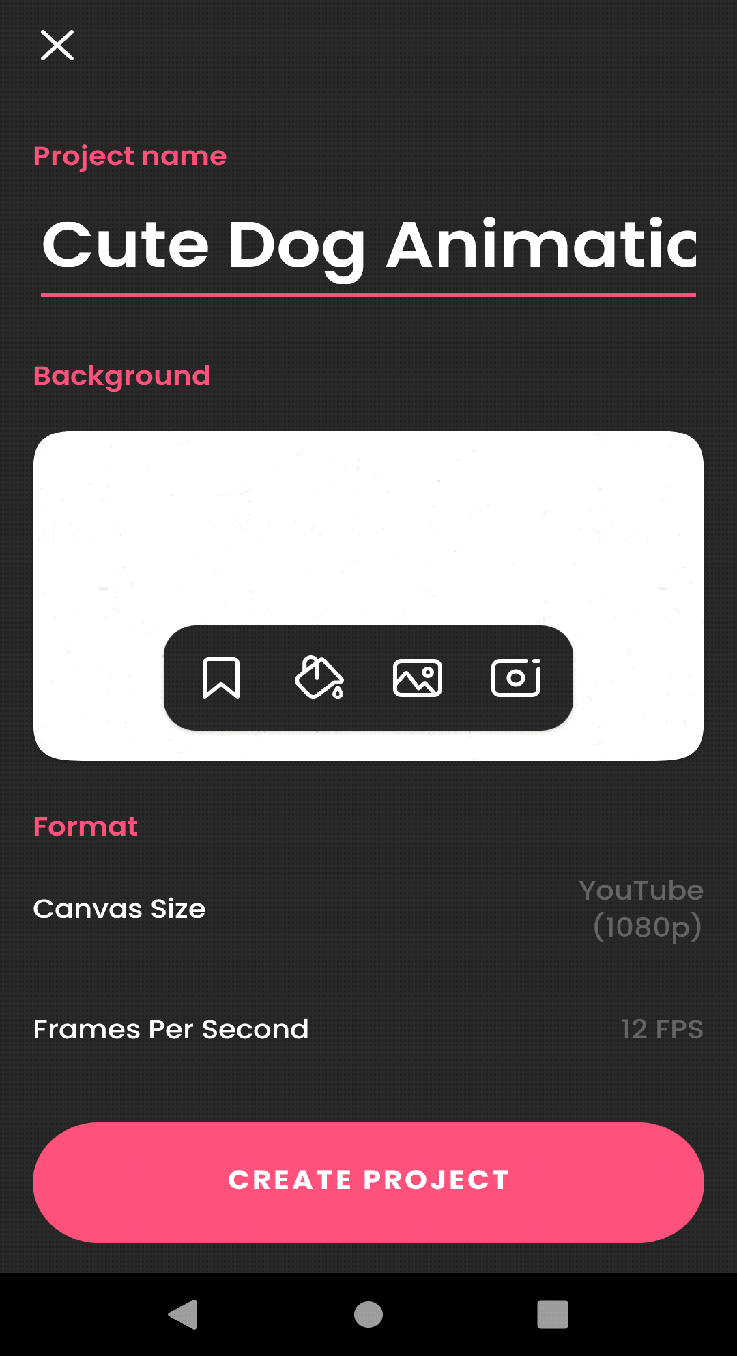
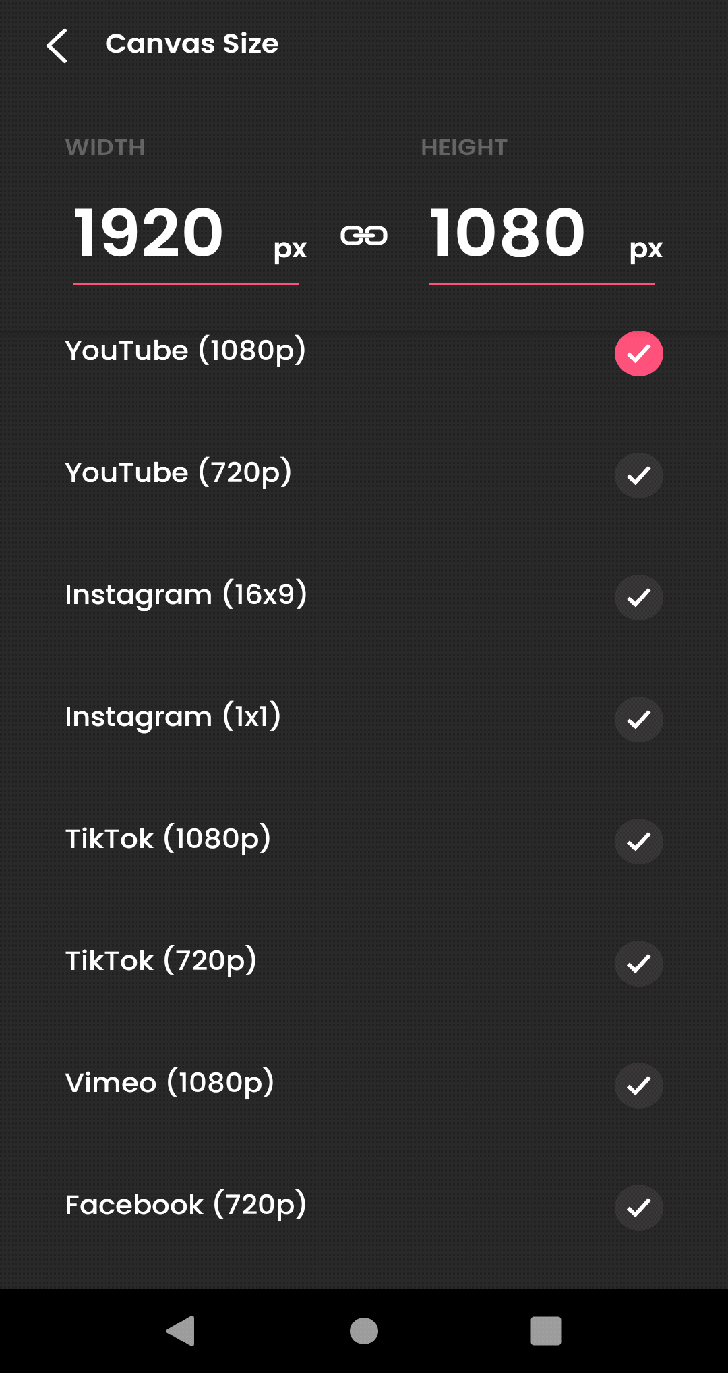
Next, set the canvas size. On Flipaclip you can set the canva size/resolution for Youtube videos, Instagram, Tiktok, Vimeo, Facebook, and Tumblr. Make sure to choose the resolution and screen ratio as well. Here, I chose Youtube 1080p.
Set the FPS (Frame per Second) for your animation. In Flipaclip you can set FPS between 1-30 only. Here, I chose 24 fps, meaning I have to draw 24 frames to get 1 second.
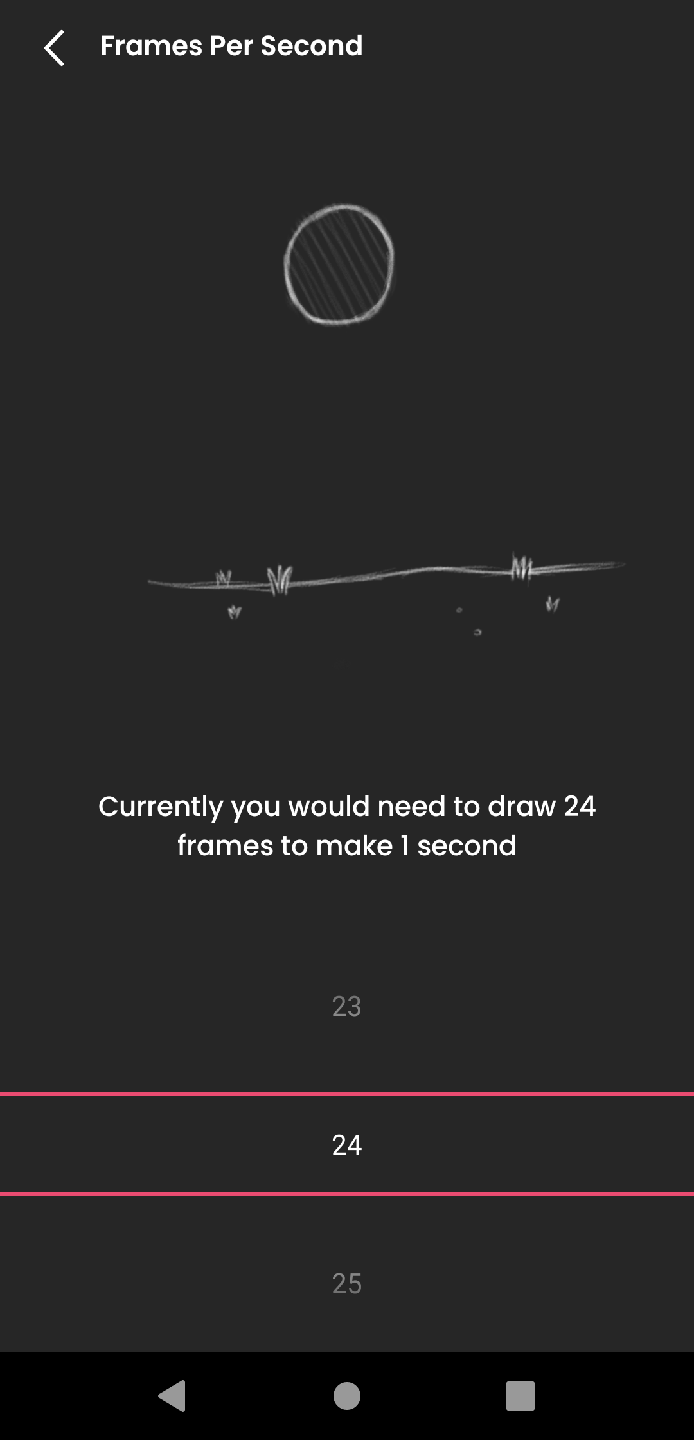
Note: The more frames, the smoother your animation.
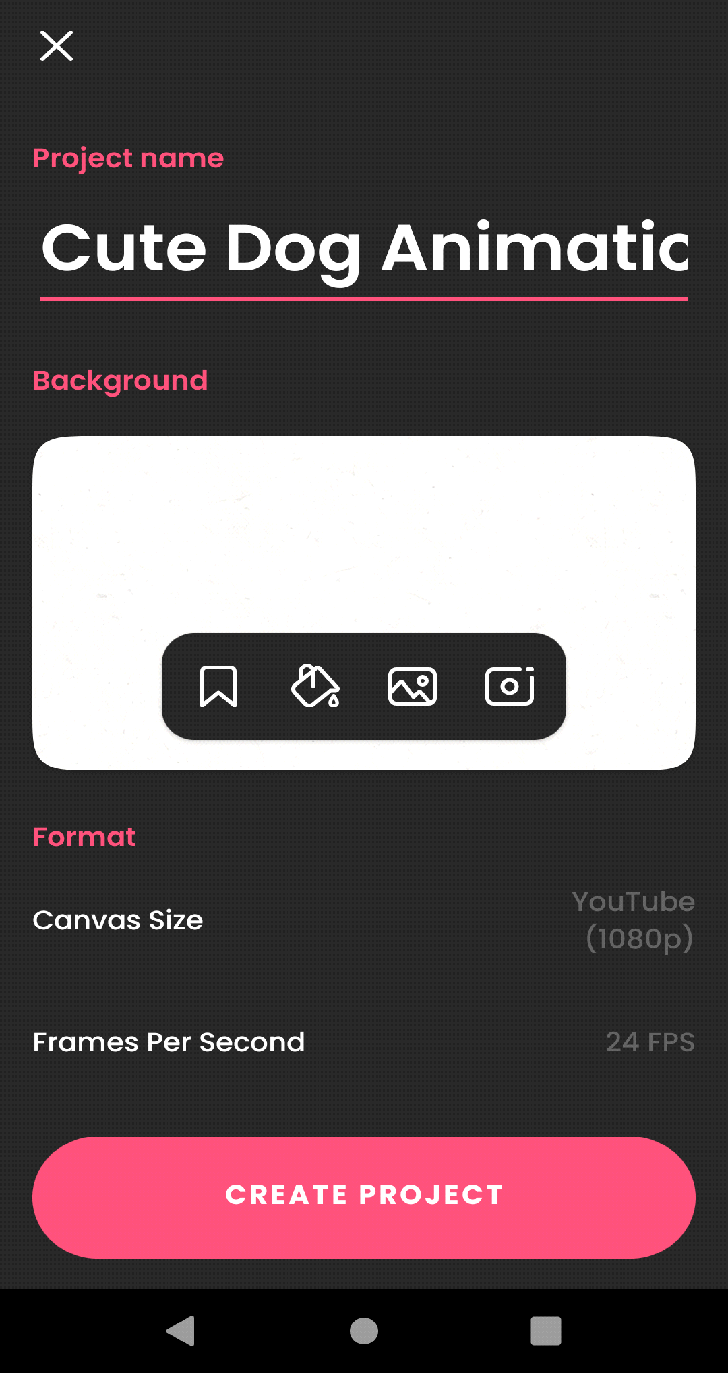
Click Create Project
Step 2: How to use Flipaclip tools
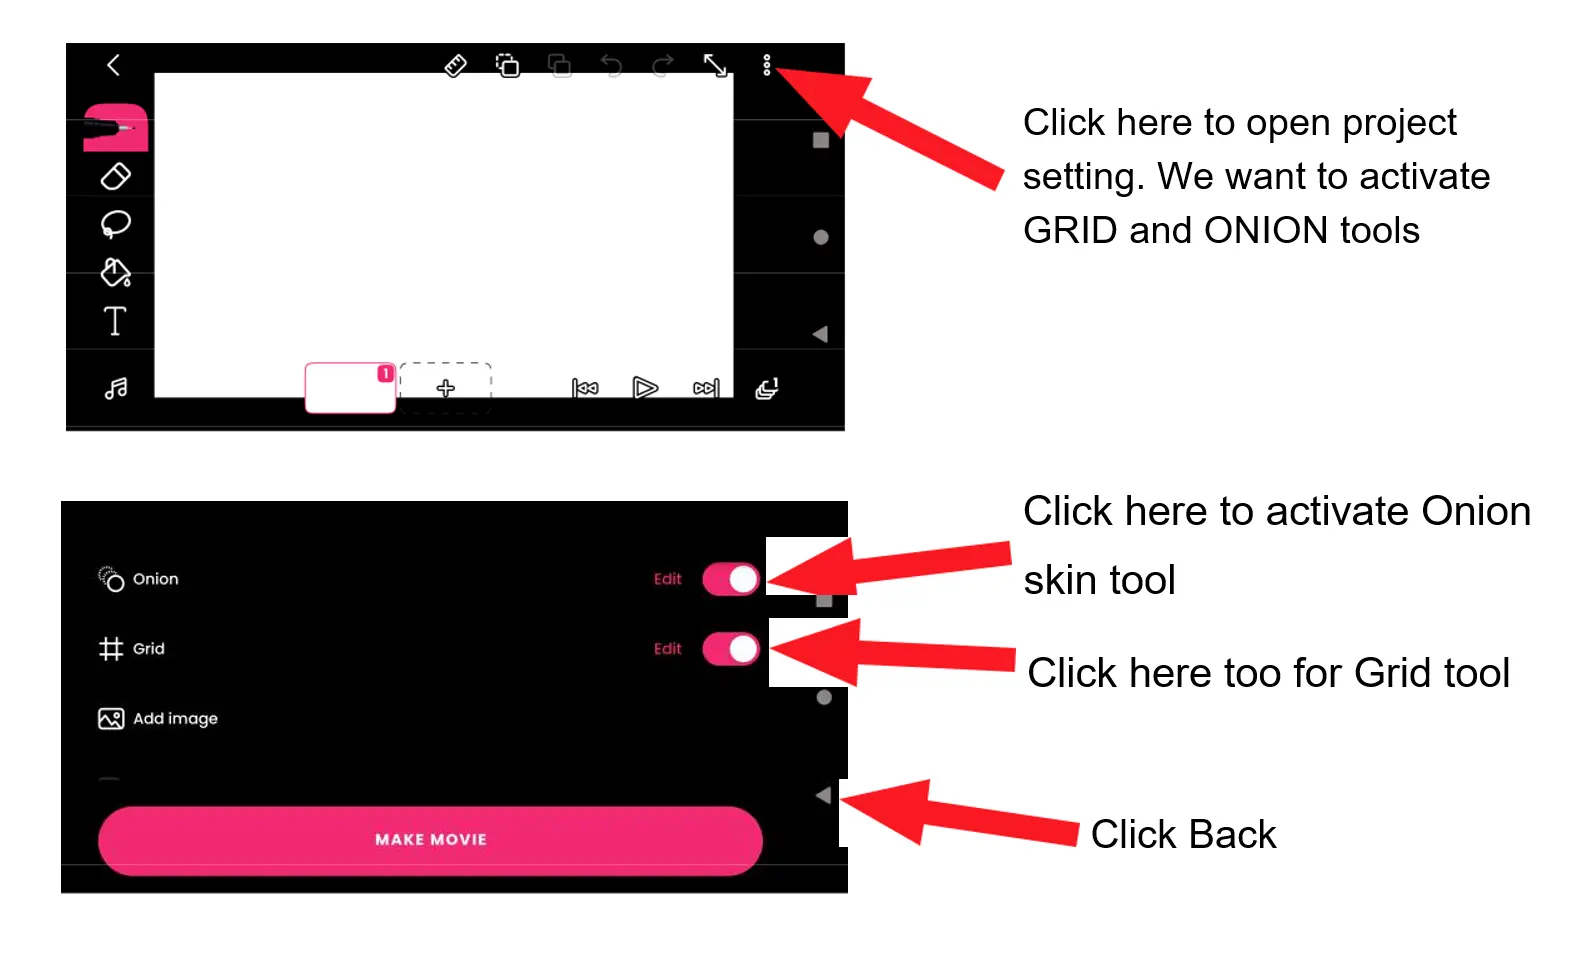
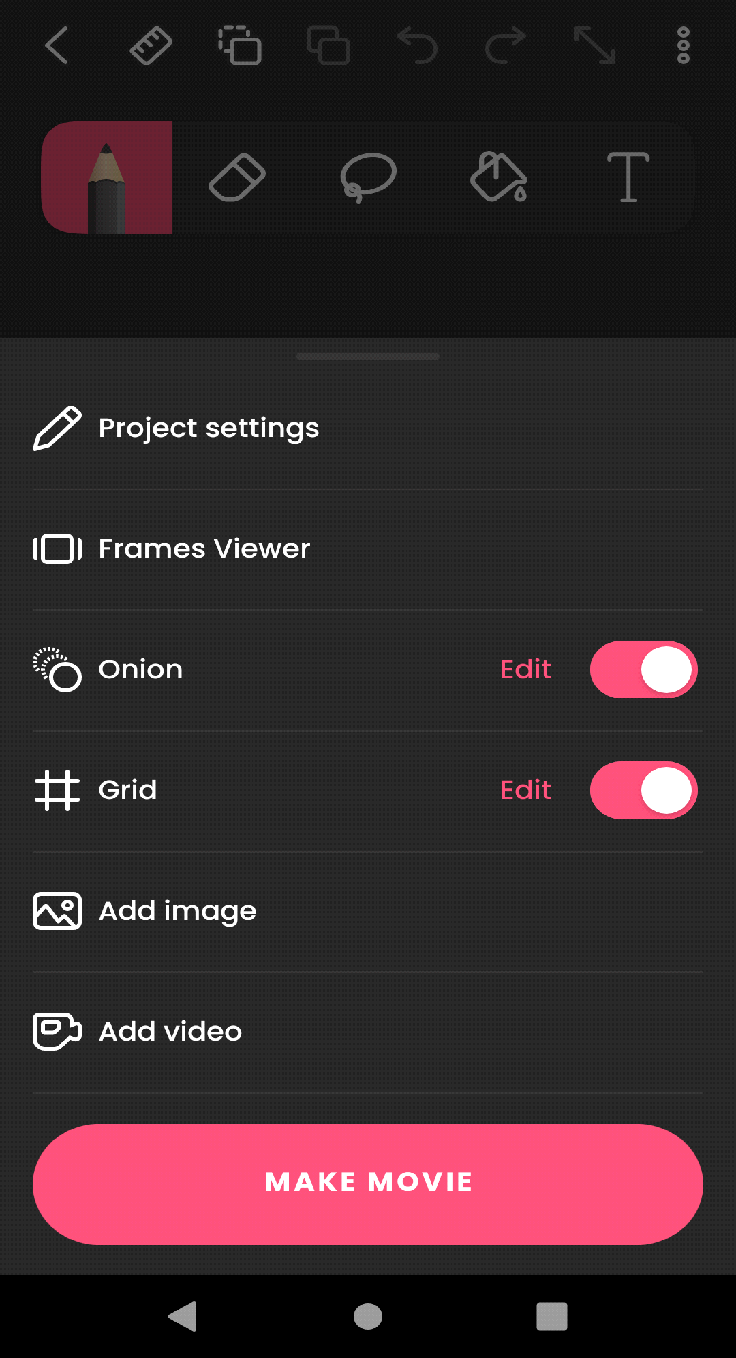
Before we start to draw on the Canvas, You should activate the Onion Skin and Grid tool first. These two tools are very useful to help you draw. Just click the right panel on the top corner.
Click the panel Onion skin and Grid tool to activate like below:
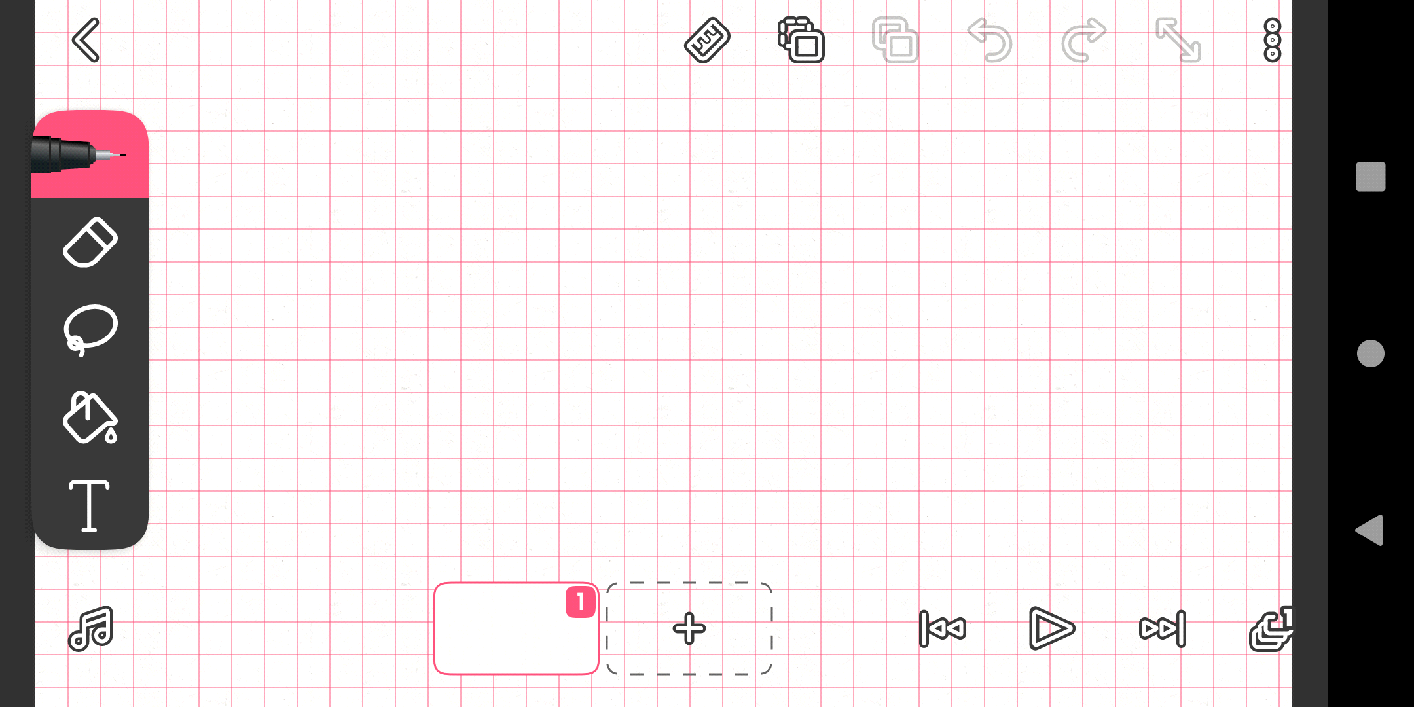
Change your phone into landscape view like below. Then you are ready to draw!
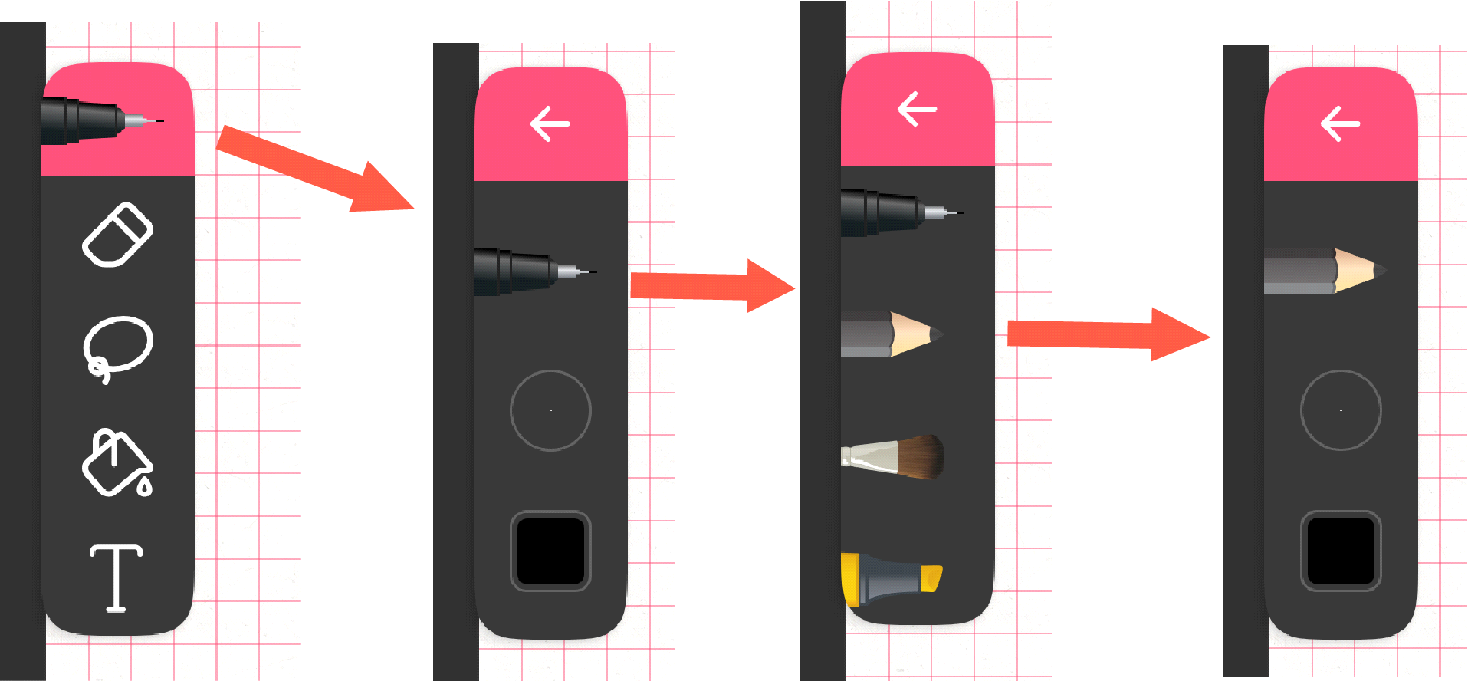
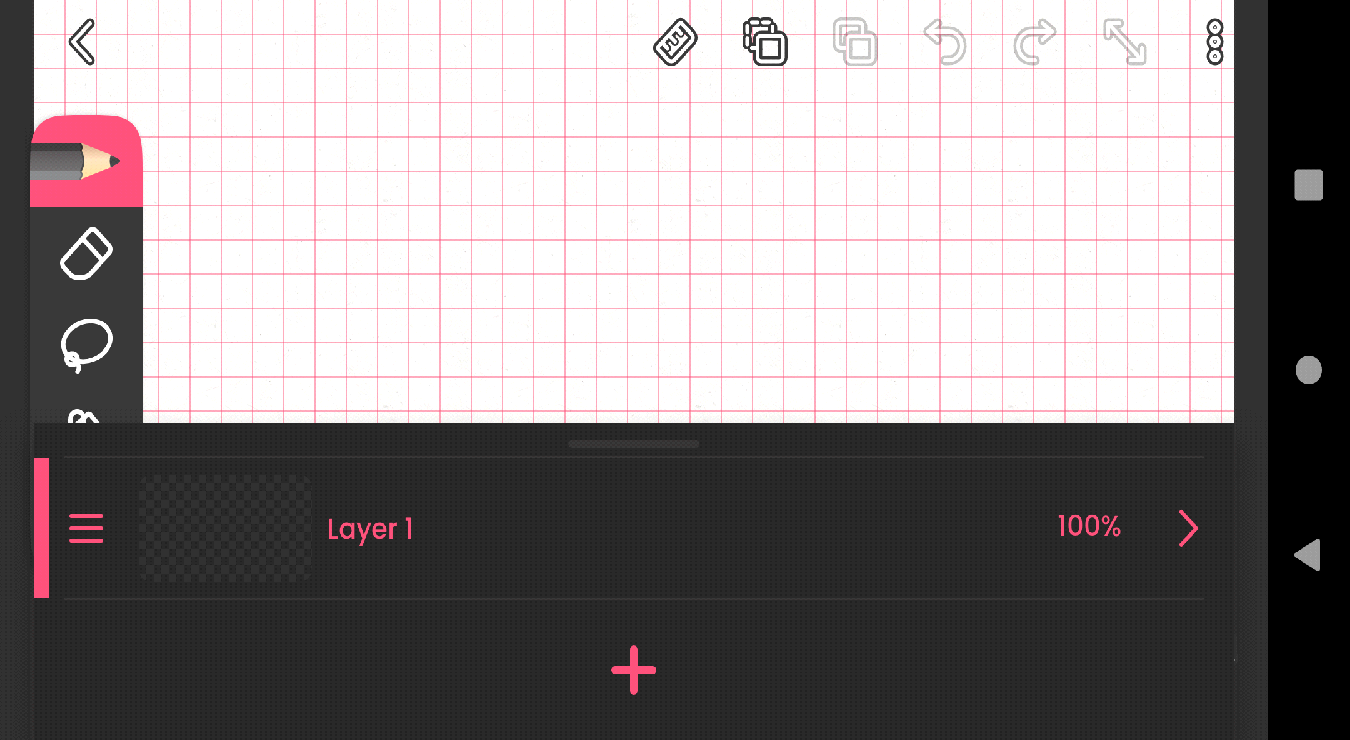
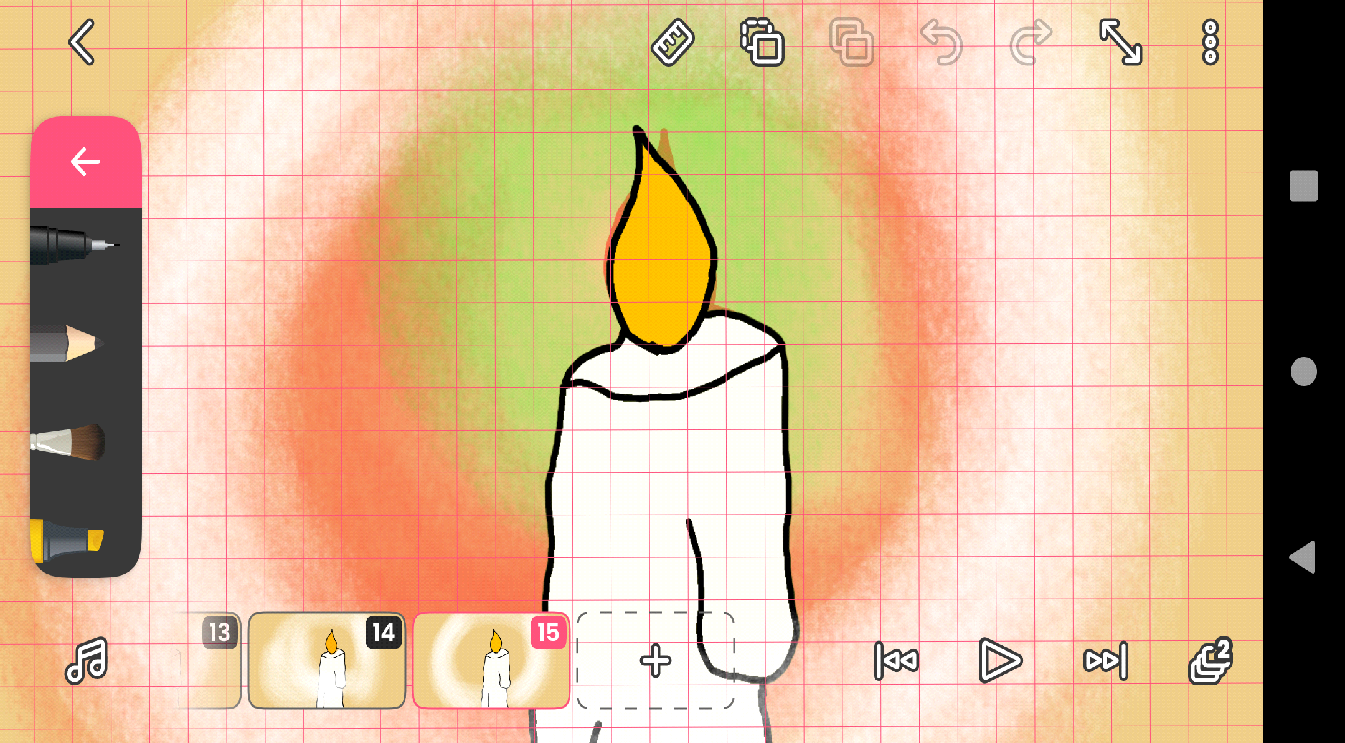
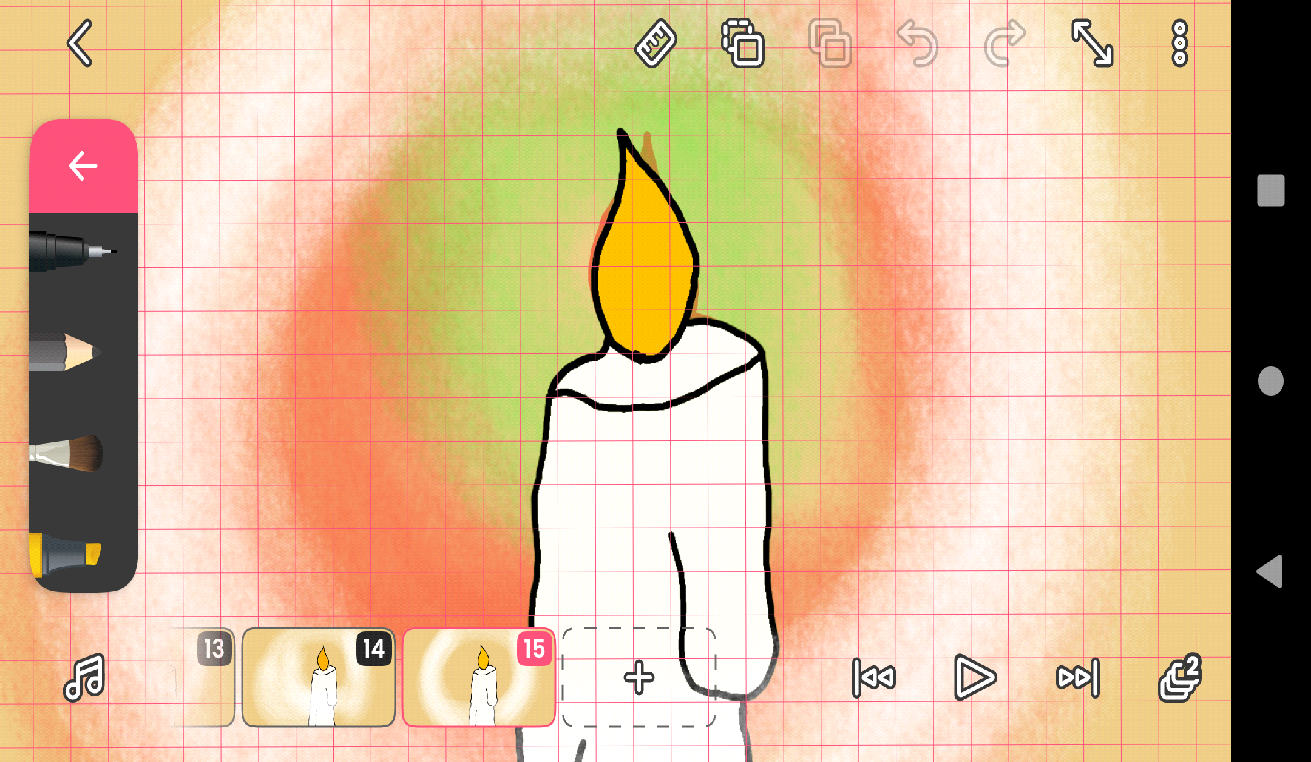
Draw your rough sketch motion first on this first layer, or you can draw with the Pen tool as well without sketching first. How you can use the Pencil tool? To find the pencil tool, Click Pen tool – click again – Chose pencil tool – then click back like in the image below. Then you can draw your rough sketch.
Click (+) button as shown below to create the next frame. Note : Left (+) is for adding to the previous frame and right (+) for next frame
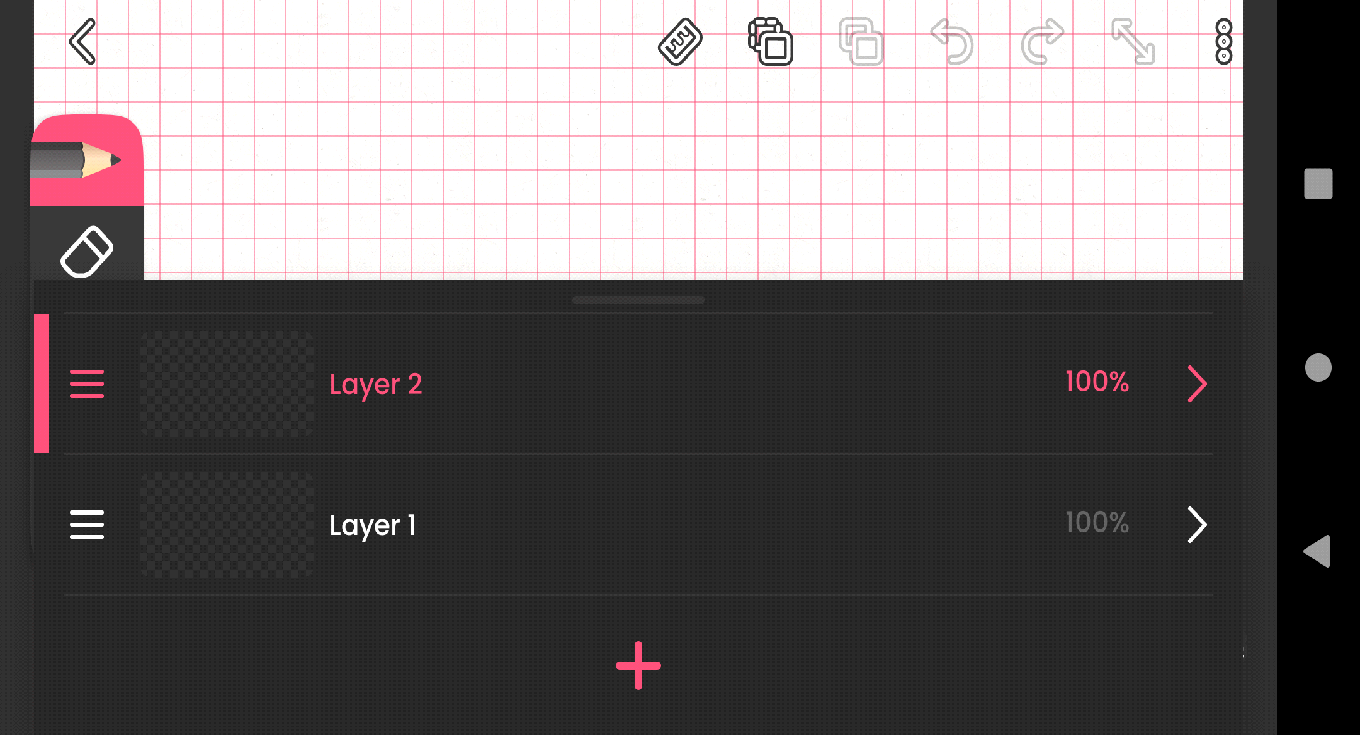
After you’re done creating the rough sketch, Click the layer panel tool in the bottom right corner, as shown below, to add a layer above the first layer. To create a neat sketch with the Pen tool, click (+) button, and a layer will be created above the first layer. Then you can continue sketching with the pen tool based on your rough sketch. Like below.
See our guide on how to delete a layer on FlipaClip if you want to delete a layer or frame.
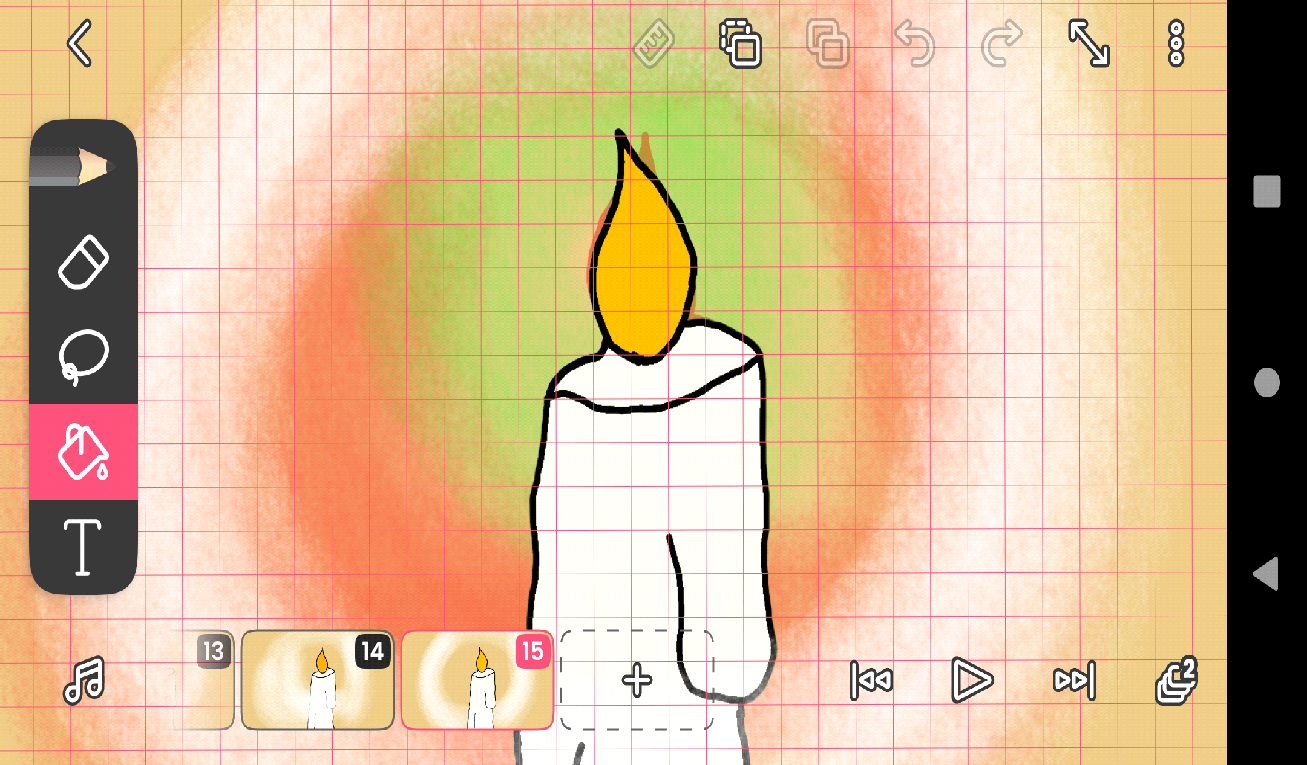
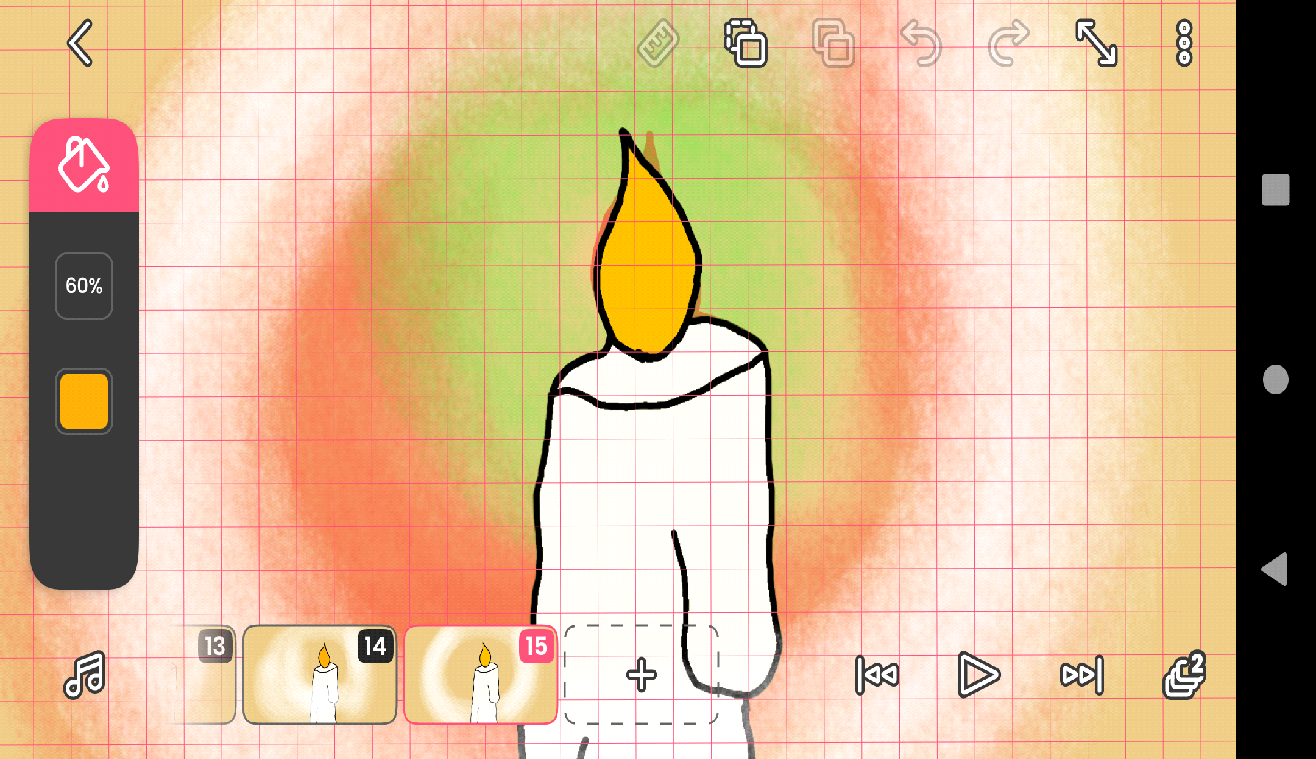
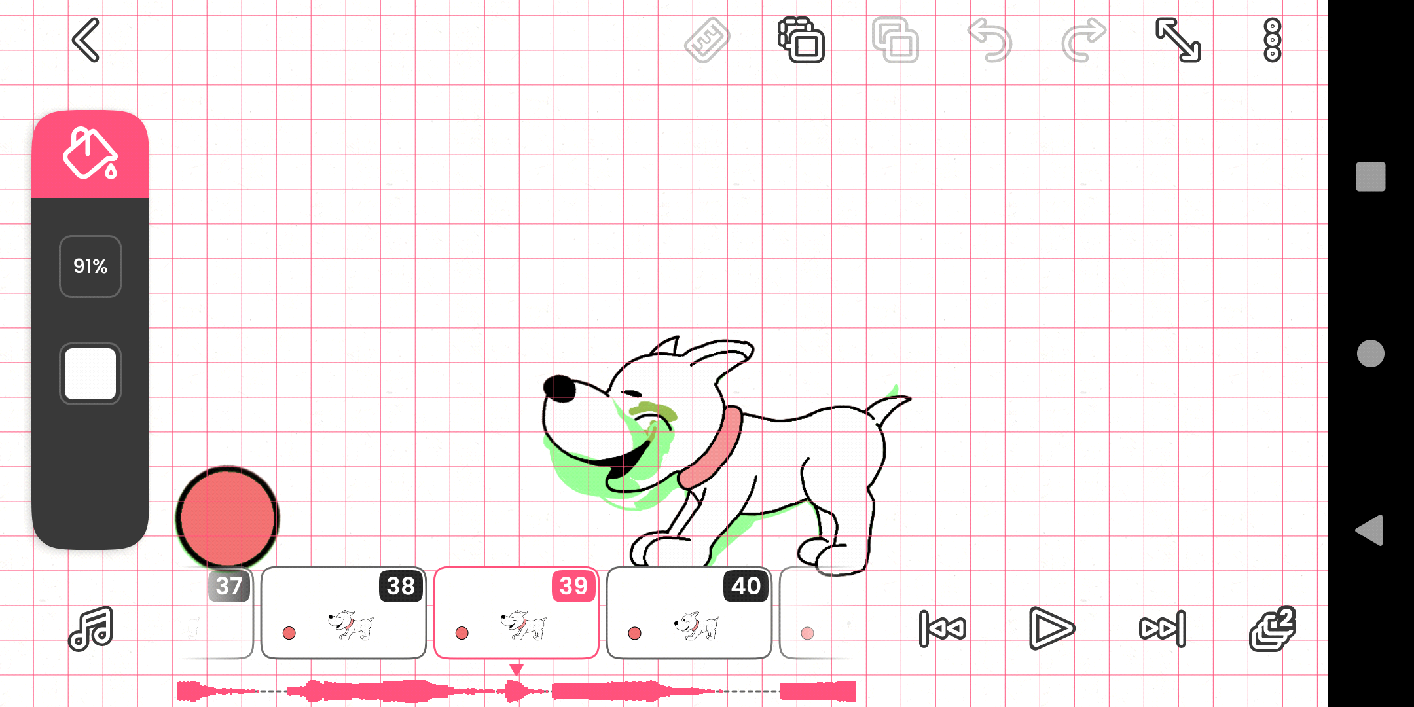
Next, you can add color to objects using the Paint bucket tool. You can set threshold and color as well here. Next, click on your object to color. Note: It will only work inside objects for coloring.
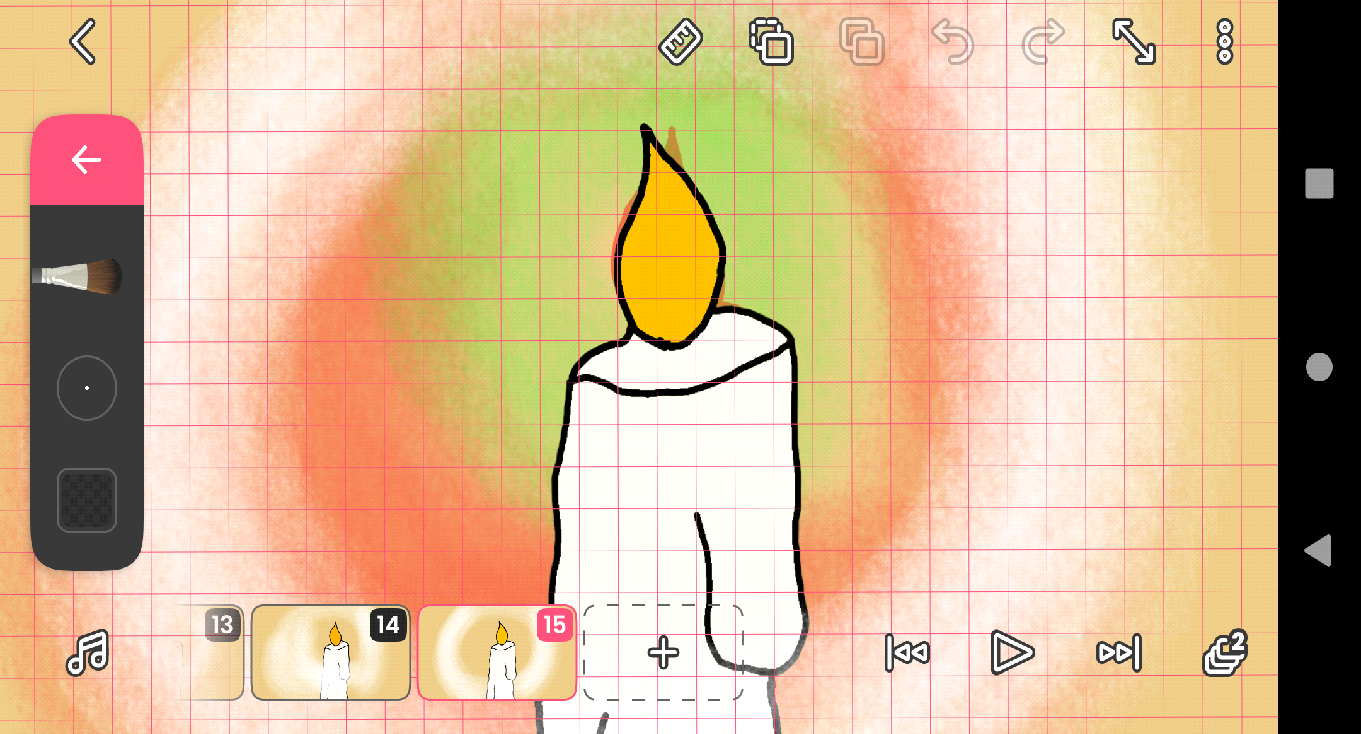
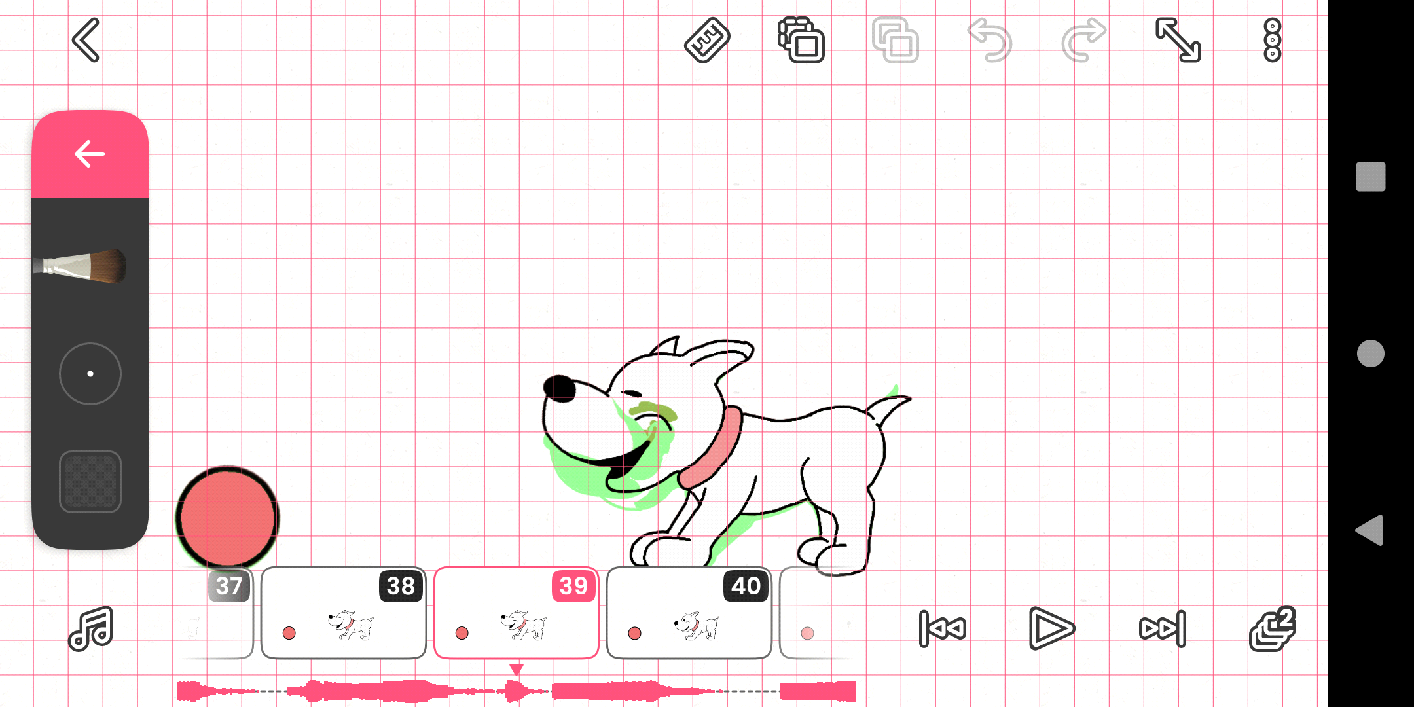
Or you can use the Brush tool as well for coloring. Once again, go to the Pen tool – click pen again – choose brush tool, and change the brush size and color as you wish. Like below
After you’re done coloring, check your animation by clicking the play button anytime you want to see the animation in motion. If you think it’s good enough, add sound effects and background music to your FlipaClip animation.

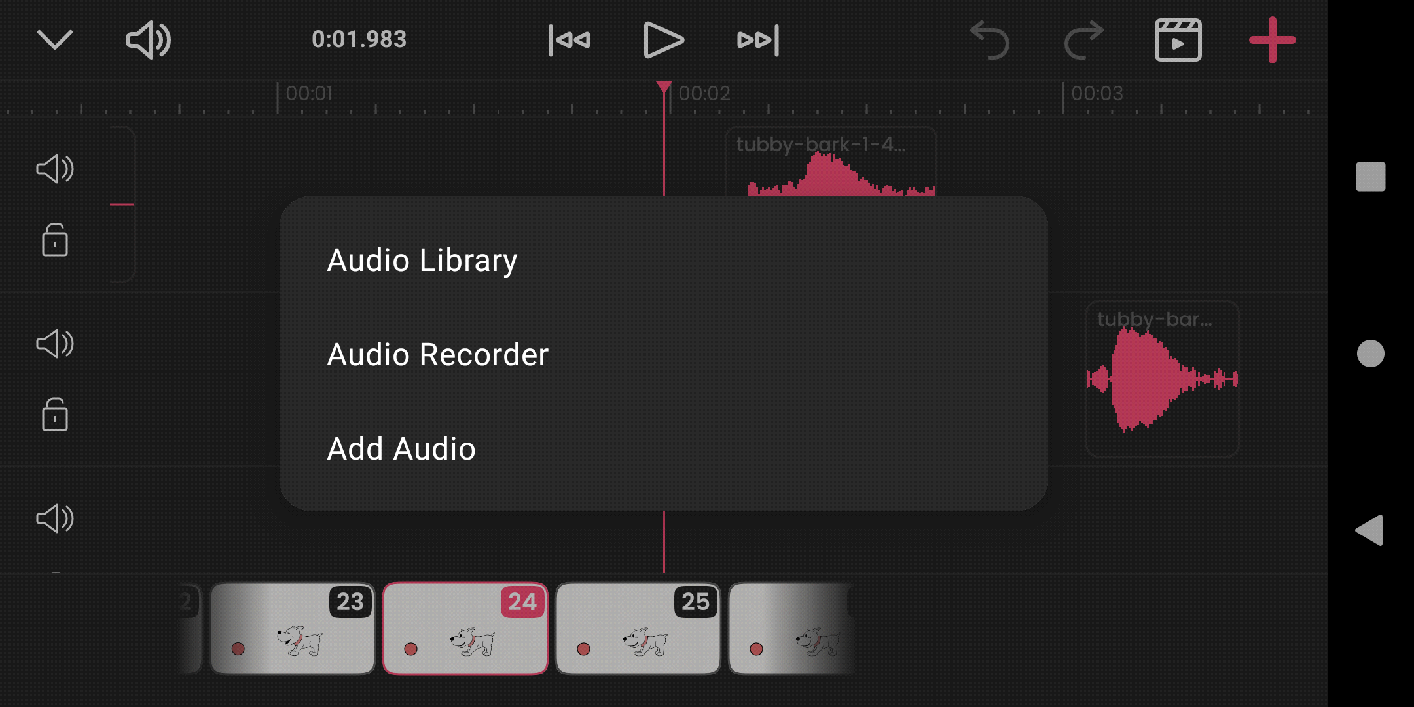
To add sound effects and background music. Click the Sound panel button on the Left bottom (♫) like below
In this panel, you can add a sound effect or background music by exporting from Library, Flipaclip audio gallery, or using the sound recorder.
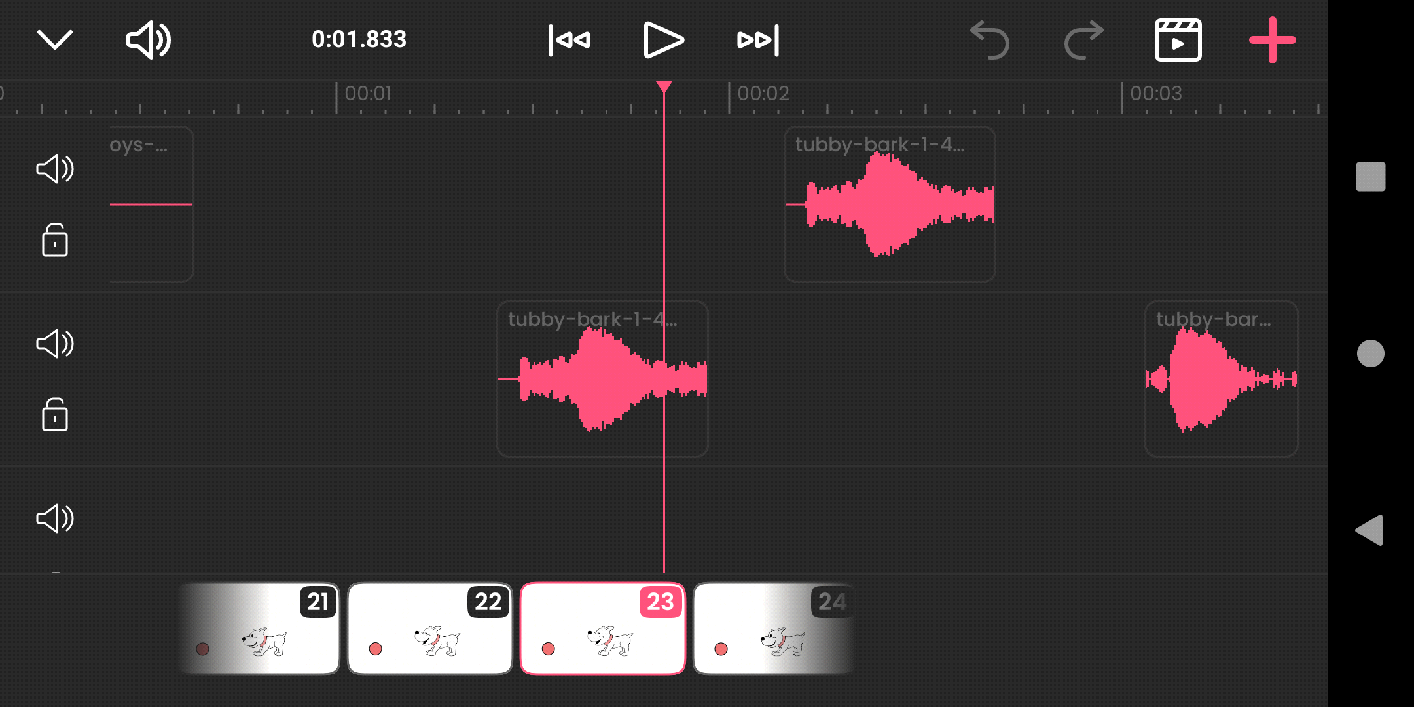
Arrange the sound effect and background music for your animation. Like below
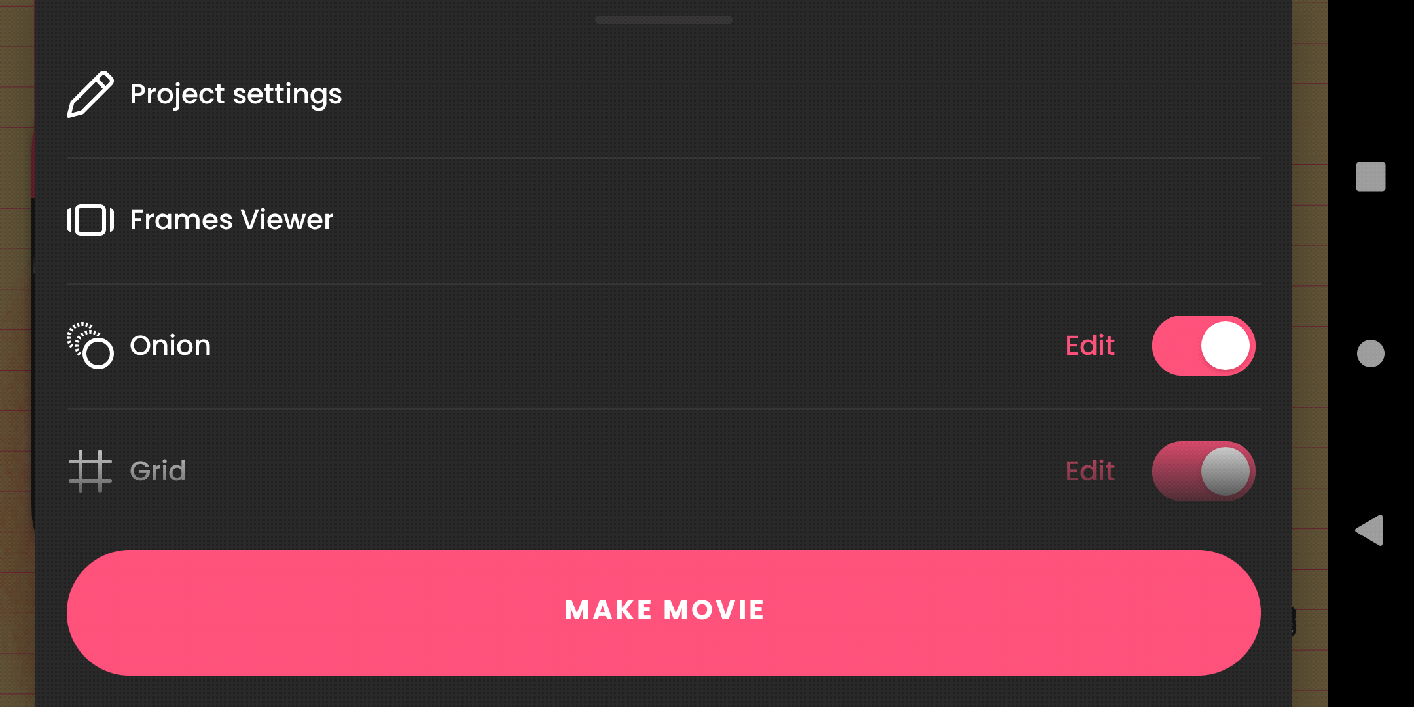
The final step: How to export your FlipaClip animation
To export your FlipaClip animation, just click the setting up panel on the right above. Click “make movie”, and you’d see the animation in progress converting to a movie project.
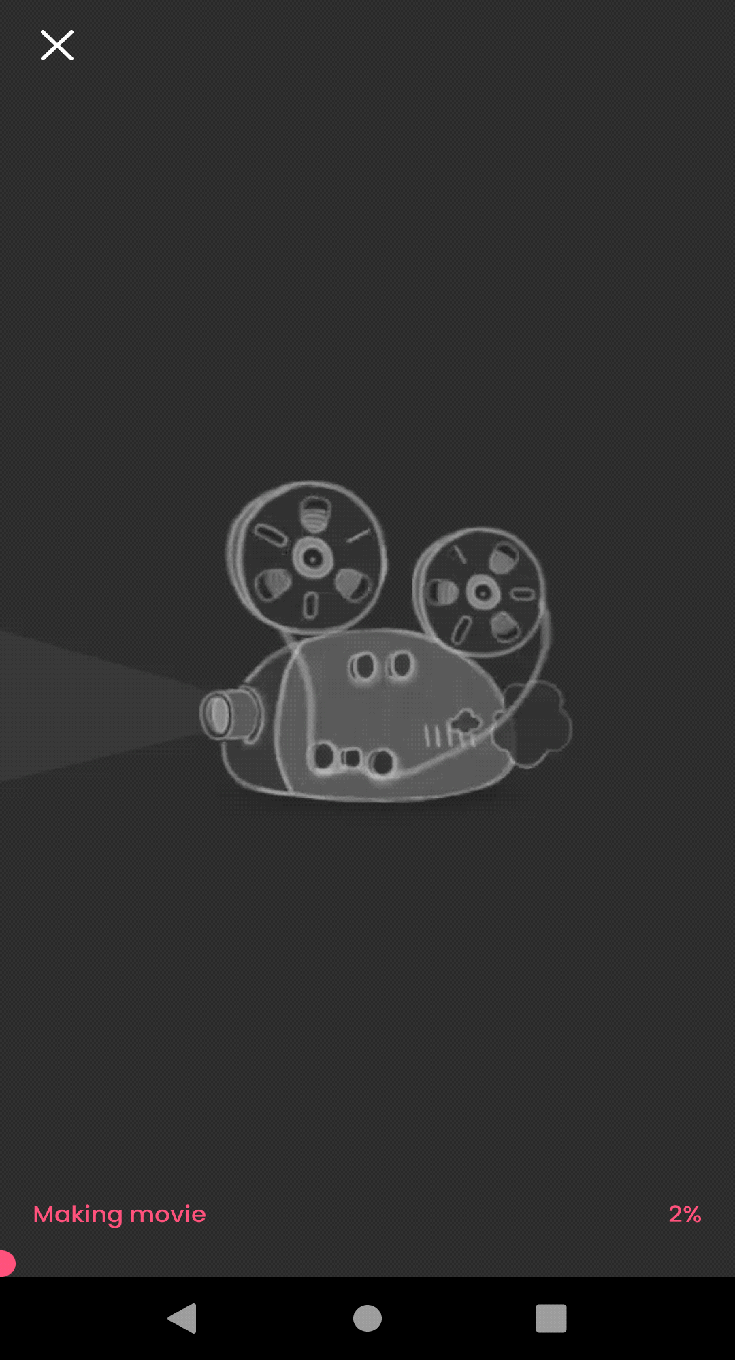
Done! Great Job. Your animation is ready to upload.
Leave a Reply
You must be logged in to post a comment.