With the incredible new “Animation Assist” tool available with Procreate 5, you can now add animation to any artwork you create. The tool can appear intimidating at first, but once you figure it out, the possibilities are unlimited.
This tool opens up a whole new world for designers, illustrators, and lettering artists wishing to use Procreate to create compelling visual storytelling.
Animating in Procreate (The Process)
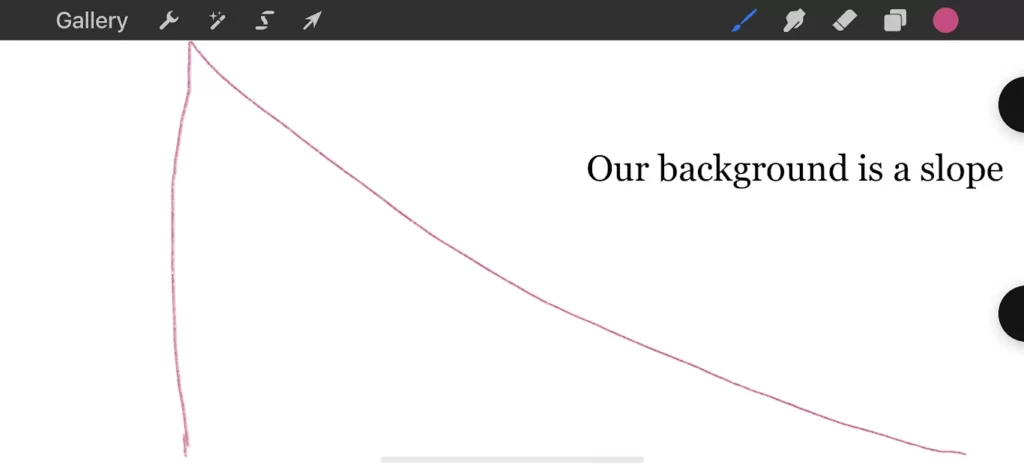
Draw the background first. That is what you need to do. It could be anything. It could be a straightforward hue, a gradient, or even a texture. It’s not necessary to have a unique background. It only needs to be there to prevent further background movement. This is the fundamental step in using Procreate for animation.
One of Procreate’s most potent tools is the animation tool. Do the following to turn on this helpful feature:
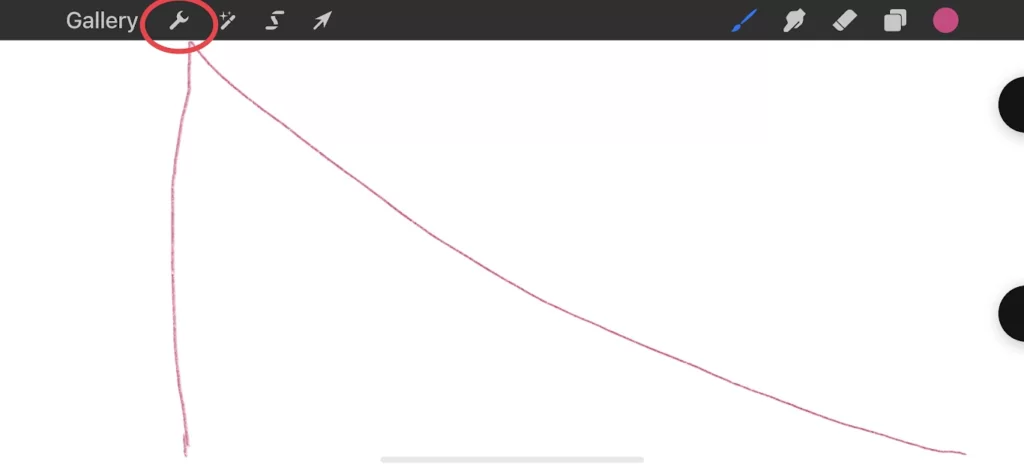
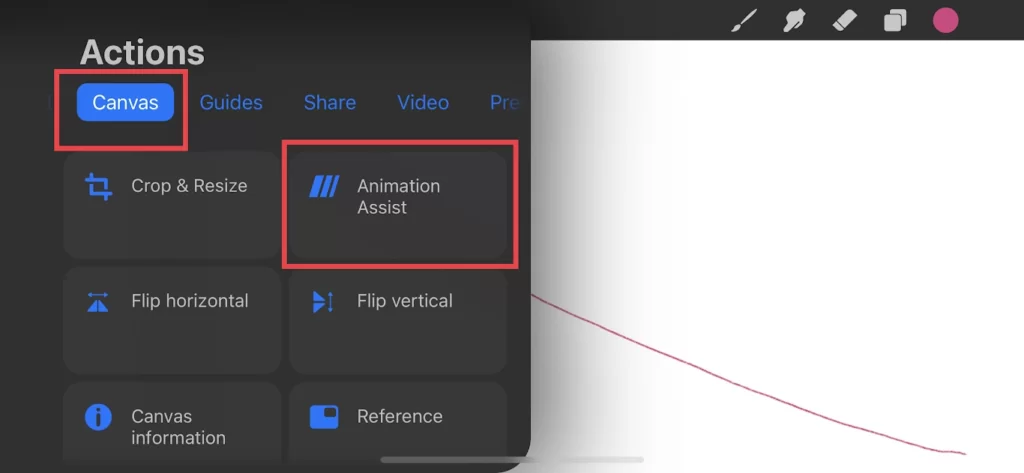
The “Actions” button can be found on the upper left. Tap it. Select “Canvas” by tapping it. The “Animation Assist” option should be selected.
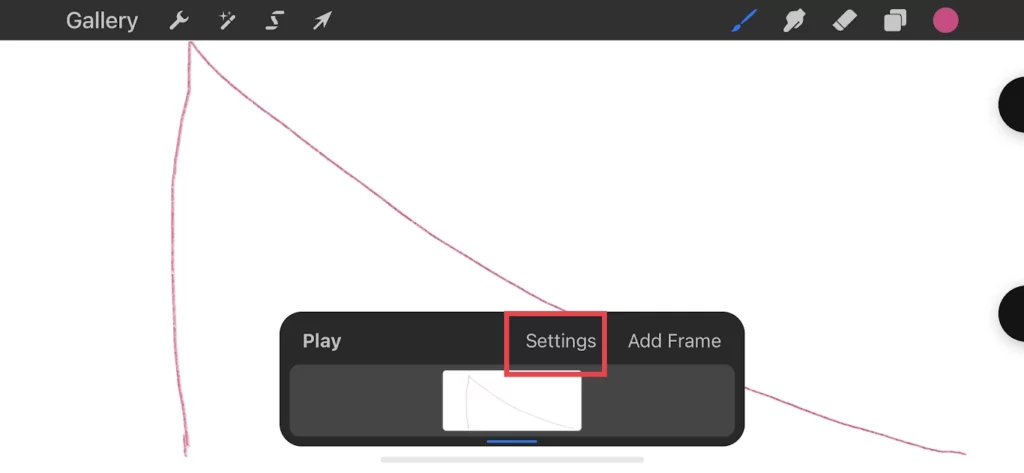
You’ll see an additional window with the animation assist at the bottom of your screen.
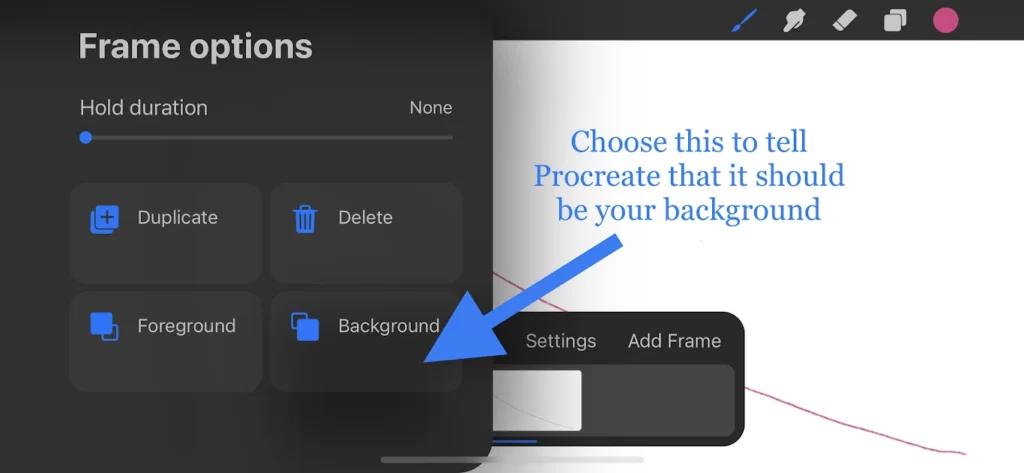
You’ve drawn your background and activated the animation assistant. Therefore, we need to tell Procreate to stop animating the background. The following instruction is for how to animate in Procreate.

Tap the bottom-most background layer to choose it. There will be a new window opened. Activate the “Background” options to instruct Procreate that this is your background.
The next part of the process is to use Procreate to draw the item you want to animate. With the new Animation Assist tool, this is a really quick and simple process.
In the window for Animation Assist, click “Add Frame.” Your timeline will be expanded by Procreate.

The object you want to animate should be drawn. In our illustration, this contains just a ball (even though our ball hardly looks like one) moving along the shape.
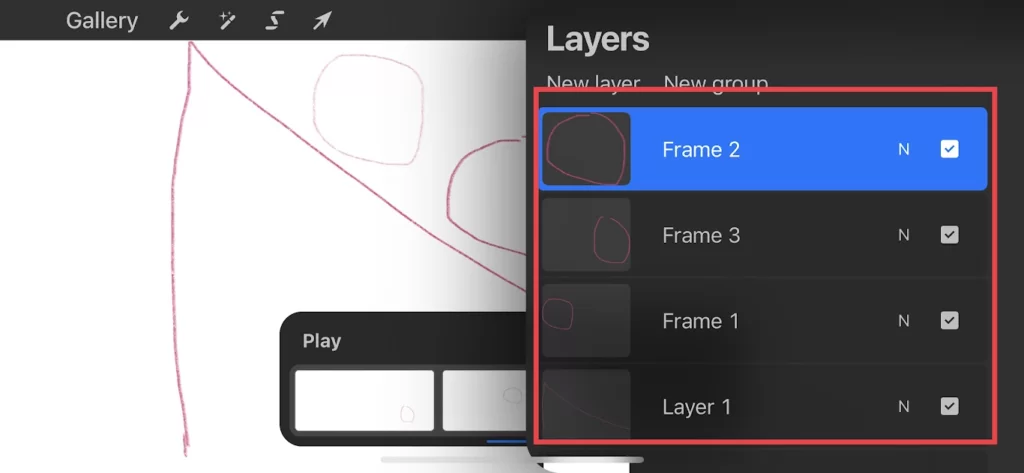
Your animation can have as many new layers as you wish. For every animation you want to use, make a new frame. The finer your animation is, the more you should add. Be cautious, though. There is a lot more effort involved with more levels. We advise you to test out this feature using basic shapes and forms. Don’t do anything unusual for your first animation. When complete, this might resemble this:
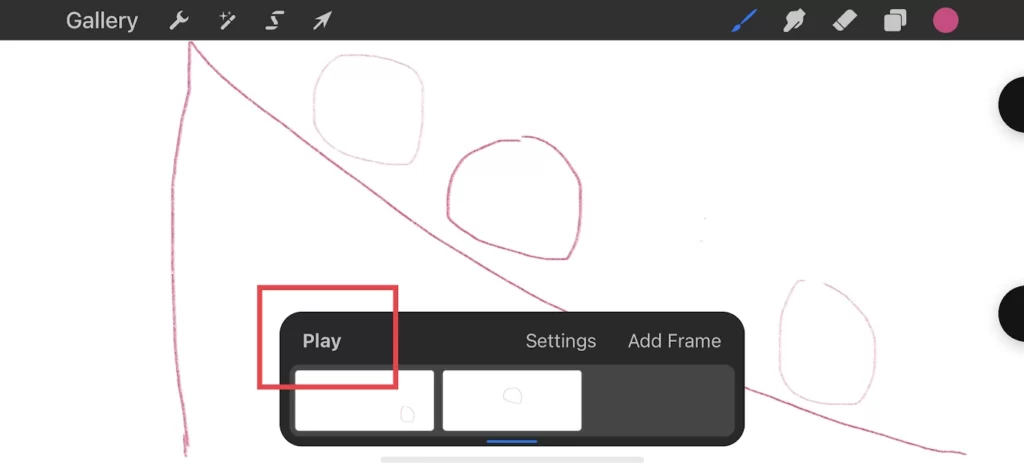
After playing your animation, you can adjust the behavior by tapping on the animation assist settings. For this example, we chose the “Loop” option.

Exporting Your Animation
It’s time to export your animation once you’ve added each layer.
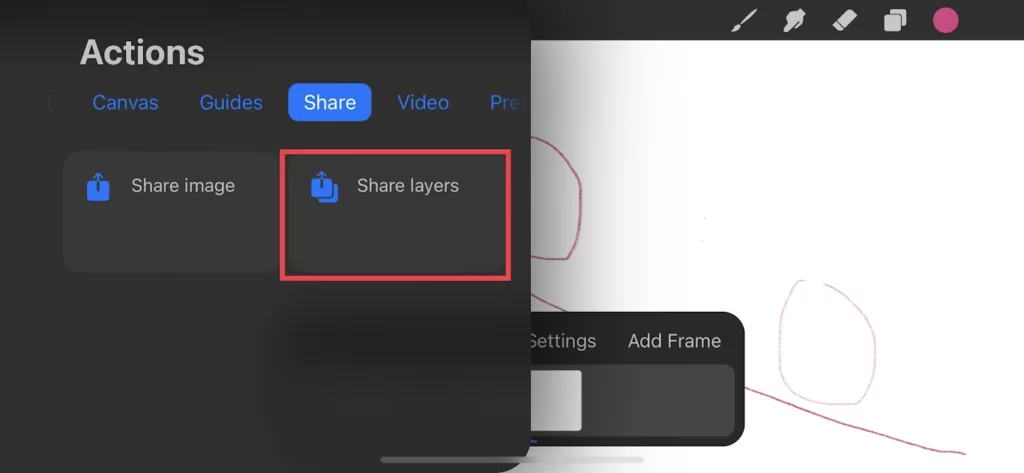
Go to “Actions,” which may be found by tapping the wrench icon in the top left corner. In the actions menu, select the “Share” button.

Select your desired export options, such as an animated GIF or PNG.
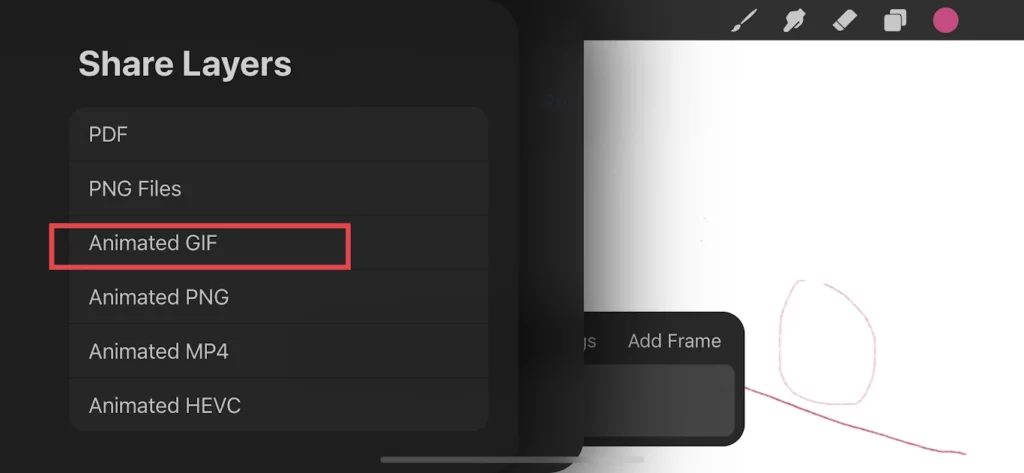
You can export your animation in various ways, such as with a transparent background, a version suitable for the web that is far smaller in file size than the highest resolution choice, or with additional effects like dithering. Only when GIF is chosen as the output format is dithering possible. In graphic design, dithering is used to make visuals on systems with a small color palette and the appearance of color depth.
Our Recommendations When Animating on Procreate
As with any other graphic application, there’s always a workflow to make things a bit easier. Let’s go over some of our recommended approaches.
Tip 1: Learn To Group Your Layers
For clearer, more intricate multiple animations, grouping layers is fantastic. There isn’t a more favored method available right now. Groups are displayed as a single frame by Procreate and are interpreted as layers. Unfortunately, that means you must use many layers. You will therefore have to do that with a reduced canvas size.
Tip 2: Use More than One Canvas
It may sound strange, but procreate is not ready to handle really sophisticated animations yet.
- Draw various animation components on various canvases. For instance, canvas 1 represents character animation, whereas canvas 2 represents background animation.
- Ensure that you group the canvases
- Make the last animation on a third canvas. Keep in mind that having a non-destructive approach is crucial in case you ought to go back. With it, procreate does not function well, therefore this is a workable solution.
Tip 3: Always Use the Animation Assist
Don’t merge quite yet! Your best buddy while inspecting and animating using an onion skin is Animation Assist. The problem is that if you blend the background into it, you won’t be able to tell where you are.
Regardless of whether you are animating the background, never blend backgrounds into your artwork! You can preview just the layer shown by holding the layer with one finger. Long hold once more to reveal all layers! Yet another hint If your background is static, you can toggle the first layer of your canvas to serve as the background.
Rounding Up
The creation of animated objects in Procreate is a lot of fun. It’s a fantastic technique to give life to your designs. So here is a straightforward and simple-to-understand tutorial on how to animate with Procreate. With your first animation, go slowly and avoid anything too complex. If not, you’ll spend ages and get frustrated. Add new layers and details as you get more adept at it.
After creating your animation, you will need to add some color to take it to the next level. This article on How to Trace in Procreate and Add Fonts To Procreate will help you do that.
Leave a Reply
You must be logged in to post a comment.