Are you having trouble getting your Canva graphic designs to stand out? Adding frames is an easy way to make them pop and ensure you’re creating compelling visuals.
I’ll explain the basics of using frames in Canva so that even beginners can create outstanding graphics.
How to use Frames in Canva
Step 1: Open your Canva. Start by uploading the picture you want to adjust in your frame.
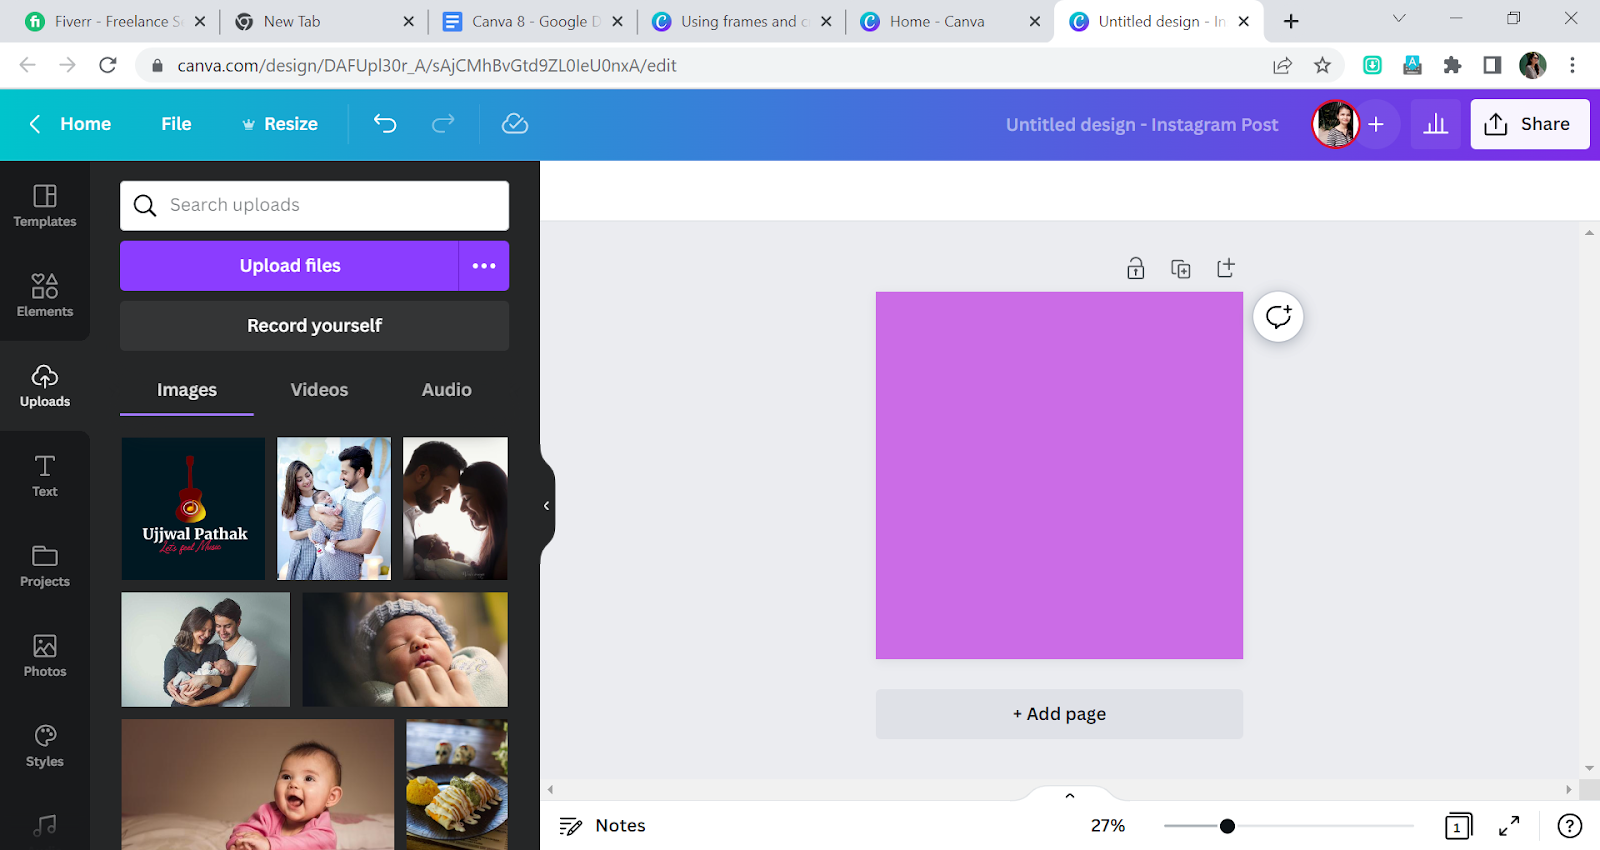
Step 2: Click on Elements and search Frames. Click on See all.

Strep 3: Pick the frame you want to use. Click on it, and then it will appear in your design.

You can use multiple frames.

Step 4: Now drag your picture to the frame, and then your picture will automatically set into the frame.
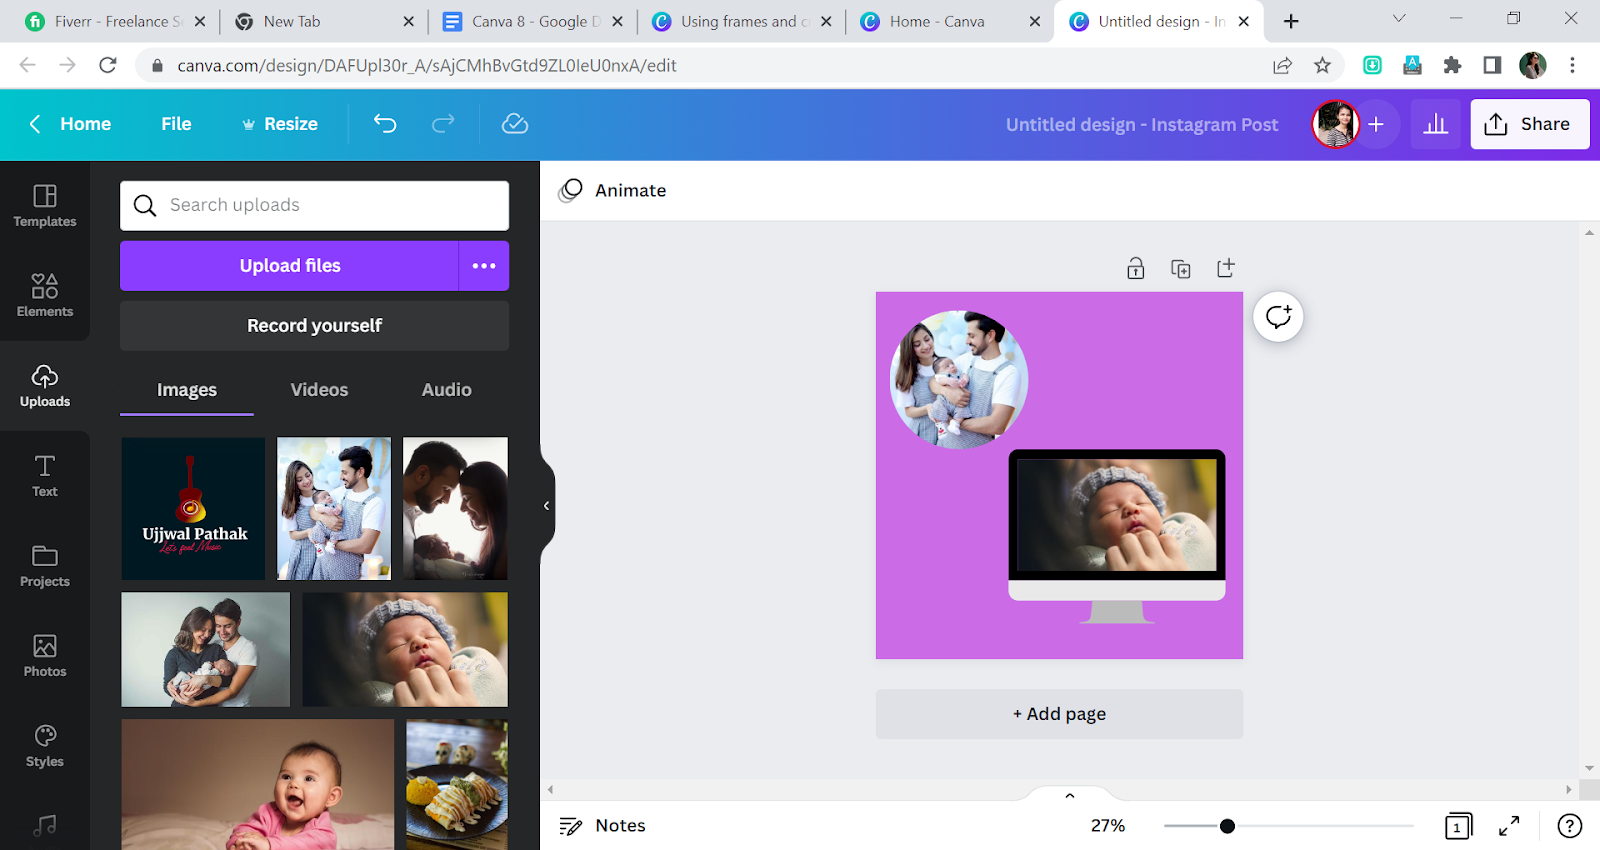
I’m adding more different frames.

You can always delete the picture if you want and select another picture.
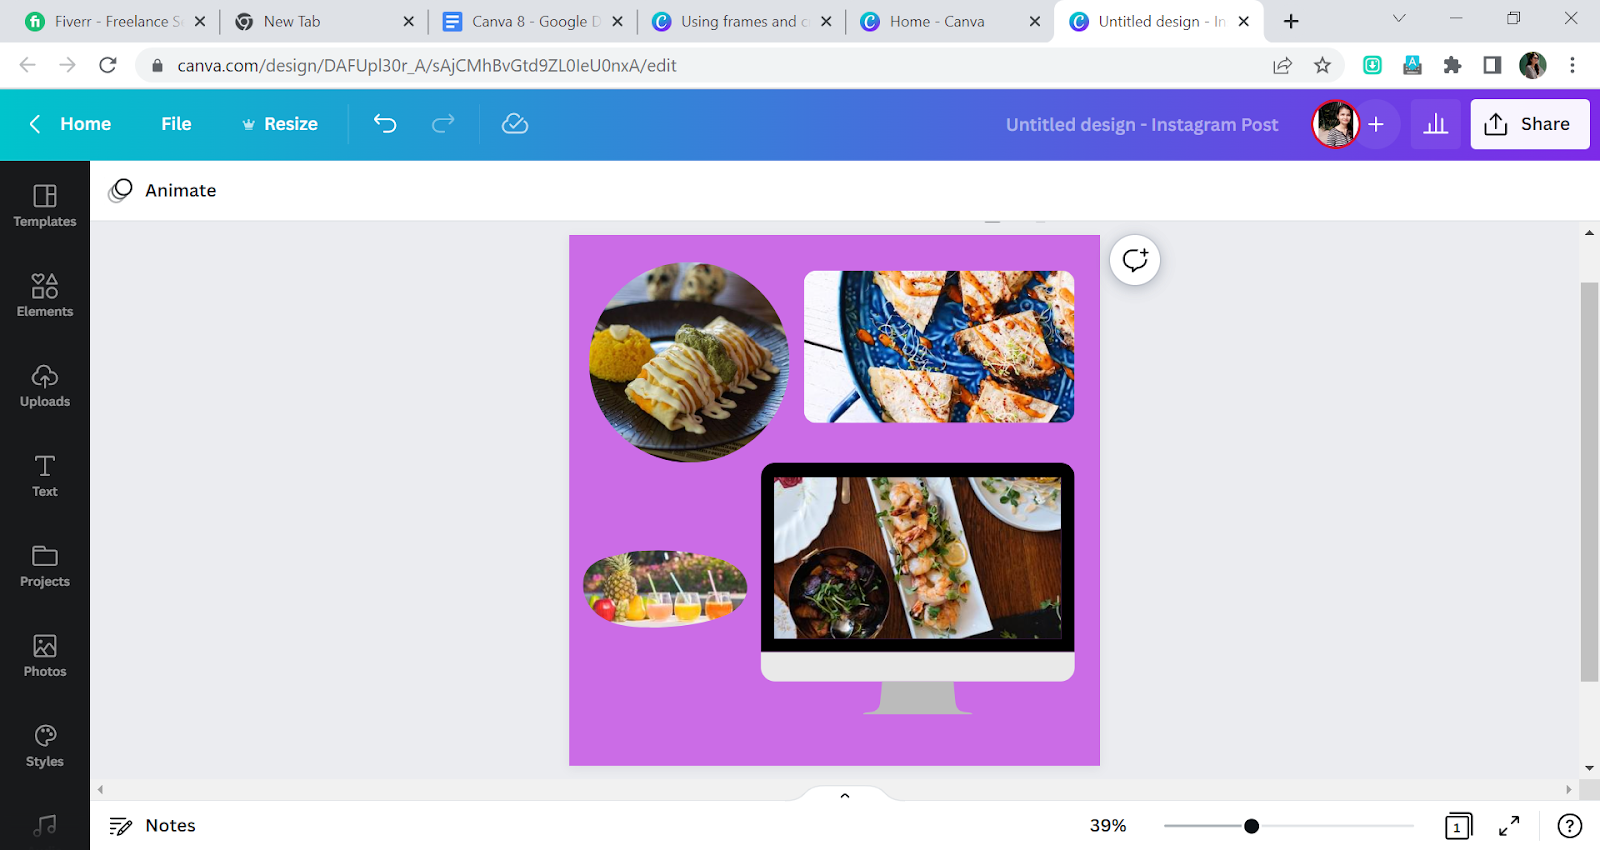
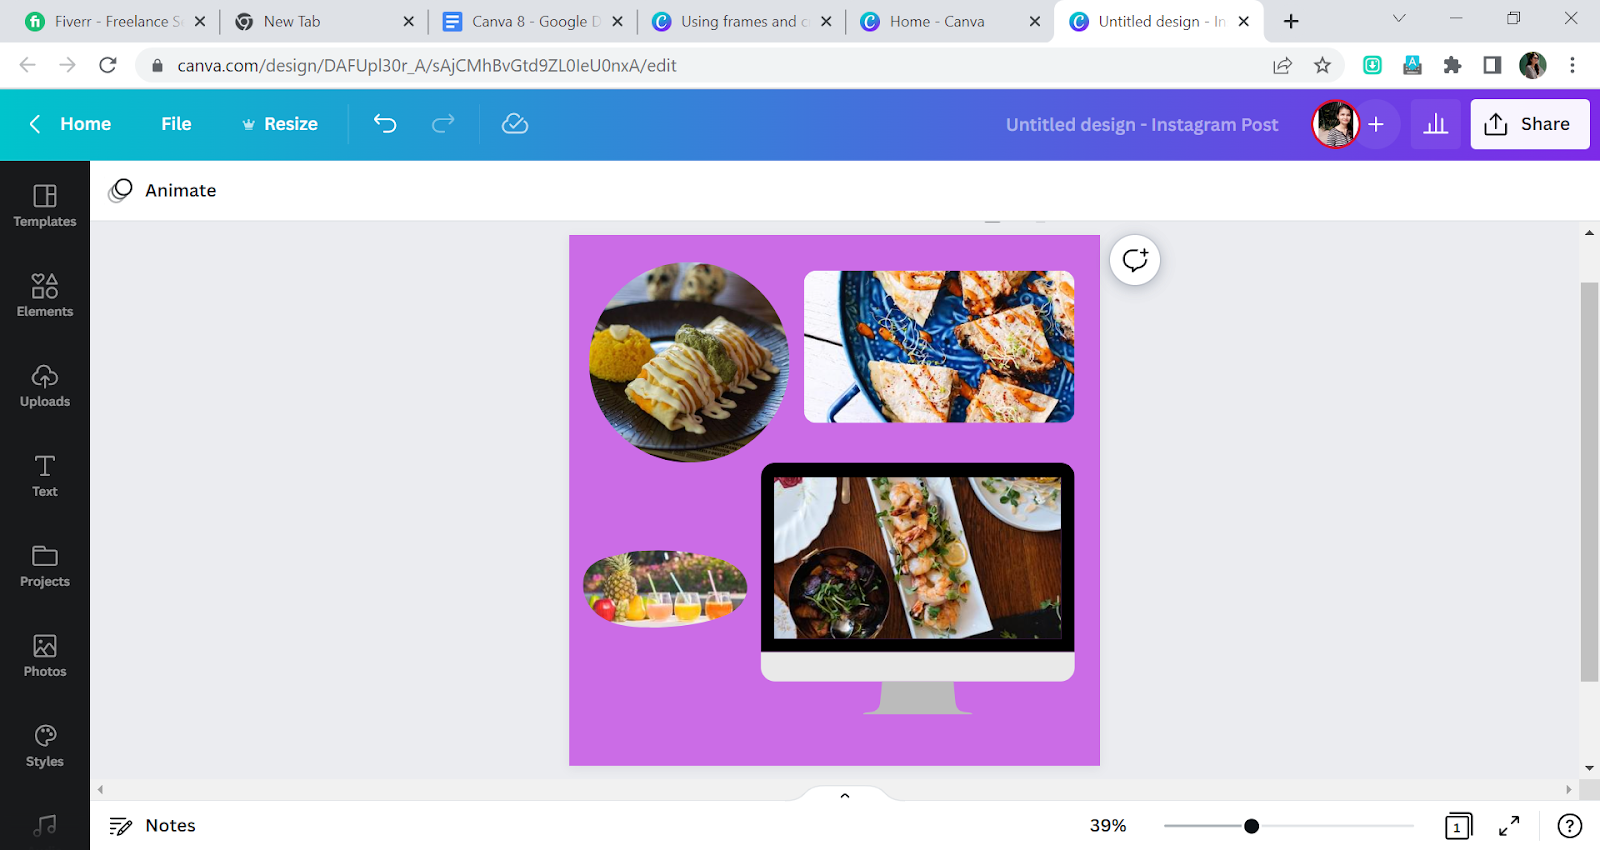
Suppose you want to show the bottom of the image in frame, then you need to do some adjusting. Do the double click on the picture which is in the frame which you would like to adjust. And set it with your mouse by the right click.

Our frame is ready.
How to Add Images or Videos to Frame on Canva
Follow the steps below to add images or videos to the frame using Canva. If you are working on the computer version of Canva, follow these steps.
Step 1
Start by adding the image or video you want. To add an image or video to a frame, click it.
Step 2
Click Photos or Videos on the editor side panel. To view it, first, click Apps if you can’t click on Photos or Videos.
Step 3
To find certain images or movies, use the search bar. To browse the library, utilize the category buttons located beneath the search bar.
Step 4
Click on Uploads if you wish to utilize your media. If you haven’t already, upload your pictures and videos.
Step 5
To insert the image or video inside the frame, drag it over.
If you are using Canva on mobile, follow the steps below.
Step 1
Start by adding your desired picture or video. To add a picture or video, tap the frame you desire.
Step 2
From the editing toolbar, select Replace. Then,
Choose Photos or Videos from the menu that appears.
Step 3
To find certain images or movies, use the search bar. To browse the library, utilize the category buttons located beneath the search bar.
Step 4
Tap Camera Roll or Uploads if you wish to utilize your media instead. If you haven’t already, upload your pictures and videos right.
Step 5
To provide Canva access to your gallery, you might need first to grant them permission. To include a picture or video in the frame, tap on it. Congratulations! You are getting the hang of using Canva and you are your way to becoming a professional Canva editor.
You can also see our step-by-step guide on how to group in Canva.
How to Fill Frame With Color in Canva
Follow the simple steps below to fill your frame with color using easy tools in Canva.
Step 1
To add color to a frame, click on it.
Step 2
Next, select the tile with the rainbow colors from the editor’s toolbar.
Step 3
Now choose a different color by clicking the + rainbow color tile or any suggested hues. Your chosen hue will be used to fill the frame. It is also a good idea to learn about hues and colors because you’ll need them when you start to edit videos in Canva.
How to Change Frame Border Color
Here are simple steps to change your frame border color in Canva.
Step 1
Begin by clicking the frame.
Step 2
From the editor toolbar, select the color tile that corresponds to the border’s current color.
Step 3
To choose a different color, click the + rainbow color tile or any of the suggested colors.
If you enjoyed reading this article, you will also like our article on text curving using Illustrator.
Leave a Reply
You must be logged in to post a comment.