Fading music in iMovie is a common technique used to create a smooth transition between different sections of a video, or to gradually increase or decrease the volume of background music. iMovie provides several ways to fade music, which can be useful for both beginners and advanced users.
What is Fading?
Fading in music is talking about the volume of the song in the beginning and at the end. The volume of a recorded song can gradually climb from silence at the beginning and fade away at the end.
Music pieces without a clear finale may benefit from fading away during recording. Both crossfades and fades are extremely useful since they give the engineer a quick and simple way to make sure that the beginning and finish of any audio are smooth and devoid of obvious flaws. Before the Audio, there must be a distinct period of silence.
Fade-ins and -outs can also be used to alter a sound’s characteristics, such as to reduce a vocal’s aggressiveness. The importance of Fade out in music has been studied for a very long time and Fade out has cemented its place in the “music hall of effects.”
How to Fade Music in iMovie
Step 1: Select the video/audio clip in which you would like to fade in or fade out the music.
Tip: Once a clip is selected, you will notice a yellow border around it.
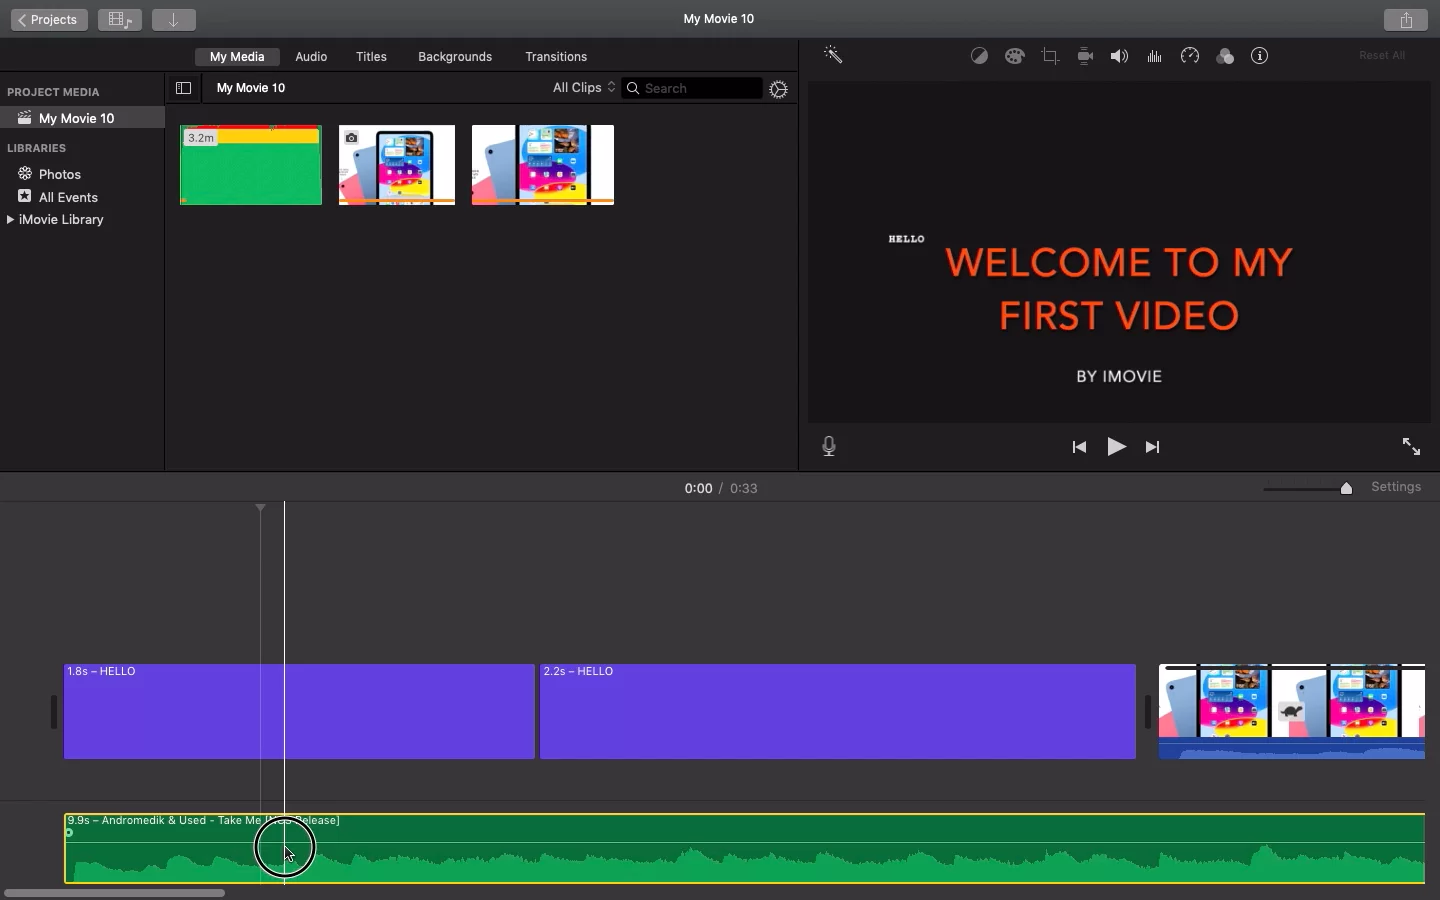
Step 2: Click on the small dot at the start of your video/audio clip, as shown in the image below.
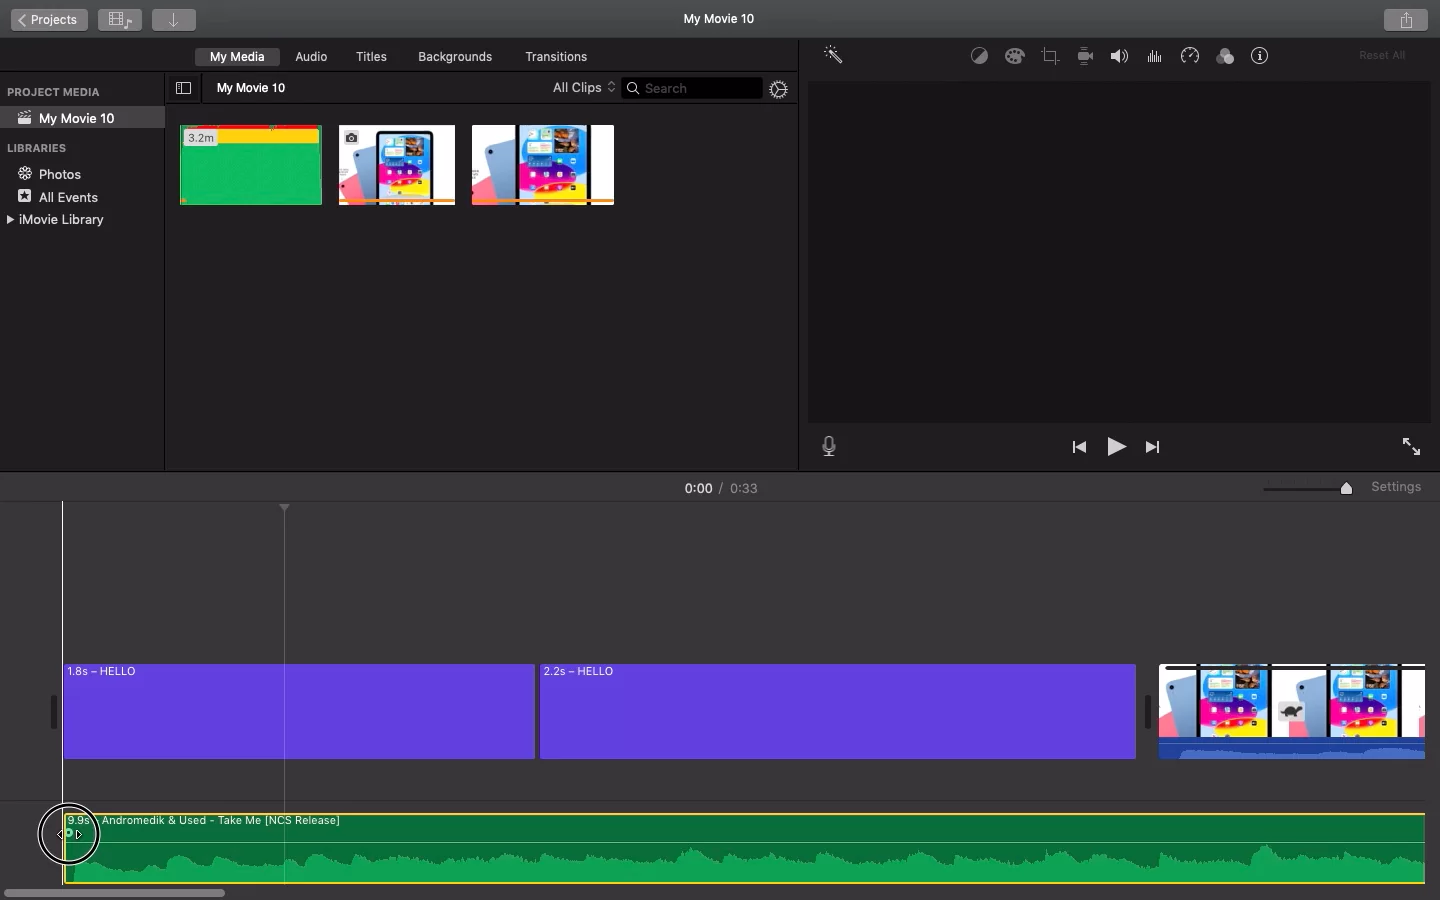
Step 3: Now you can drag the small dot ahead depending on the level of fading-in required.

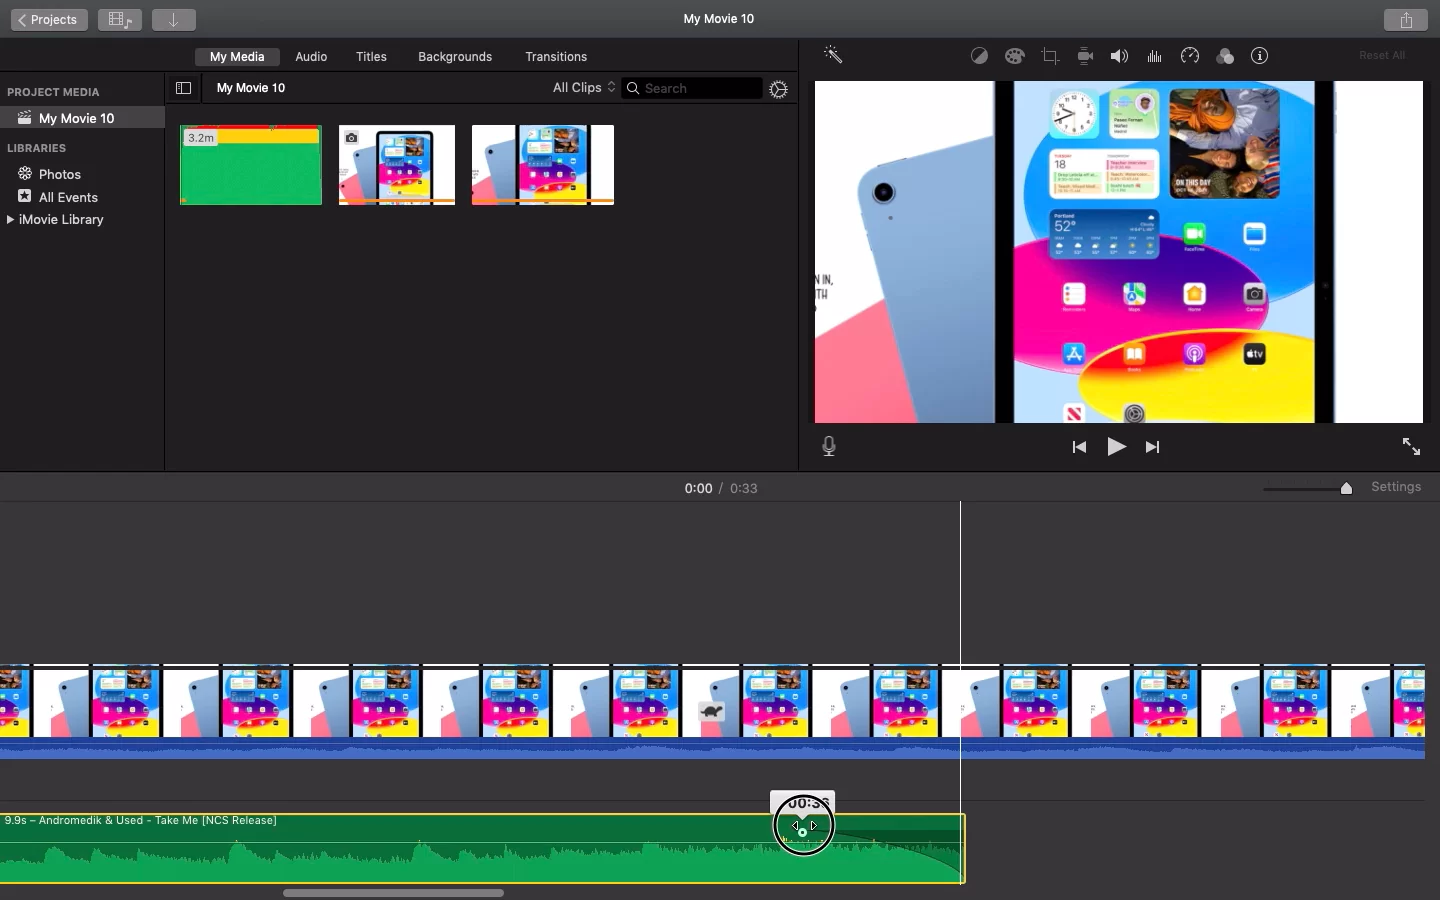
Step 4: You can similarly go to the end of your clip and drag the small dot backwards depending on the level of fading-out required.
Check out my step-by-step instructions on speeding up a video in iMovie. You may need it before using the fade.
How To Fade Audio in iMovie Using iPad
Follow the steps below to fade your audio if you are editing using an iPad.
Step 1
You need to remove the audio from the video you are editing before adding your fade-in and fade-out effects.
Step 2
The next step is to add the Fade-in and Fade-out.
Open iMovie and choose an audio clip from the timeline of your video. The Audio Inspector will open when you do this. Fade handles will appear after you click Audio and then press Fade. To choose where your sound will fade in and out, drag the first and second fade handles.
Step 3
The next step is to add active audio waveforms.
The sound in your video is represented visually by Audio Waveforms. Use it to check that the audio clips are all at the same volume throughout your video.
Fading in iMovie Using Audio Inspector
More sound editing features and options are available in the Audio Inspector. Some of the sound editing features that are available are equalizer, background noise reduction, multiple track volume adjustment, and, fade-in/fade-out effects.
However, the Audio Inspector offers automated fade-in/fade-out options as well as manually adjustable bars. Follow these easy instructions to use iMovie’s Audio Inspector to apply a fading effect to your music.
We also recommend you see our step-by-step guide on Rotating a Video in iMovie.
Step 1
The first step is to add the file you want to fade. Your file will open the Inspector panel when you drag it to the My Media panel. The next step is to double-click on it and choose Clip Adjustment.
Step 2
Now edit your music by switching to Audio Inspector. To access the audio panel, click Audio in the Inspector. There, you’ll find a variety of audio options. You can slide or change the bars to create the fade-in/fade-out effect you desire for the music. When you are satisfied, tap Save.
Did you enjoy reading this article? Check out my detailed article on how to split your clips using iMovie.
Leave a Reply
You must be logged in to post a comment.