Creating a smooth and seamless transition between two audio clips in your project is a great way to make it stand out. One way to do this is by using a fade transition.
Fading audio involves gradually increasing or decreasing the volume of an audio clip over a certain period of time. This can help create a natural and professional transition between audio clips and enhance the overall flow of your project.
How to Fade Audio in Final Cut Pro
I will show you two methods to Fade Audio/Music in Final Cut Pro:
Method 1:
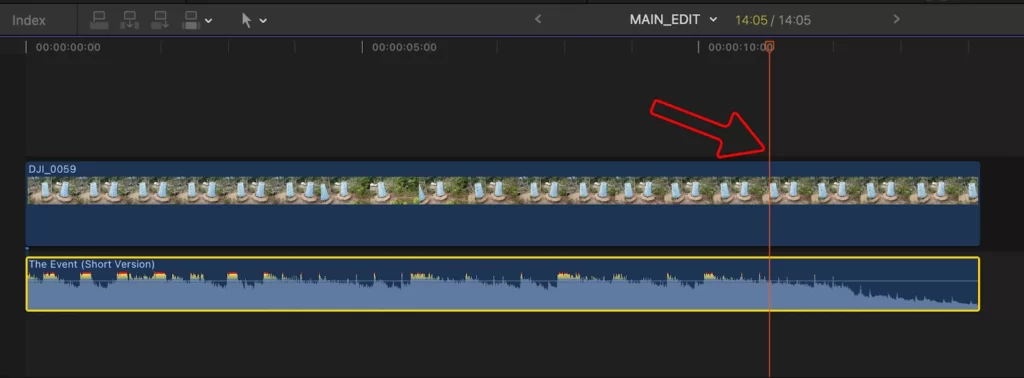
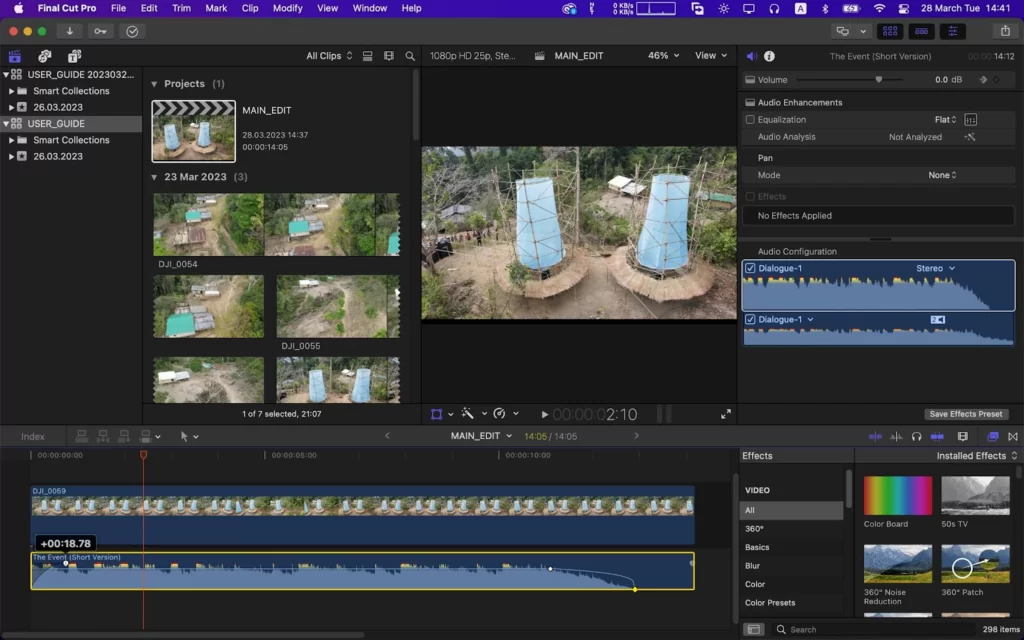
Position the playhead on your timeline where you want to fade your audio. Now click the audio from the timeline.
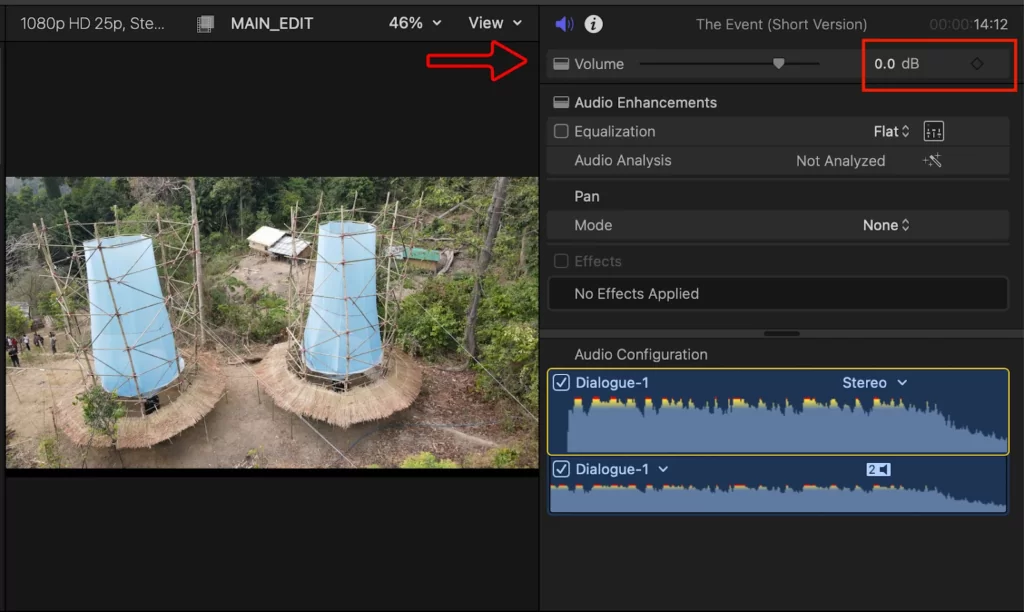
The audio parameters will appear in your workspace’s upper right side corner. Now click the keyframe icon to make a keyframe.
Now move the play-head forward.
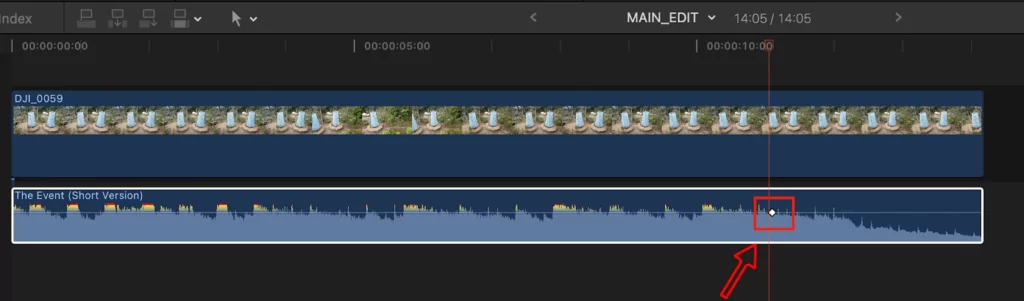
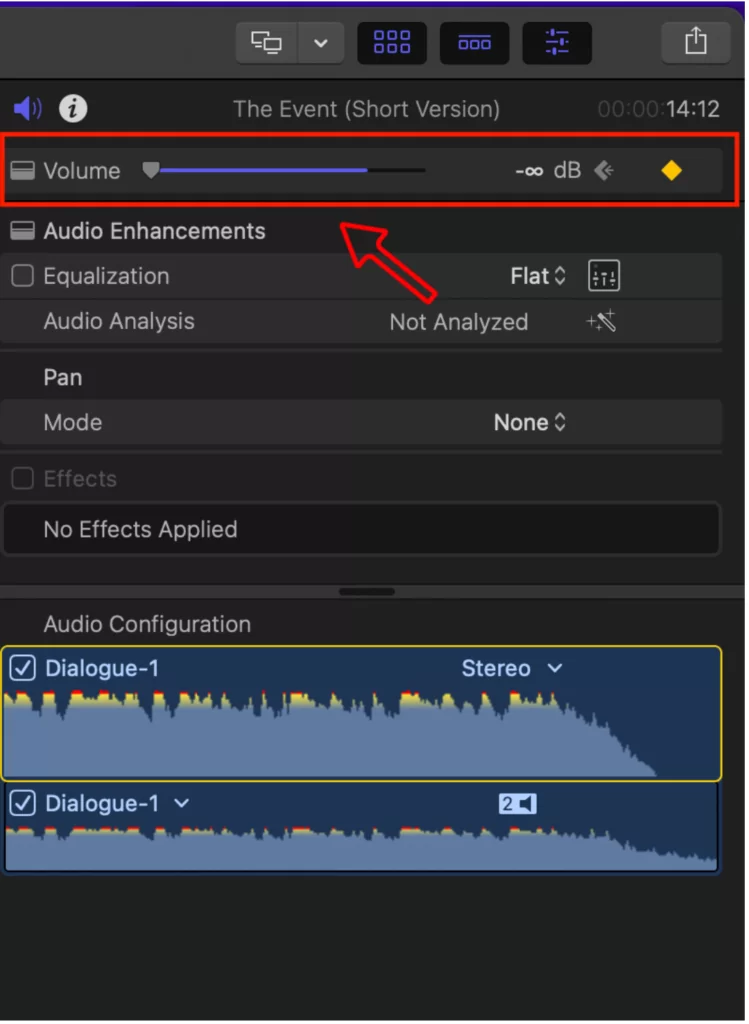
Go to the volume parameter. Now down the volume scale to zero, another keyframe will create automatically. And your audio will fade out. Use this same method for fade-in. The fade duration depends on the distance of the keyframes.
Method 2:
To fade in at the start of your audio. Hover the mouse cursor on the music into your timeline, and you will see there are both side arrows.
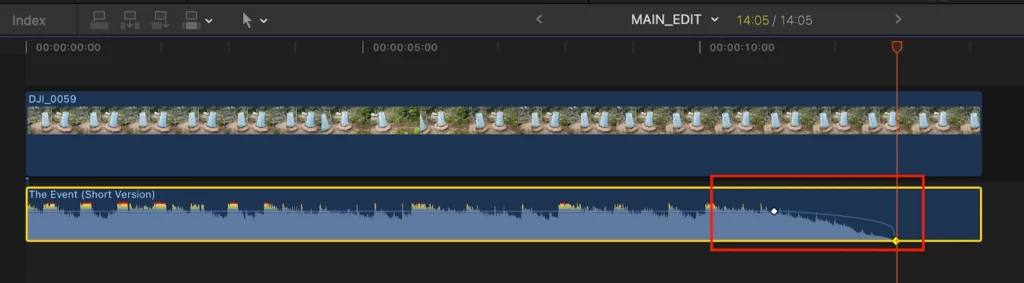
Click and drag it to the right side until you get your desired fade. The fade duration depends on how far you drag the arrows from the start of your audio.

Apply the same method to fade out at the end of your audio.
How to Adjust Audio Fade Duration
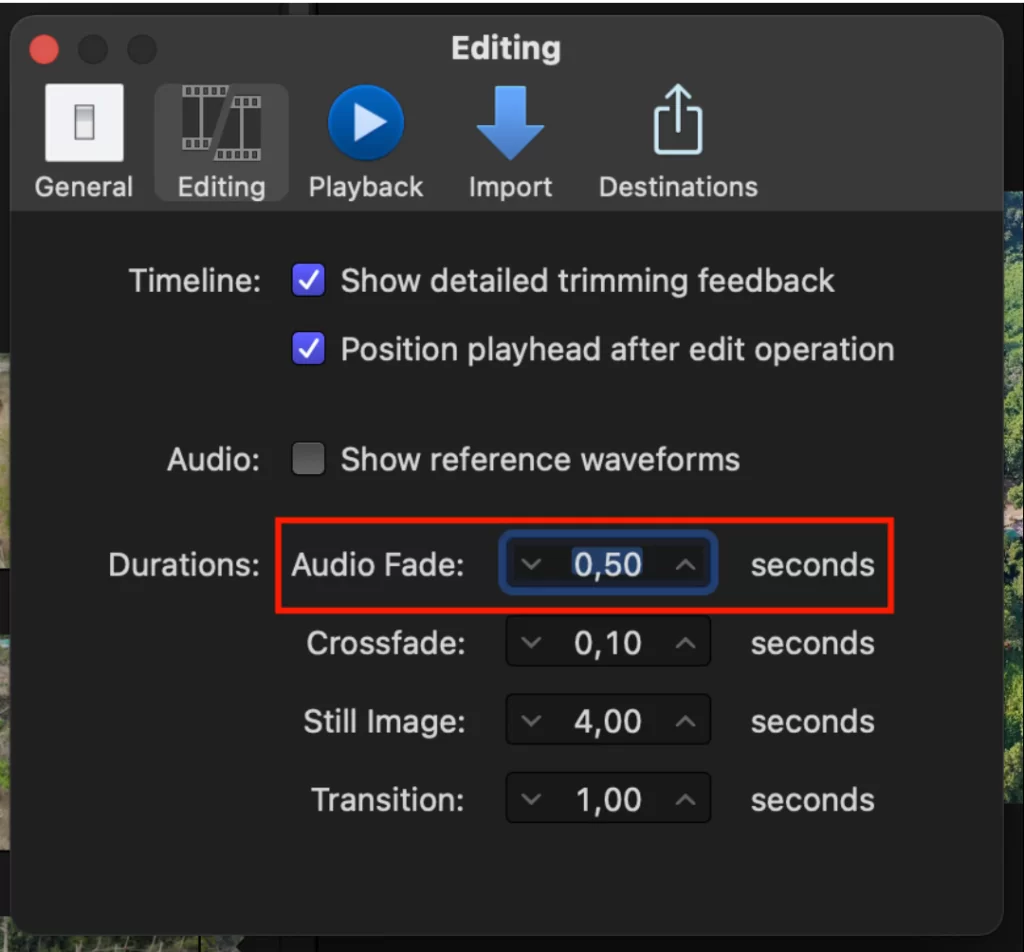
Usually, your Final Cut Pro video editor comes with a default duration of half a second. A default duration, such as.5 seconds, will be applied to all fades made using the Modify menu above. You can alter this default in the Preferences menu if your project requires anything else. Follow the steps below to adjust your audio fade duration.
Step 1
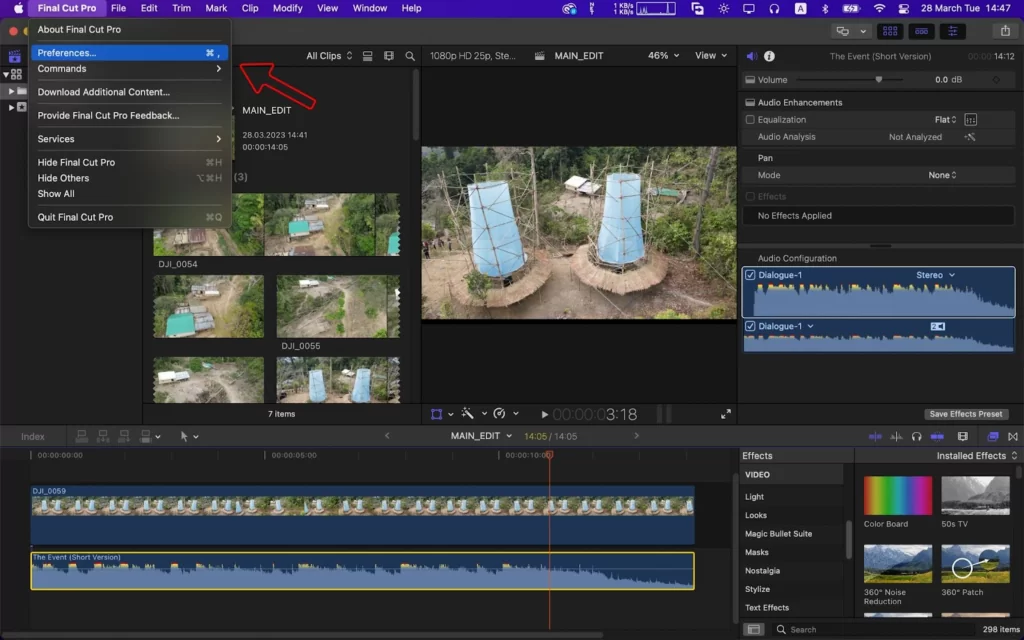
Start by selecting Final Cut Pro, then Preferences, from the top menu bar.
Step 2
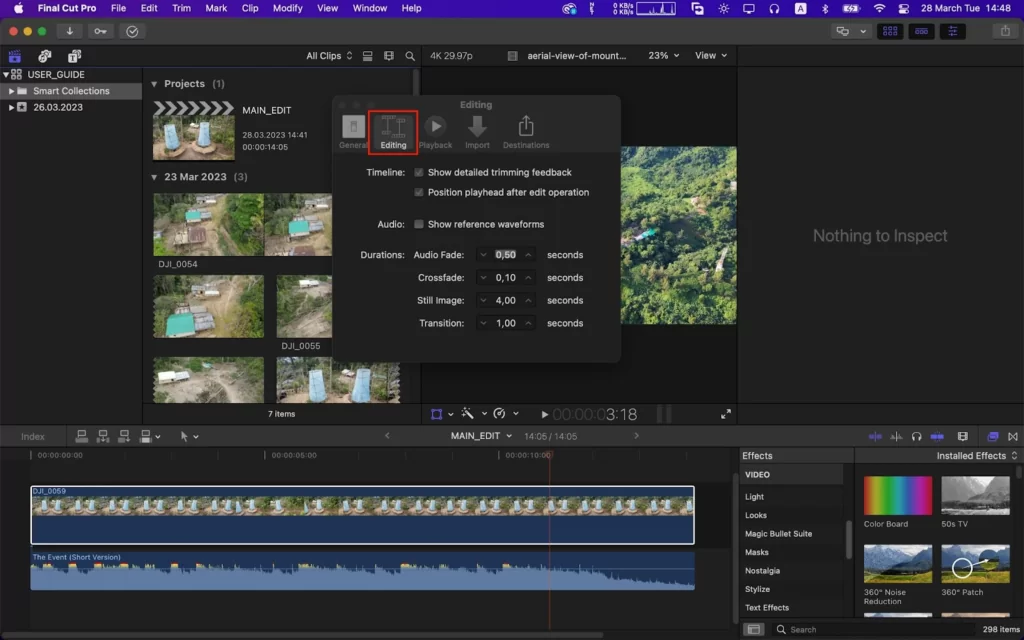
There should be a window with options. To access the editing preferences, select Editing at the top.
Step 3
Any changes you make to the Audio Fade Duration here will be applied to any upcoming fades you add.
If you satisfied with your fades, you can then proceed to export from Final Cut Pro.
How to Remove Fades
Sometimes you added fades to your project and later wish to remove them. This can easily be accomplished using the simple steps below. You can remove fades in large batches by selecting multiple clips simultaneously.
Step 1
By clicking on the Timeline clips you want to change, you can choose them.
Step 2
Select Modify > Adjust Volume from the menu at the top.
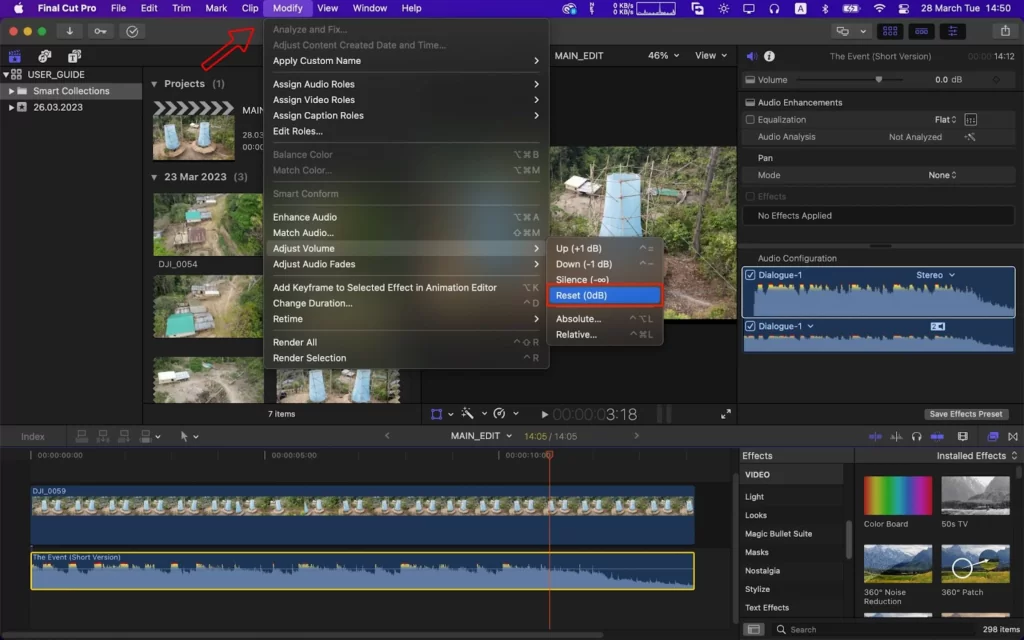
Step 3
On the pop-up menu, select Remove Fades. Voila! You can now easily remove fades from Fina Cut Pro! You can also check out our in-depth article on how to add LUTs to your videos using Final Cut Pro.
How to Use Keyboard Shortcuts for Fades
Consider using keyboard shortcuts if you frequently perform this task. Unfortunately, Final Cut Pro doesn’t automatically incorporate any of the actions mentioned above as keyboard shortcuts, but there is a useful way to change that.
Step 1
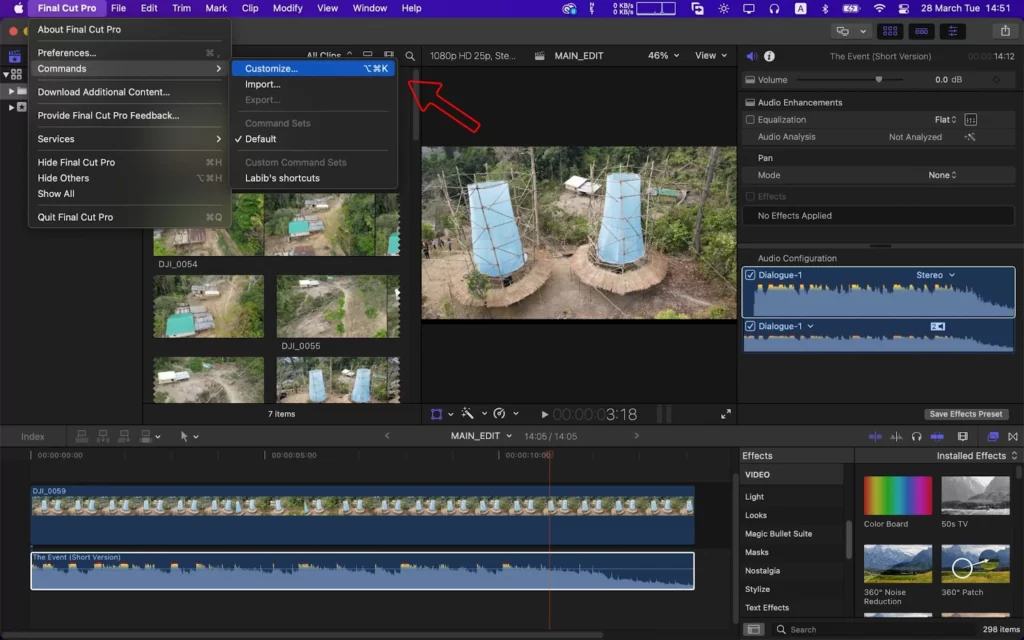
Select Final Cut Pro > Commands > Customize from the top menu bar.
Step 2
Next, the Command Editor is displayed, allowing you to give any action in Final Cut Pro a keyboard shortcut.
Step 3
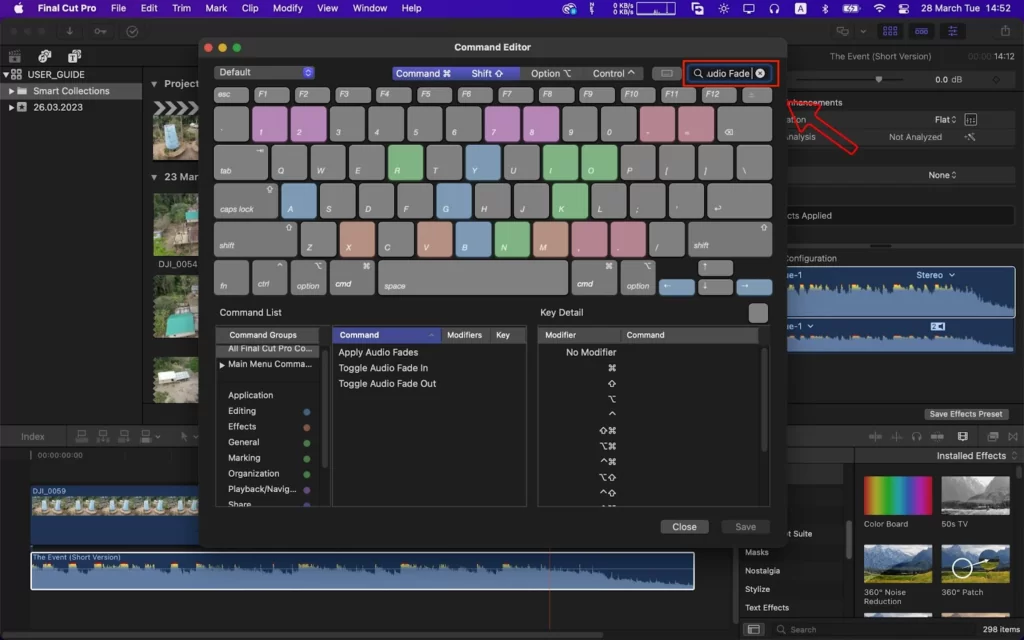
Enter Audio Fade in the popup window’s top right search field. The Command box near the bottom of the window should start to display several audio commands.
Step 4
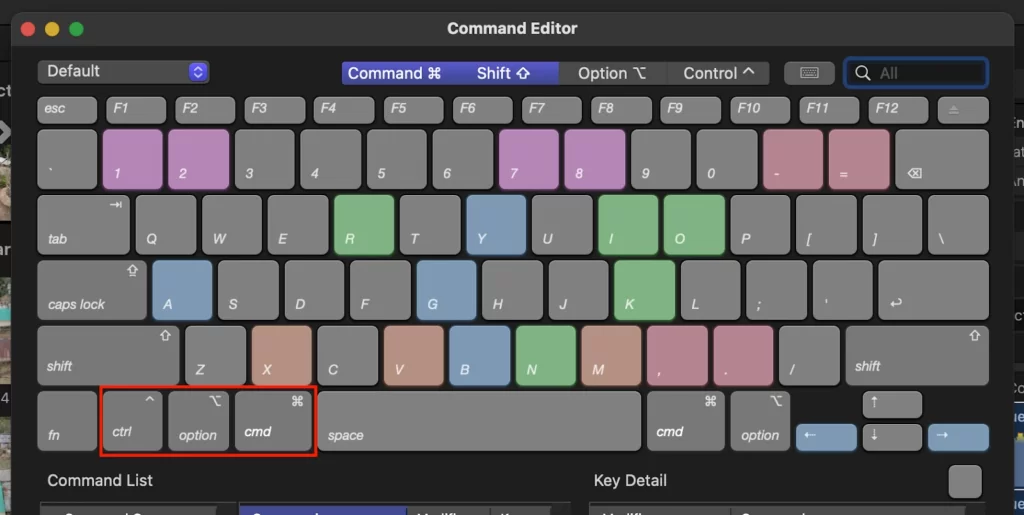
Several modifiers, including Command, Shift, and Option, should be shown above the keyboard display. Select any of these or a combination to serve as your new shortcut.
Step 5
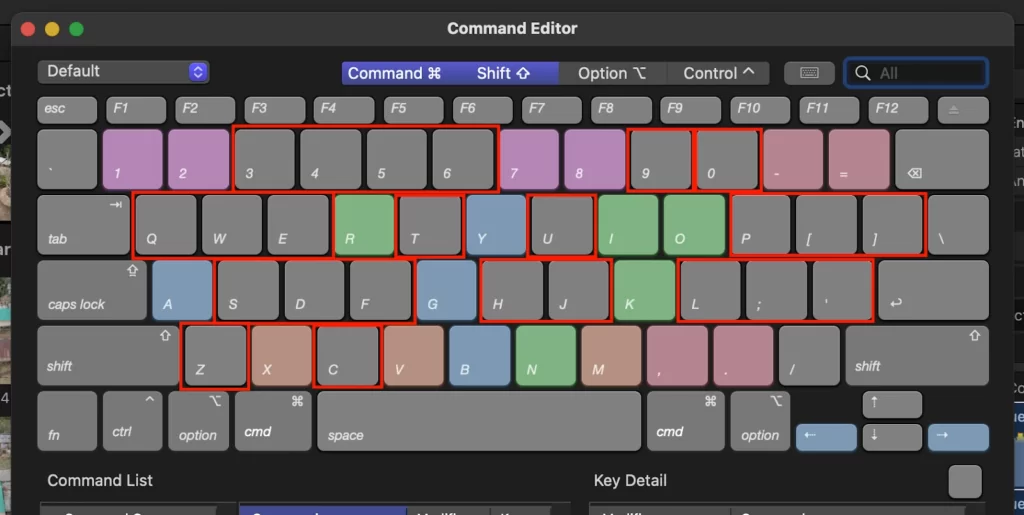
Gray keys on the keyboard display represent keys without a shortcut for your chosen modifiers.
Step 6
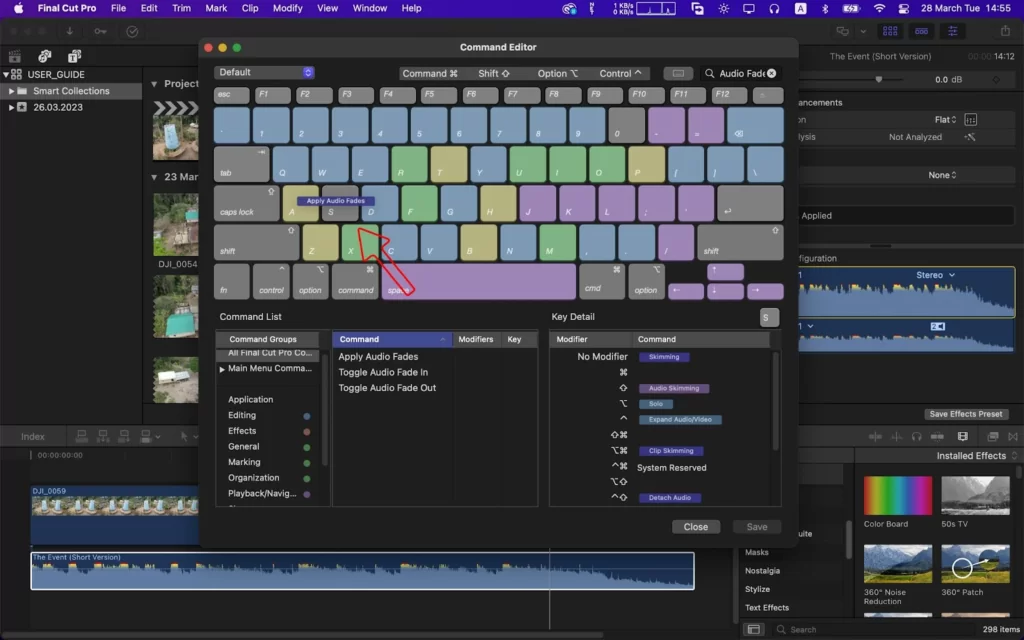
To add a keyboard shortcut, drag a button that looks like Command called Apply Audio Fades-up onto a gray key.
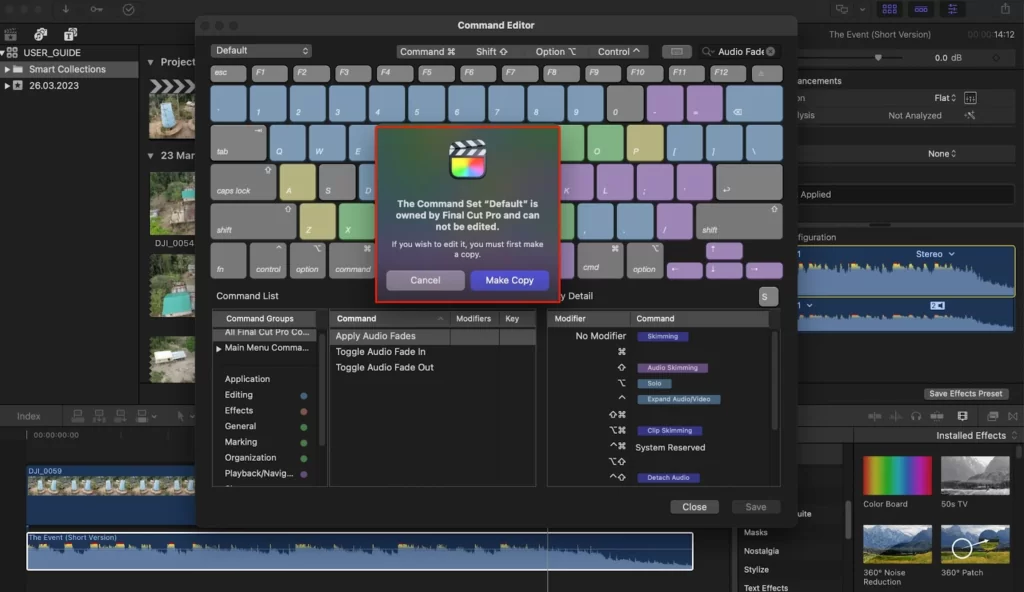
Step 7
If Final Cut prompts you that you cannot alter this command set, click Make a Copy and, give your new command, set a name before going through the previous steps again.
Step 8
Select a clip in the Timeline again, and then use the modifier key and shortcut key you chose to try out your new keyboard shortcut on that clip.
Did you enjoy reading this article? Then, check out our in-depth guide on how to add audio in Final Cut Pro.