Capcut is an amazing application that can be used for video editing. You can even make a video by adding multiple photos.
Editing videos on CapCut is fast, easy and fun. With a plethora of tools at your fingertips and intuitive controls, you can create stunning films with minimal effort. In this guide, we’ll look at the basics of how to edit video on CapCut, covering everything from selecting footage to trimming and adding effects.
Ready? Let’s get started!
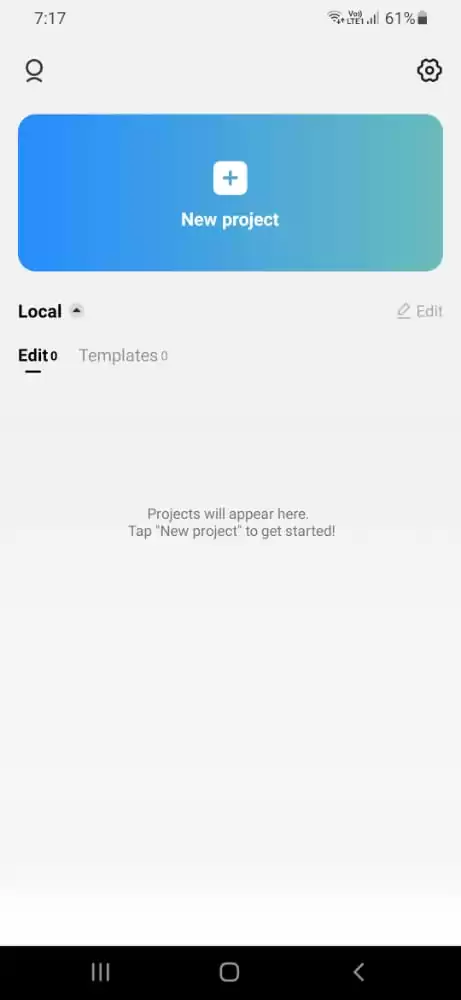
How to Edit on Capcut
In this guide, we’ll learn how to edit videos in just a few minutes.
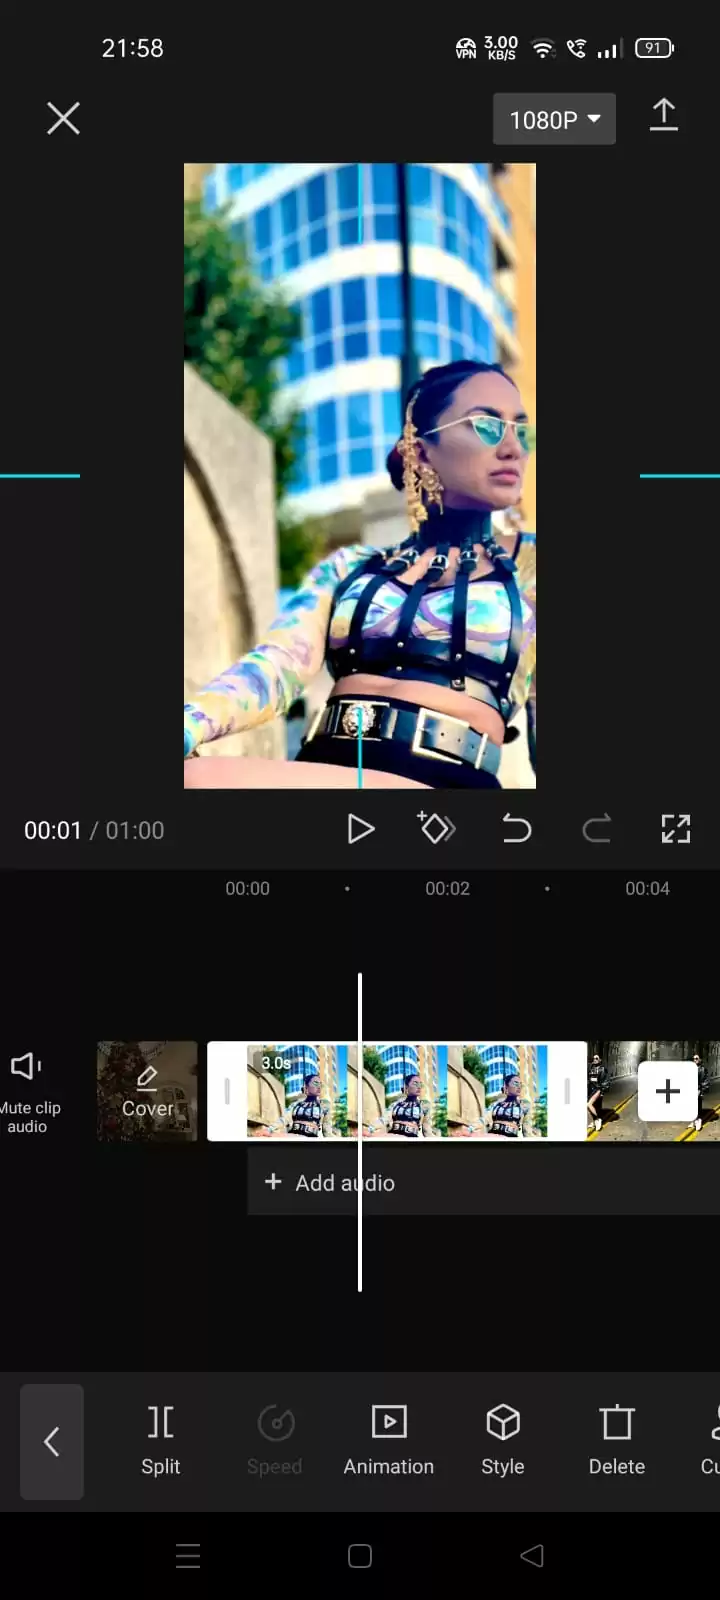
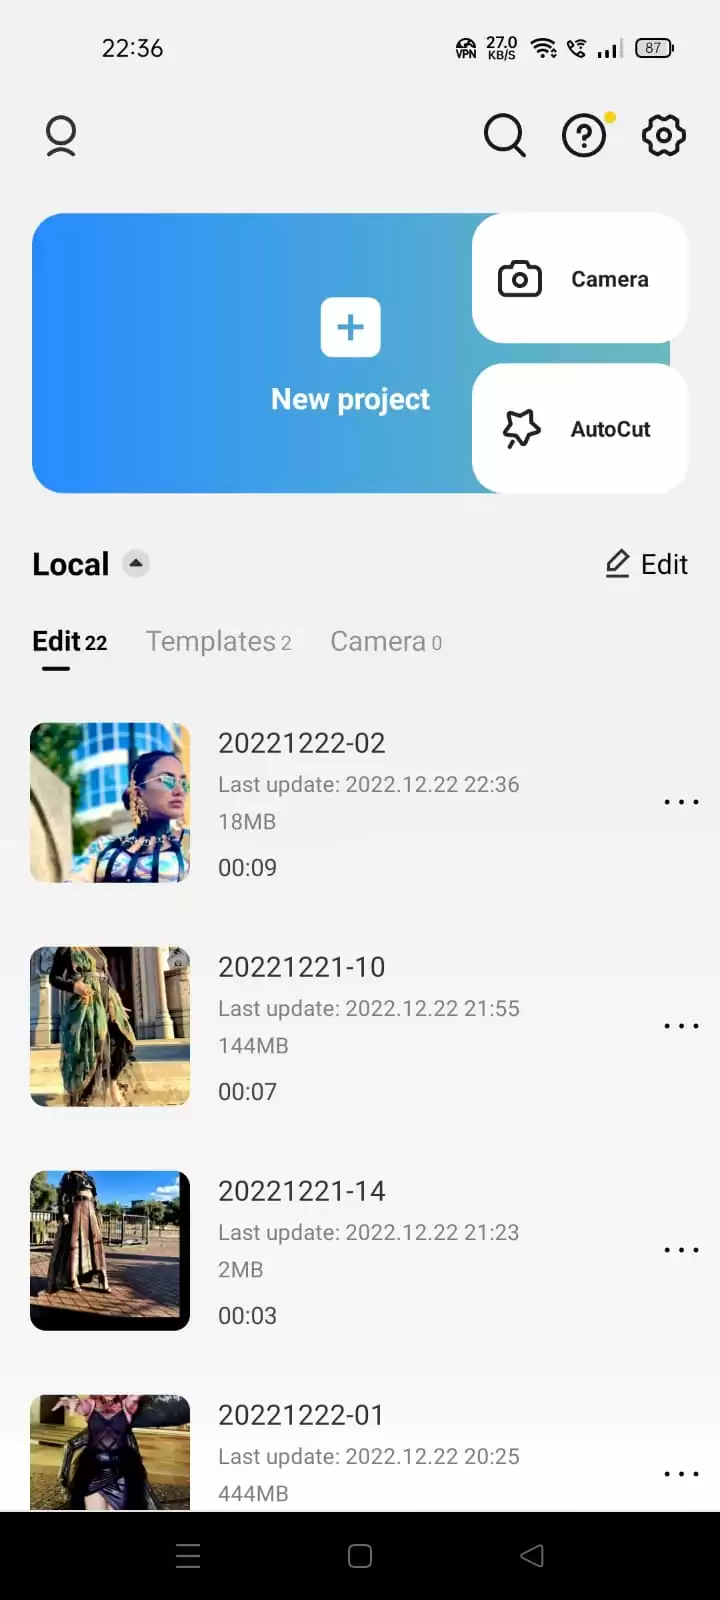
I have several photos and I want to make edit them. So we’ll select the photos.
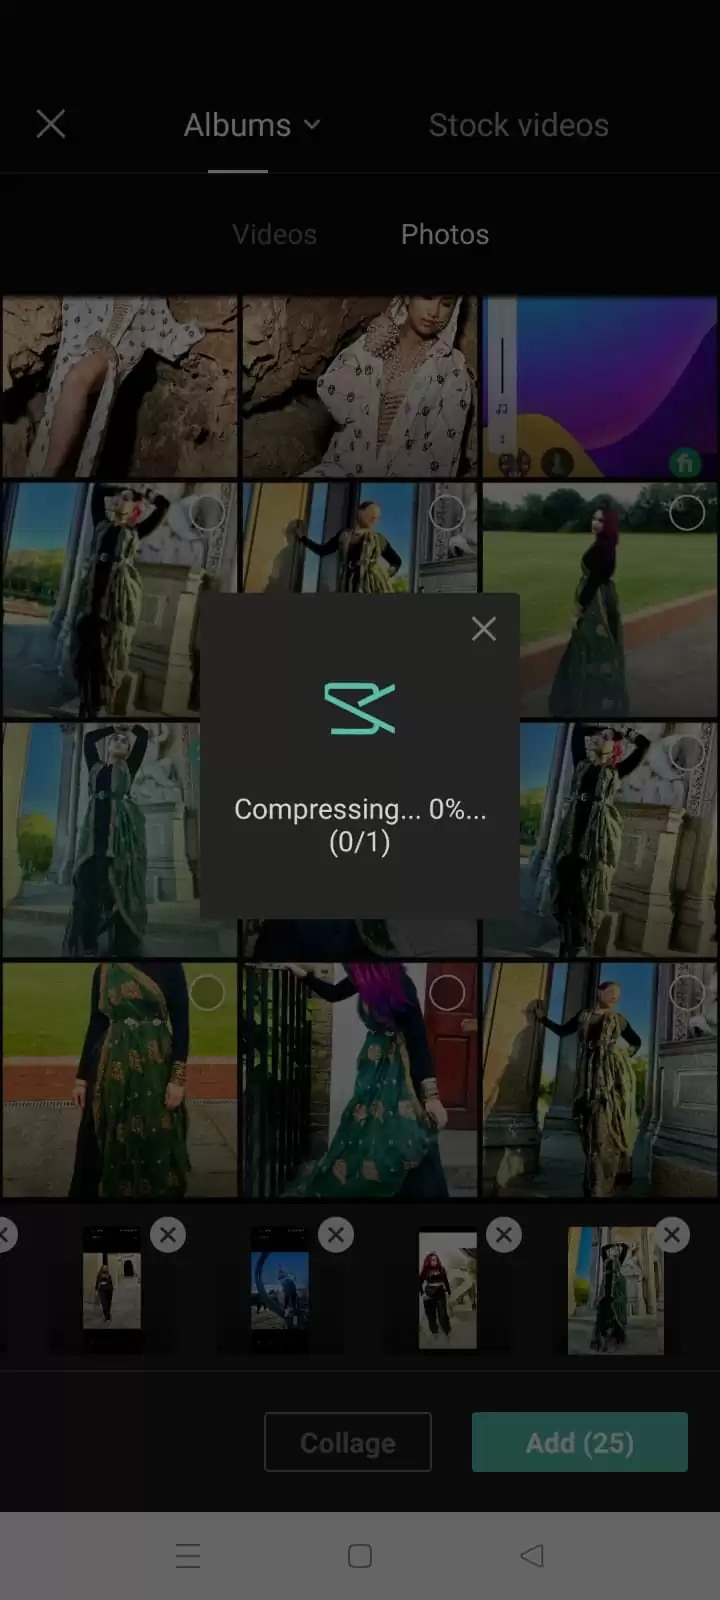
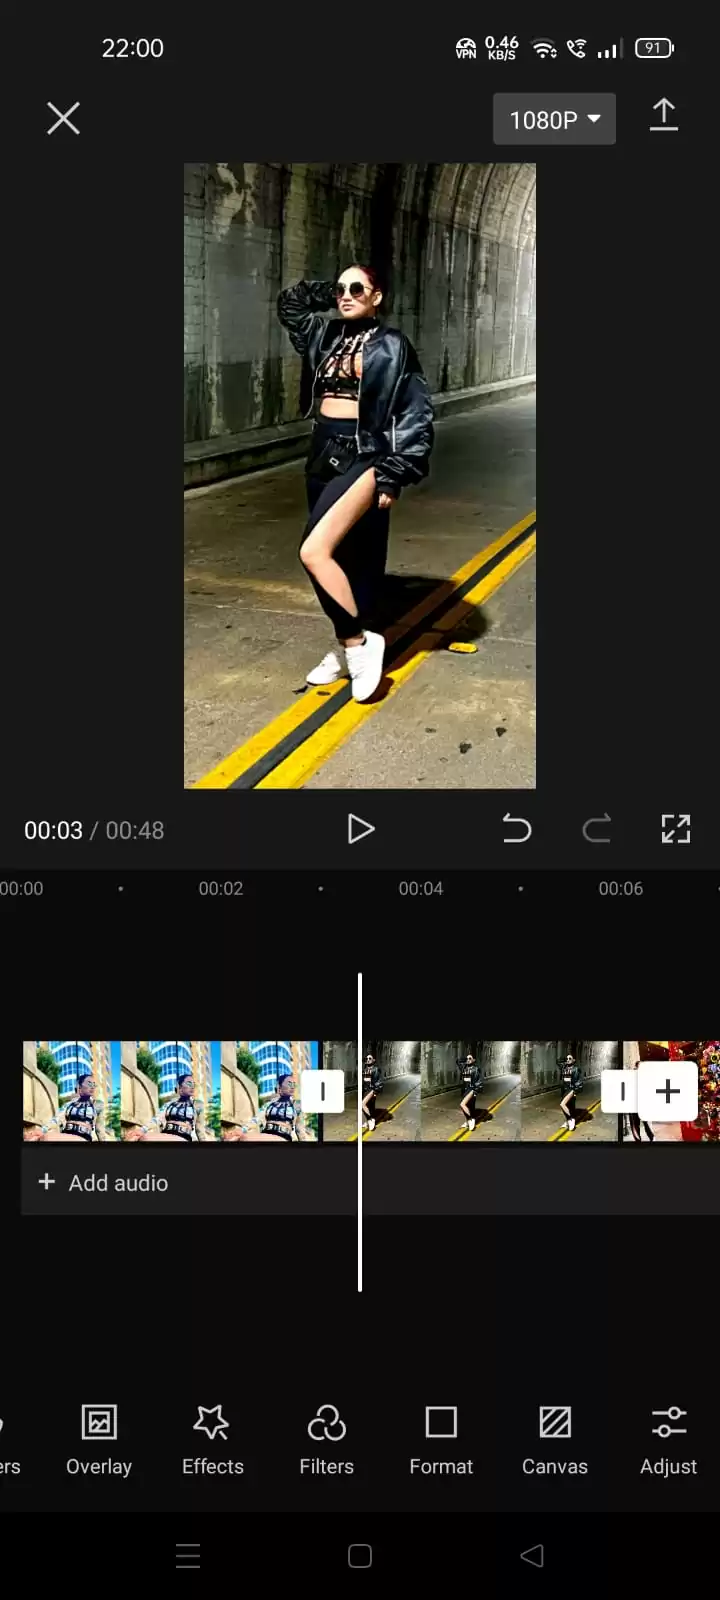
You can see that the photos have been imported. Now we can start our editing.
First, I’ll change the format of the file type. I’m using 9:16 for an Insta reel.
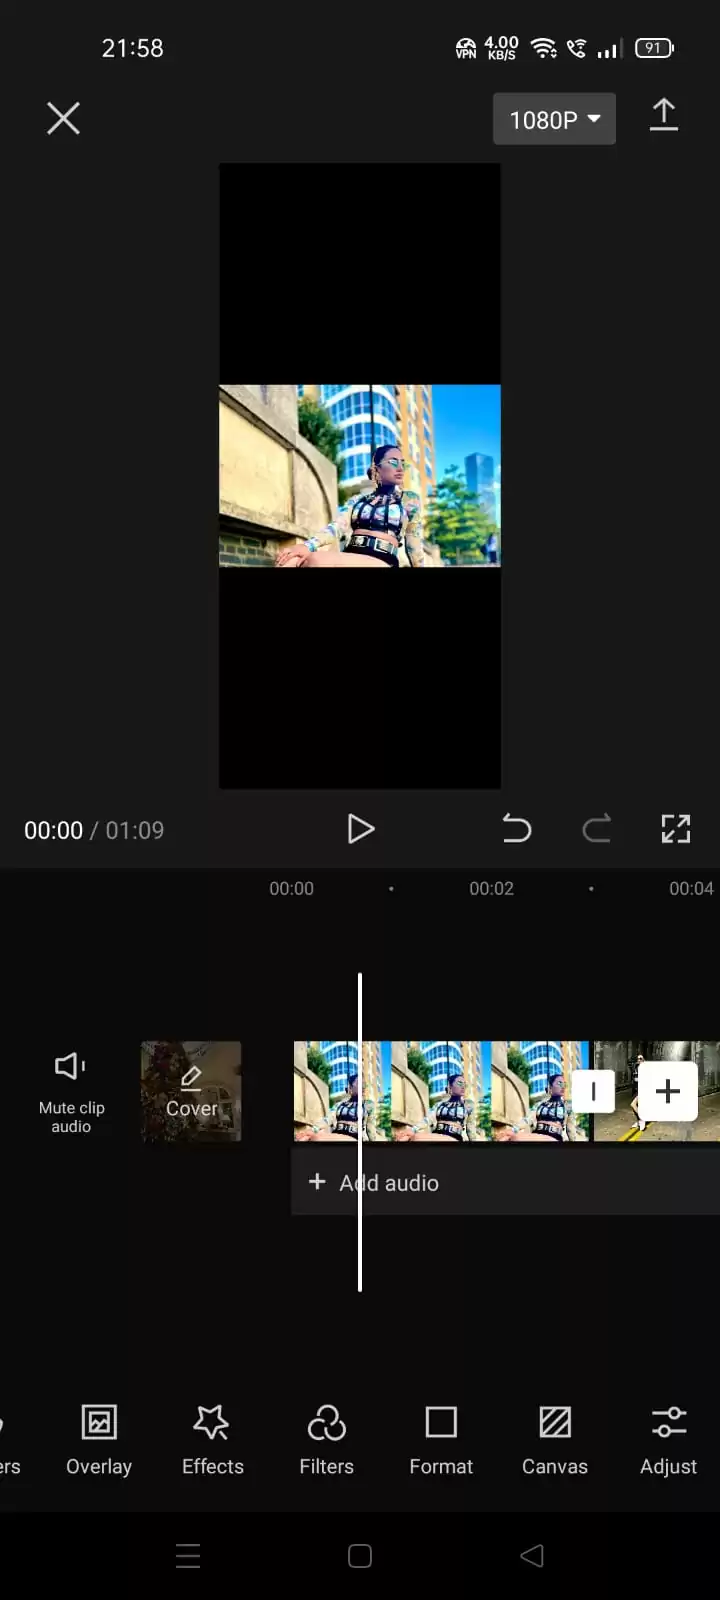
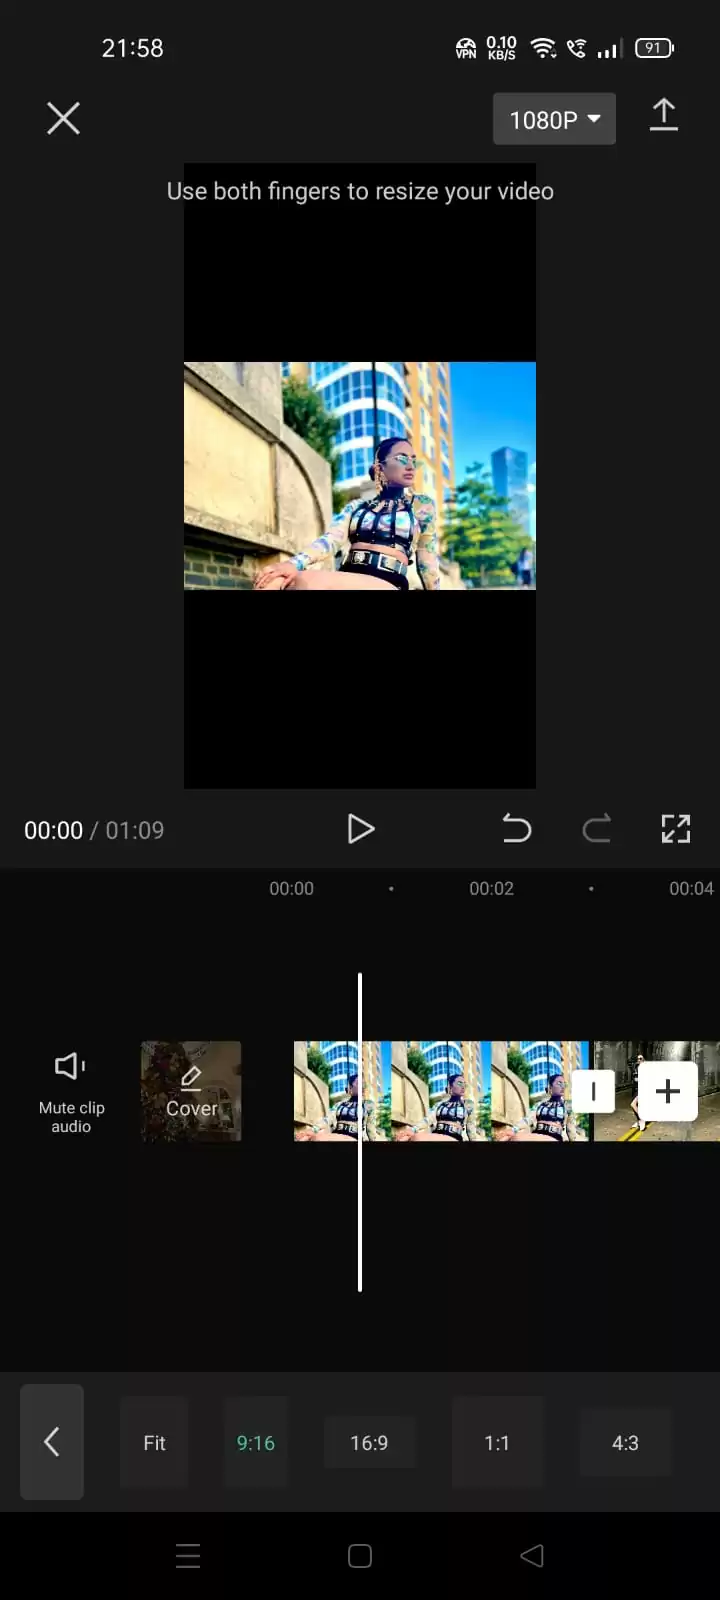
Zoom the pictures so that the pictures fit in the frame.
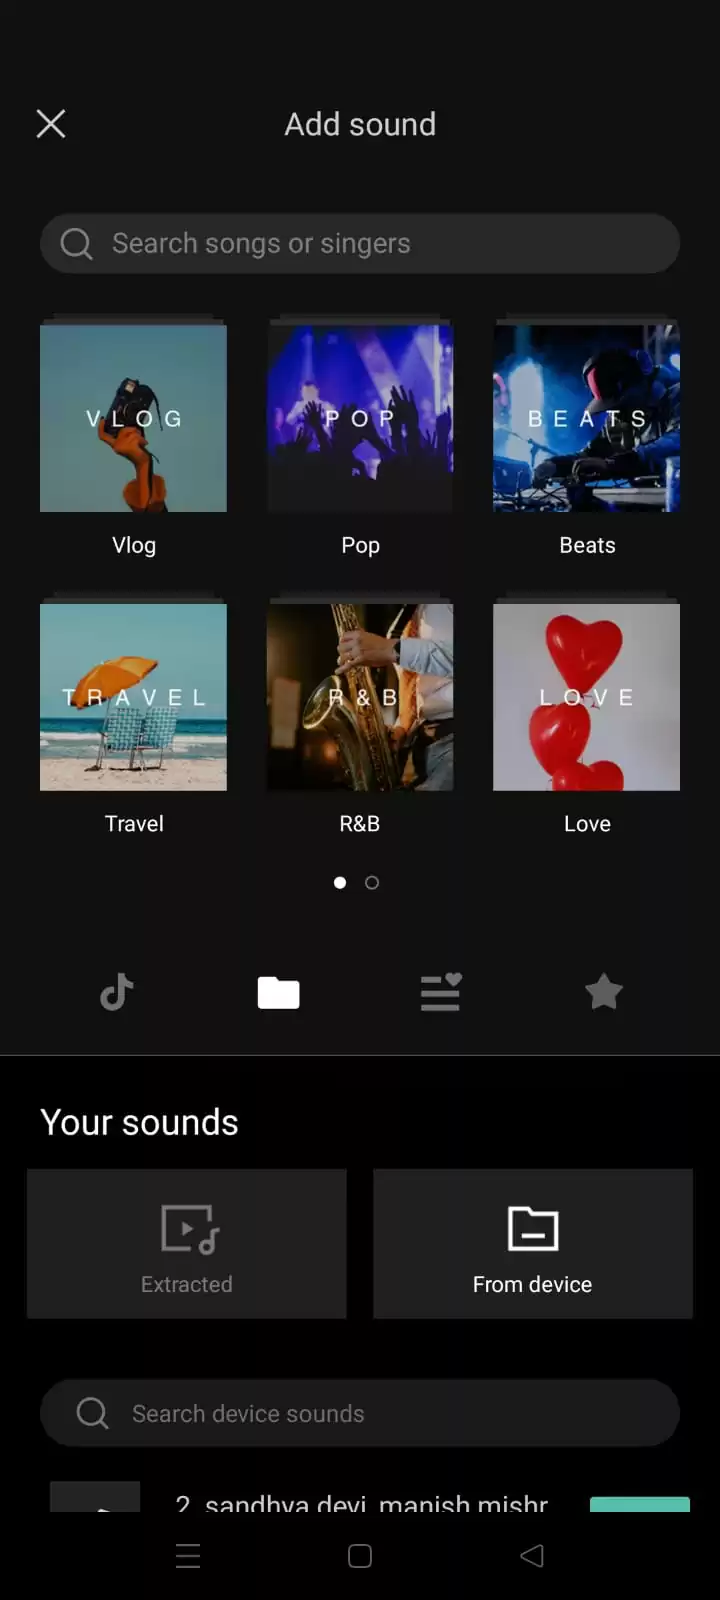
Time to add some music to our edits, so click on Add Audio.
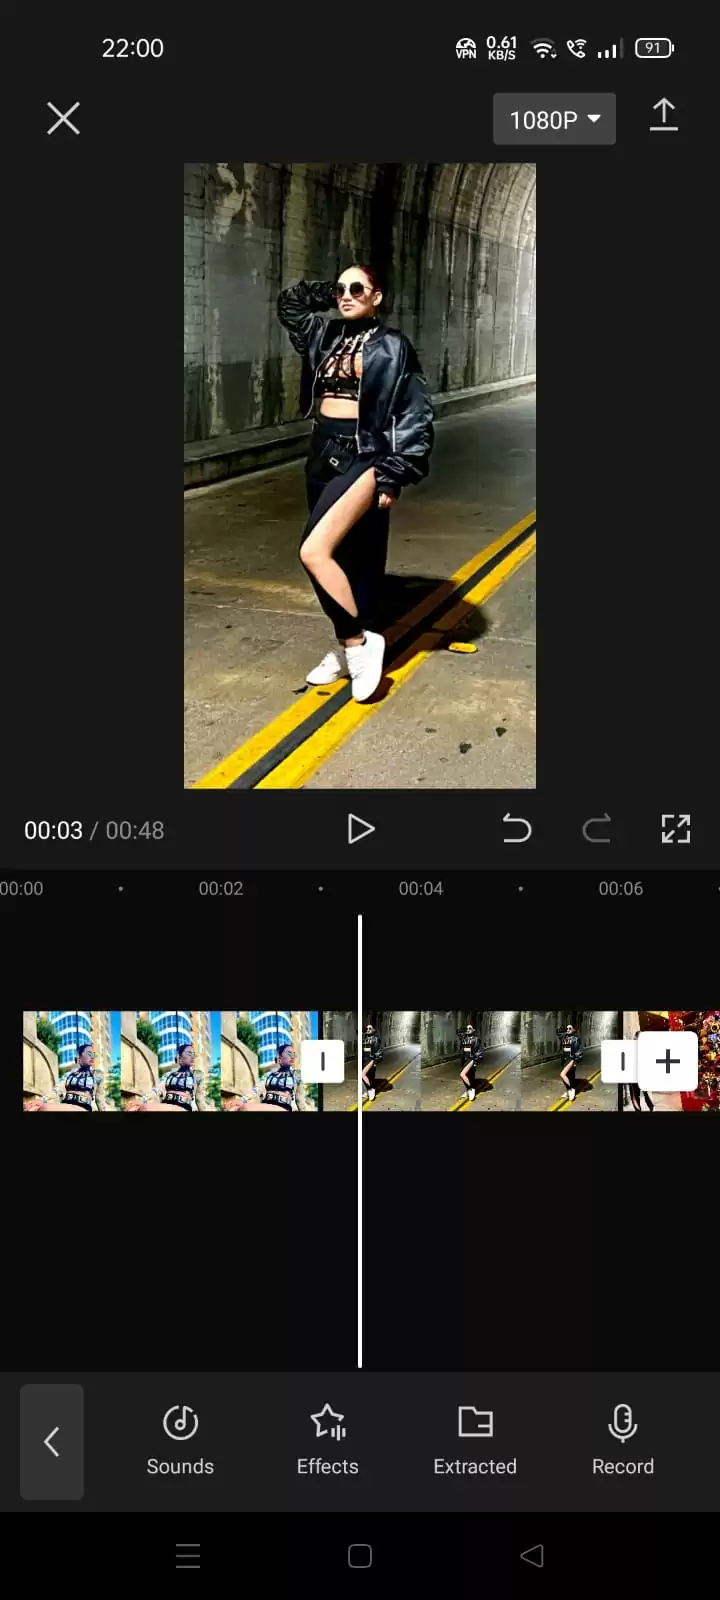
Choose audio from the Capcut or from your device.
After inserting the audio, click on the audio clip, then click on match cut. After that, click on Auto generate so that the beat will be generated automatically. You can also remove or add beats.

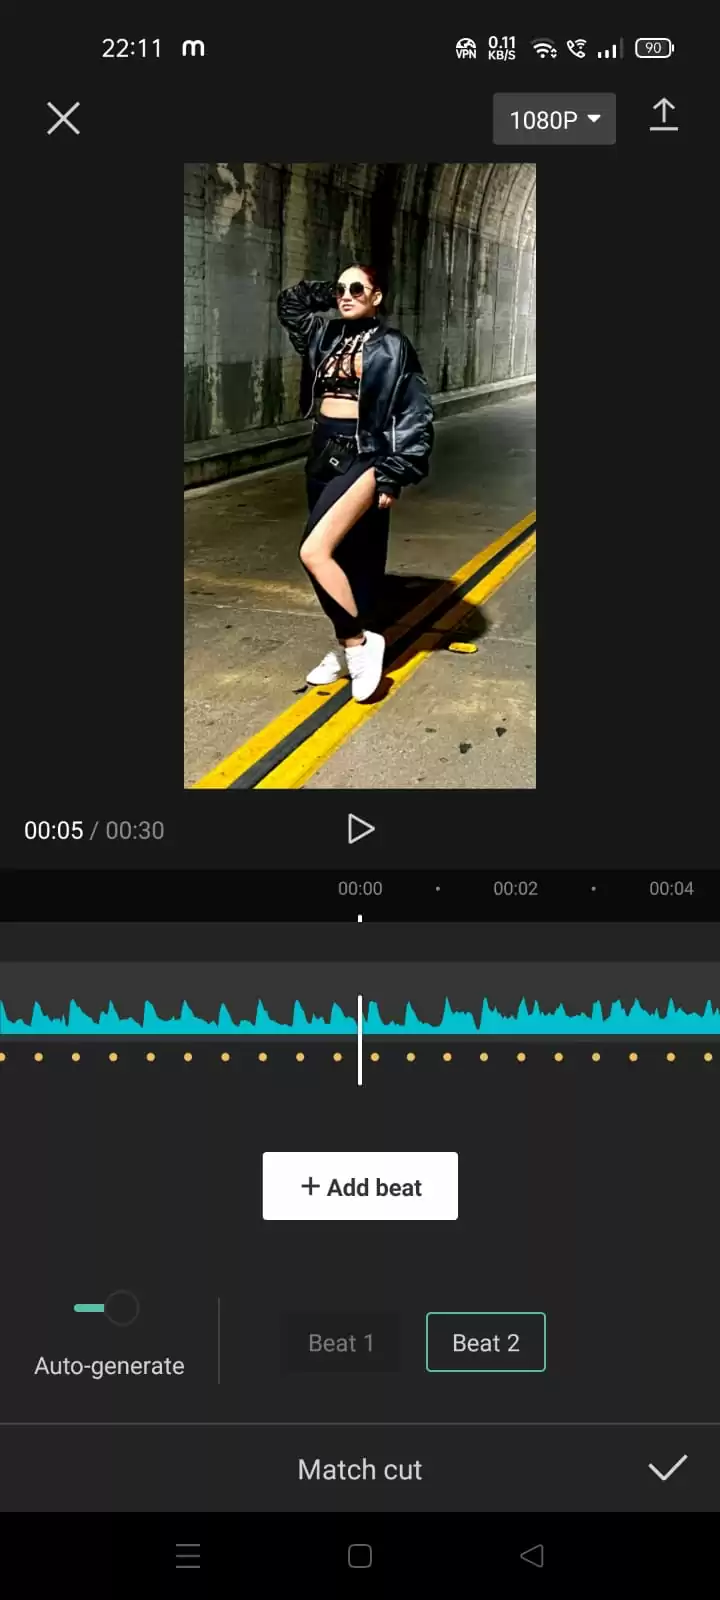
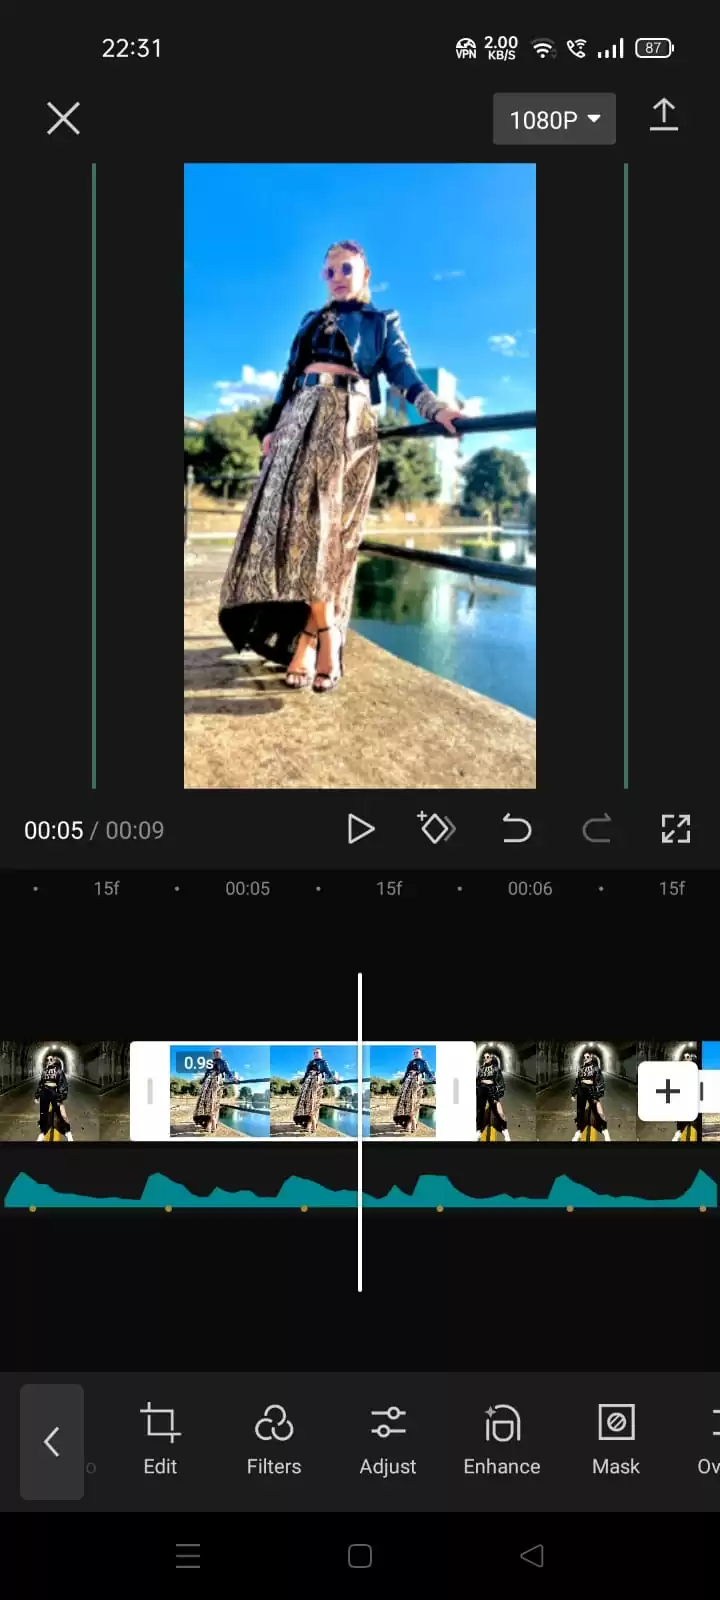
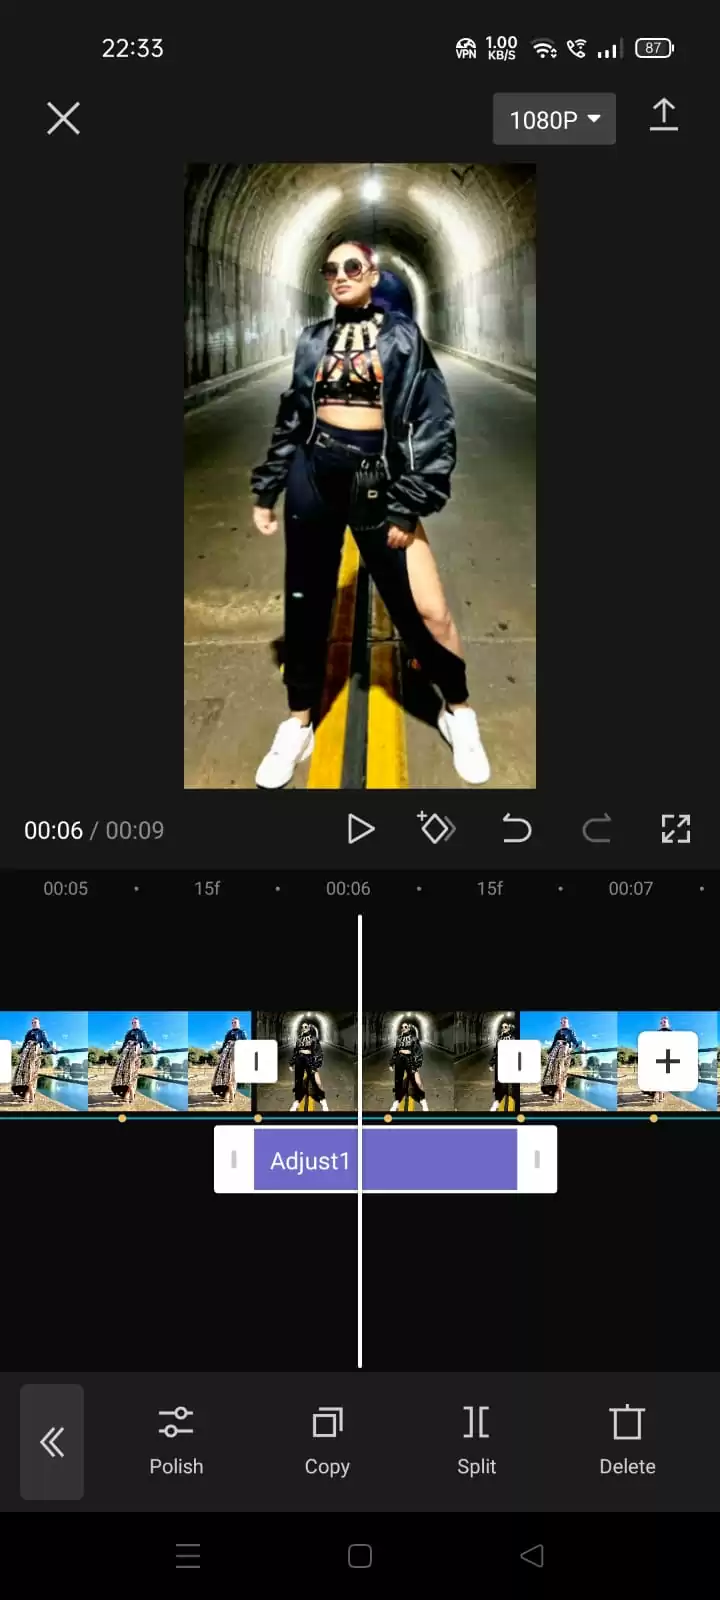
These yellow dots are the beats. For the first clip, I’m leaving 2 dots, and on the third beat, I’ll stretch or extend the clip exactly to the beat.
We’ll leave one beat for all clips and take the 2nd one.
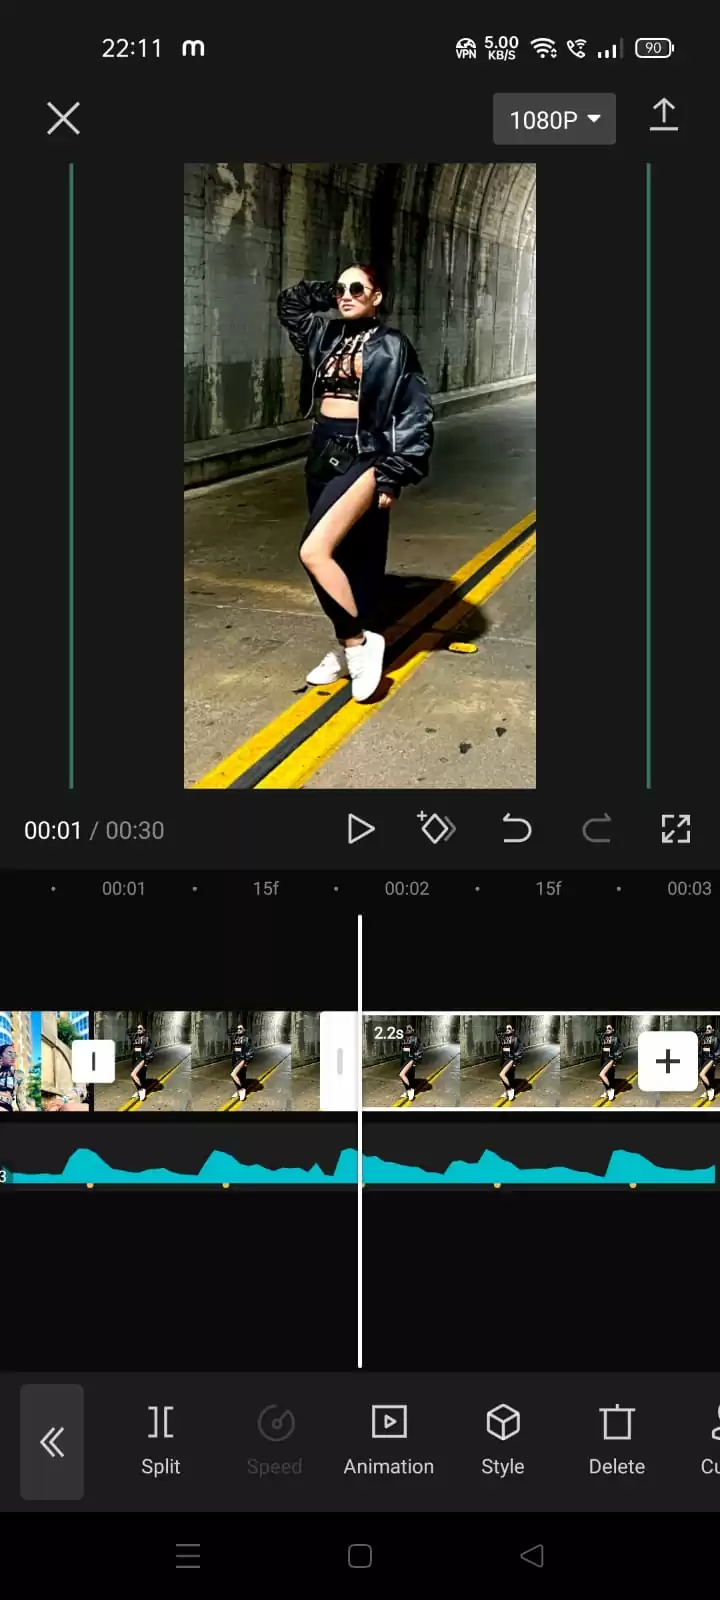
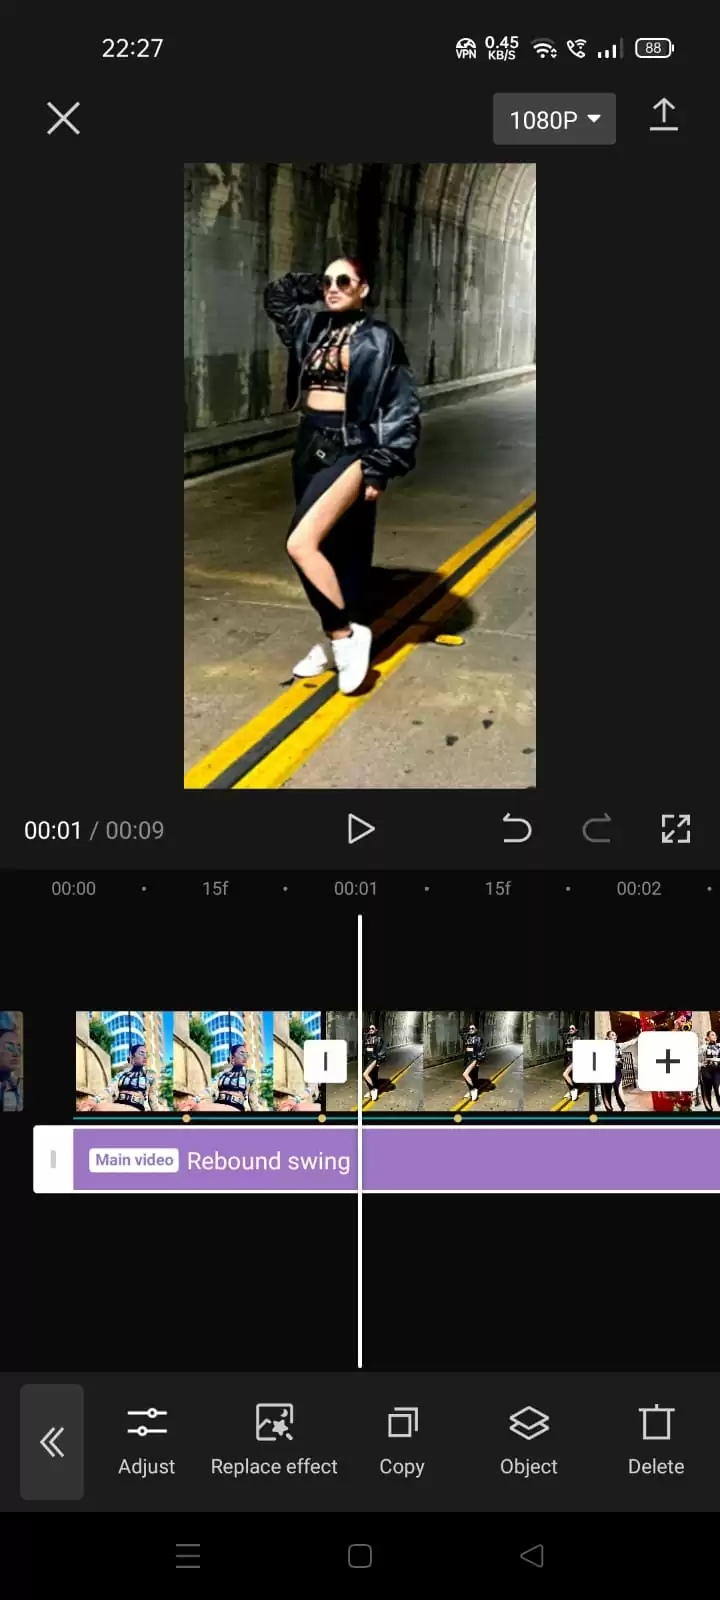
Click Effects, then Video Effects, and choose any effects you want to apply. I selected a round swing and then clicked on the tick.


You can increase the duration of this effect by simply dragging the panel to the right.
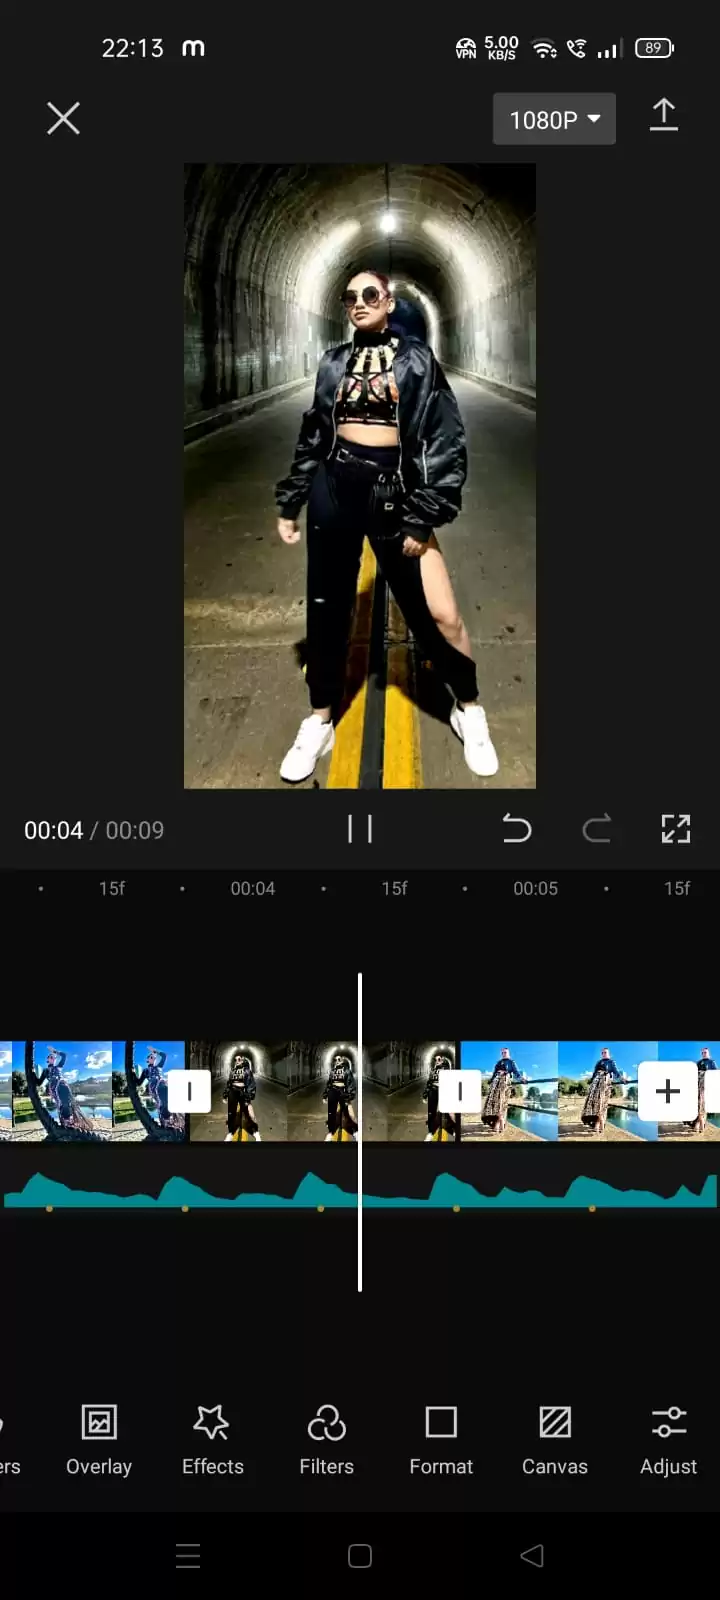
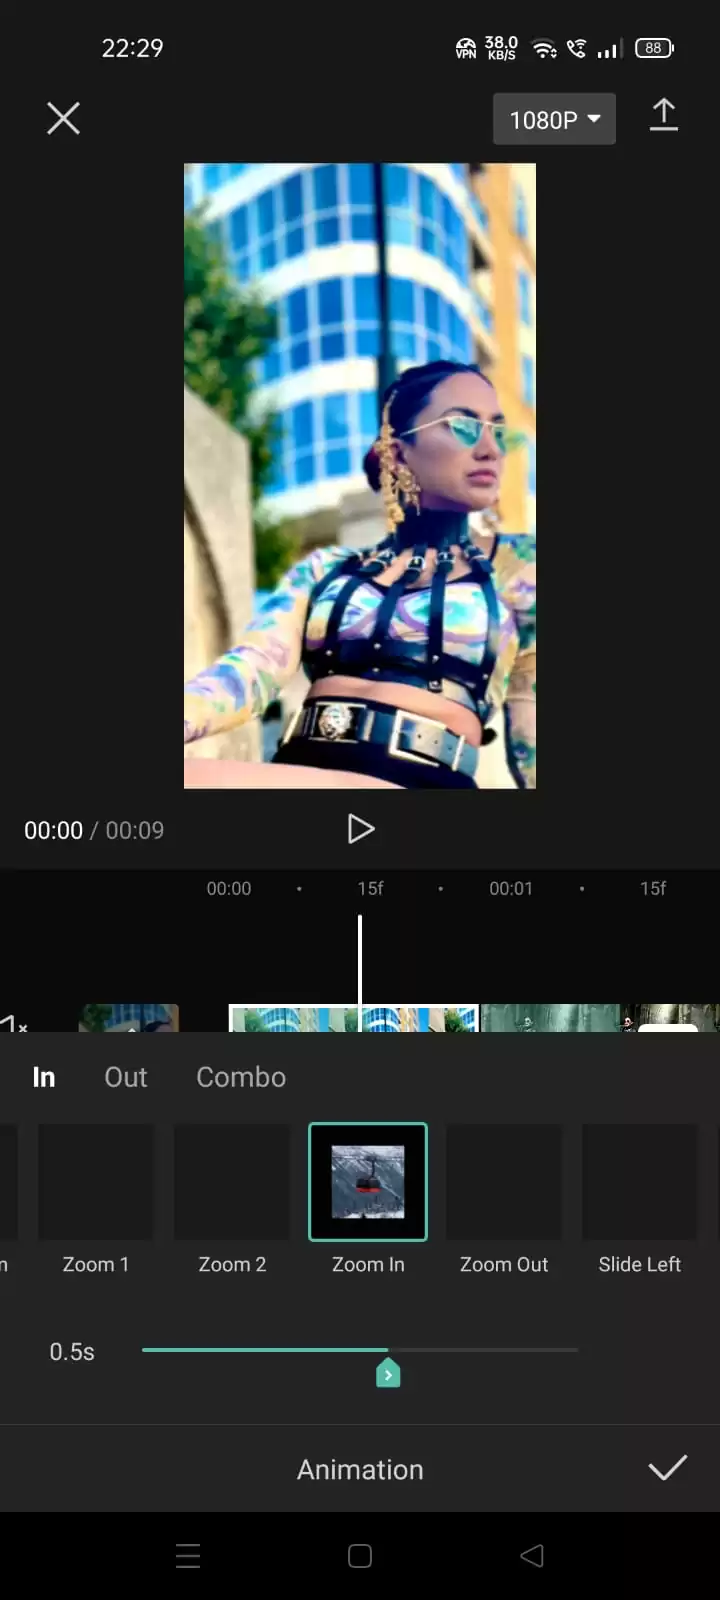
You can add animation for every clip. I’m using a few animations for my edit, like zoom out, and zoom in.

You can add filters. Right now, for this image, I’m choosing the Metal filter.

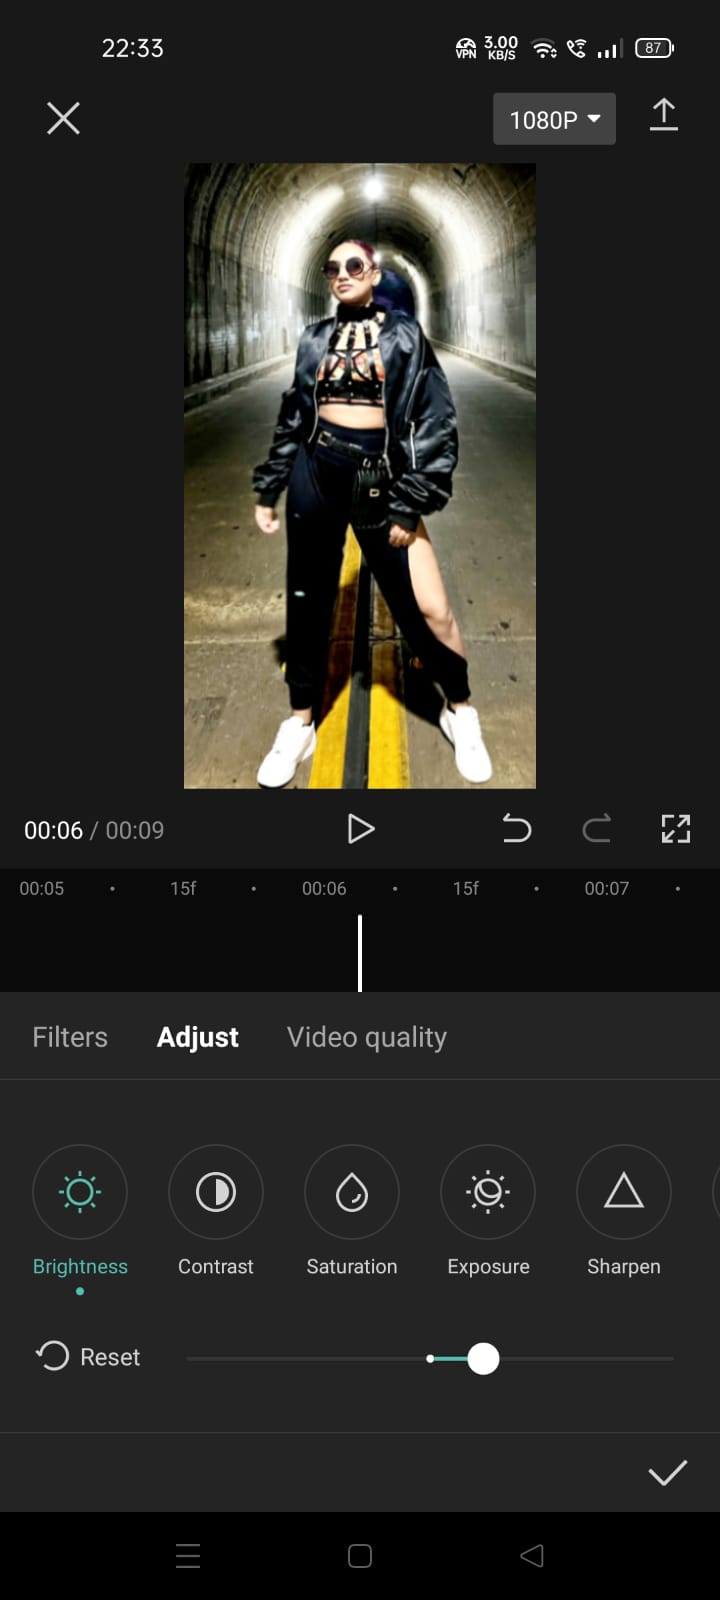
I’m adjusting the brightness, contrast, and saturation for this image.

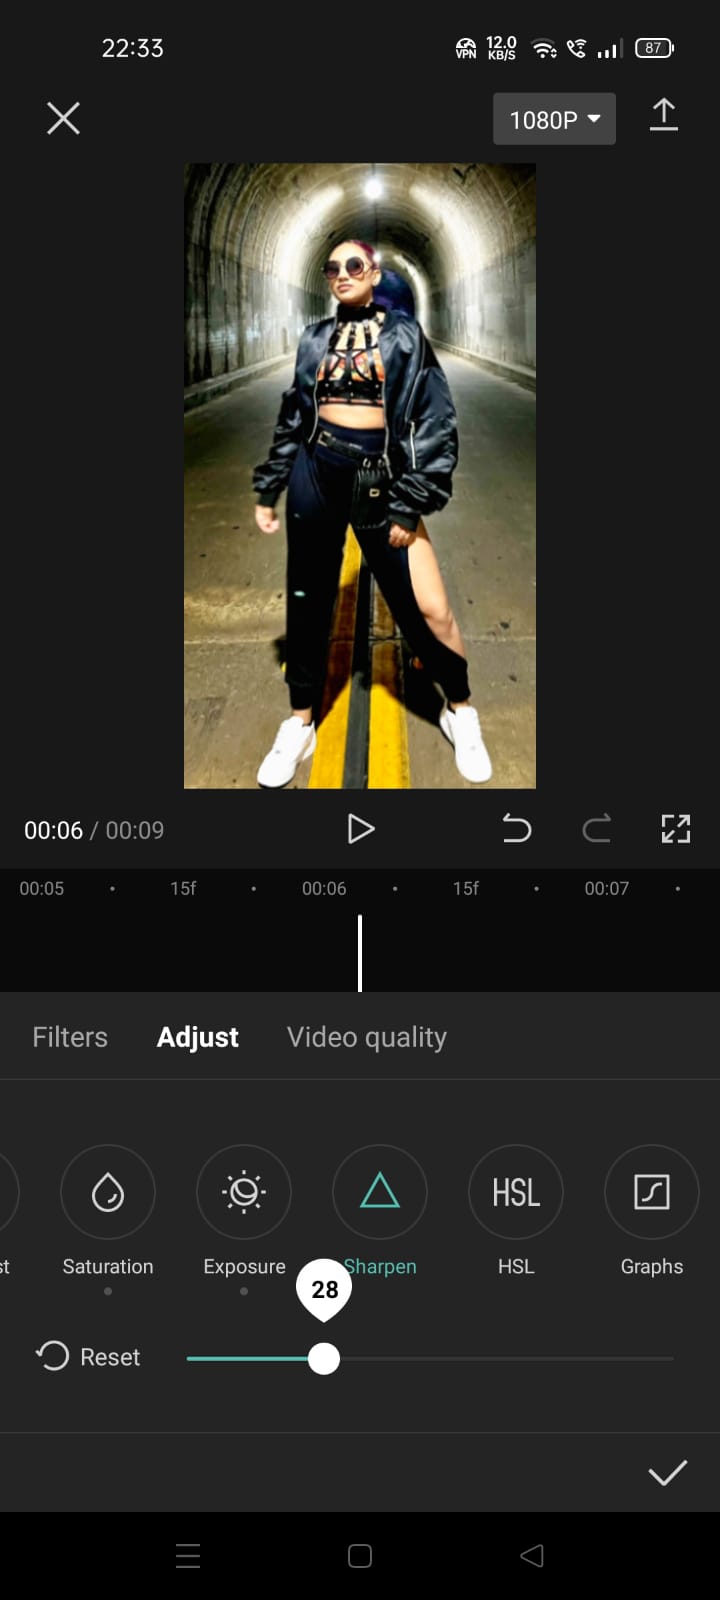
You can also extend the duration of the adjustment you did.
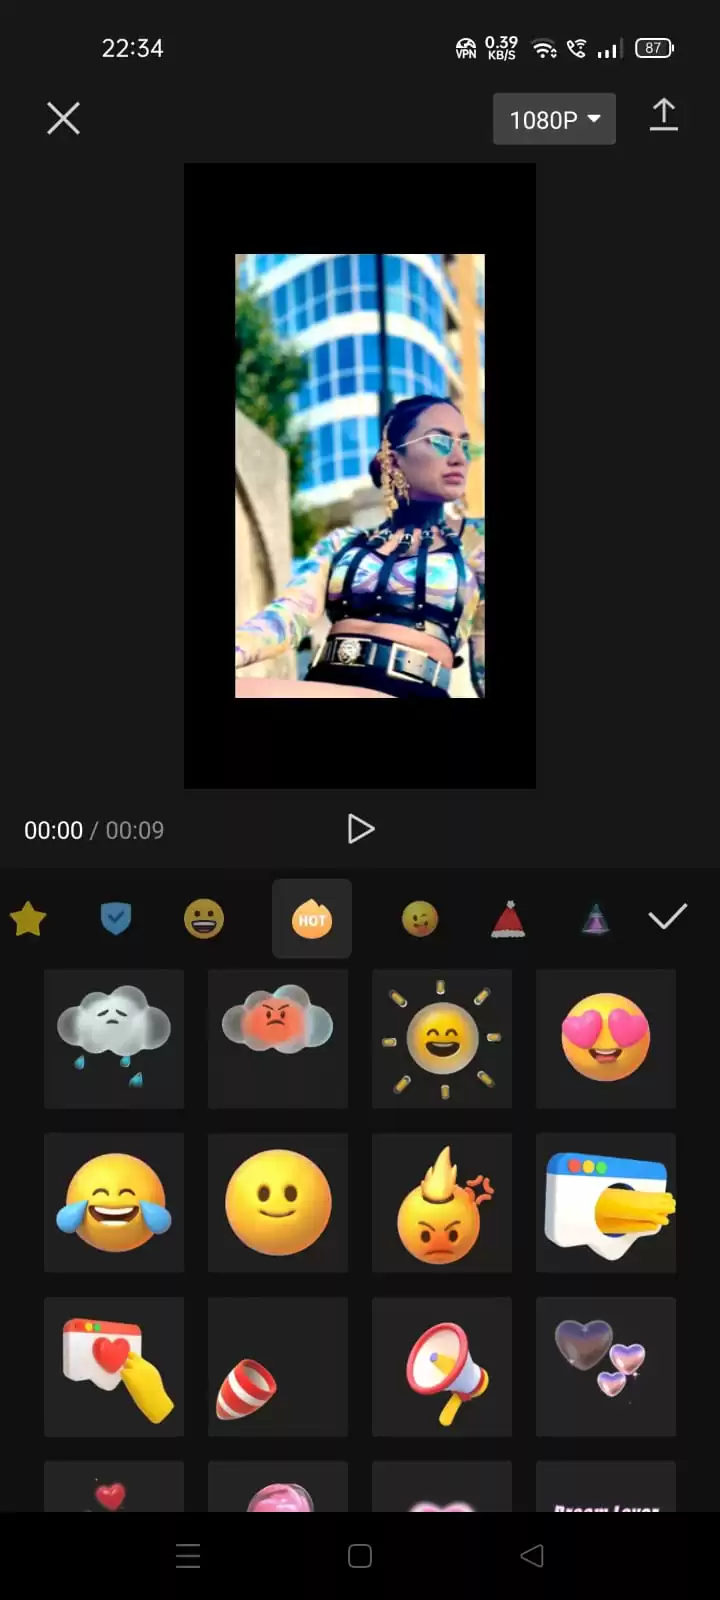
Apply some cute stickers.

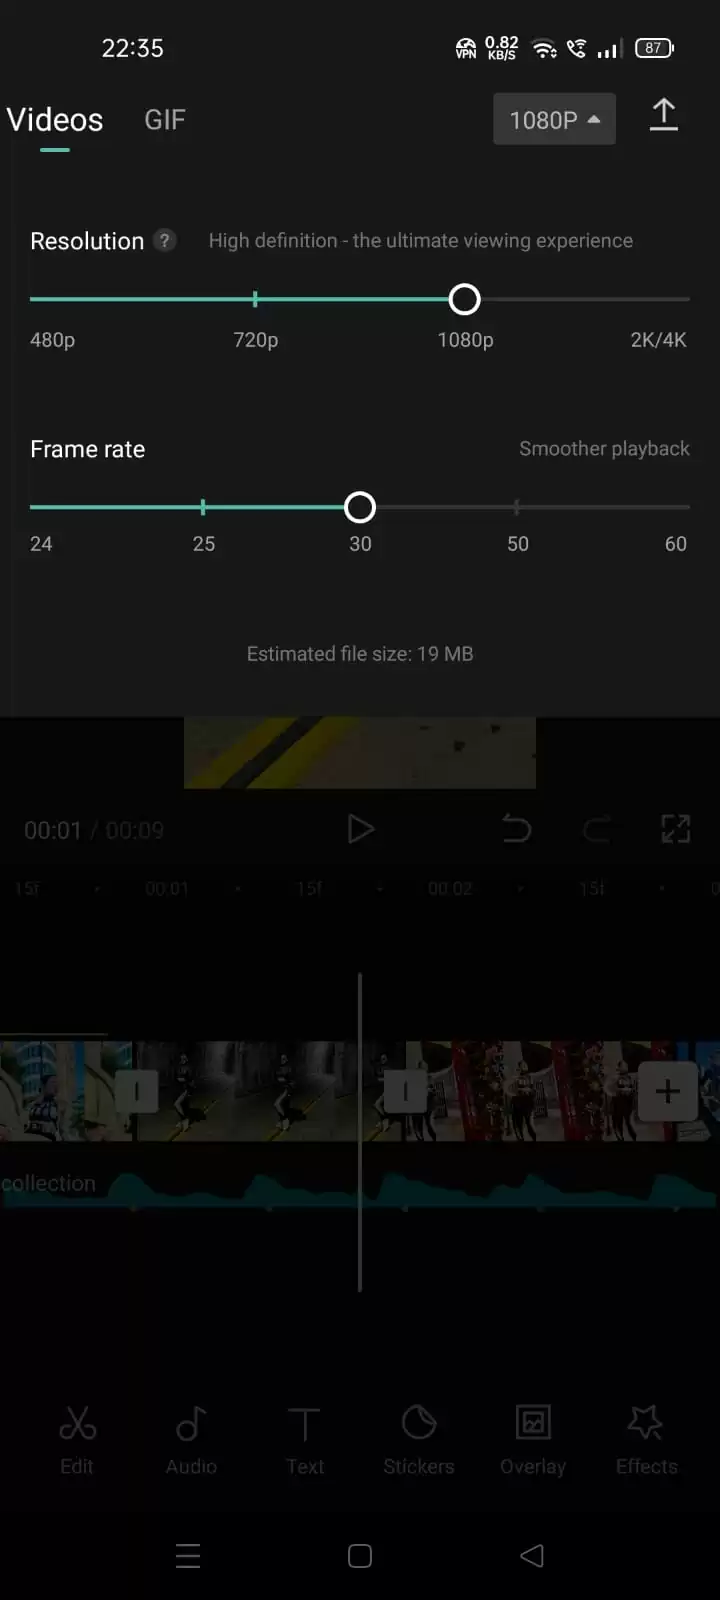
Before exporting your edit, you can enhance the quality of your video. Just move the resolution from 1080P to 2K/4K and the frame rate from 30 to 60.

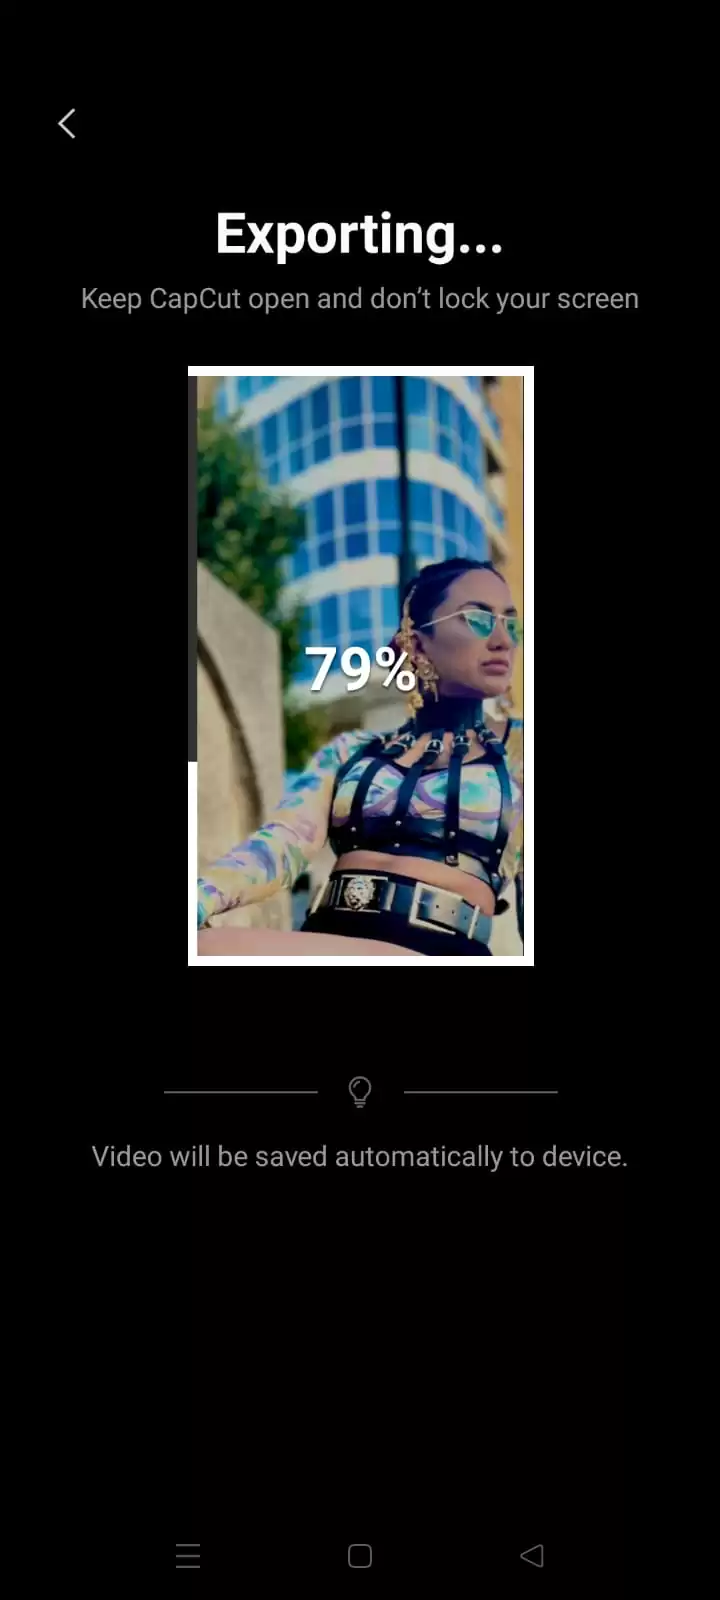
Now export this file and share it on social media platforms.

Suppose, you want to add something to the same edit. You can then open Capcut, click on the edit you made, and you’ll be able to edit it again.
Use everything available on Capcut. You will make better videos in the future. Thank you!
We also recommend that you check our in-depth article on how to get CapCut templates.
Other Powerful CapCut Editing Skills You Should Know
Apart from the edits mentioned above, there are other awesome editing skills you should consider when using CapCut. Below are a few of them.
Splitting Clips on CapCut
Follow the steps below to split clips using CapCut.
Step 1
Start by uploading Your chosen video to the CapCut timeline.
Step 2
By moving the playhead to the desired location, you can divide a video into two parts.
Step 3
When you’ve got the playhead in the right place, tap on your video clip and then tap the Split icon in your toolbar.
Step 4
Tapping the Split icon will result in two distinct clips cutting where your playhead was located.
Step 5
Last but not least, don’t forget to save your altered movie.
Cropping in CapCut
I’m sure you’ve been in situations when you’ll record a video, but the background will include an unsightly object. You can get rid of the unsightly object by cropping.
Cropping is a method for removing the corners or borders of your video to remove specific areas of the frame. Follow the steps below to crop using CapCut.
Step 1
Start by choosing and adding the video you want to crop to your CapCut timeline. On the timeline, tap the video layer.
Step 2
On the timeline, tap the video layer and then select Edit from the bottom menu.
Step 3
Now you need to find the second Edit menu and select it.
Step 4
You will see three menus—Rotate, Mirror, and Crop. To crop the video screen, select the Crop option.
Step 5
Next, move the playhead to the inside of the video. Move the playhead up to the desired cropping point to begin cropping your video. Apply by pressing the check button.
Step 6
Remember to save your altered movie to your gallery before leaving. If you don’t save, all your effort will be for nothing.
Mirroring a Video Using CapCut
Follow the steps below to mirror a video using CapCut.
Step 1
Start by selecting the video you want to mirror, then add it to your CapCut timeline. Tap the video and Locate the second Edit menu. When you locate the Edit menu, tap it.
Step 2
The Mirror option can be chosen and selected. You can decide whether to flip it vertically or horizontally. Finally, save the reversed video to your phone’s gallery.
If you enjoyed reading this article, check out our detailed article on how to add velocity effects on CapCut.