If you’ve ever picked up a magazine and thought ‘this looks so good’, you’re possibly looking at something created using InDesign. Adobe InDesign is a professional desktop publishing software that is widely used for designing books, magazines, and other print materials. It offers a range of advanced features and tools that allow users to create high-quality and visually appealing documents. Cropping images is a crucial aspect of image editing and composition in Adobe InDesign.
The crop tool allows you to adjust the size and position of an image within your document, helping you to focus on the most important parts of the image and improving the overall visual appeal of your design. Using this tool, you can remove the edges of an image, or simply use it to focus on a specific part of the picture. Cropping images in InDesign is pretty straightforward.
In this guide, we will walk you through the steps involved in cropping an image in Adobe InDesign.
How to Crop an Image in InDesign
Step 1
First, open the InDesign document containing the image you want to crop in InDesign. You can also create a
A new document by simply clicking File > New and choosing Document from the menu.

Step 2
When starting a new document, you may need to put an image on the page. To do this, click File > place. The Place dialog window opens.

Step 3
Locate the image file you want to import into your new document. Select it and click Open. You should see the program load the image thumbnail on your mouse pointer.

Step 4
Locate the image file you want to import into your new document. Select it and click Open. You should see the program load the image thumbnail on your mouse pointer.
Step 5
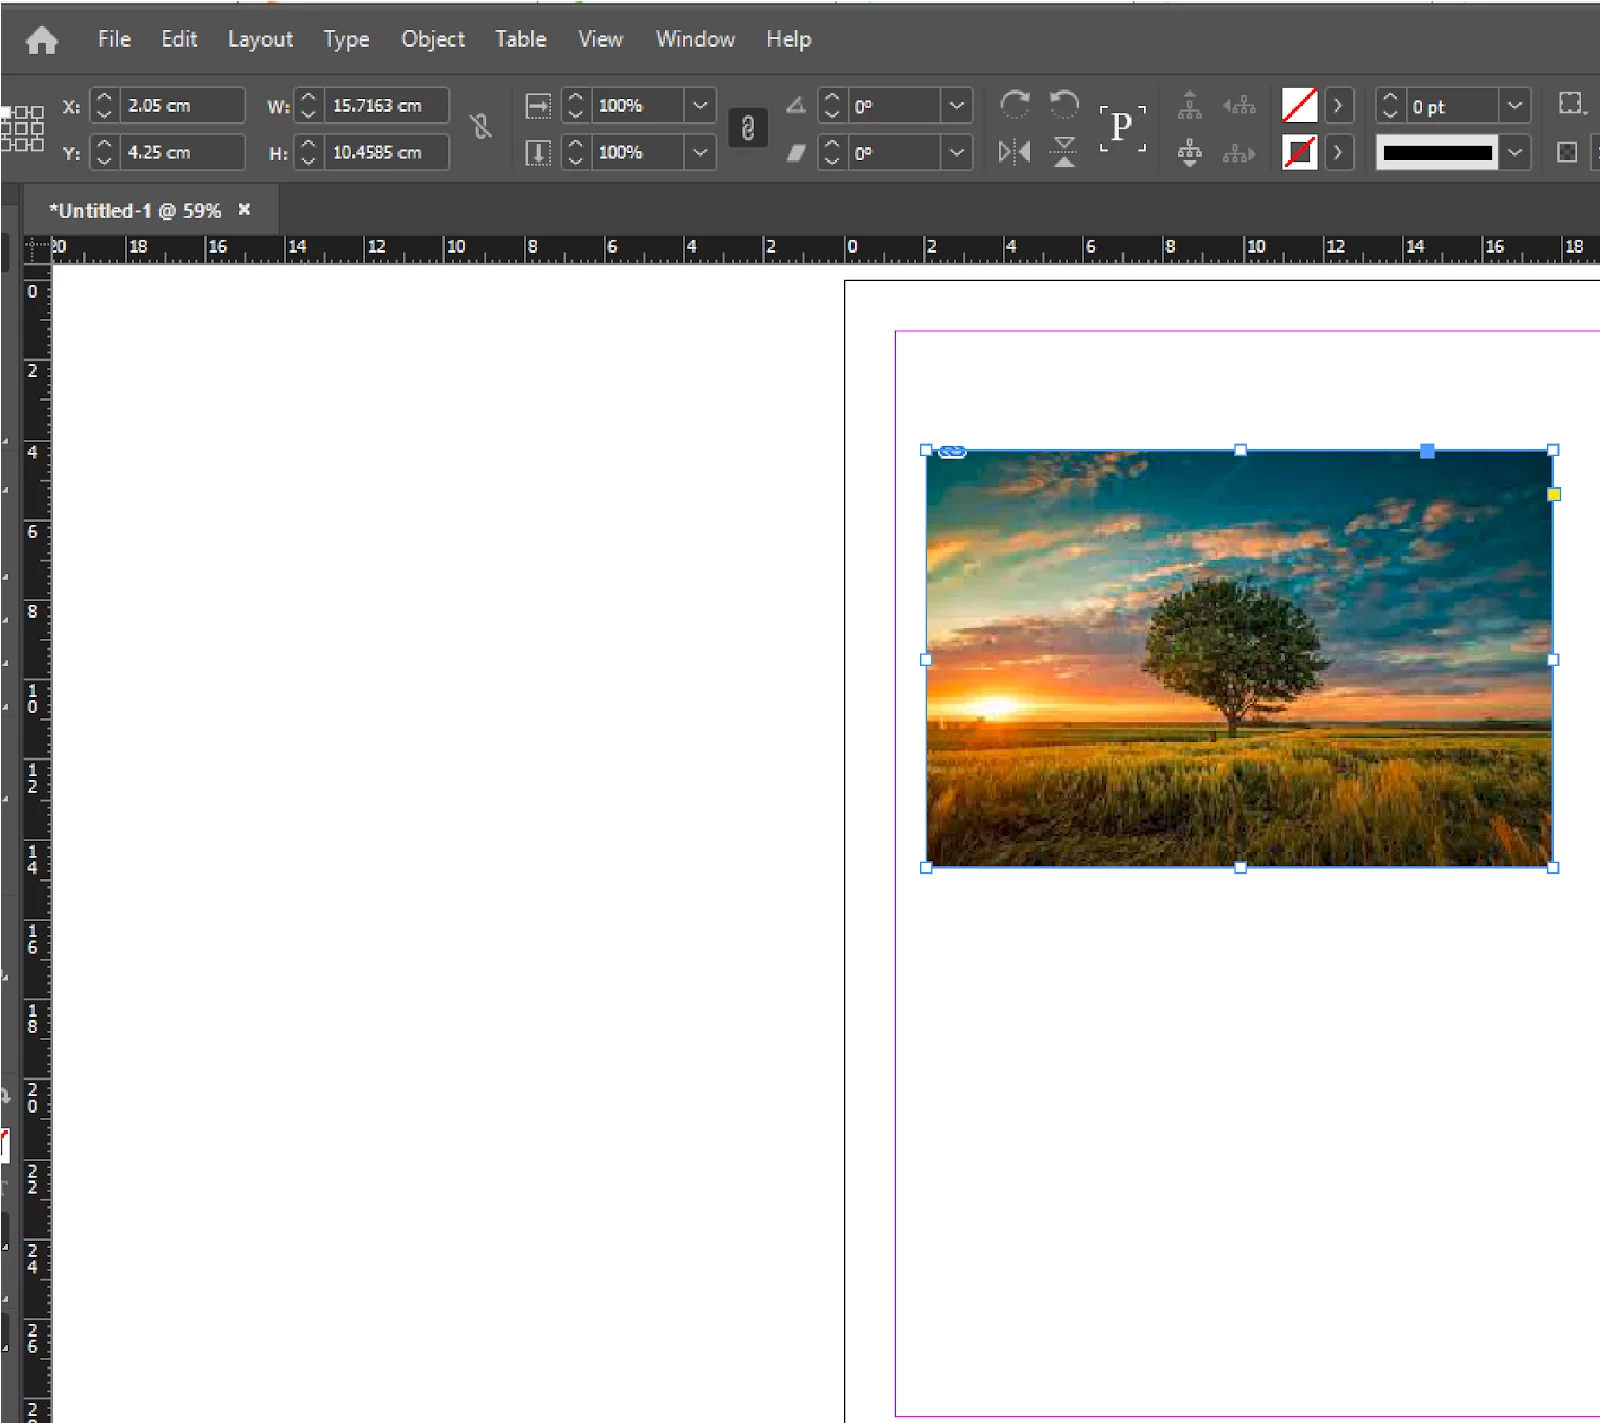
To crop the image, you must first select the “Selection” tool in the “Tools” panel.
Once you have selected your image, cropping is very easy. Simply drag one of the eight handles on the corners and sides of your document. For example, if you want to crop the top section of the image, hold down the mouse button and drag the handle at the top center of the image.
We walso recommend that you see our step-by-step guide on how to make a triangle in InDesign.
What are Image Objects in InDesign?
There are two parts to images in your InDesign layout. One, we have an image frame that acts as a combined container and the actual image. Both of these elements can be adjusted simultaneously or individually.
Both the simultaneous and individual adjustments are non-destructive, which means that the original file won’t be permanently altered. The bounding box of the image frame is displayed in blue, while the image object bounding box is displayed in brown.
When the selection tool is active, you can move your cursor over an image object. When you do this, two gray circles will appear in the center of the image frame. These circles are called the content grabber. You can click and drag the content grabber around to move the image object without moving the image frame. This effectively recomposes the image by controlling which parts of it will be visible.
If you are new to InDesign, I understand that this framing system may be confusing. However, it has some useful advantages, such as allowing you to quickly crop images to fit your layout without adjusting the original file. It also lets you quickly crop the images to fit your layout without switching back and forth between InDesign and your image editor.
You can check out our in-depth article on how to insert images in InDesign.
How To Adjust Crop Area in InDesign
If you have placed your image into the document, you can adjust the dimensions of the image frame to crop your image. Follow the steps below to adjust the crop area in InDesign.
Step 1
Change to the Selection tool using the Tools panel or keyboard command V. The blue bounding box should appear around the image once you click it. It indicates that you are cropping the image frame rather than the actual image object.
Step 2
To change the edge of the image frame and completely crop your image within InDesign, click and drag any of the 8 transform handles on the bounding box.
How To Reset Your Crop in InDesign
There are times when something may go wrong with your cropping, and you want it to go back to a time when the mistake didn’t happen. You can use the content fitting options in InDesign to reset the image frame to match the actual image contents.
Select the image that you want to select and then Open your menu. In the menu, select the Fitting submenu and click Fit Frame to Content. Alternatively, you can use the keyboard shortcut, which is Command + Option + C, or use Ctrl + Alt + C if you’re using InDesign on a PC.
If you enjoyed reading this guide, you may also like our in-depth guide on How To Add Fonts To InDesign.
Leave a Reply
You must be logged in to post a comment.