In today’s fast-paced design world, it’s important to be able to make quick and precise edits to your work. One common task that designers often need to do is cropping images.
Cropping images can help you create a polished and professional look. I’ll show you how to crop images in Figma, using a step-by-step process, so you can get the most out of your design work in Figma.
How to Crop in Figma
Figma is a software that impresses me when it comes to editing photos. Apart from cropping, this software can also be used to mask images. However, when it comes to cropping, there are two methods to crop images in Figma. First, open Figma and create a new project by clicking New Design File or if you have an existing file then Open it.

To import the image, go to File > Place Image or you can use the short key for Windows [ Ctrl + Shift + K ] or Mac [ Cmd + Shift + K ]. Then click and drag onto the canvas to import the image. You can also directly click and drag from the file to import your image.
Method 1:
Select your image and then go to the Design panel. Under the Design panel, you will find the Fill and image. Click on Image and a window will open then click On FIle > Crop.
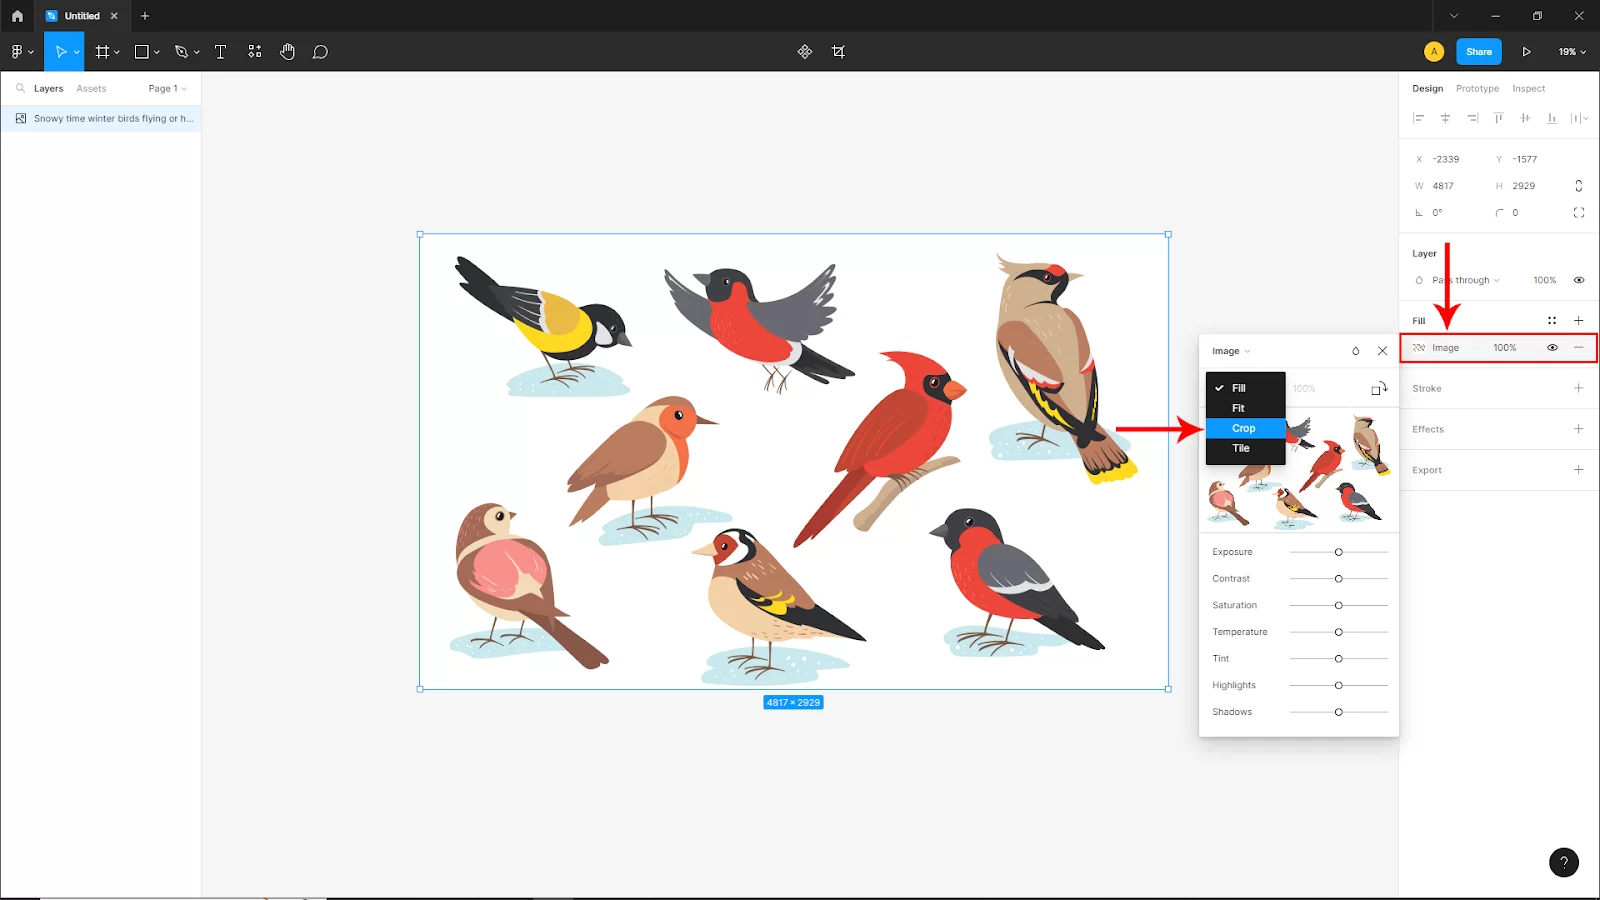
After clicking on Crop you will see a Cropping Rectangle. Now click and drag any of these anchor points to crop our desired area. You can also hold shift while cropping to precisely crop the image.

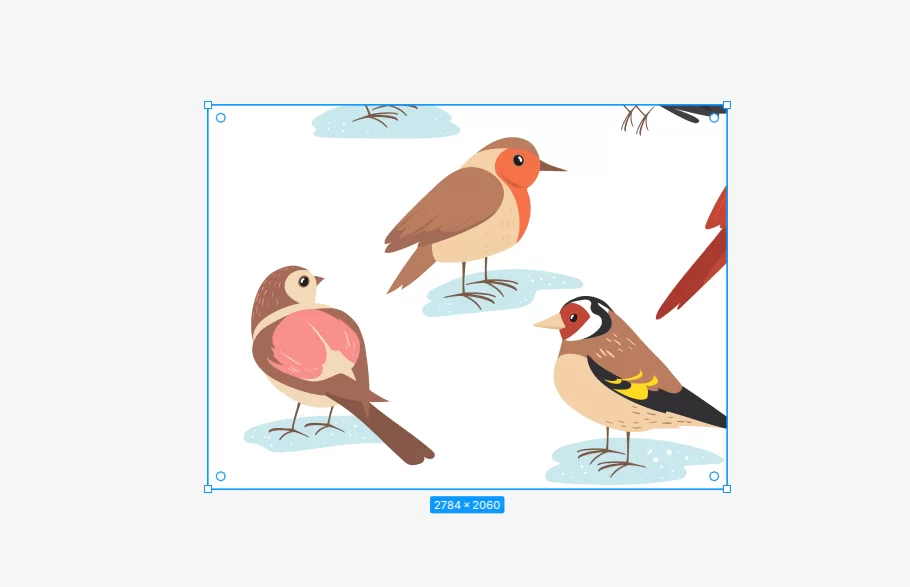
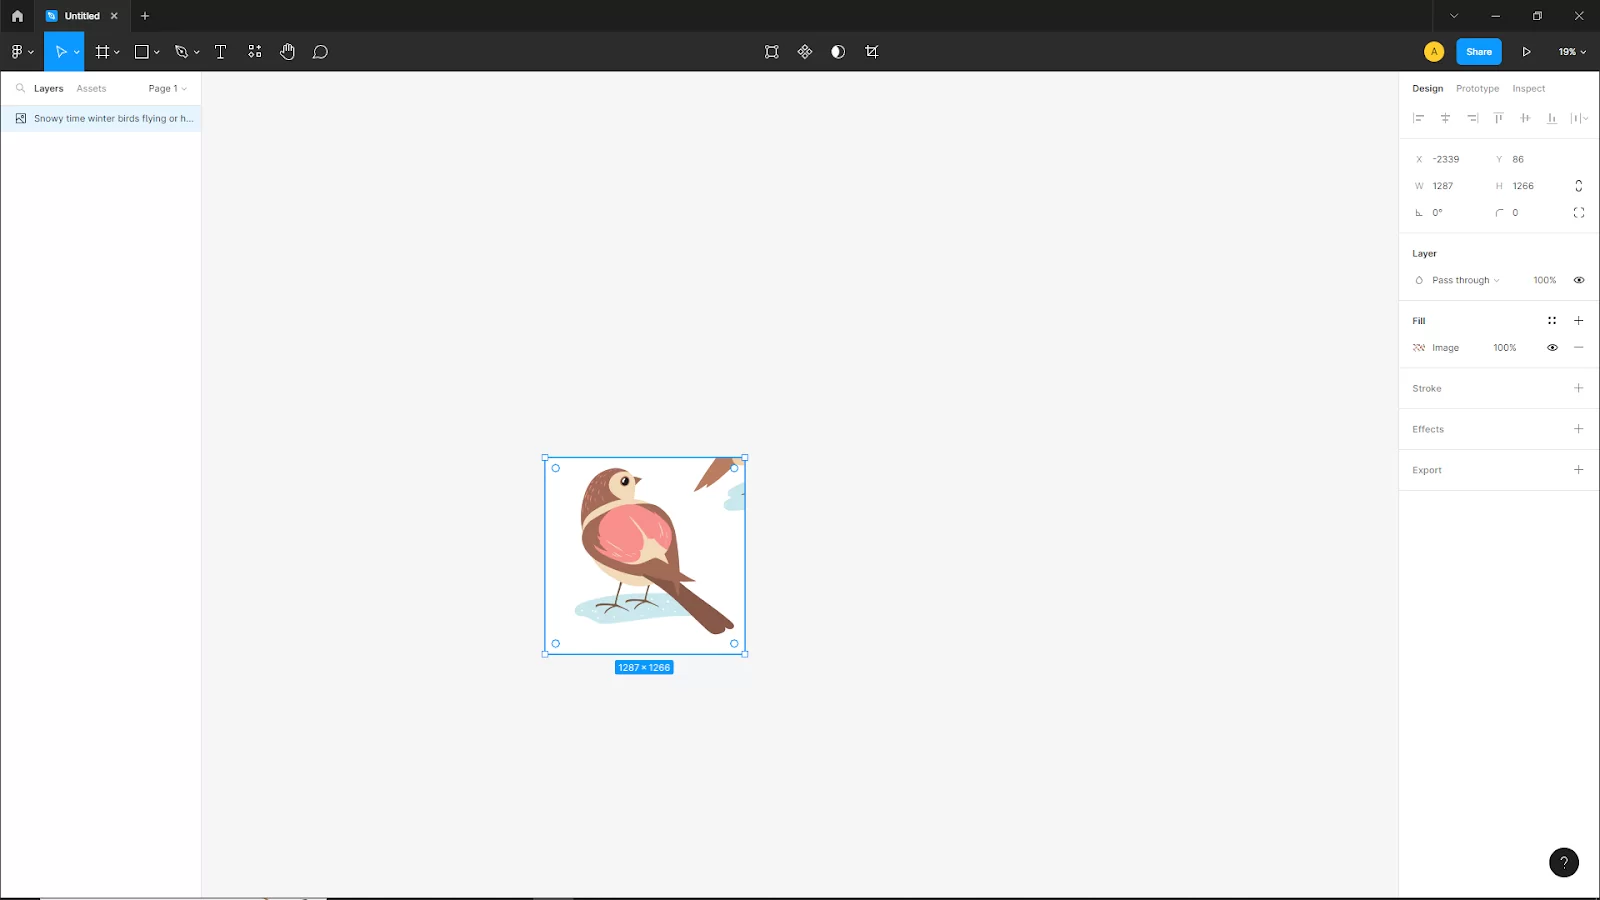
Now you can see your image should be cropped into the rectangle as you adjust your desired area.

Her’s what my cropped image looks like:
Method 2:
Another easy way to crop in Figma is to Hold Ctrl or Cmd and drag the anchor point to your desired area to crop the image. And your image will be cropped.

You can also hold shift while you cropping to precisely crop the image.
How to Crop Out a Shape in an Image
You can use masks to carve out shapes like circles. You will be able to only display some portions of an object by using masks. Because no parts of the layers that are being masked are changed or destroyed, masking is a non-destructive process. By doing this, you may preserve the hidden portions rather than needing to trim them to fit. To cut out a circle in your image, follow the steps below.
You can also see this in-depth article on how to undo in Figma.
Step 1
Start by creating your shape first. You can start with a circle. To access the ellipse tool, press (O) on the keyboard. To create a perfect circle, keep pressing (Shift). Position the circle on the picture. Put it above the items you want to keep.
Step 2
Simply press ([) on the keyboard or right-click the circle and choose to Send to back. Select the circle and the image jointly. Drag the mouse over both of them while clicking.
Step 3
Use the keyboard shortcut Ctrl Alt M to select the Use as mask button at the top of the screen.
Step 4
Any form, including those made just for you with the Bezier Pen, can be created using this method. This will produce a group of masks. You can rename the group to something more meaningful by double-clicking on the text. Please be advised that you can’t move the masked image at all unless you unlock the group after clicking the lock symbol to lock it in place.
Easy Tips That Will Help You Crop Like a Pro
You’re not taking advantage of the crop tool’s full potential if you believe that cropping a photo only entails resizing it. Consider the crop tool as an invisible border that highlights the key elements of your photo. Making the appropriate cuts in your photo can dramatically change how it looks. It can also affect how emotionally engaging it is for the viewer.
- Leave Out Unnecessary Details When Cropping
Eliminating any extraneous information that can detract from the story you’re attempting to communicate is equally crucial. Search the background for anything that can detract attention from your subject because you don’t want your photo to appear as if something or someone photo-bombed it.
Pay special attention to the photo’s edges since the regions that are furthest from the topic are more likely to have been overlooked by the photographer. The largest distractions are people because our eyes are drawn to faces in pictures by nature. However, if we can read a word or a sentence in its entirety, our eyes are likewise pulled to the text. So, remove anything that disrupts the picture’s natural flow.
- Don’t Crop a Face Too Closely
Avoid cropping your subject’s face too close to the edge such that it looks claustrophobic. Consider your cropping area’s boundary as a wall.
When you clip a subject’s face too close to the edge, your audience will experience it in that way. On the one hand, if that’s the look you’re going for, cropping too closely can be a useful emotional effect.
However, the image is much calmer and aesthetically pleasing when the subject is pushed back and given some breathing area. This is also known as the look space.
If you enjoyed reading this article, you will also like our our in-depth guide on how to add fonts to your projects in Figma.