Gimp is a raster editing software that provides rectangle, ellipse, and lasso selection tools to help you cut out specific parts of images or illustrations that you want to edit or remove. You can remove the area surrounding your image and replace it with a transparent background if you have an alpha channel.
Before getting started, here are some tools you should know about:
GIMP Crop Tool

The crop tool is a tool that is used to cut out images in Gimp. When editing in Gimp, you can use the crop tool to crop an image or clip it. It operates on both visible and invisible layers of the image.
This tool frequently removes boundaries or eliminates unnecessary sections to give you a more concentrated work area. It is also helpful if you require an image at a size that differs from its original dimensions. Other raster editing software, such as procreate, also uses the crop tool for cropping.
The new crop tool has been improved with the updated versions of Gimp, just like the selection tools. Instead of combining the functions of resize and move, the resize handles resize the crop rectangle. The crop tool interacts with other GIMP tools more consistently and naturally.
GIMP Intelligent Scissors Tool
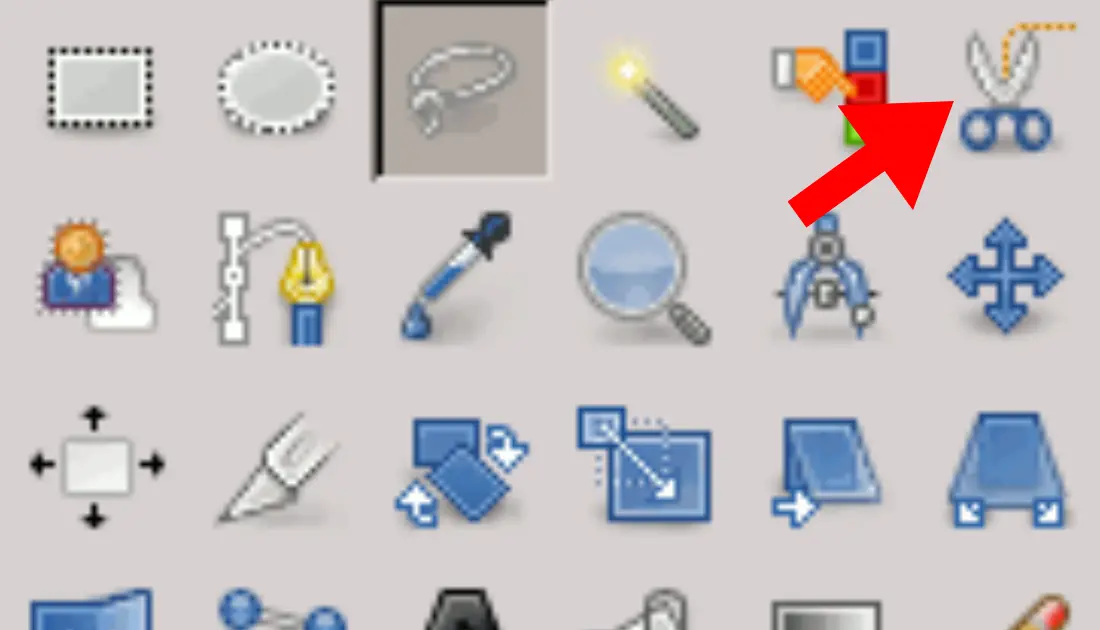
The Intelligent Scissors tool is a unique piece of equipment with certain characteristics of the Lasso and some characteristics of the Path tool. It also has some characteristics that are exclusive to it. The intelligent scissors can also cut out an image in Gimp.
When attempting to identify a zone with major color changes near the boundaries, intelligent scissors can be helpful. To utilize the Scissors, click the boundaries of the zone you want to pick to establish a collection of “control nodes. ” These control nodes are also known as anchors or control points.
Following high-contrast edges, the intelligent scissors can locate the tool and create a continuous curve that passes through these control.
How to Cut Out Images in GIMP
The selection tool that you choose depends on the shape of the object that you want to select. The ellipse tool works best in drawing circles or oval shapes.
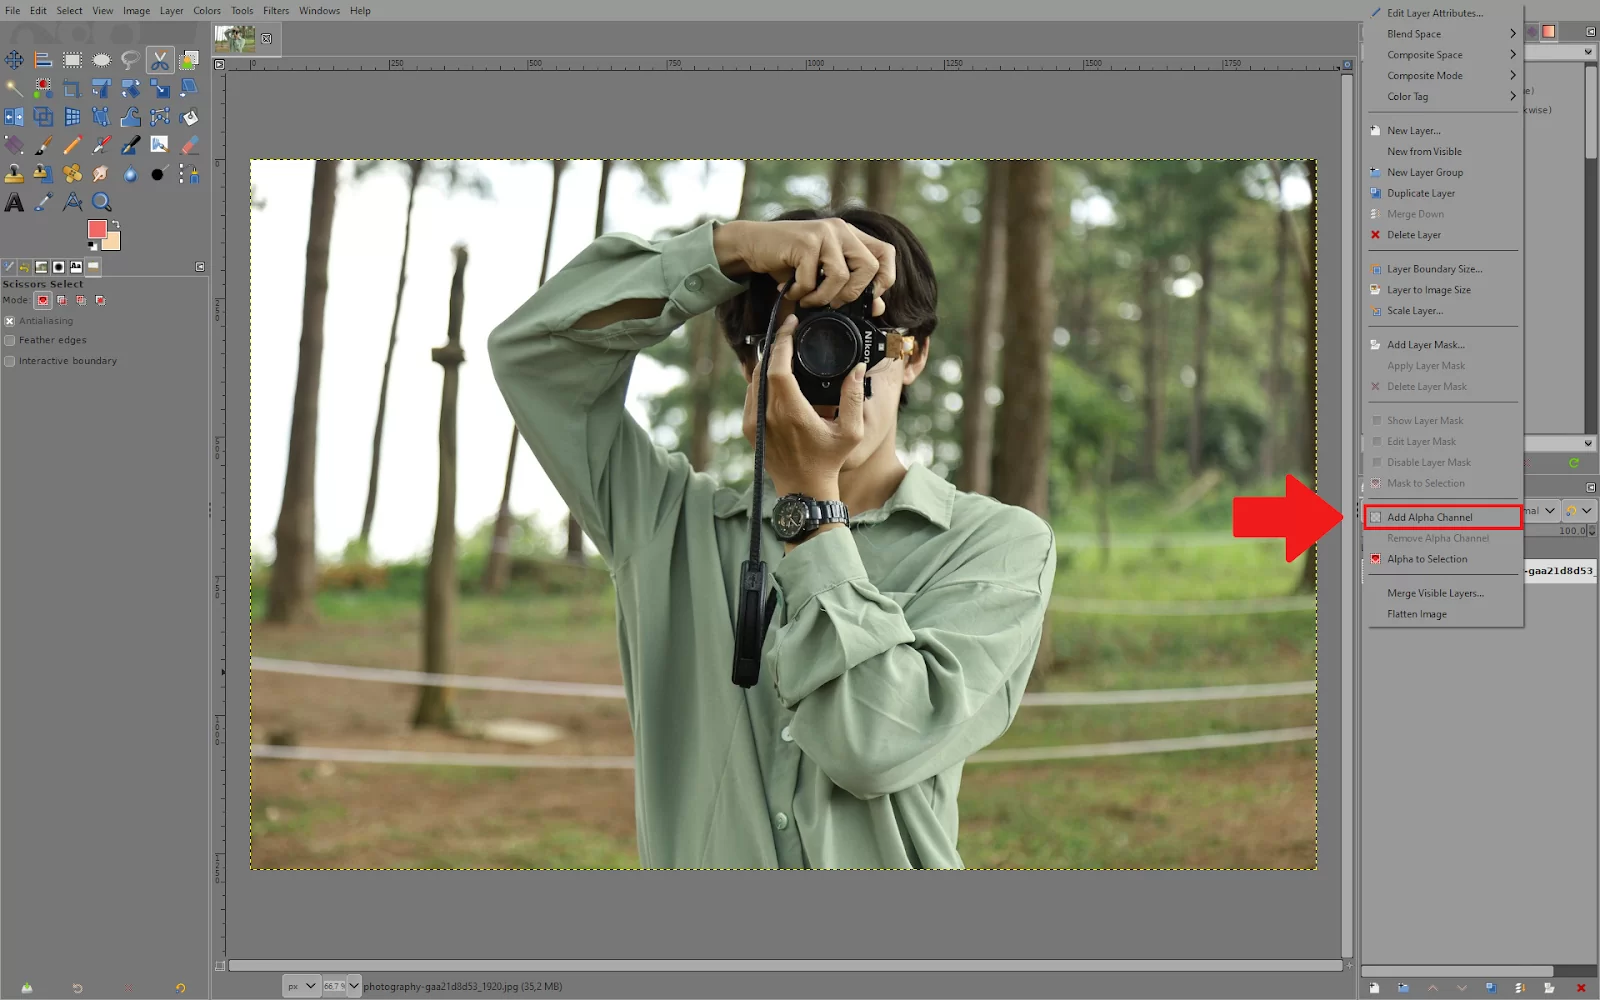
1. Open your image and make sure that ”Add Alpha Channel” is selected to allow transparency.
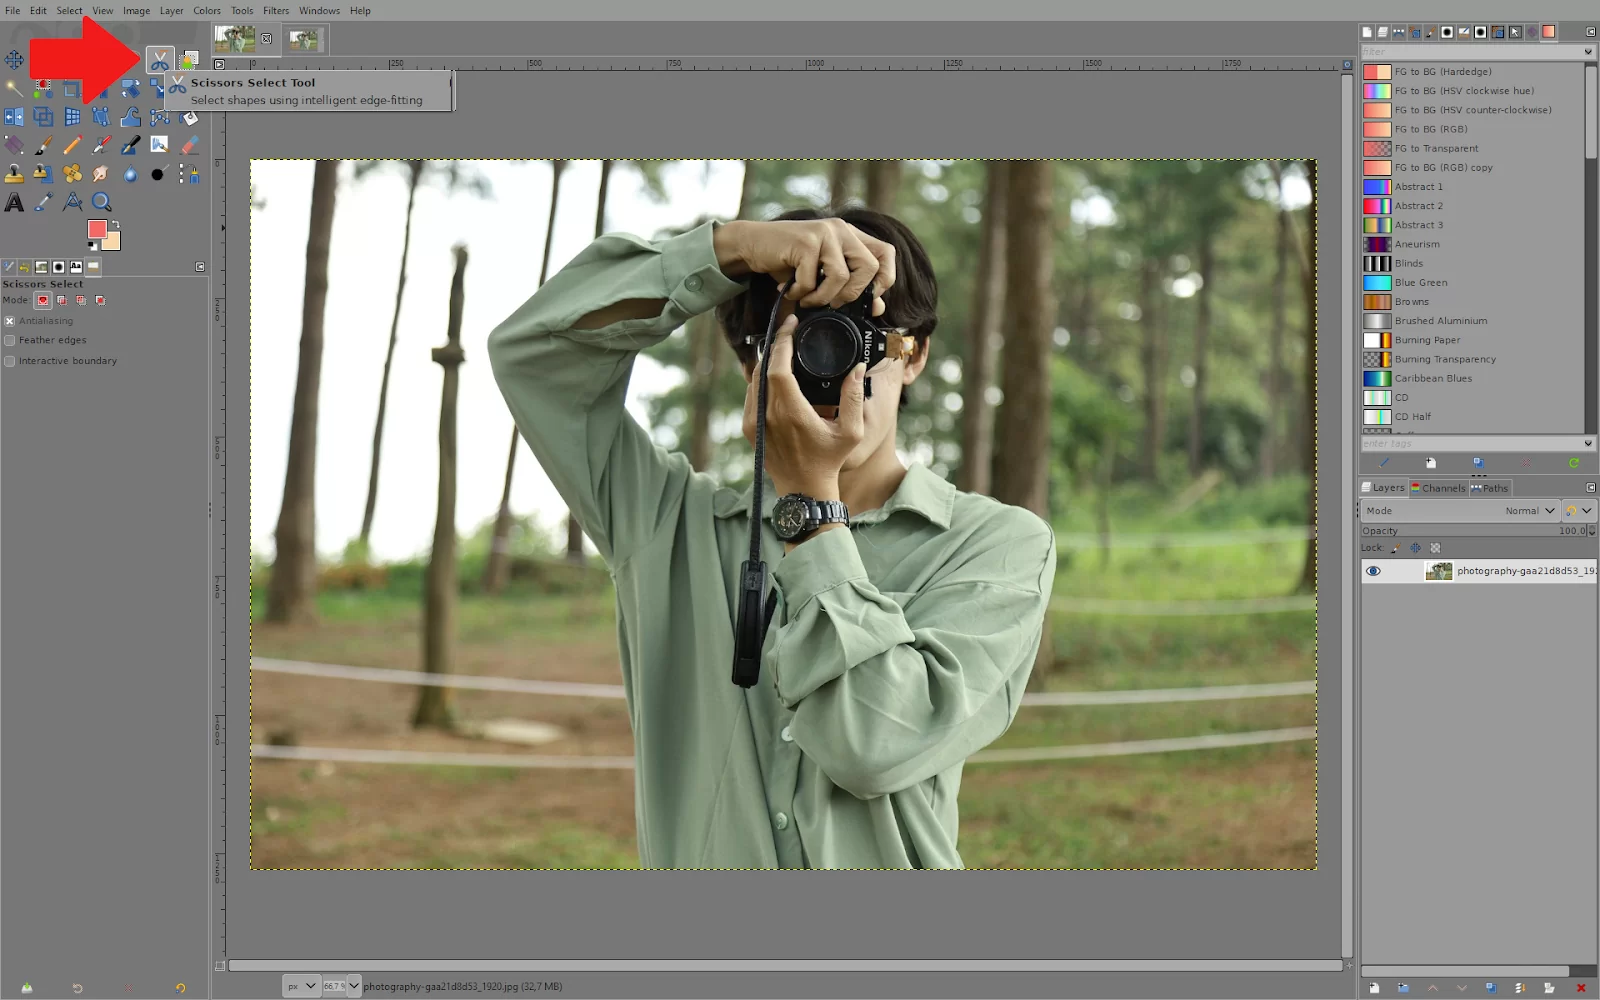
2. Click on ”Scissors Select Tool”. Alternatively, you can use the crop tool if you are familiar with it. However, we are using the scissors select tool to cut out our own image.
3. Start by clicking where you want to start cutting the image from.
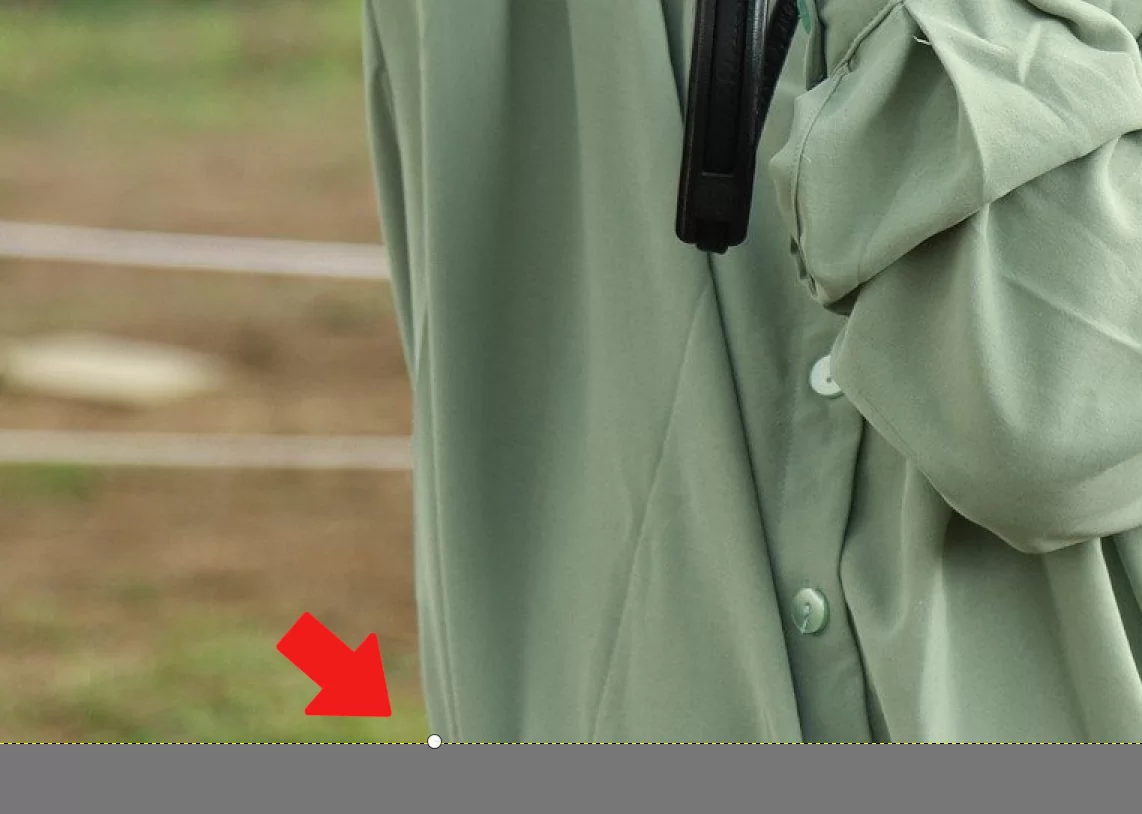
4. Start creating points along the edge of your image. This tool will automatically find the edge, which makes it easier.

5. Do this to the entire image. Connect the last point to the starting point and click enter, doing this will create a selection.

6. Go to Select – Invert.

7. Press ”Delete” on your keyboard. This will remove everything outside of the selection.

8. Remember to do this to any parts inside your image that you also want to remove. In these cases, you don’t need to invert the selection.

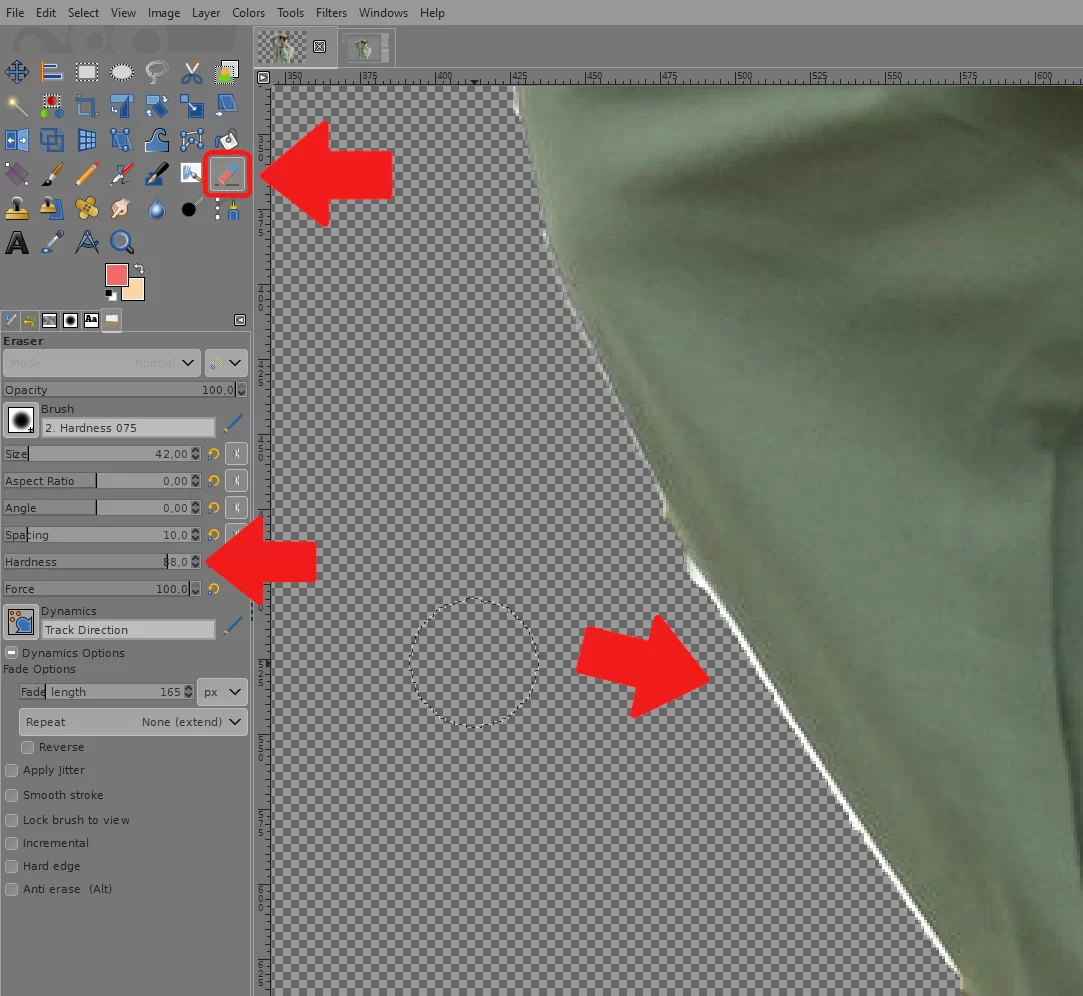
9. You can use the eraser to remove any small areas you still have left. Using 100% hardness on your brush might make it look too sharp so remember to lower that.
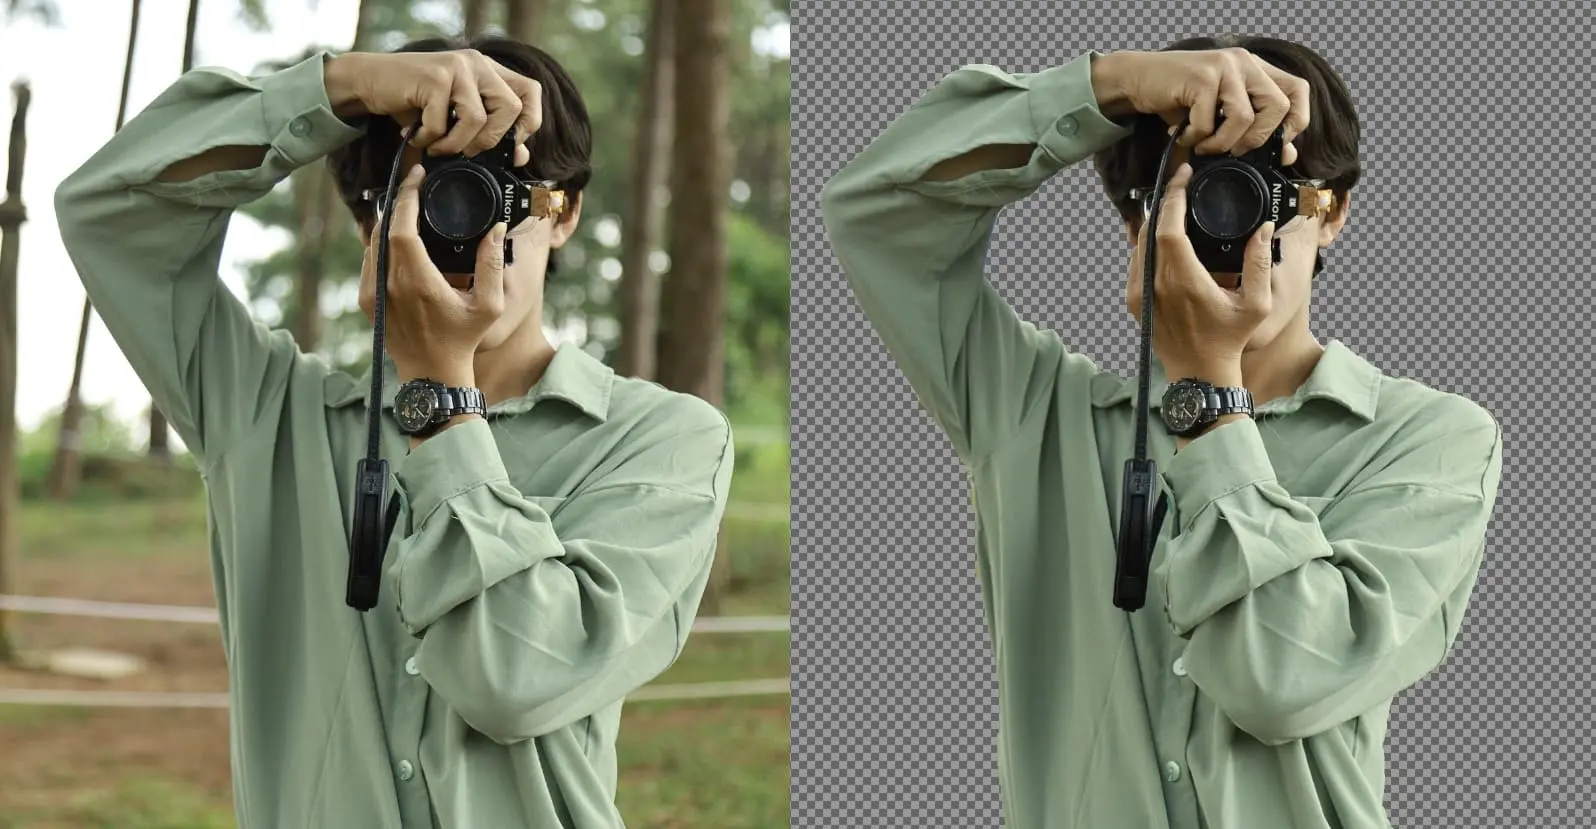
10. Now you have cut the image out.
How to Paste an Image into Another Image After Cutting
You can use GIMP to paste your subject into any other image after giving it a transparent background. Follow the steps below.
Step 1
Before proceeding, you must save the current photo with a translucent background. Select “Export as” by clicking “File” in the upper-left corner.
Step 2
Next, click the “select file type” and choose the image. The extension will be in PNG because that is the extension that saves your images with a transparent background. Click “Export” to save the image.
Step 3
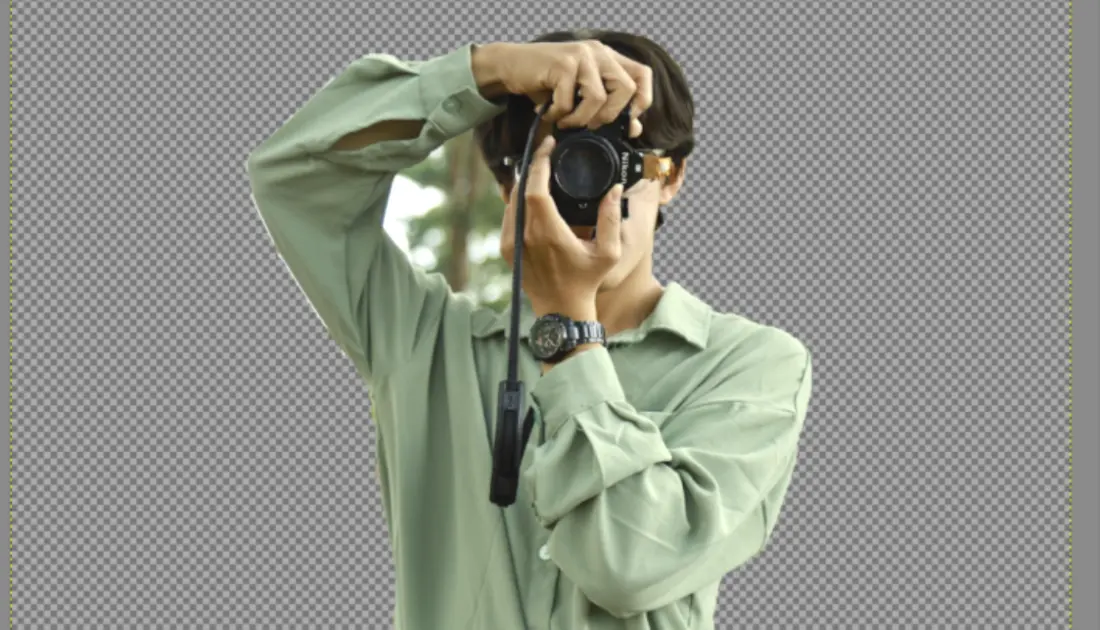
All you need to do is to open the image you want to paste the former photo into. Drag the saved photo into the other image; if you saved it well, the subject should appear on the other photo without a background. It is important to remember that you have to merge the layers before saving the image.
Step 4
Select “Merge down” from the context menu by selecting the top layer. You can then save your finished image in any format.
Leave a Reply
You must be logged in to post a comment.