XQuartz is an open source program that makes it possible to run Inkscape on macOS. With XQuartz installed, users can access all the great features of Inkscape from their Mac computer and create beautiful designs just as if they were using a Windows or Linux machine. In this article, we’ll look at how to get started with XQuartz and Inkscape on macOS so you can start creating amazing visuals.
How to use Xquartz for Inkscape
To Download Xquartz :
Open the link https://www.xquartz.org/
To Download click on the down arrow symbol.

After installing the XQuartz into your MacBook. Download Inkscape.
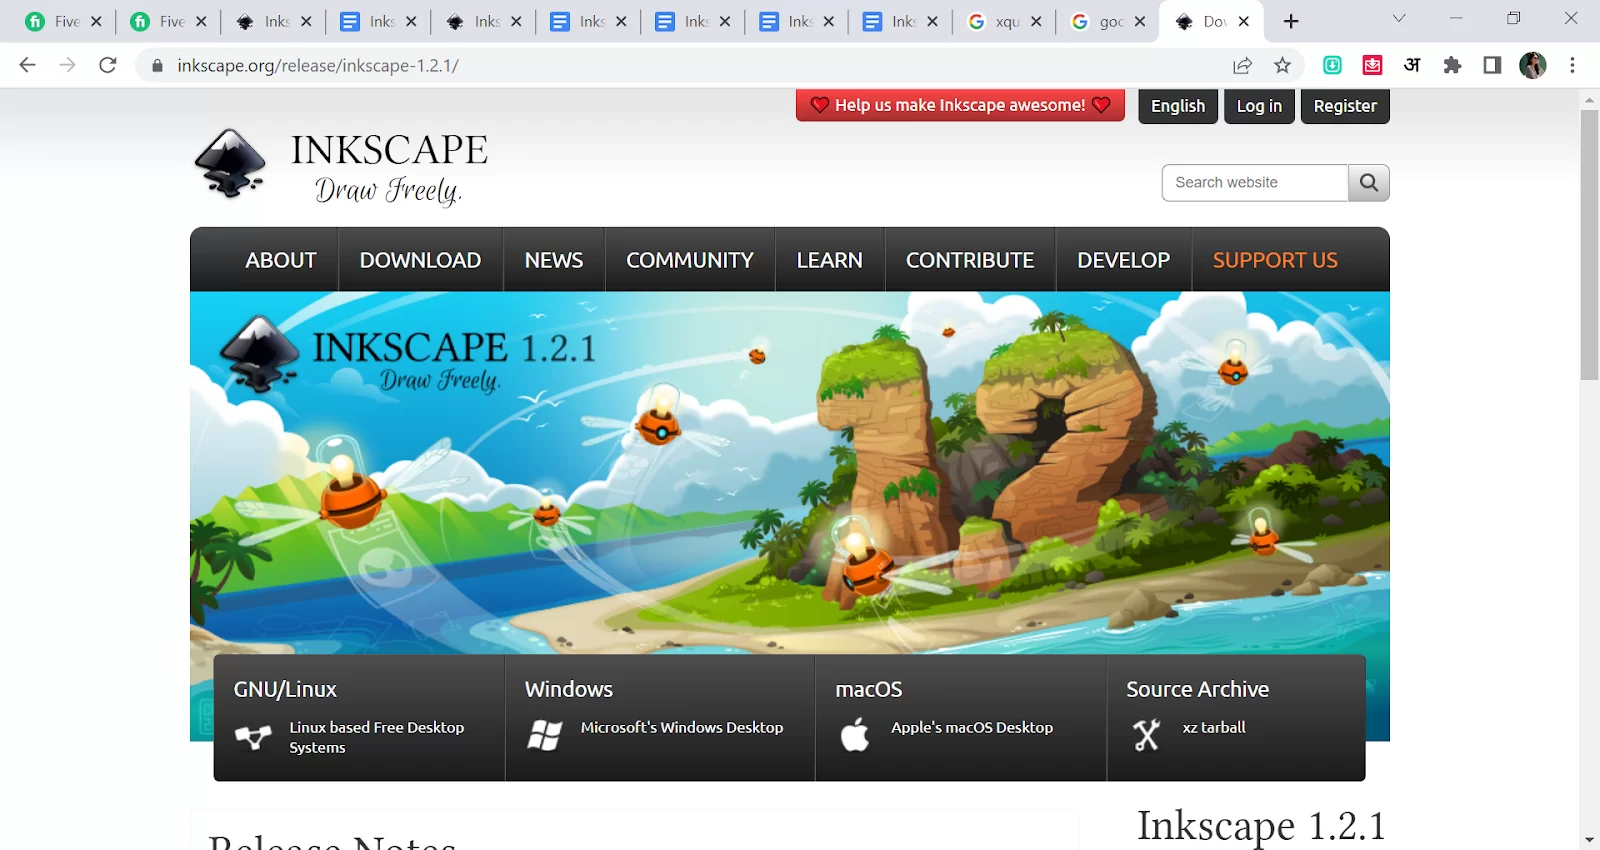
Steps 1: Open https://inkscape.org/
Click on Download Now. Select macOS.

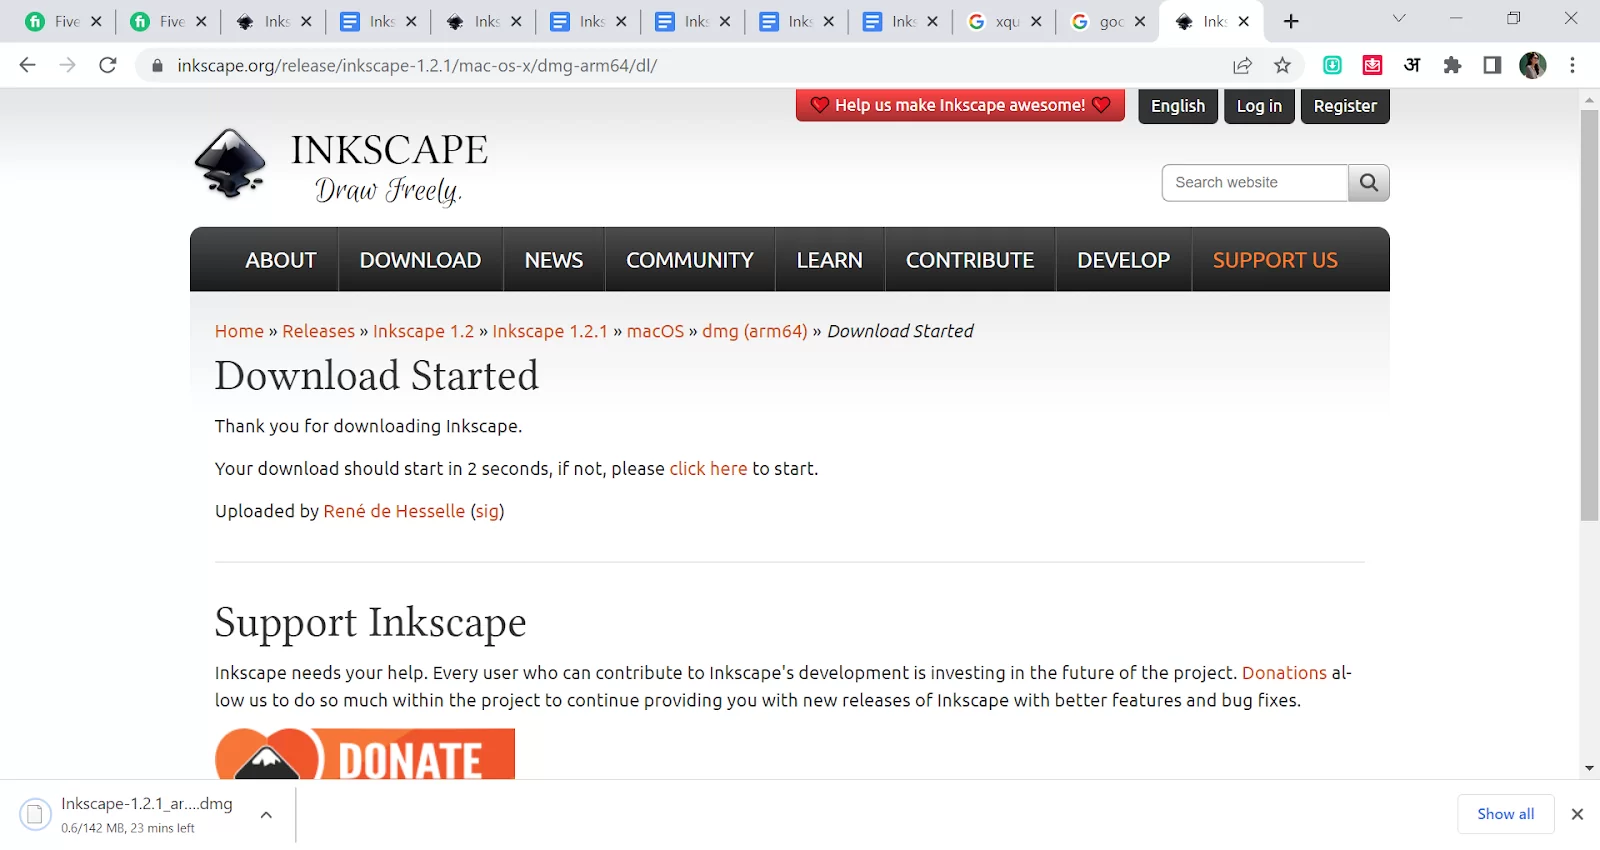
Step 2: Select DMG file for arm64 architecture.

Step 3: After clicking on the dmg file, the Downloading process will start.

For more information:
https://docs.google.com/document/d/1nIlg3vX2XDKcU327aUHnb9VuW5VaMgmeggOwHC2JgQE/edit?usp=sharing
Also, check out our detailed guide on how to curve text in Inkscape.
Installing Inkscape With XQuartz on Older Mac Version
If you are using an older version of Mac, you can install an older version of Inkscape. But first, you’ll need to install a helper program called XQuartz before installing Inkscape. Kindly follow the steps below.
Step 1
The first thing you need to do is to install XQuartz. Open your web browser and go to the XQuartz website. Next, click XQuartz DMG to download.
Step 2
When the download is finished, go to your downloads and open it. When you find the XQuartz.dmg file open it.
Step 3
An additional window will open. To start the XQuartz installer, double-click the XQuartz.pkg icon. To complete the installation of XQuartz, adhere to the steps and directions in the installer.
Step 4
You can either restart, shut down or log out of your Mac computer before going to the next step.
Step 5
Now you need to install Inkscape. Open your web browser and go to Inkscape 0.92.2. Now click the box labeled Mac OSX 10.7 installer. When you click on the box, you will download the DMG file which contains the installer.
Step 6
Open your Downloads folder in the Finder after the download is complete. Once more, using the Finder’s menu bar, choose Go< Downloads to access this folder. To open the Inkscape DMG file, double-click it.
Step 7
Now click and drag the Inkscape icon to the application’s icon. Doing this will install Inkscape on your Mac.
Step 8
The next step is to open the Inkscape. You can open Inkscape by double-clicking its icon in the application folder. Open the applications folder by selecting go>applications from the menu bar in the finder.
Step 9
When Inkscape is opened for the first time, a window appears. When the windows appear, Click OK, since Inkscape is now scanning all the font files on your computer, this could take a while. It won’t take as long to load the next time you launch Inkscape.
Step 10
When Inkscape finally launches, XQuartz will show its user interface. The menu bar will display the name XQuartz but your window’s title bar will read “Inkscape” when Inkscape is operating.
Step 11
Now that Inkscape is open, choose XQuartz>Preferences from the menu bar.
Step 12
Now click the input tab and configure its settings.
Step 13
Now click the pasteboard tab and also configure its settings.
Step 14
Close the preferences, and voila! You are ready to use Inkscape.
If you enjoyed reading this article, you may also like our in-depth guide on How to use Inkscape to make SVG.
Leave a Reply
You must be logged in to post a comment.