It is quite rare for photographers to take a portrait of an individual with the perfect set of teeth, and a not-so-perfect dentition could spur unwanted tints in your photograph. Some people might be insecure about the color of their teeth in photos, and the only way to help them gain confidence is to master the art of teeth whitening on software like Lightroom.
This little but important effort of teeth whitening can change the outlook of closeup portraits or headshots by making them more attractive and making your client’s smile contagious.
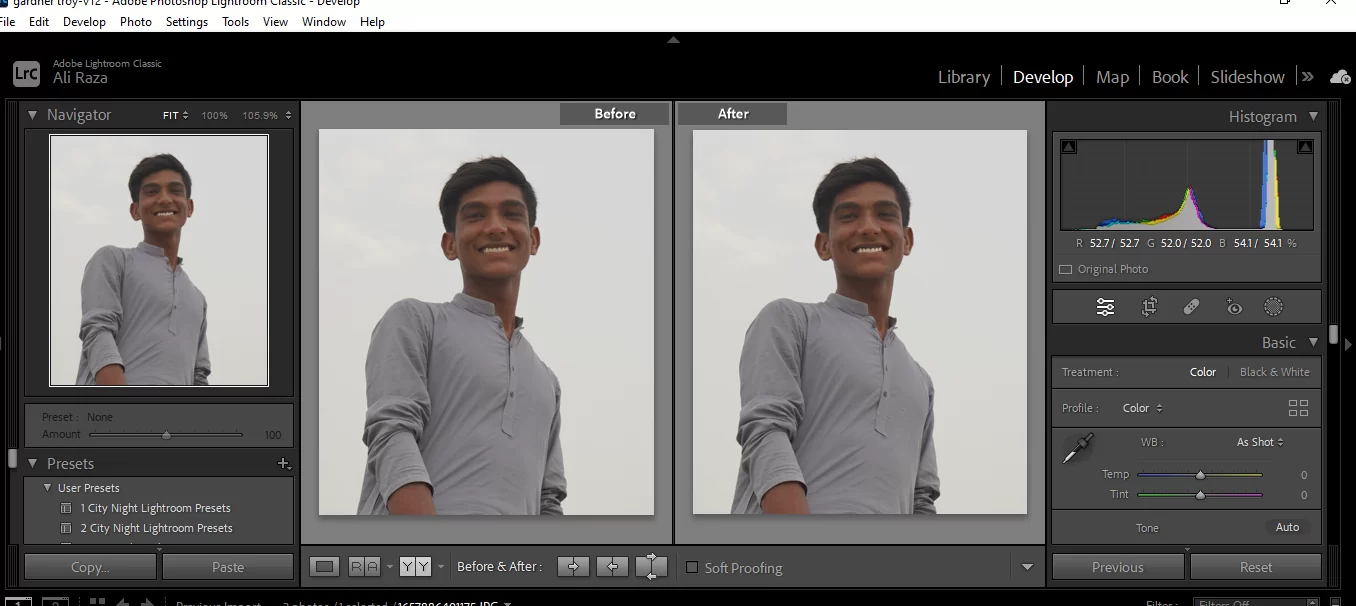
How to Whiten Teeth in Lightroom
I have outlined easy and comprehensible steps to use Lightroom’s teeth whitening tool best.
Open Lightroom
There are two innovative versions of Lightroom; Lightroom CC and Lightroom Classic. The difference between these two versions is plausible. Lightroom CC is perfect for beginners who wish to enjoy the thrill of editing pictures without going too technical. It also functions well regardless of the device used and edits pictures while preserving the original format in Adobe cloud for easy access any day and time.
Lightroom Classic, on the other hand, is perfect for professionals who have been in the photography and editing niche for quite a while. It offers many features and packages to make your work pleasing to the eyes, and you can make purchases and work offline.
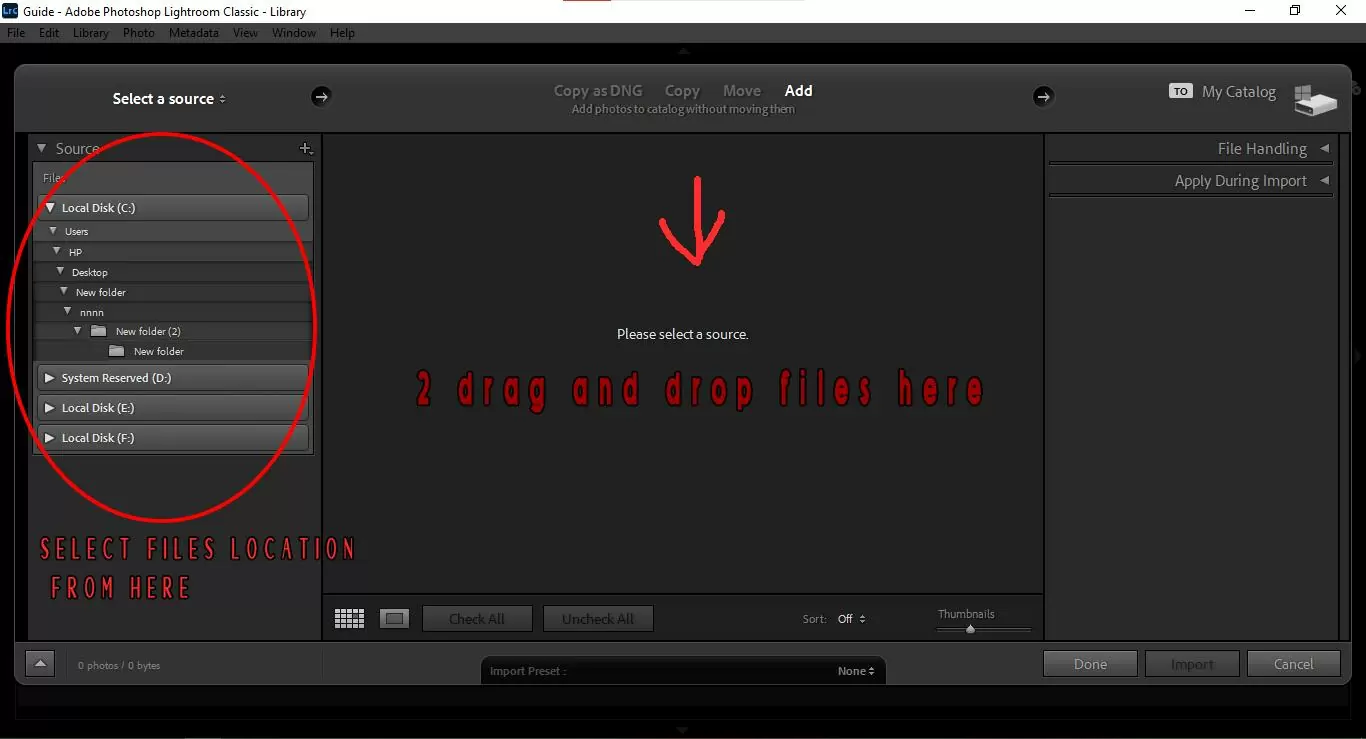
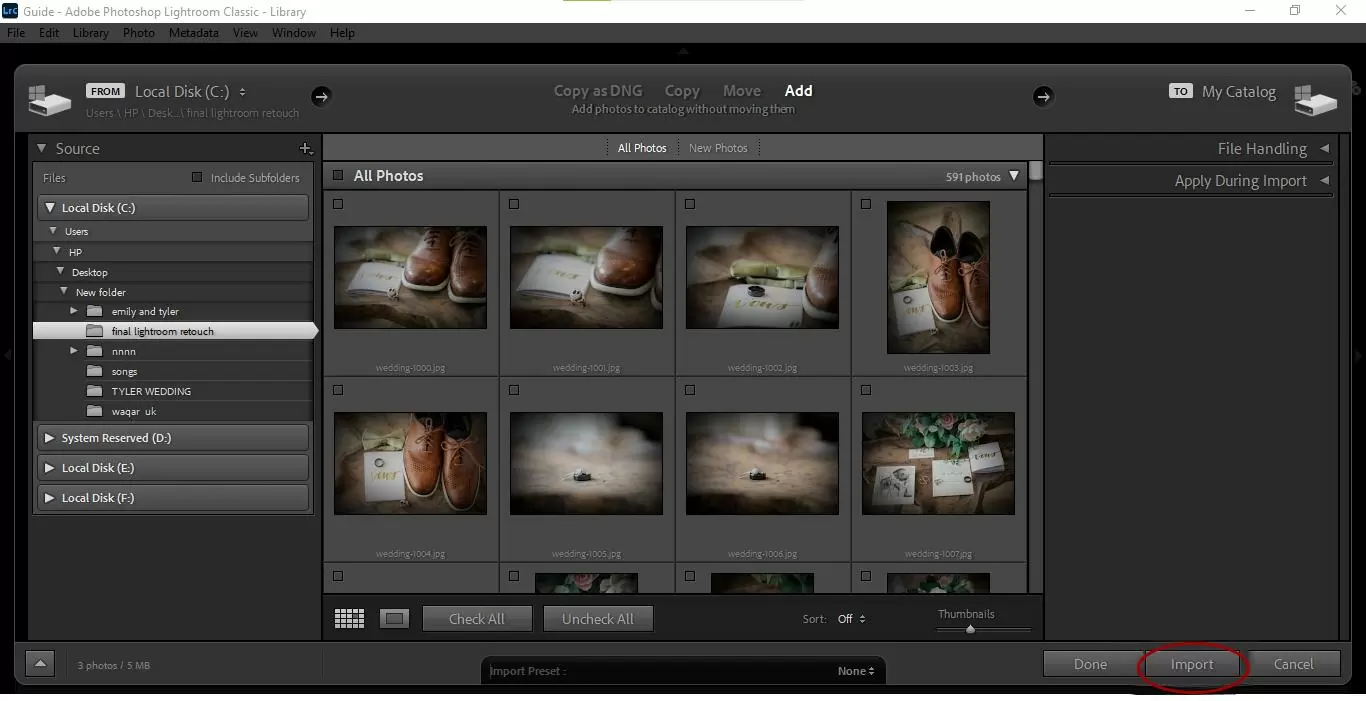
Import Photos You Want to Edit
Select the photos you want to edit and then hit the import button and let lightroom import your photos. You may find your photos to import from the below-mentioned area or drag and drop your photos to the import section and then hit import.

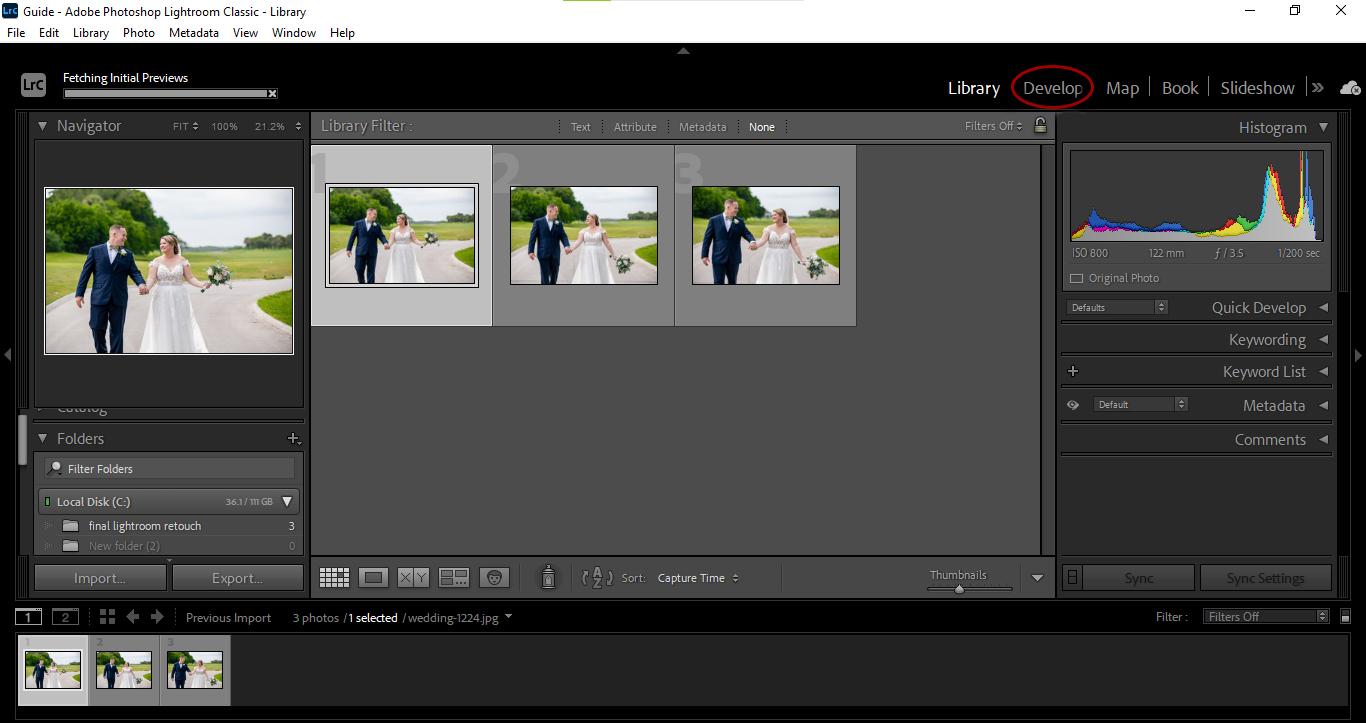
Get Familiar With The Brush Tool
The brush tool, also known as the adjustment tool, is pivotal in making the teeth sparkling white. It allows you to make specific changes to special areas of your picture by carefully painting or masking those areas. With this important tool, you can increase or decrease your photo’s exposure, contrast, saturation, clarity, luminance ay so much more.
To locate the brush tool, go to the developer module and click on the brush icon; located beneath the right-hand corner of the histogram. An alternative method is to hit “K” on your keyboard to access the brush tool panel. In the brush tool panel, you can make several modifications to your brush to suit your preferred photo editing outcome. Following the modifications or adjustment process is advisable to ensure a beautiful dentition.
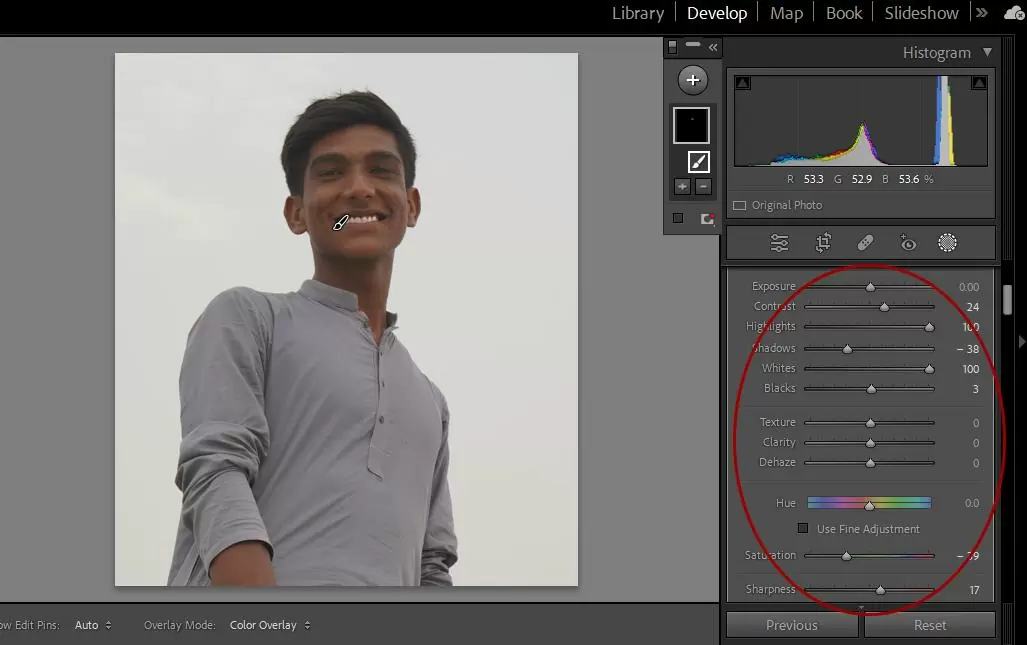
Scroll down in the red-mentioned area to find more and more settings and play with them accordingly to get the best results.

Brush Settings For Teeth Whitening
After gaining access to the brush tool panel, click on the drop-down menu beside the temp tab. You should expect a series of settings from a new menu. Scroll down till you get to teeth whitening and click. It would help if you made major modifications for perfect white teeth: exposure, saturation, color temperature, and shadow.
Lightroom’s Teeth Whitening presets will suffice for your editing depending on how unattractive the subject’s teeth appear. The exposure is usually increased while the saturation is decreased significantly. You can play around with these settings to discover what you feel comfortable with.
Brush Size
Adjusting the brush size is important for making precise changes to the teeth. Increasing the slider increases the brush size, while decreasing the slider reduces the brush size. A small brush is ideal for making the necessary changes to the image.
Feather
Feather describes the softness of a brush at its edges. A low feather value will leave the transition between the masked area and your original image with a sharp edge. A high feather value is ideal for a soft brush effect, producing a brush stroke with a soft edge. It is advisable to use a little amount of feathering for teeth whitening.
Flow
Flow determines the extent to which your preferred effect is applied in the masked area. Setting the flow at 100% will make remarkable changes to your masked region. You can adjust your brush’s flow by pressing keys 1 to 9 on your keyboard.
Focus on The Teeth For Whitening
To begin the teeth whitening process, focus on the teeth by zooming into the photo for a clearer view and wider work area. You could go two ways: either use the shortcut by pressing the Z key on your keyboard or go the long but precise way. To zoom, go to the top left side of the window and locate the image zoom options. You could go for either Fill or 1:1 zoom options, and the ideal option is Fill.
After giving yourself a clearer and wider view, paint the teeth and make adjustments a few times for a perfect result. Ensure the “show selected mask overlay” beneath the photo is checked for a good view.
If you make a mistake, you can easily erase the errors by going to the brush panel and selecting “erase.” You will need to make minor adjustments to the brush, especially its size, to erase it effortlessly.
Save And Export
The good thing about Lightroom is the ability to save your brush settings to avoid repeating the whole process for your next teeth whitening edit. To save you presets, navigate the brush adjustment effect area and click “Save Current Settings as New Preset.” After clicking on this, you can rename your new preset by clicking on “create.”
Leave a Reply
You must be logged in to post a comment.