Adding a watermark to your image can discourage theft of your intellectual property, although it’s not guaranteed. On the bright side, watermarking your image promotes your brand or business across various social media platforms and promotional websites.
Watermarking an image can be quite tedious, especially for beginners. This article contains understandable steps to add watermarks to your edited image in Lightroom.
How To Add Watermark In Lightroom
Step 1: Open Lightroom Application
There are two popular versions of Lightroom to suit your preference. Lightroom CC is cloud-based and supports its use on mobile devices, desktops and websites. You can always access your images wherever you are and on the go. The second and oldest version is Lightroom Classic which offers a professional approach to editing your pictures.
Step 2: Import Photos You Want to Edit
Importing photos in Lightroom is one task that beginners might find somewhat challenging. Start by having your memory card reader or digital camera plugged into your computer.
To have Lightroom automatically detect the contents of your card reader or camera:
- Survey the top of Lightroom’s window for the edit option beside the file option.
- Click on edit, then select preferences.
- Beneath the “General” tab, locate the import option and check the “Show import dialogue when a memory card is detected” box.
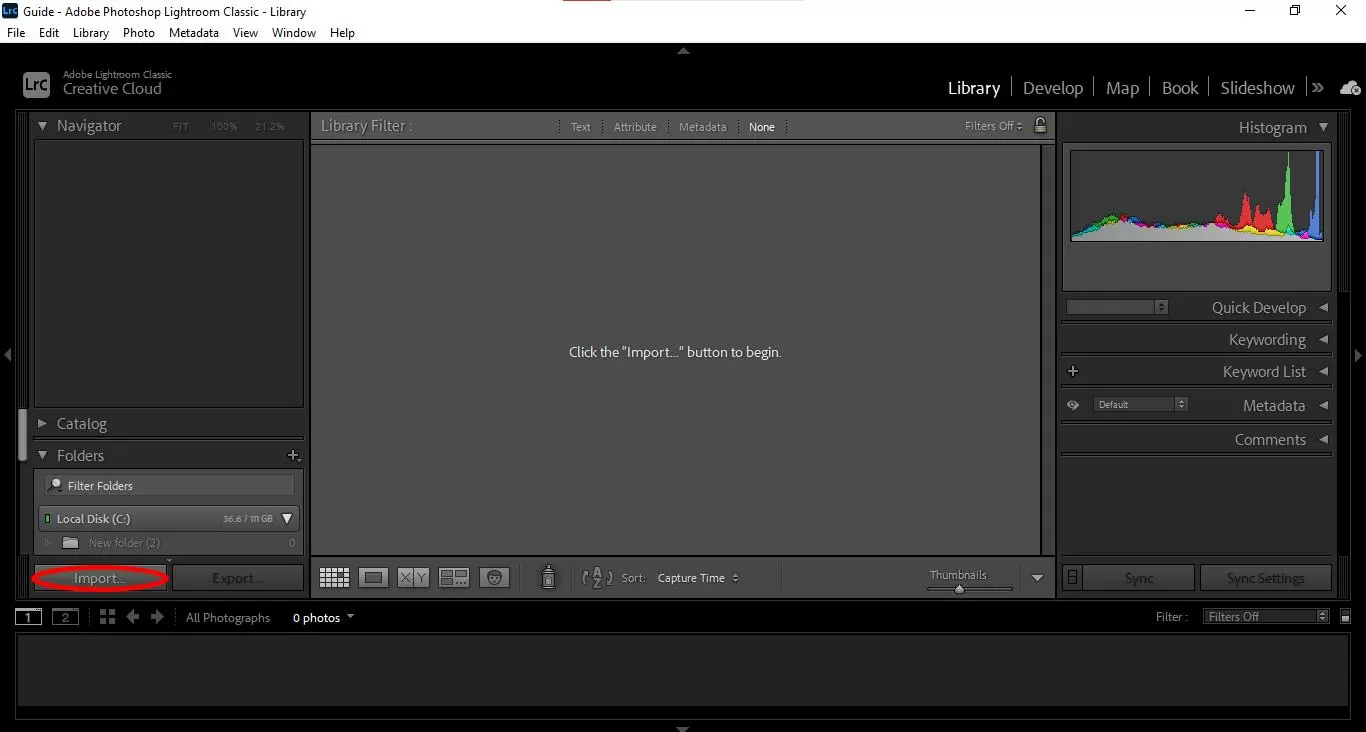
To go about importation manually, you will need to instruct Lightroom on how you want your images to be handled. Go to file, click on import photos and videos, and choose the image you wish to import.
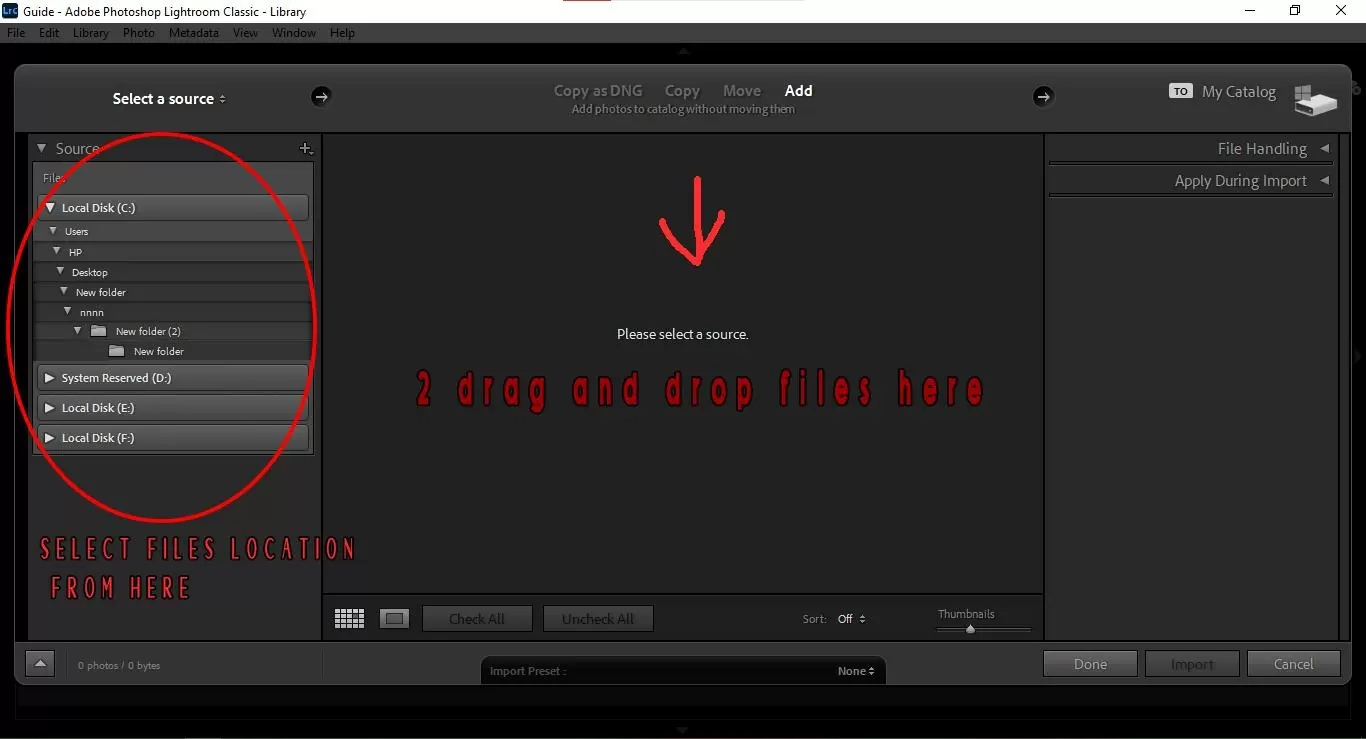
You may find your photos to import from the area circled in red. This area consists of different locations where your images are contained; it could be your memory card or external hard drive. Click on any of these options, click on the image you wish to edit, hit the import button, or drag and drop the image.

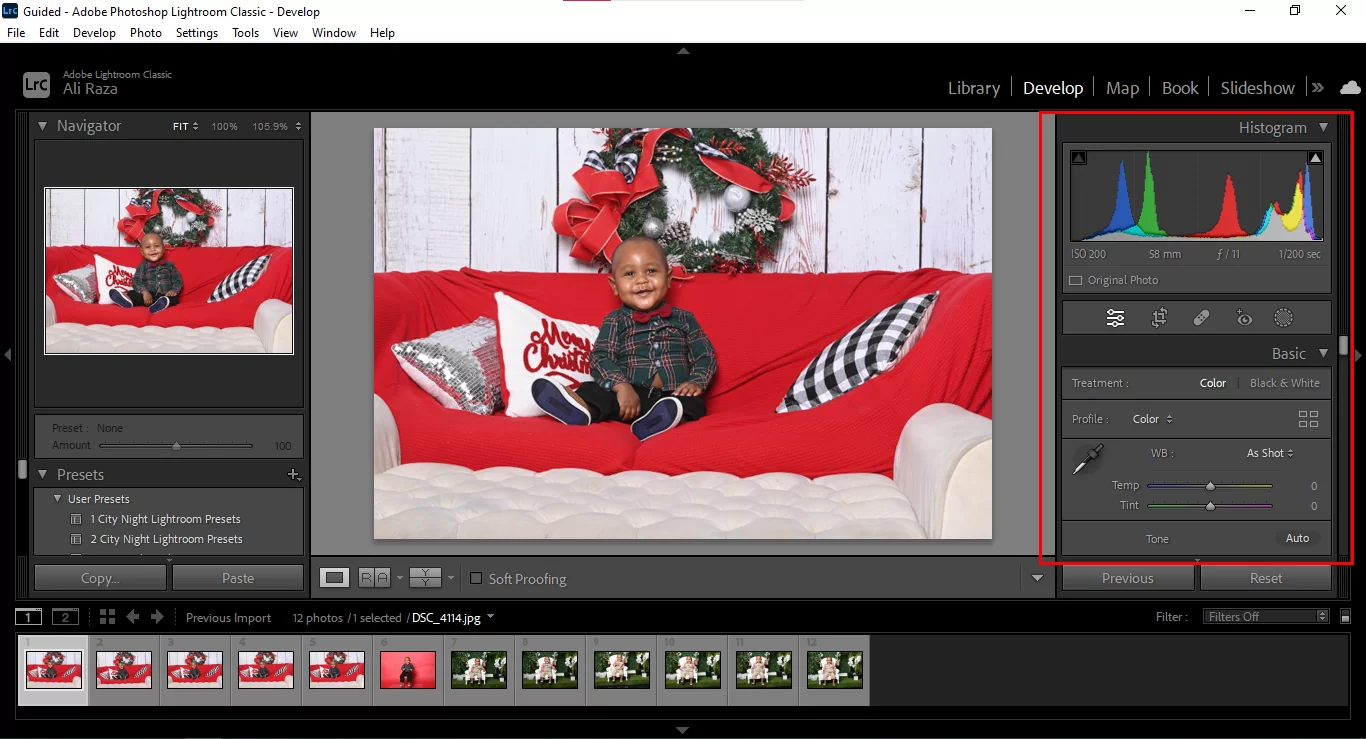
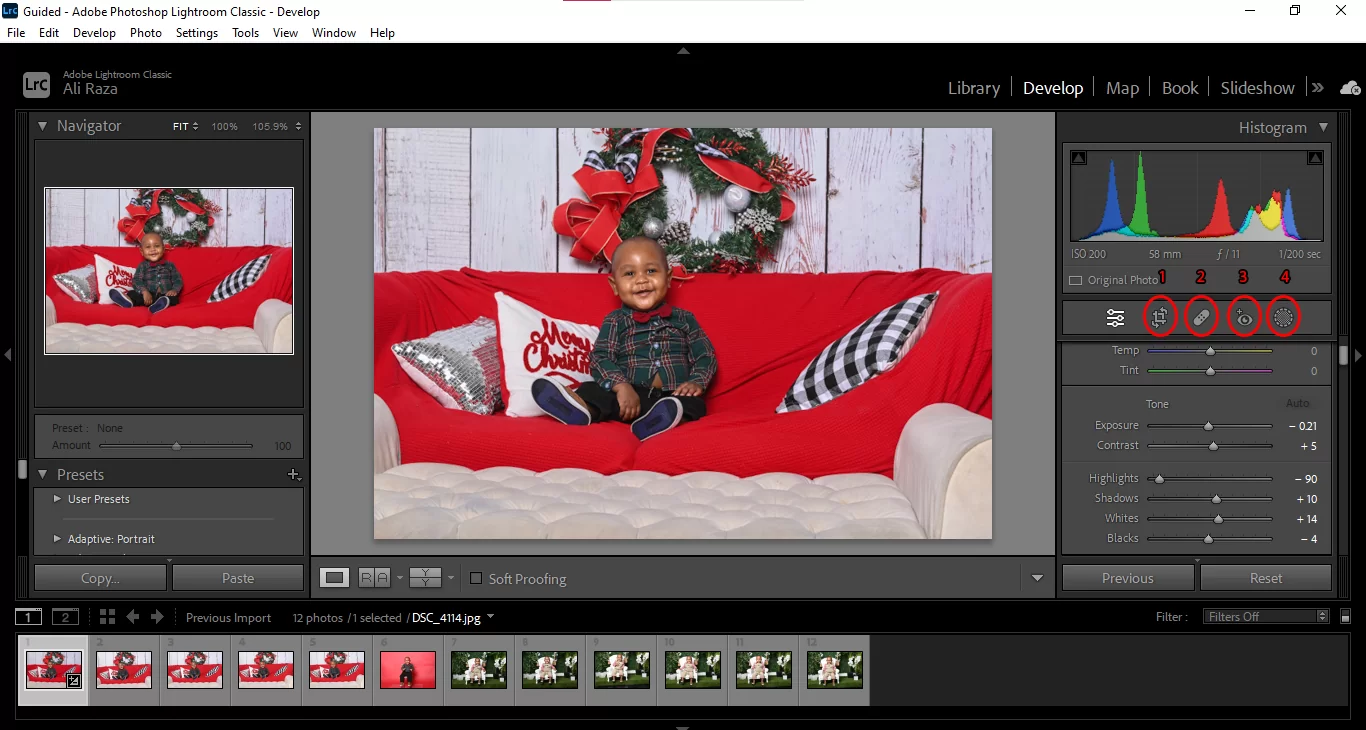
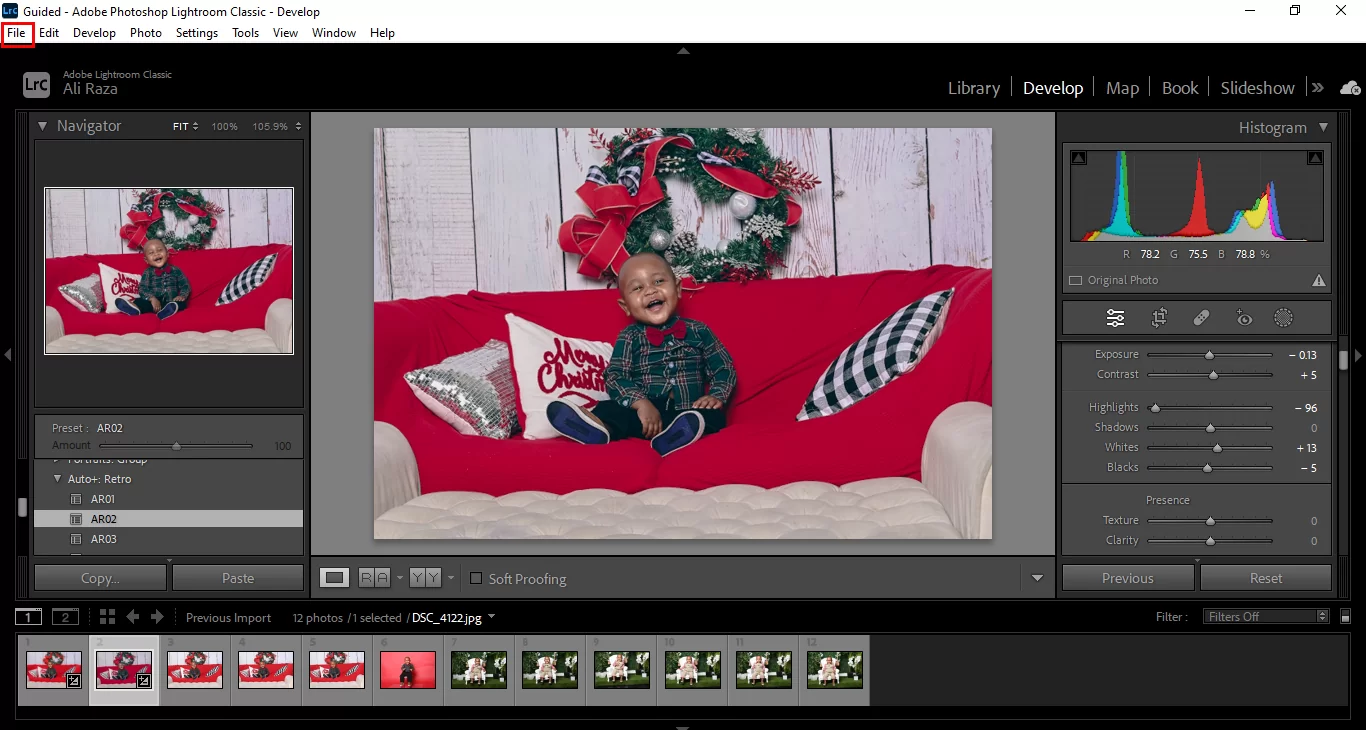
Step 3: Go to The Develop Module
After importing your desired image, go to the develop module on Lightroom’s window or hit “D” on your keyboard. Here, you will find a wide array of options to begin the process of editing.

Navigate the develop menu for various editing options such as white balance, temperature, tint, exposure, contrast, saturation, highlight, clarity, and so on.
Here are some settings you need to know first
1. Cropping and Straightening
Cropping and straightening are excellent ways to improve the composition of your image and enhance focus on Important elements in your image and properly align the edges. To access the crop tool, go to the develop module and click on the little crop icon below the histogram. A simple shortcut to the crop tool is clicking on “R” on your keyboard.
After opening this tool, you should see a list of options: aspect, angle, constraint, and tool overlay options. The aspect option allows you to change the dimensions or ratio of your image, and the angle option allows you to change the angles of your image in degrees. Tool overlay is ideal for guiding how you make adjustments to your image.
2. Healing
The healing option is another cool feature in Lightroom that might be quite technical but helps you easily and perfectly eliminate blemishes and minute errors in your image. To access the healing tool in the development module, click on the little pill icon beside the crop icon.
After clicking on the icon, hover your mouse over the area you wish to edit and click. You should expect a second circle which gives you a chance to select another part of your image to act as a replacement.
3. Red eye fix
The red eye in any image is quite an unpleasant sight caused by a light reflection from the camera’s flash on the subject’s eye. Lightroom has a red eye removal tool to eliminate such capturing errors. This tool is located in the develop module; click on the little eye icon beneath the histogram to make changes.
4. Clone
Just as it sounds, it is ideal for duplicating certain elements in your image and eliminating distractions in the image. To access this tool, click on a little circle with dots surrounding it in the develop module.
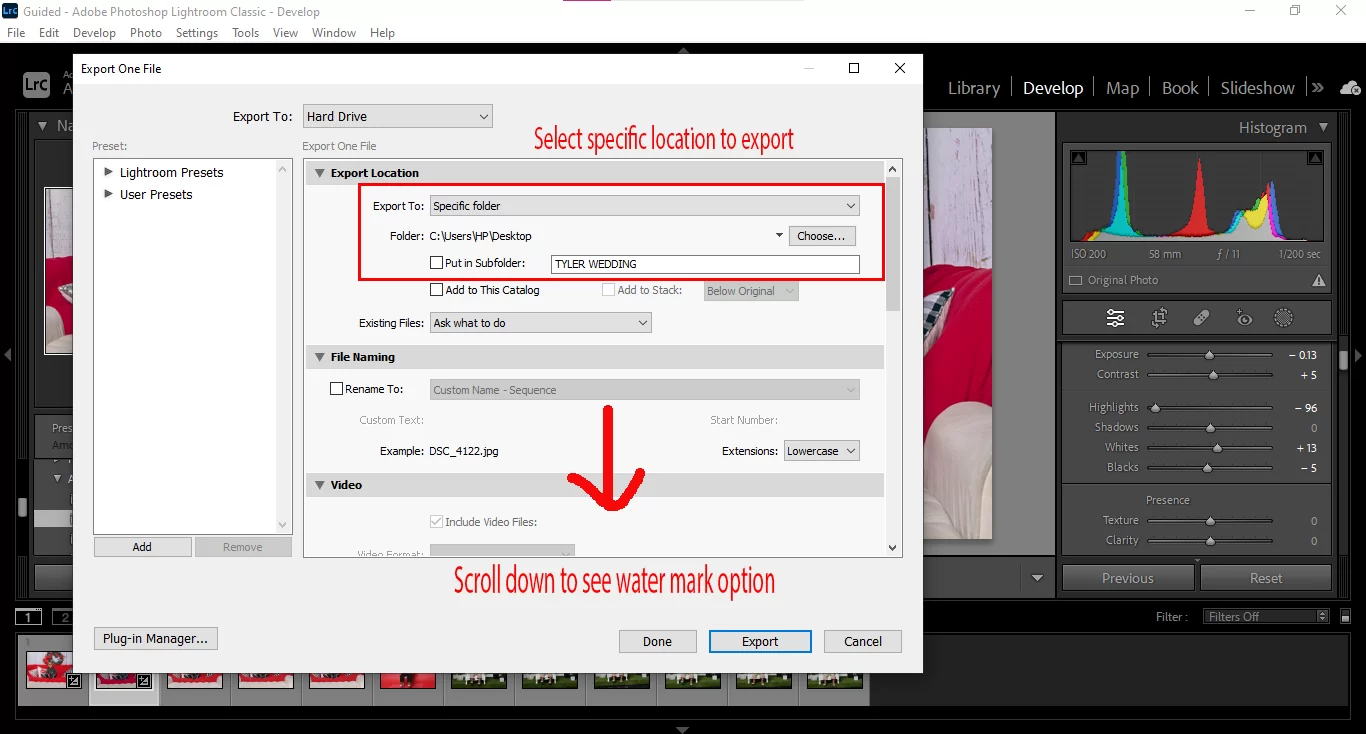
Step 4: Time to Watermark Your Edited Image
To access this tool, click on a little circle with dots surrounding it in the develop module.

A Popup menu will appear; scroll down a little bit, and you will see a watermark option. After checking that box with a click, you will see more options to customize your watermark; you can use text or any png image as a watermark.

You can customize your watermark as shown below.

Create your watermark either as a text or a graphic and save. It is advisable to avoid using too large text as a watermark. Endeavour to use words that are unique, simple, and short and place them ideally beneath your image.
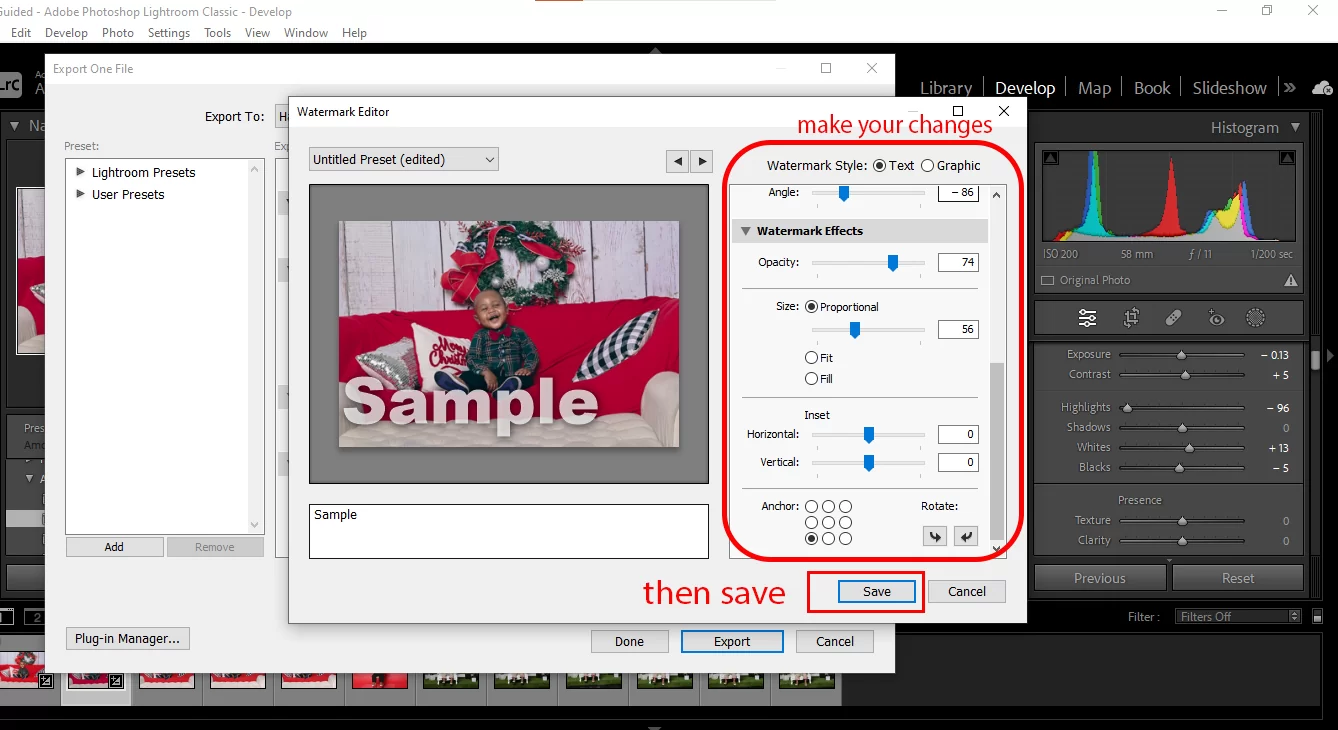
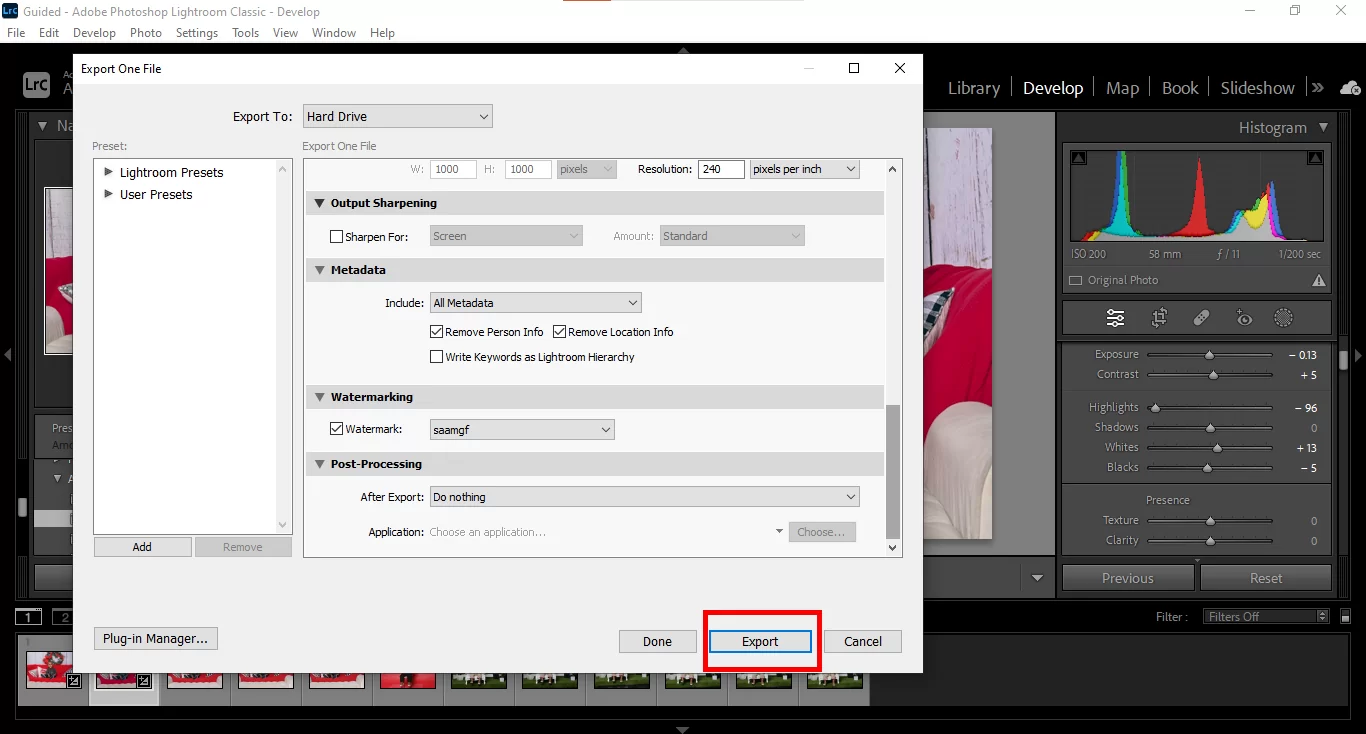
Finally, click on the export button and your photos will be exported with a watermark.
Leave a Reply
You must be logged in to post a comment.