You must crosscheck or preview your edited image as a photographer before printing the final result, and this will help you take note of possible errors and make necessary adjustments. Soft proofing is a simple term used to describe previewing photos.
What Is Soft Proofing
Soft-proofing can preview how onscreen photos appear when printed and optimize them for a particular output device. Soft-proofing in Lightroom Classic lets you evaluate how images appear when printed and adjust them so that you can reduce surprising tone and color shifts.
Here are easy steps on how to soft-proof an edited photo in Lightroom.
Step 1: Open lightroom application
On your PC or any compatible devices, open Lightroom to begin the editing process. You can either use Lightroom Classic, which has robust features and tools, or Lightroom CC, which is ideal for beginners and works perfectly on mobile or iOS devices.

Step 2: Import photos you want to edit
Before you can soft-proof a picture, you must make unavoidable enhancements to such a photo. Start by importing any image of your choice; from your digital camera, memory card, external hard drive, or phone.
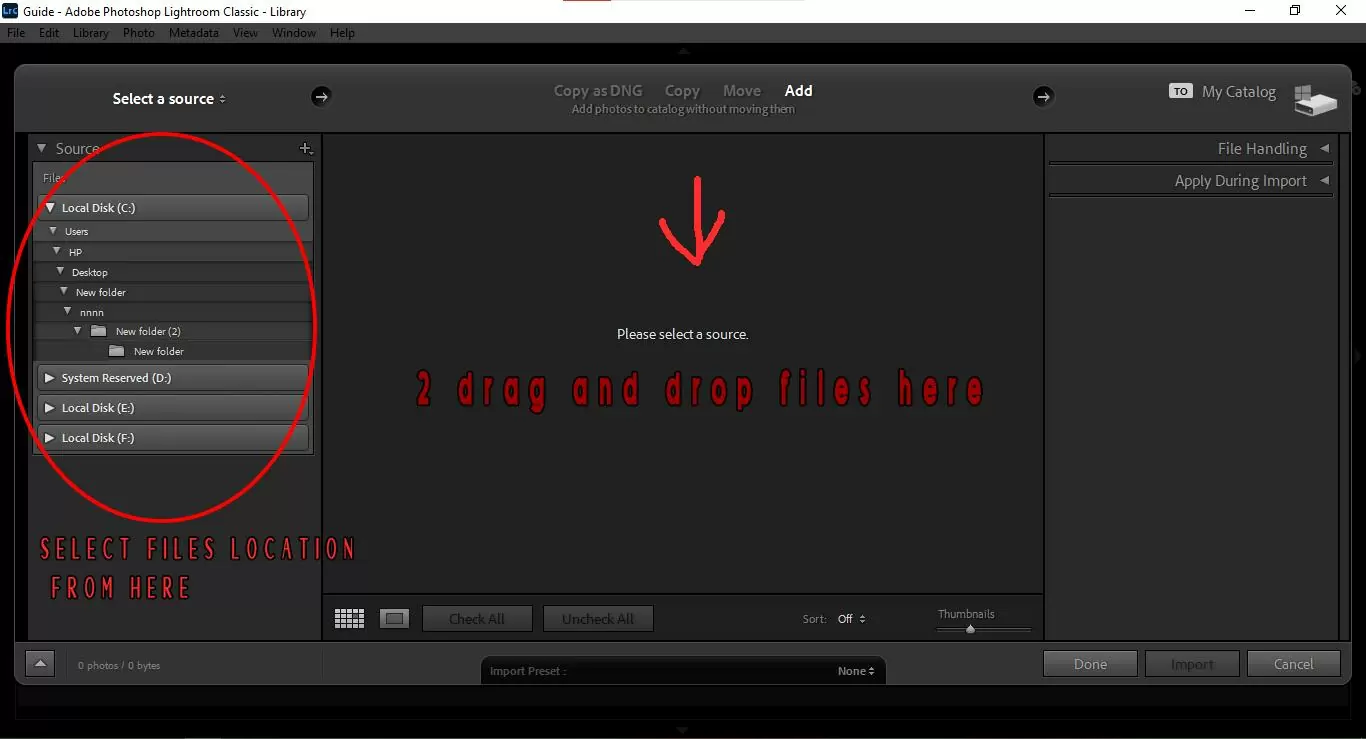
With your device connected to your personal computer, go to Files on the Lightroom window, and click on import images and videos from the drop-down menu. Lightroom should automatically detect and display the pictures on your digital camera or hard drive. Uncheck all the photos, select the one you wish to edit, and then click on import.

You may find your photos to import from the area in red below. Another quick way to go about importation is to drag and drop your photos to the import section and then hit import.

Step 3: Start Making Adjustments
When files are imported, go to Develop, which is in the top right corner of Lightroom’s window, and you will find all settings to play with to enhance your photos. Below the histograms are some options and sliders to choose from to perfect your image. Some work on the colors in your image, the balance between white and black elements, and mid-tones in your photo.
In the develop module, you can blur the background or unwanted elements in your photo, eliminate Moire, whiten teeth and eyes, and do much more.

Here are some settings you need to know first
1. Cropping and alignment
Cropping is quite popular in photo editing. Although not necessary in all situations, it is ideal for enhancing focus on the image subject and removing distractions. To access the crop tool, go to the develop module and click on the crop icon, which is a little square with little dashes around it. You can also access this tool via your keyboard by clicking on “R.”
After clicking on the crop icon, you should see guide borders and lines around your image in your work area. To crop your picture, you can easily drag the guidelines at the sides or corners to any dimension you want.
2. Healing
With the heal tool or healing brush, you can remove minor distractions or unwanted elements in your photo. The process is quite technical, but once mastered. It would be one of the easiest editing tasks for you in Lightroom.
To access the heal tool, go to the develop module and click on the band-aid icon below the histogram. In the brush option, select “heal” and make certain modifications to the healing brush via the sliders associated with it. Modifications include size, feather, and opacity.
For size, moving the slider to the right increases the size of the healing brush, while moving it to the left decreases the size. The feather slider defines the intensity of your brush. For a seamless edit, choose a higher number by moving the slider slightly to the right. The opacity is mostly at 100, according to Lightroom’s preset. If you wish to have more visibility, you can decrease the slider.
After adjusting your brush, click on the area of the image you wish to heal. A second circle will appear, allowing you to select an area of the image you wish to replace for the site you want to erase. Lightroom will automatically make the necessary changes.
3. Red-eye fix
This mostly occurs when taking snapshots of faces. This occurs when the camera’s flash is reflected in the subject’s eye. This error is very common in animal photography. To correct the red eye, go to the develop module and click on the eye icon.
After Selecting, go to the image, click on the center of the red eye, drag outwards to cover the eye, and make adjustments by working on the darken and pupil size slider.
4. Clone
Cloning in Lightroom involves duplicating a certain object in your image to either replace a part of the image or eliminate blemishes. It is very similar to the heal tool.

After completing all enhancements, you need to check the soft-proofing preview.
Soft proofing:
It shows how colors will look after printing on the page. Soft proofing can help you to maintain colors error before printing photos. If colors are good in the proof preview, they will be good on the printed version. If colors are not good during the preview, you need to make necessary changes to make them fit for printing.
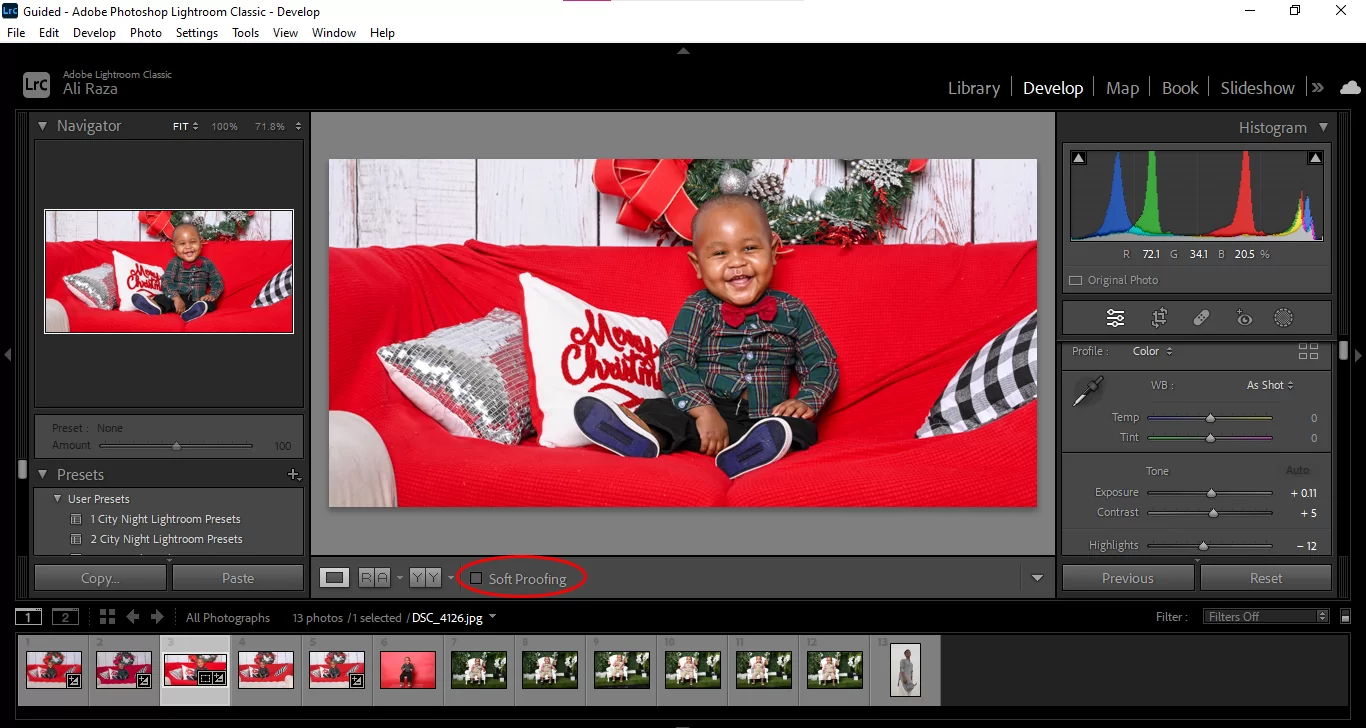
Check the soft proofing box to see the difference visible while printing that file.
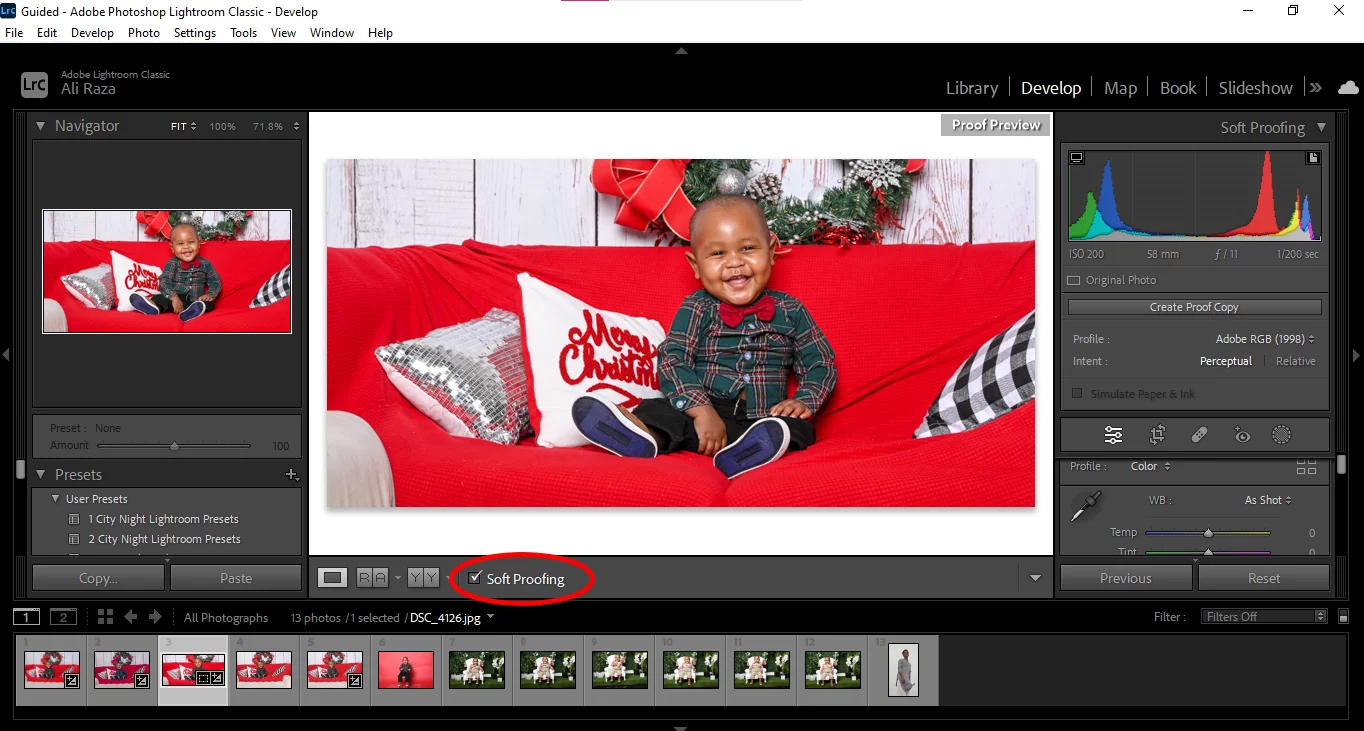
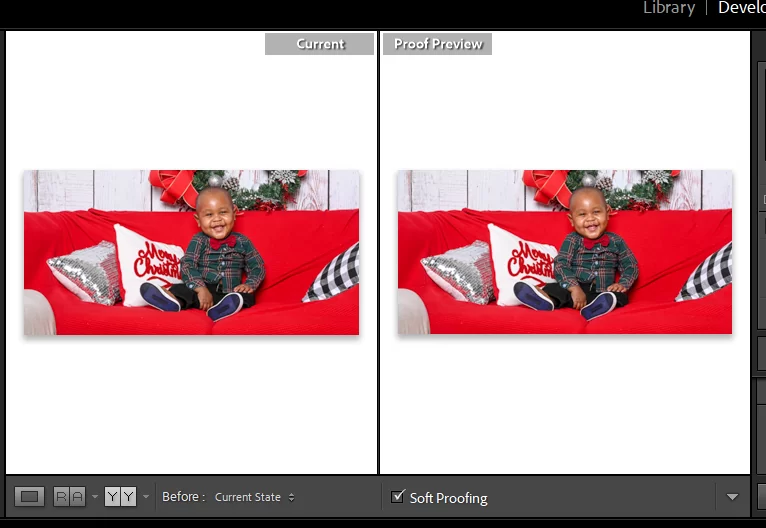
This is how the current and previewed photo will look like.
Leave a Reply
You must be logged in to post a comment.