After an exciting episode of editing and enhancing the quality of your photograph on Lightroom, the next and final action would be to save your work. This will help you keep track of the magic you have created and share it with the world. This article will guide you into saving your edited photos accurately.
Steps to Saving Your Photos
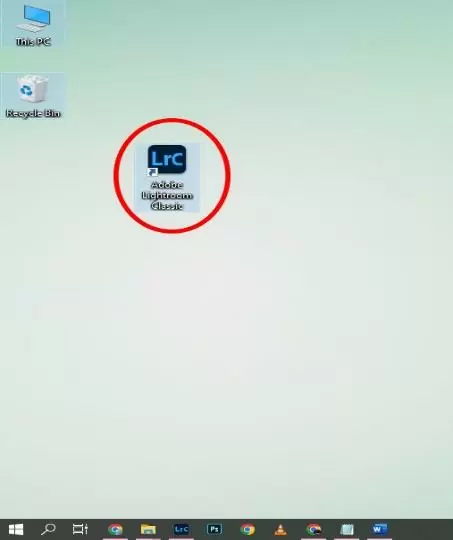
Step 1: Open lightroom application
If you are completely new to Lightroom, it will interest you to know that there are two unique versions of Lightroom. Though very similar, one has diverse features that suit professionals, while the other adopts an easier approach, perfect for newbies. These two versions are Lightroom Classic, the oldest and most robust version, and Lightroom CC, which supports its use on various devices, including the web.
In this instance. I have Lightroom Classic installed on my computer. Simply click on it, and open it to start your editing process.
Step 2: Import photos you want to edit
This process might be quite a touch for beginners without the proper guide. To start, make sure you have your digital camera, or external hard drive plugged into your computer. Lightroom should automatically detect the contents of your device when you click on the import photos and videos from the file tab.

After the images might have been opened, you might have all the images checked by lightroom. Simply uncheck all and select the image or images you would like to edit then click on the import button.
You may find your photos to import from the area circled in red below or drag and drop your photos to the import section and then hit import.


Step 3: Go to The Develop Module
After successfully importing your image, move to the develop module, where you will find a wide array of settings to make proper enhancements to your image.

Scroll down in the red-mentioned area to find more and more settings and play with them accordingly to get the best results.

Here are some settings you need to know first
1. Cropping and alignment
Though not needed in every case, Lightroom’s crop tool helps you to remove unwanted elements in your picture and improve focus on the subject. It works well around the edges of photos. To access this tool in the develop module, click on the little square icon with little arrows around it. It should lead to you new options to improve your cropping experience.
One very important crop setting is the aspect ratio. It is the relationship between your image’s width and height. There is a wide range of ratios to choose from. Depending on your preference, select the aspect suitable for your photo.
2. Healing
The heal tool in Lightroom is ideal for removing blemishes or unwanted elements in your photo without losing its originality. To access the healing tool, go to the develop module and click on the band-aid icon below the histogram. In the brush option, select “heal” and make certain modifications to the healing brush via the sliders associated with it. Modifications include size, feather, and opacity.
For size, moving the slider to the right increases the size of the healing brush, while moving it to the left decreases the size. The feather slider defines the intensity of your brush. For a seamless edit, choose a higher number by moving the slider slightly to the right. The opacity is mostly at 100, according to Lightroom’s preset. If you wish to have more visibility, you can decrease the slider.
After adjusting your brush, click on the area of the image you wish to heal. A second circle will appear, allowing you to select an area of the image you wish to replace for the site you want to erase. Lightroom will automatically make the necessary changes.
3. Red-eye fix
This mostly occurs when taking snapshots of faces. This occurs when the camera’s flash is reflected in the subject’s eye. This error is very common in animal photography. To correct the red eye, go to the develop module and click on the eye icon.
After Selecting, go to the image, click on the center of the red eye, drag outwards to cover the eye, and make adjustments by working on the darken and pupil size slider.
4. Clone
Cloning in Lightroom involves duplicating a certain object in your image to either replace a part of the image or eliminate blemishes. It is very similar to the heal tool.

Step 4: Saving Photos in Lightroom
To save/Export photos in lightroom, press Control or Command + Shift + E. Another alternative is to go to the file tab and click the export option, as shown below.

Step 5: Export Your Photo
After clicking on the export option, a pop-up menu will appear with a range of options to choose from. From those options, select the location where you wish to export. Also, you can pick the size in which you want your picture to be exported. This is also a good place to watermark your final result and customize the name of your photo.

Leave a Reply
You must be logged in to post a comment.