Graphic designers often need to create graphics without the hassle of a background. With Inkscape, you can easily remove backgrounds from any of your vector images by following a few steps. In this article, we’ll show you exactly how to remove backgrounds in Inkscape so that you can perfect your designs and make them look their best.
How to Remove Background in Inkscape?
Step 1: Insert an image.
Go to File ➜ Click Import ➜ Select a Picture ➜ Click OK.
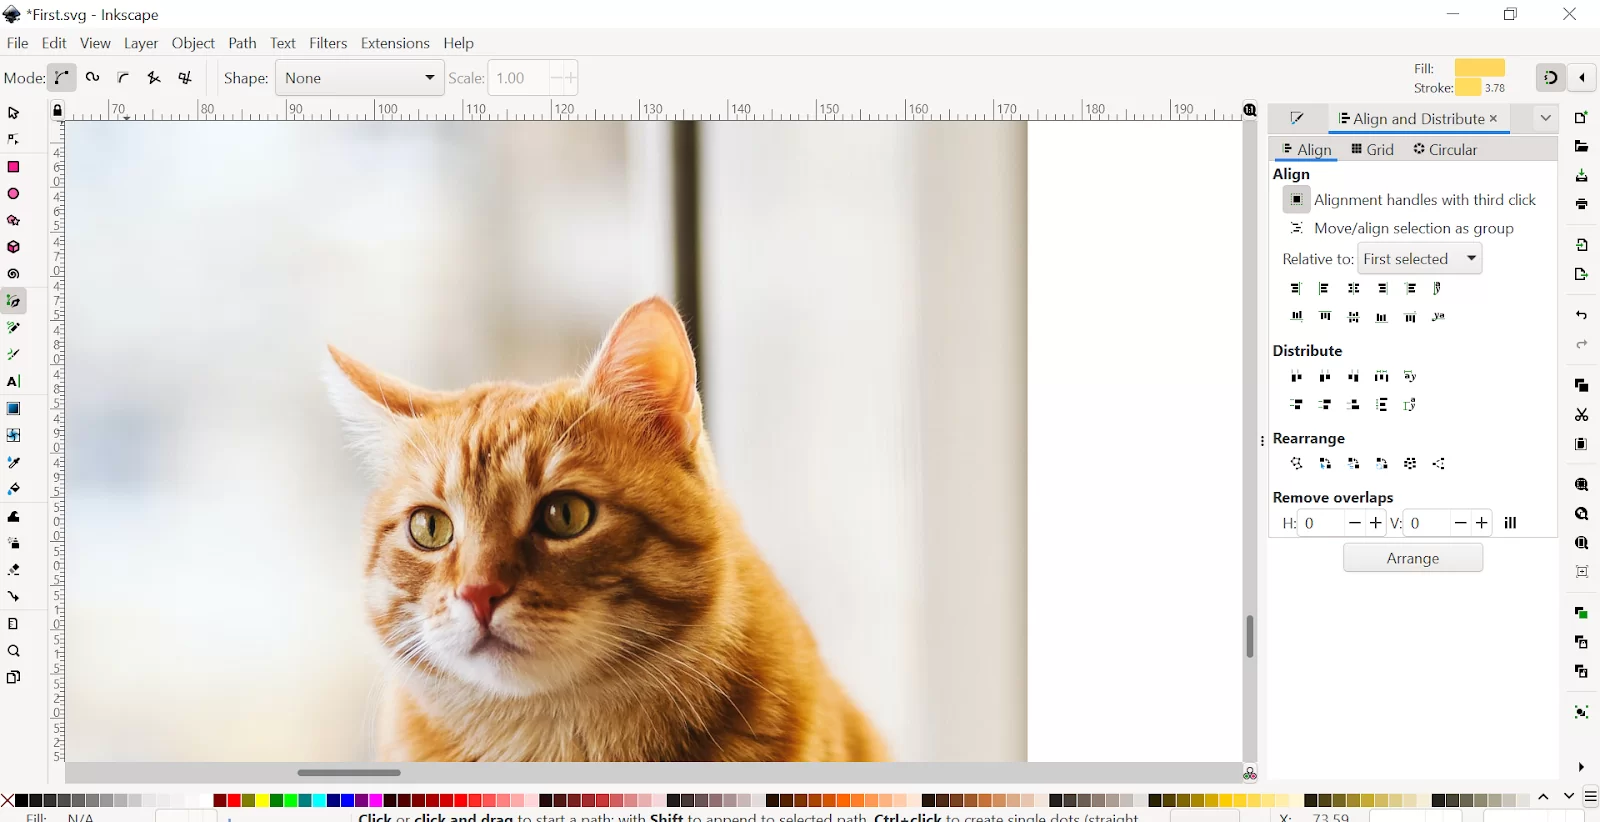
Step 2: Do the outline of a cat using the Bezier tool.

Step 3: Now click on the outline. Then press Shift and click on the background. The outline and the background have to be selected for removing the background.
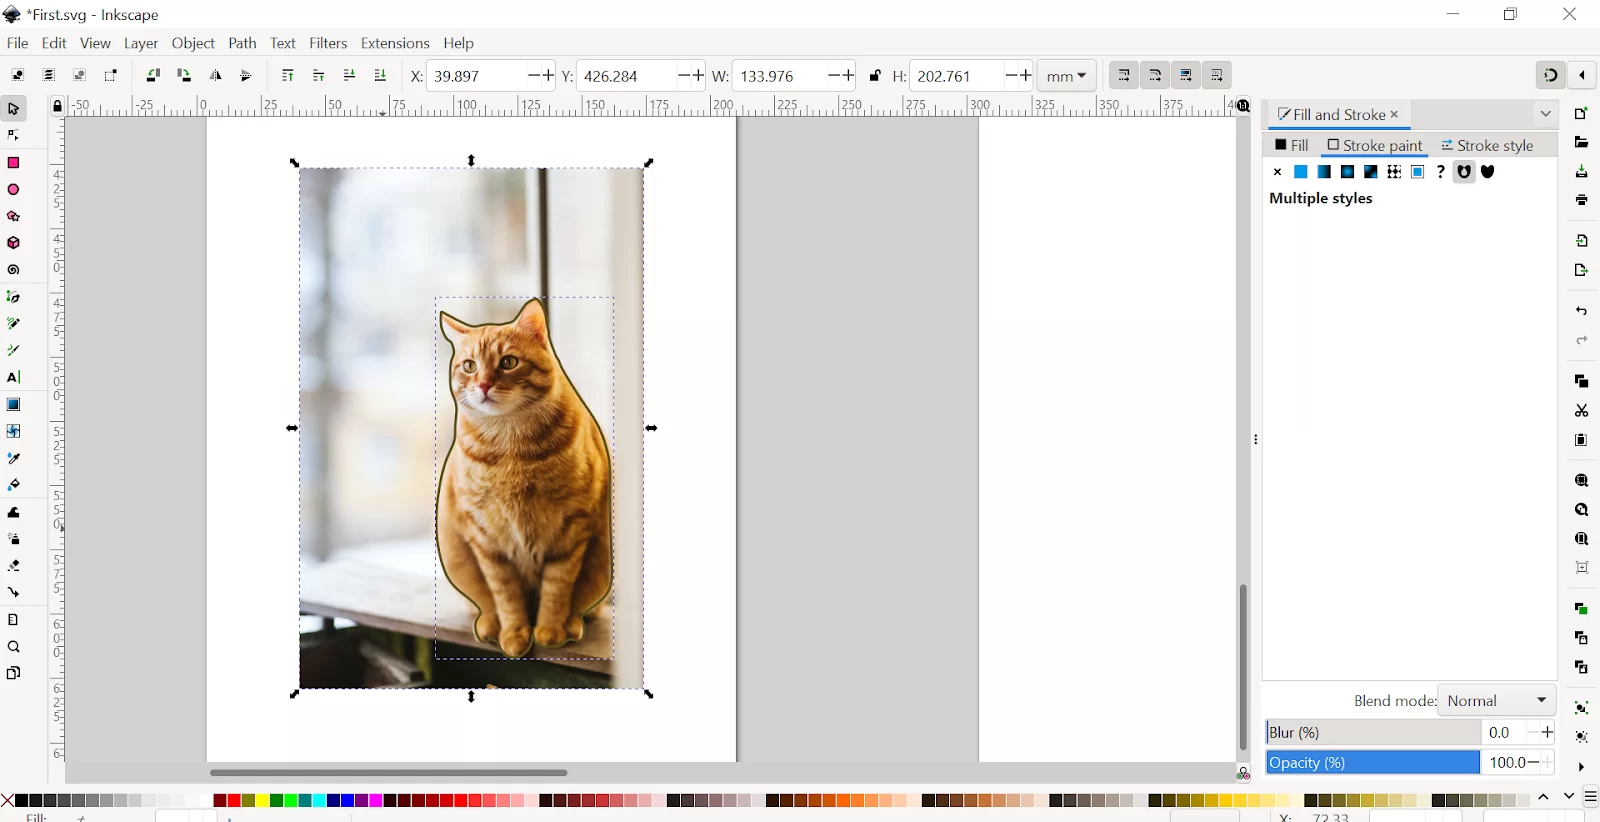
Step 4: Do the right click. And click on the Set Clip option. The background will be deleted.
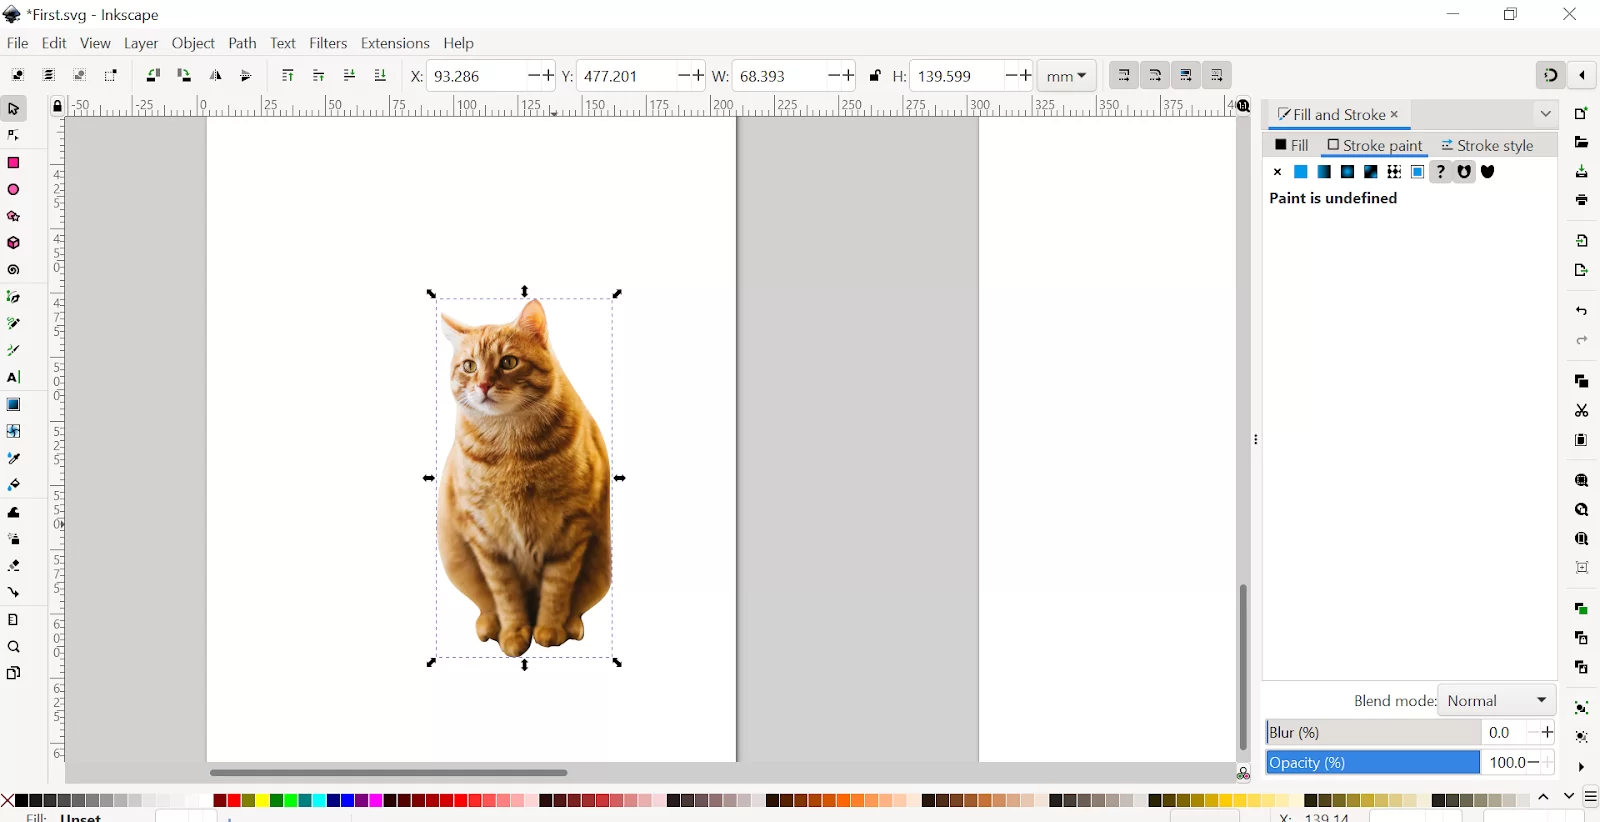
Step 5: Add any background. You can make a rectangle and send it backward. Choose any color you want. You can also download different backgrounds from the internet.

This is the final result. Now you have a different background.
We also recommend that you see our step-by-step guide on How to erase in Inkscape.
How To Remove Background Using Image Tracing
Did you know that in Inkscape, a feature allows you to convert a raster image into a path that can be modified to suit your design? This feature is referred to as image tracing or vectorization. The tracing feature of Inkscape is very useful when you want to vectorize a dark shape or something that is in front of a white background.
Step 1
Start by adding a rectangle to the drawing area of the Inkscape. Click on rectangles and squares from the tool panel. Now add a simple rectangle to the Inkscape drawing area.
Step 2
Next, import your desired image to get rid of its white background. To do so, open up the file menu and click on import.
Step 3
You can go ahead and import a sample logo. When your sample logo is imported, you’ll see that the rectangle shape in the background removes the confusion that may arise from mixing the white and logo.
Step 4
Next, click on the select and transform tool.
Step 5
In the next step, open the path menu and select trace bitmap from the drop-down menu. Just in case you are wondering what a traced bitmap means, it is a tool that uses an algorithm to generate the vector tracing of the selected image automatically. When you are in the trace bitmap dialog box, ensure that you explore the single scan tab. Choose brightness cutoff from the single scan tab and click on the update button to preview the traced image.
Step 6
In the multiple scan tab, mark smooth and remove background checkboxes. After you are done, proceed to click on the update button and preview the traced logo image. Next, click on Apply to apply the specified settings.
Step 7
Now that you have enabled the “Remove Background” option in the Multi scans window, it will remove the white background of the traced image.
Step 8
Now, left-click on the added logo image, and from the opened menu and then select the Delete option.
Step 9
Set the traced image parameters. In your Inkscape application, you can quickly erase a picture’s white backdrop by using the image tracing method described above
Did you enjoy reading this? You may also like our in-depth articles on How to add fonts to Inkscape and How to use Inkscape on Mac.
Leave a Reply
You must be logged in to post a comment.