Minor imperfections such as spots, blemishes, visible dust particles, and unwanted elements in a photograph can make the overall result unpleasant to the eyes. Thankfully, Lightroom has a very important feature that allows you to make precise corrections and modifications to your image.
How to use Healing Brush Tool In Lightroom
The healing brush is a spot-removal brush that helps you make your image look more natural by doing minor touch-ups. I have carefully crafted easy-to-understand steps on using the healing brush tool like a pro.
Step 1: Open lightroom application
Launch Lightroom Classic on your computer, which has a wide range of features for a seamless edit. However, it is challenging to navigate newbies. If you wish to access Lightroom using other devices like your mobile or IOS devices, you can download Lightroom CC. This software might be limited in a way, but suitable for beginners and grants you easy access to your previous works.
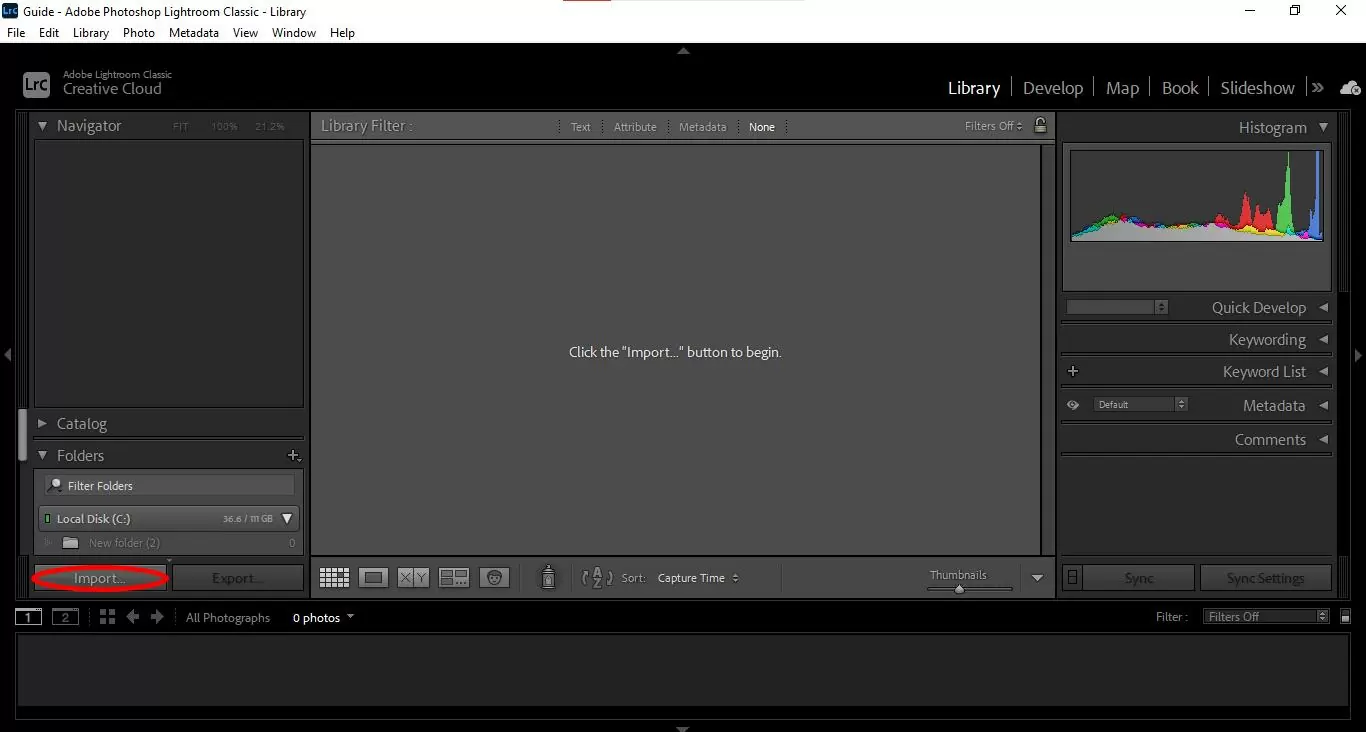
Step 2: Import photos you want to edit
The next step is to import an image with one or more noticeable blemishes. On Lightroom’s window, go to file on the top left corner of the screen and select “import photos and videos” from the drop-down menu. Ensure your digital camera, card reader, or external hard drive is plugged into your computer. Lightroom should detect either one of them or automatically open your images.
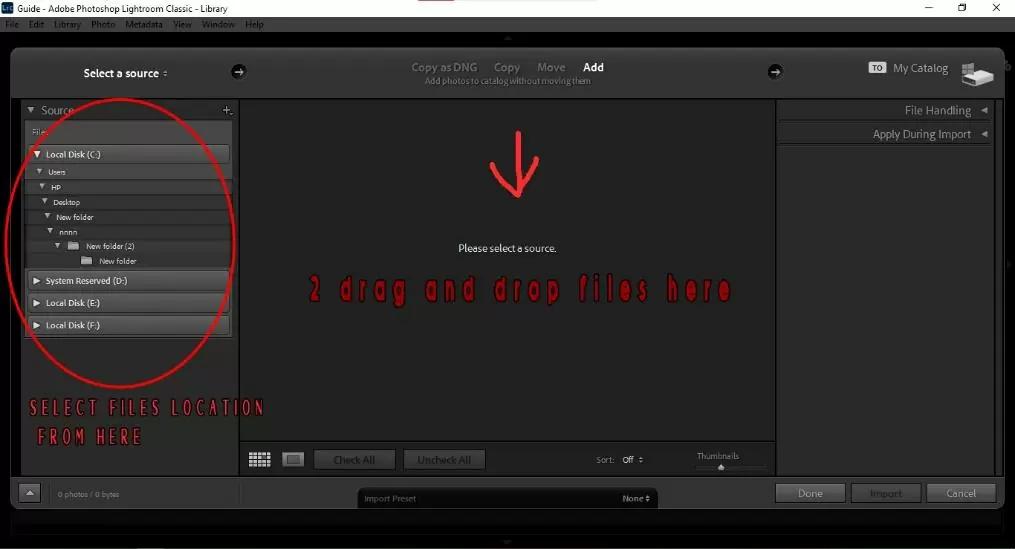
Select the photos you want to edit, then hit the import button, and let lightroom import your photos. You may find your photos to import from the area circled in red below, or drag and drop your photos to the import section and then hit the import button.

Step 3: Explore The Develop Module
The develop module can be found beside the library module in the top right corner of Lightroom’s window. The develop module is packed with features that allow you to make important modifications to your image. In other words, it can be described as the powerhouse of Lightroom. You can make your edits here by adjusting brightness, contrast, saturation, highlight, clarity, sharpness, balance, etc.
As we’ve mentioned, the healing brush removes unwanted parts and blemishes in an image. It works by removing the pixels from one image’s point and replacing them with pixels from another picture area. The remaining steps will guide you in properly locating and using the healing tool.
Step 4: Locate The Healing Tool
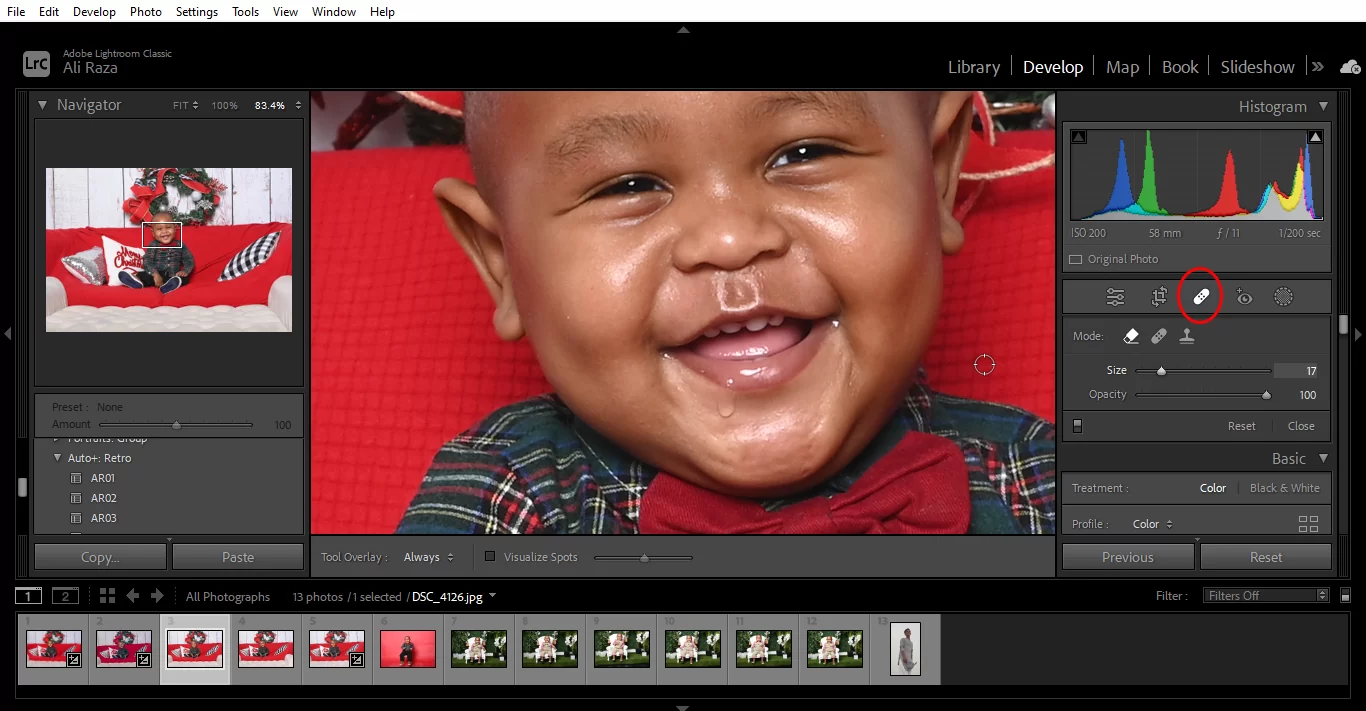
You can find this tool in Lightroom’s develop module. Below the histogram, you will see a little pill or bandage-looking icon just like the one circled in red below. Click on it and survey the popup menu for the adjustment sliders.
The healing brush tool is made up of several unique components, which are outlined below:
• Content Aware Remove:
This smart component of Lightroom is used to remove small and isolated blemishes in your image. It also allows you to transfer contents or specific pixels from one photo to another, making it look like a natural element of the image.
• Healing
With the healing tool, Lightroom can automatically detect conspicuous blemishes on your image and gets rid of them easily.
• Cloning
Cloning takes patches from an area of the image and makes it a replacement for a selected portion of the image.
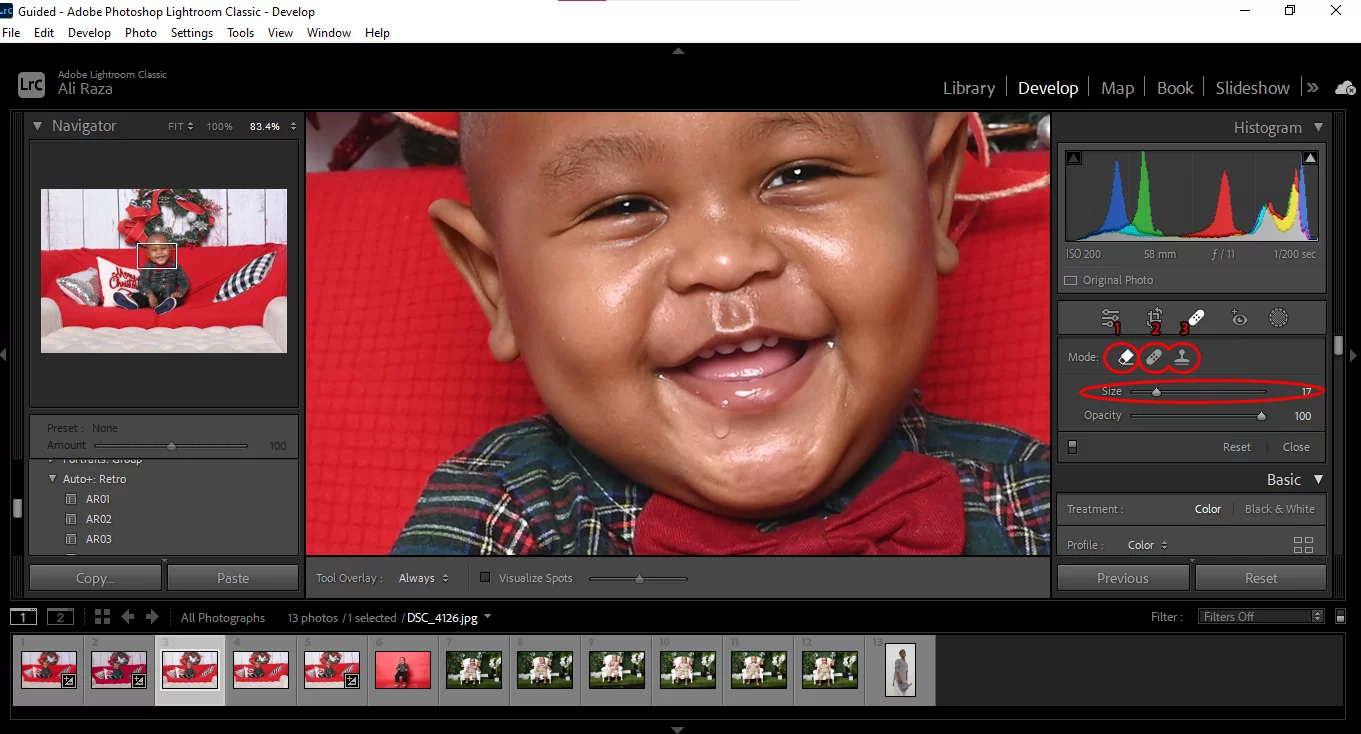
Before you can start to maximize your healing brush tool, you need to make some adjustments via the brush size, feather, and opacity sliders.
• Brush size
Moving the slider to the right increases the brush size for the brush size while moving to the left decreases the brush size. Using a brush bigger than the blemish you wish to correct is advisable.
• Feather
Your preferred value will determine the intensity of your brush. For a more precise and intense feel, increase the feather value by moving the slider to the right. For a softer effect, decrease the feather value by moving the slider to the left.
• Opacity
The extent to which the healed or edited area of the image will be visible is determined by the percentage of opacity. You can leave this at 100%, which is a Lightroom preset.

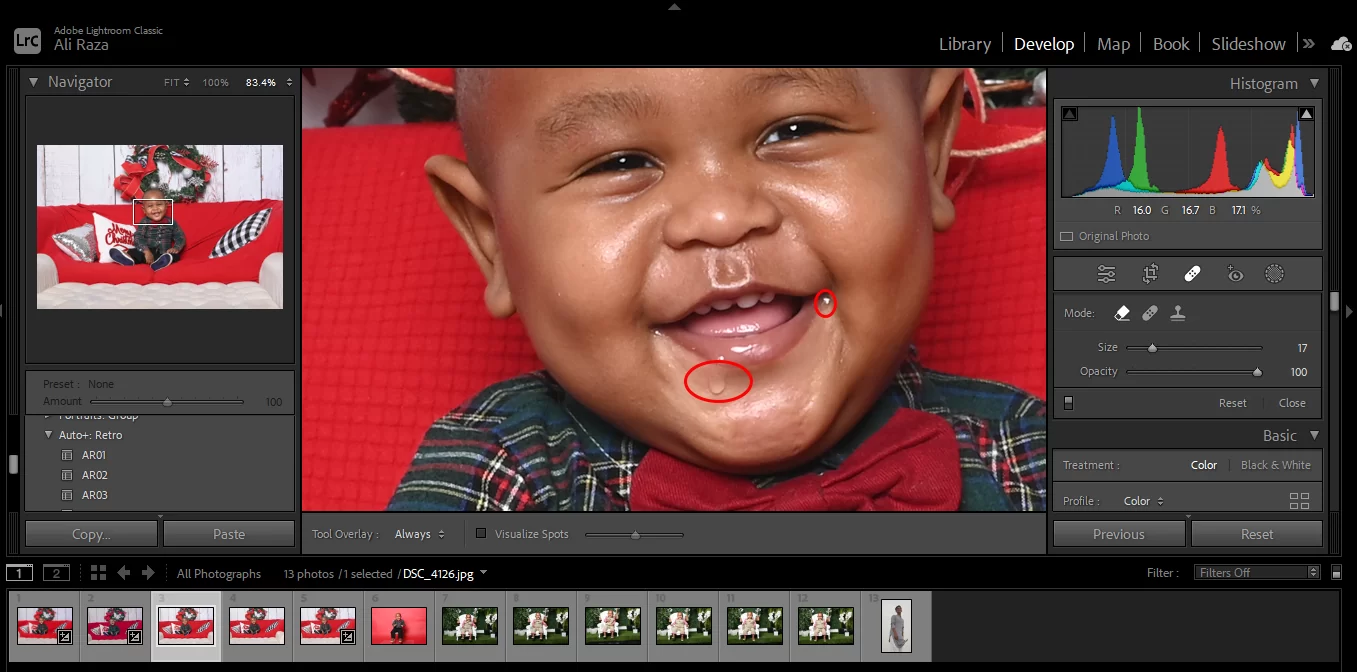
After making adjustments to your brush, it is time to eliminate any blemishes in your picture. Start by clicking the area of the blemish; you should expect a second circle to appear. This extra circle acts as a source selector to replace the blemish with another suitable pixel from the image.

You can continue to heal different aspects of the photograph till you are fully satisfied with the result. If you make an error, click on such a mistake and press delete.

The image below is an example of the flawless result you will get after using Lightroom’s heal tool.

Final Thoughts
Healing is one of the most important features in Lightroom, and a good mastery of how this tool works will make you produce exquisite edited images.
Leave a Reply
You must be logged in to post a comment.