If you want to remove anything from your vector artwork, you can simply use the Erase tool in Inkscape. Suppose you want to erase parts from an image. Unfortunately, that’s not possible. The Inkscape eraser will not work on the things that have been made outside of Inkscape; for example, photos, and raster images.
How to Erase in Inkscape
The Inkscape erase shortcut key is Shift + E
Let’s Erase something by following these steps:
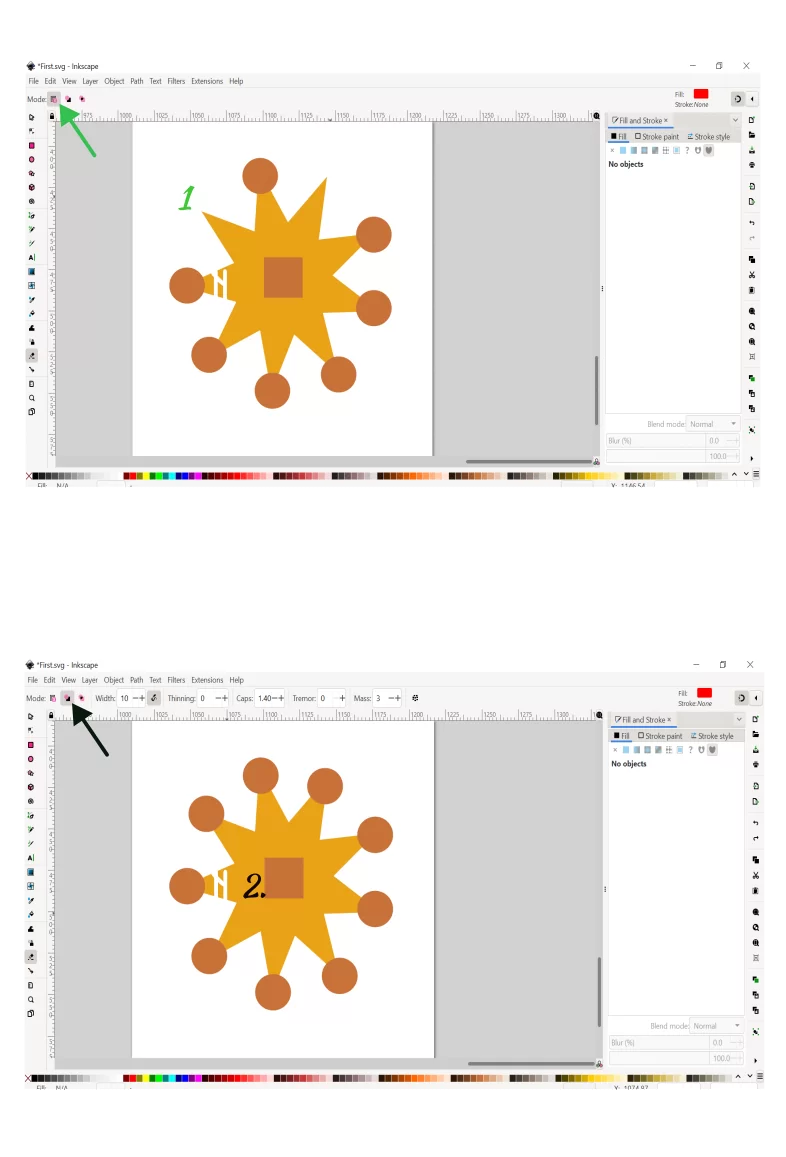
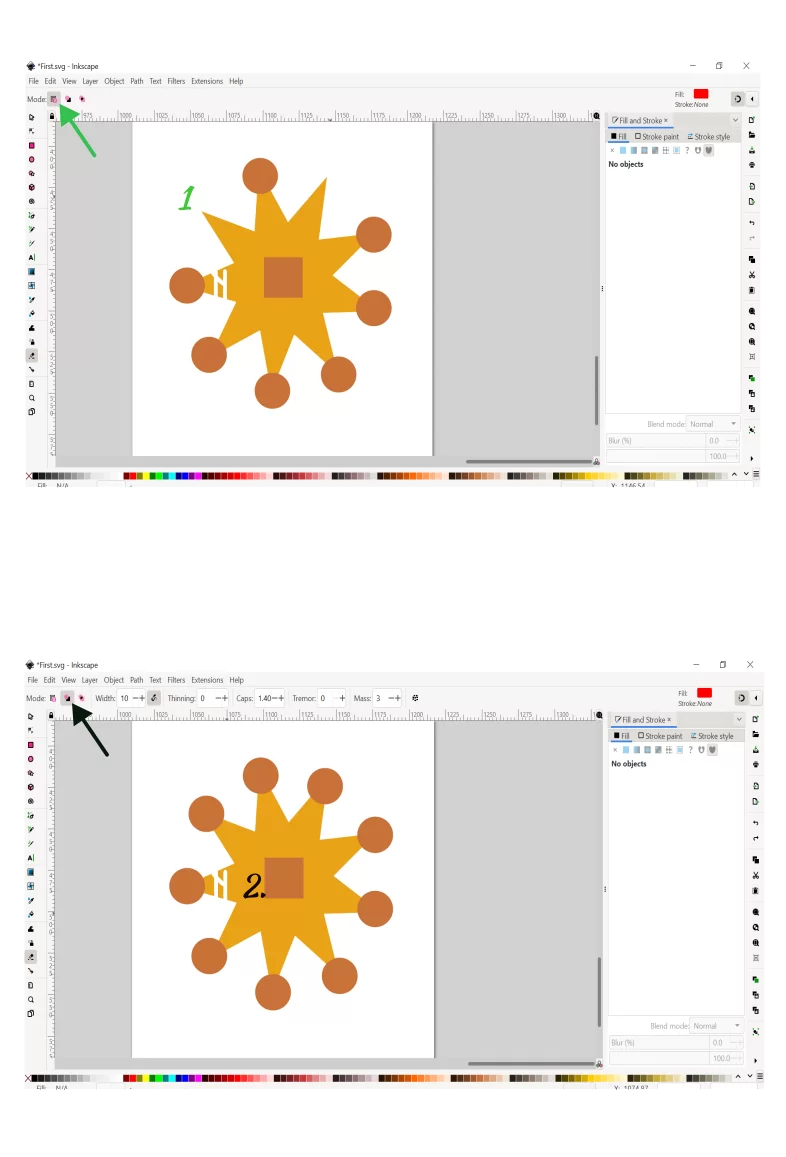
Step 1: Click on the Eraser tool. The Eraser tool has three modes. The first one has deleted mode. When you touch or drag on any object with the eraser tool, it will delete that object only. You can delete multiple objects as well just by dragging.

Step 2: The second mode is cut out from paths and shapes. This will allow you to cut anything from shapes. You can also increase or decrease the width of the eraser. The third mode is clipping from objects. This mode creates temporary negative space using a clipping mask:

How To Use The Eraser Tool in Inkscape
If you are coming to Inkscape from other raster editing software, it is normal to look for the eraser tool when you want to erase. The native way to operate on vector images is with the Boolean path operations, but the eraser tool also comes in handy. Follow the steps below to use the eraser tool in Inkscape.
Step 1
You can create multiple objects by drawing a rectangle and pressing space repeatedly. You can press the space repeatedly while dragging the rectangle across the screen.
Step 2
Select the eraser tool and ensure that the delete objects touched by the eraser button are chosen.
Step 3
Now drag the eraser tool across the objects that you want to delete. When you drag the eraser tool across the objects, they will be completely removed from the drawing.
Step 4
You can increase the width of your eraser by choosing the cut out from objects button and increasing the width to 30.
Step 5
Now drag the eraser over the objects you want to delete, and the eraser trail will create holes in the objects. It is important to remember that shapes will be converted to paths as the eraser trail creates the trail. However, if you want to limit erasing to particular objects instead of using the full drawing, you can select the object before you utilize the eraser tool.
You can also check out our detailed article on how to remove background in Inkscape.
Inkscape Eraser Modes
The Delete, Cut and Clip tools are the three major eraser modes. Each of these eraser modes decides how objects are erased. So, it’s important to understand how these modes work to use the eraser effectively.
- Delete
When you activate this mode, it will generate a red line that follows your hand movement. Every object that the red line touches will be deleted immediately. In summary, this mode erases entire objects from your work.
- Cut
If you’ve ever used an actual eraser, then you know how this mode works. This mode allows you to delete in the traditional sense. When this mode is enabled, clicking and dragging the eraser tool will create a red line that follows your hand movement. However, unlike the delete mode, the object will not be fully deleted but partially.
- Clip
The clip mode does the same thing that the cut from shapes mode achieves. However, the clip creates a temporary negative space using a clipping mask. The advantage of using this mode is that it is non-destructive. This means that you can make any alterations with the eraser layer on. Please note that this mode is an Inkscape feature, so if you open your artwork in another application, the changes will not be preserved.
If you enjoyed reading this guide, you can see our other articles on How to curve text in Inkscape and How to add fonts to Inkscape.
Leave a Reply
You must be logged in to post a comment.