Adobe Acrobat is a great tool for bringing your ideas to life. With the drawing tool, you can now highlight, underline, and add notes to your PDFs with ease. The drawing tool in Adobe Acrobat is a great way to add some personal touch to their documents.
We’ll explore the different ways you can use the drawing tool in Adobe Acrobat to annotate and mark up your PDFs. From basic creating basic shapes to more advanced techniques like using custom shapes, we’ll show you how to get the most out of this powerful tool. Let’s get drawing!
How to Draw in Adobe Acrobat
Step 1:
First, Open Adobe Acrobat software and then open your pdf file. To open a file, go to File > Open and then select your pdf file from your file manager. You can use short in Win [ Ctrl + O ] or Mac [ Cmd + O ]. You can click directly to Open file on the right corner and then open your File.

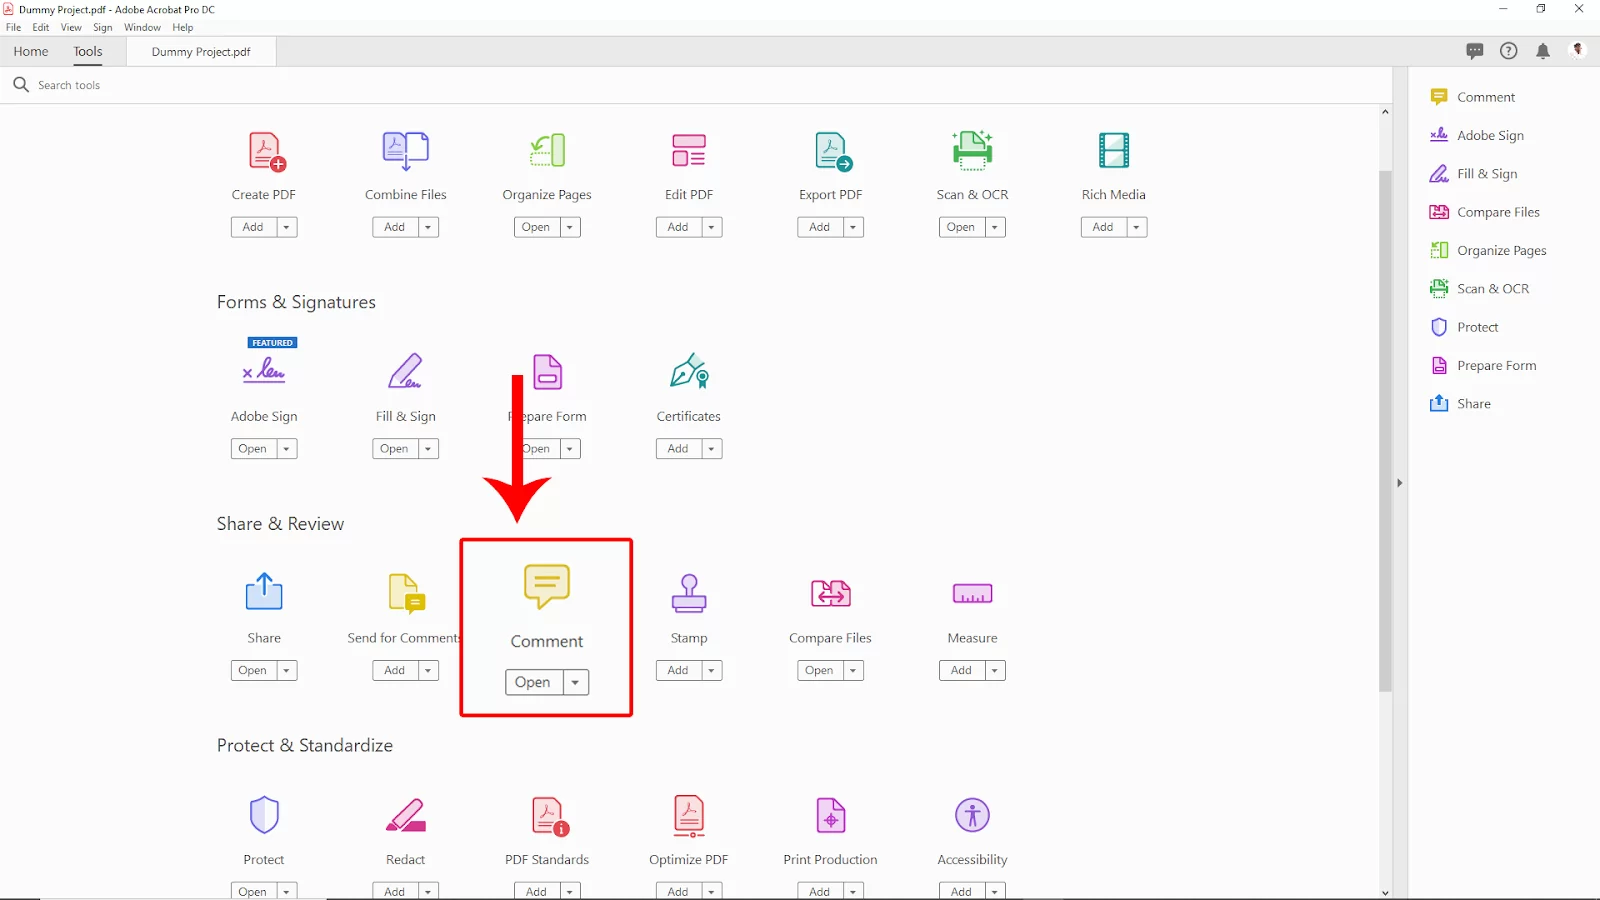
After opening the pdf file, go to Tools in the upper left corner. Click on that.

Now In the Tools tab, select the comment option.
Step 2: Drawing a Rectangle
After selecting the comment Option back to the page tab, click on the right upper corner shape dropdown options. Here you will find some shapes. Select the Rectangle for the Rectangle shape.

After selecting the shape, now click and drag where you want to add the shape. To change the color, click on the upper corner of the color palate and select your color. You can increase the border value and change color from here. You can also can change the opacity.

Step 3: Drawing a line
Click on the right upper corner shape dropdown options. Here you will see the line shape. Select the Line to create a line.

Now click and drag to make a line, and hold shift to make the line straight. Now on the upper bar right corner, you will see the border line. Increase or decrease the line thickness as you want with the border thickness value. Now click on the settings icon under the border thickness.

After Clicking the icon, you will see the color pallet will open. Now select your desired color for the line and then click ok.
Step 4: Drawing a Circle
To make a circle, click on the right upper corner shape dropdown options. Here you will find an oval shape for circles. Select the Oval for the circle shape.

After selecting the shape, click and drag where you want to add the shape. To change the color, click on the upper corner of the color palate and select your color. You can increase the border value and color from here. And also can change the opacity.

Choose the shape border and increase the border value to visible the border.
We aalso recommend that you see our step-by-step guide on how to delete pages in Adobe Acrobat.

Can an Apple Pencil Be Used To Draw On Adobe Acrobat PDF?
If you are an iPad user, you will find the Apple Pencil to be a useful tool. The Apple Pencil can make notes, draw pictures, and annotate documents. One of the advantages of using the Apple Pencil is that it works like a traditional pen on paper. Can the Apple Pencil, however, be used on a PDF file? Yes, it can.
In the next paragraph, I’ll show you how you can draw and take notes on a PDF file with the Apple pencil.
Step 1
Start by going to the online Pdf editor using your web browser.
Step 2
Next, launch the Adobe Acrobat app using the link and open your PDF.
Step 3
Now select the blue pencil icon and select comment.
Step 4
From the bottom toolbar, select the pencil icon and start the draw tool.
Step 5
Now you can draw or make notes on the PDF using your Apple pencil.
Step 6
Finally, select the check mark symbol in the top toolbar and save your document.
Check out our detailed guide on two ways to create a signature in Adobe Acrobat.
How To Add Drawings To a PDF Document Online Using Adobe
Did you know that there are many online tools and websites that will make editing your PDF file as simple as using an offline PDF viewer? Acrobat DC Online is a free online tool from Adobe to edit or otherwise modify a PDF document while on the road. With Acrobat DC Online, you can modify your PDF document’s content and make any other necessary adjustments. Follow the steps below to draw and add shapes on a PDF file online using Acrobat PDF editor.
Step 1
Begin by launching your web browser to access Acrobat’s PDF editor. You can use your PC or tablet. Using a tablet is the best choice if you are constantly on the road.
Step 2
Next, locate the file icon which can be used to upload your PDF document.
Step 3
Next, click on the comments icon and draw your markings using the drawing tool.
Step 4
Finally, download your document so it can be viewed offline.
If you enjoyed reading this piece, you may also like our piece on How To Make Adobe Acrobat Default.