Deleting pages in Adobe Acrobat is easy and can be achieved in just a few steps. This function often comes in handy when you need to remove a blank page or delete an entire section of your document. In this guide, we will walk you through the steps to delete pages in Adobe Acrobat, as well as explain some tips and tricks to make the process easier. Whatever version of Adobe you’re using, be it Adobe Acrobat DC or an older version of the software, you’ll be able to delete pages with ease.
Let’s get started!
3 Steps to Delete Pages in Acrobat
Step 1:
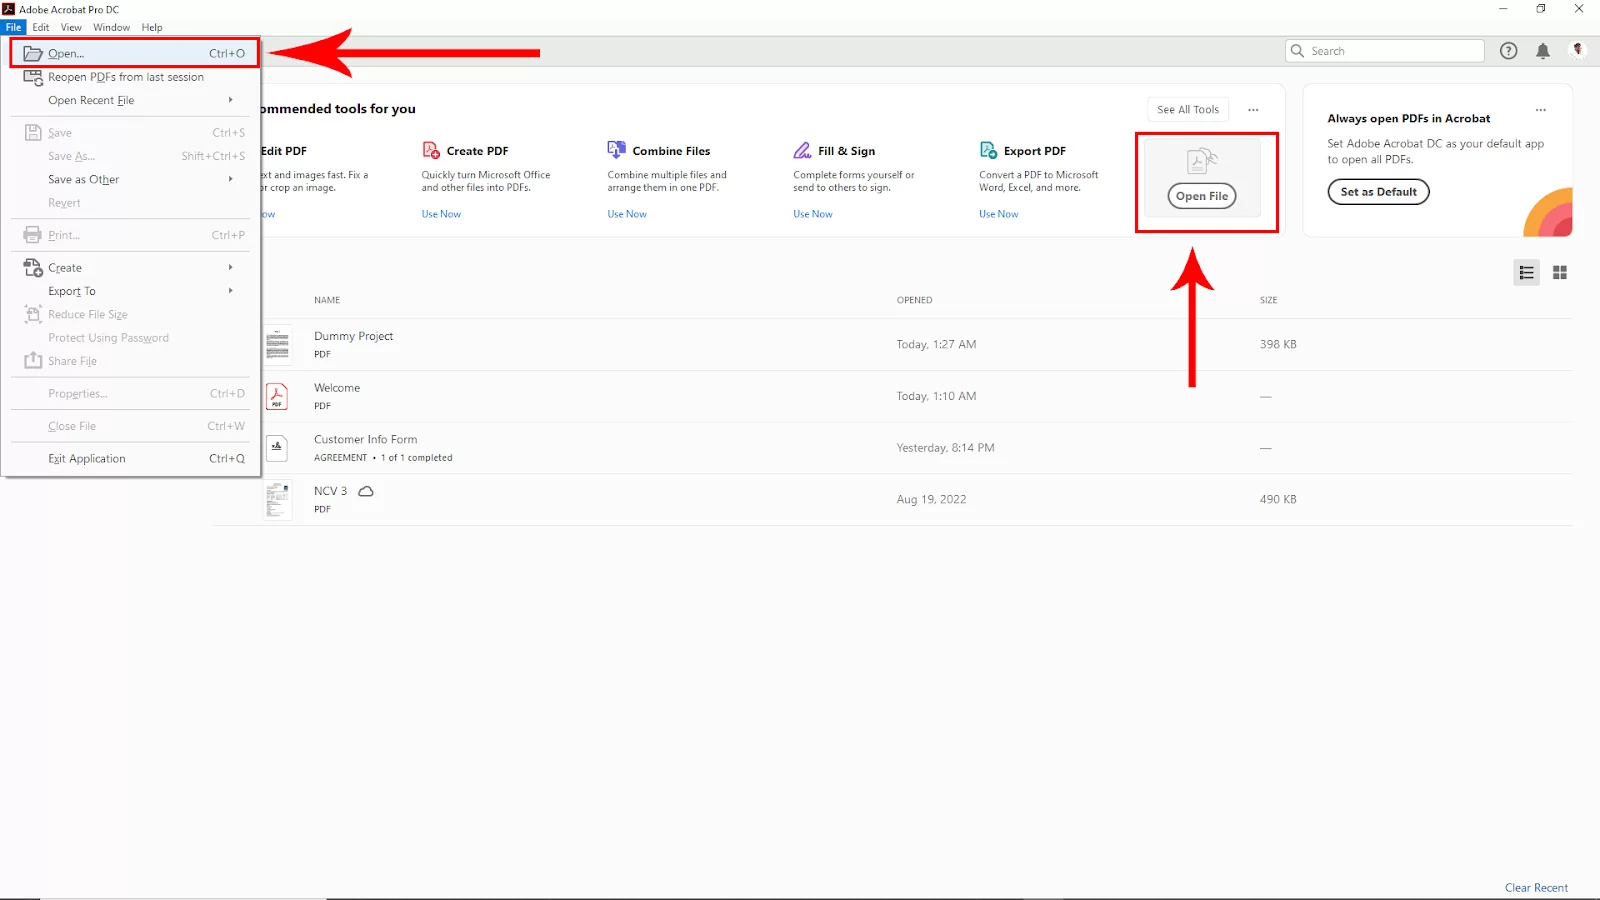
First, Open Adobe Acrobat software and then open your pdf file. To open a file, go to File > Open and then select your pdf file from your file manager. You can use short in Win [ Ctrl + O ] or Mac [ Cmd + O ]. You can click directly to Open file on the right corner and then open your File.
After opening the pdf file, go to Tools in the upper left corner. Click on that. In the upper left corner, you can see your page number.

Then navigate to the Organize Pages option and click on that.

Step 2:
Deleting Single Pages
After clicking on the Organize page option, it will bring up icons that include a bin icon (that’s the delete function)
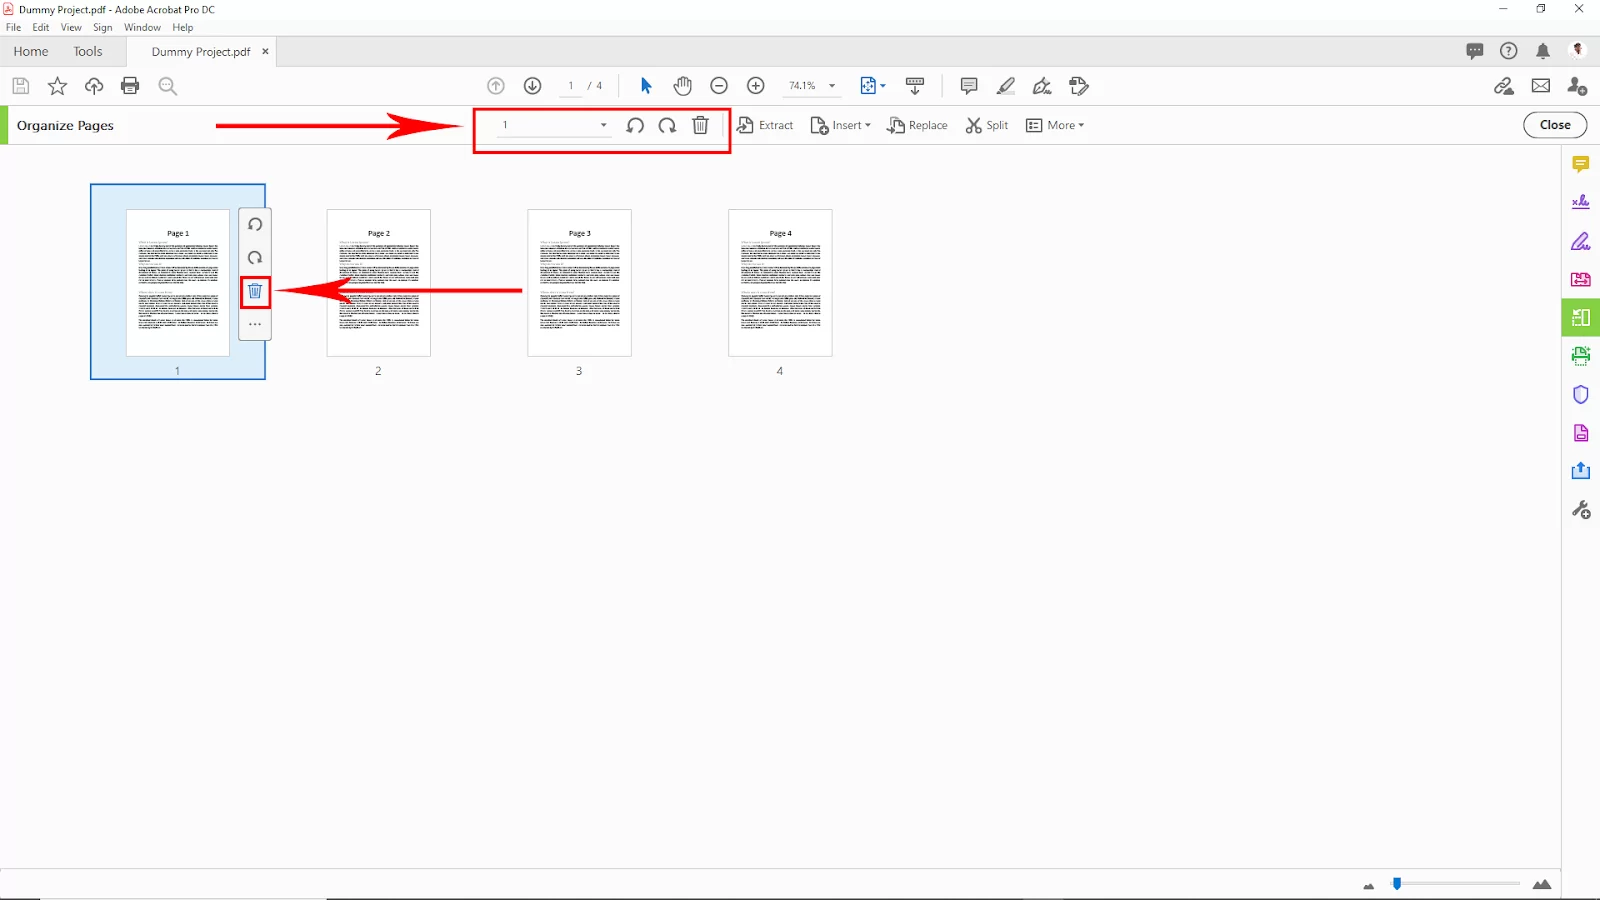
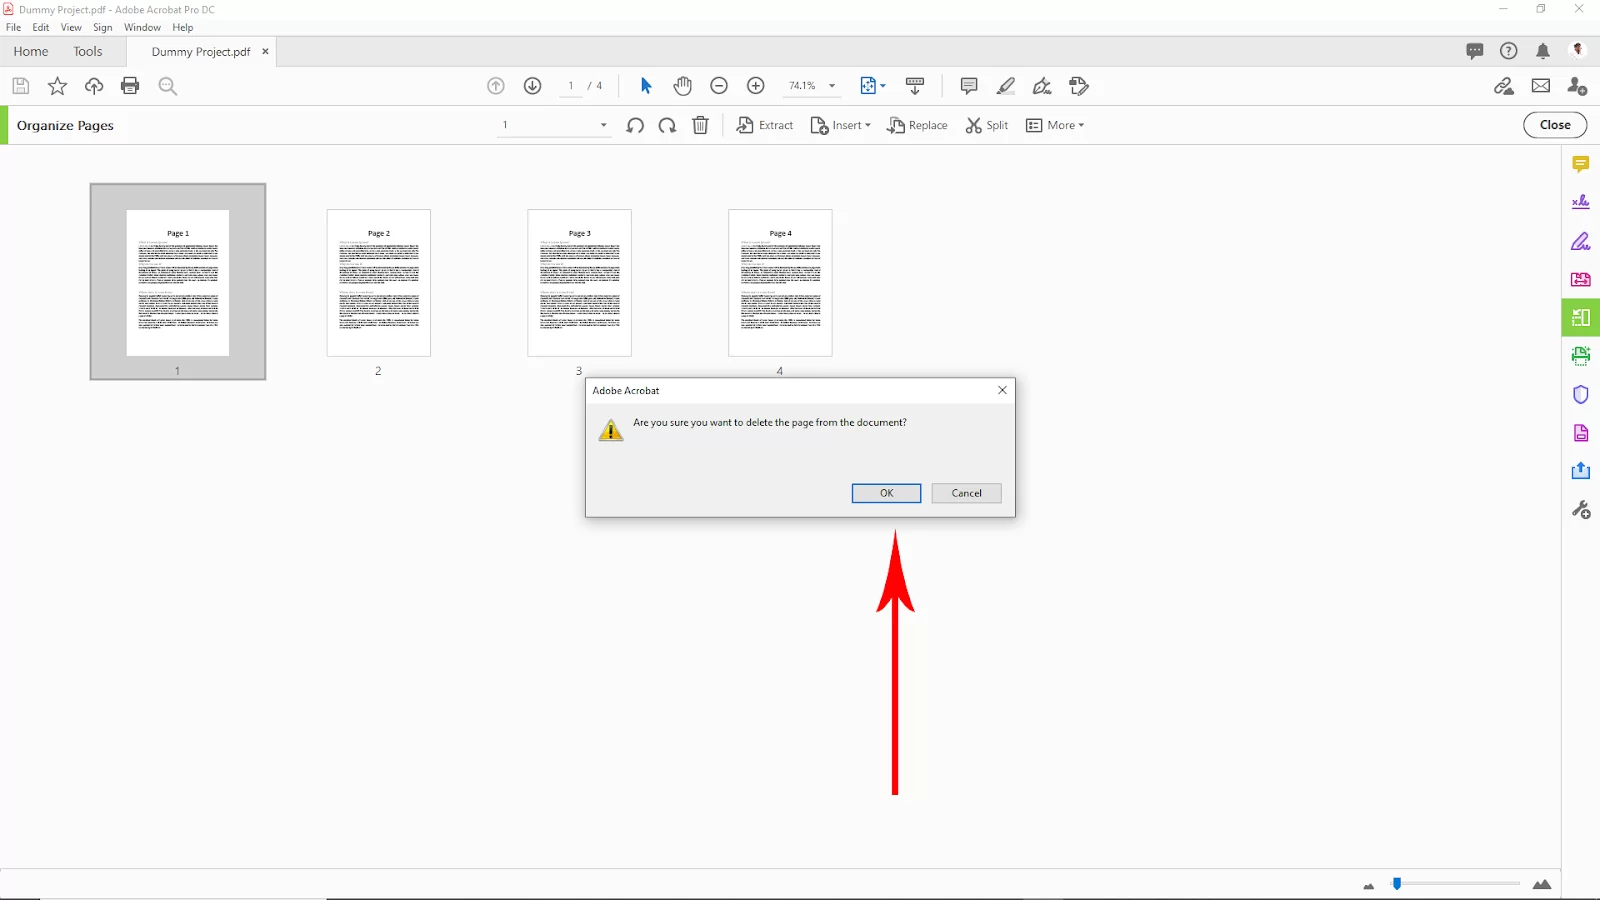
Click on the bin icon and click ok to delete a page.
Step 3:
Deleting Multiple Pages
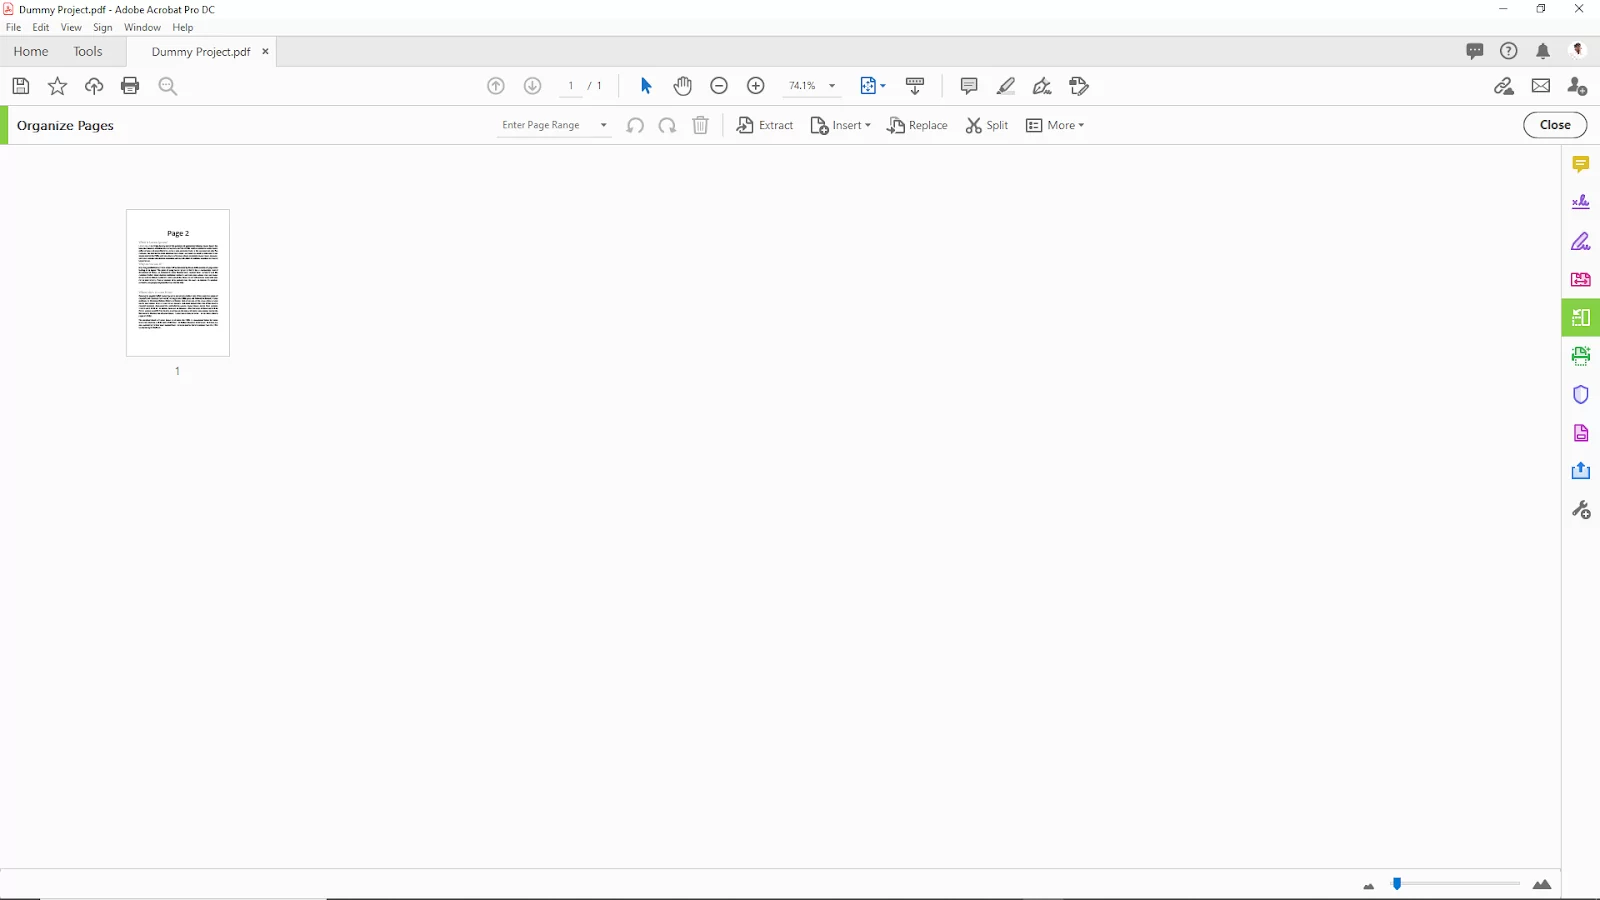
Select the pages you want to delete by clicking the page thumbnail of any page or pages you want to delete, then click the “Delete” icon to remove the pages from the file.
We rrecommend that you check our in-depth guide on how to add page numbers in Adobe Acrobat.

How to Recover Deleted Pages in Adobe Acrobat
Now that you know how to delete pages in Adobe Acrobat, it’s time to talk about recovering deleted pages in Adobe Acrobat. But first, can deleted PDF files be recovered? Deleted files can be recovered, but some conditions need to be met.
One of the conditions that should be met is for you to ensure that new data haven’t yet overwritten the storage space occupied by the deleted files. Then, one must also ensure that the deleted files weren’t stored on a trim-enabled SSD. Finally, you must make sure that the storage device isn’t damaged.
Now you know the conditions that must be met for you to have still hope of recovering deleted pages in Adobe Acrobat. Now it’s time for us to get into the “how.” Follow the steps below.
You can also check out our highly detailed guide on how to to reduce PDF size in Adobe Acrobat.
Step 1
The first step has to do with you looking into your file history. When the file history is enabled on your windows, it will take snapshots of files stored in documents, videos, music, pictures, etc. When it takes pictures of these folders, it will store them in an external backup. To look into your file history, open file explorer and right-click the folder where the deleted files were stored.
Step 2
Click the show more options if you are running windows 11 and choose the restore previous version options.
Step 3
Select a previous version of the folder and click Open or Open in file history.
Step 4
Search for and locate your deleted PDF file.
Step 5
Finally, select the deleted file and drag and drop them where you want to click the green restore button.
There is also another method to use when attempting to recover deleted PDF files in Adobe Acrobat. This method involves using the autosave feature in Adobe Acrobat. You see, Adobe Acrobat has an Autosave feature that helps its users protect themselves against data loss. This feature comes in handy in case of a sudden power outage or a software error. This autosave feature can restore all the unsaved changes you made to a PDF before an unexpected shutdown.
Step 1
Start by launching Adobe Acrobat and click yes when you are prompted to recover the autosave file.
Step 2
Save the recovered file somewhere safe.
I will show you one more way you can recover deleted pages in Adobe Acrobat. This method involves using data recovery software. The software will scan your storage, and it will be restored if your PDF is still physically present.
Step 1
Start by downloading disk drill data recovery for windows.
Step 2
Now launch the software and choose the storage device where you stored your PDF files.
Step 3
Click the search lost data button and give Disk Drill the necessary time to complete the scan.
Step 4
Utilize the search result filters to browse the recovery results and locate your missing PDF files. Use the preview function to see if the missing PDF files may be recovered.
Step 5
Click the Recover button after selecting all of the PDF files you want to recover. Finally, choose a good recovery location and validate it.
If you enjoyed reading this, you will also like our in-depth guide on How to Make A Fillable Pdf Form Without Acrobat.