Adobe XD is a prevalent software for designing and prototyping digital interfaces, such as websites, mobile applications, and desktop software. A fundamental attribute of Adobe XD is its proficiency in cropping images and graphics within designs, providing a neat and sophisticated layout. Cropping within Adobe XD is a straightforward process, and we will take you through the steps needed to crop efficiently in this composition.
Importing Images for Cropping
Adobe XD offers a wide range of file formats for image assets, such as PNG, JPEG, TIFF, SVG, and GIF (although GIF files only import as a solitary still frame presently). You have numerous options to import an image asset, such as copying and pasting from the web onto your artboard, dragging and dropping from your file browser, or utilizing plugins like UI Faces or Stock Image, which automatically fill vector shapes with images.
Copy And Paste
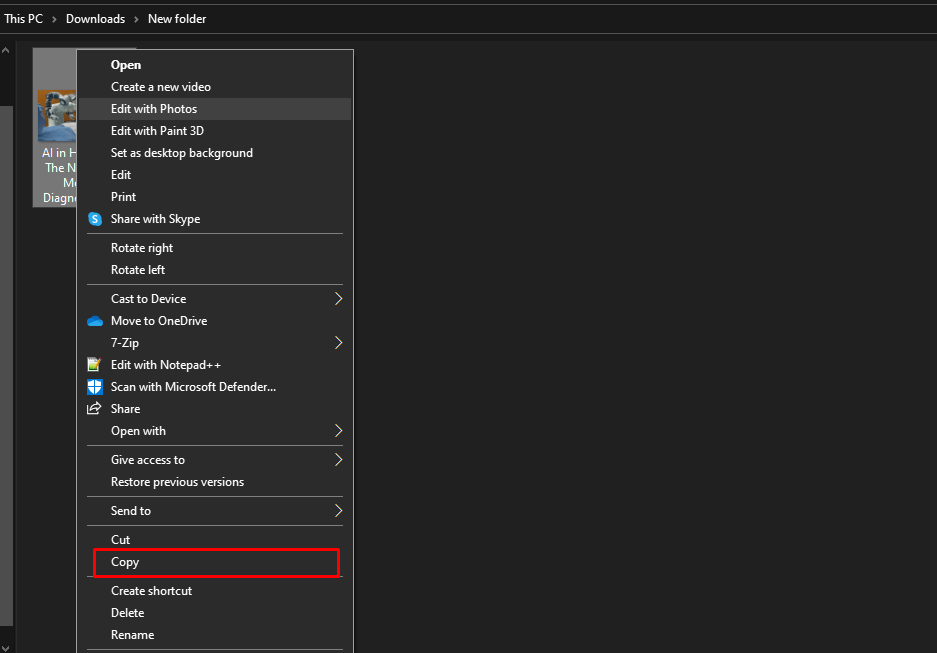
Copying image assets from your file browser or preferred stock photography repository is a straightforward process. You can use the right-click menu or the ‘edit’ menu and choose the paste option as per your preference.
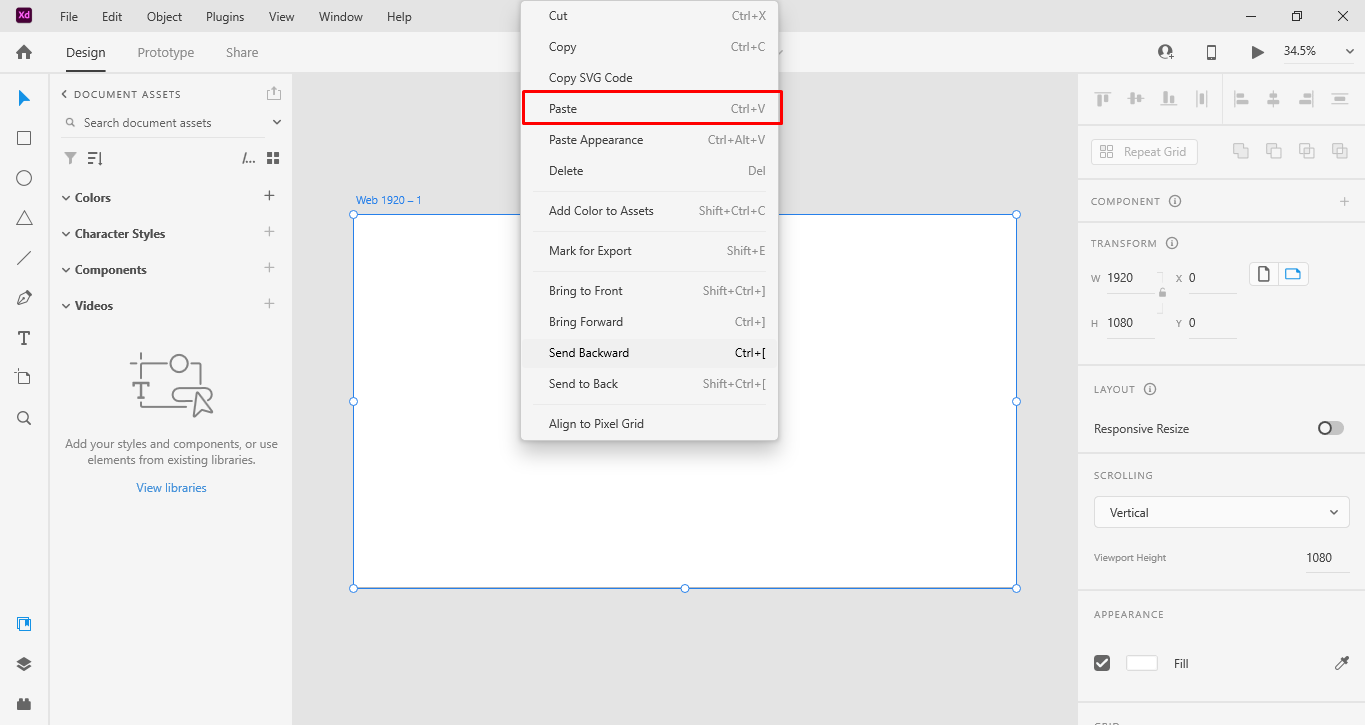
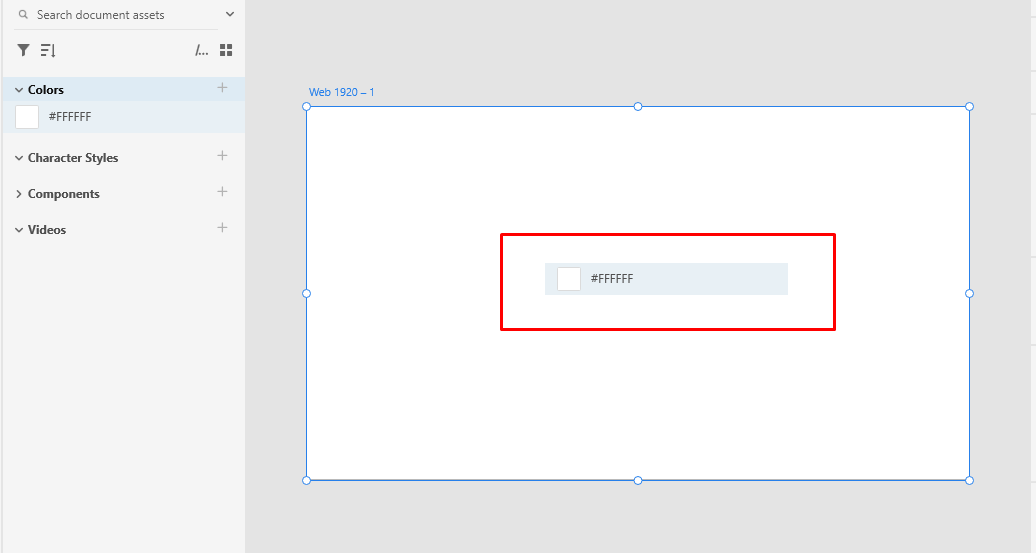
Once you have copied the image onto your clipboard, you can head to Adobe XD and use the CMD / CTRL + V shortcut to paste it onto the canvas.
Drag And Drop
In addition, you can effortlessly drag and drop image assets from Finder or File Explorer onto the Adobe XD canvas, just like you would when copying or pasting. When you use the drag and drop feature, you can also choose to drop your image into a vector shape, which automatically creates an image fill. You just need to move the image file over the object, and when it highlights blue, release it.

Creative Cloud Libraries
If you or your team are utilizing a Creative Cloud Library, it is equally simple to drag and drop images from the library, much like you would from your file browser. You just need to navigate to the Libraries panel, which can be accessed by using the Shift + Command + Y shortcut on MacOS or the Shift + Ctrl + Y shortcut on Windows.

Select the specific library you want to use.

Click and drag the asset you want to use onto your canvas, or onto a vector shape if you want to automatically create an image fill.
When you pull in images from CC Libraries, they will appear as “linked assets” with a green link icon in the top left corner. This indicates that any updates made to these assets in the library will be automatically reflected in your document or anywhere else they are being used.
However, if you don’t want the image to be linked back to your library, simply right-click on the image in the library and select “Place Copy”.

Now that we know the various methods of importing our images, cropping isn’t a difficult thing to do.
Editing and Arranging Images
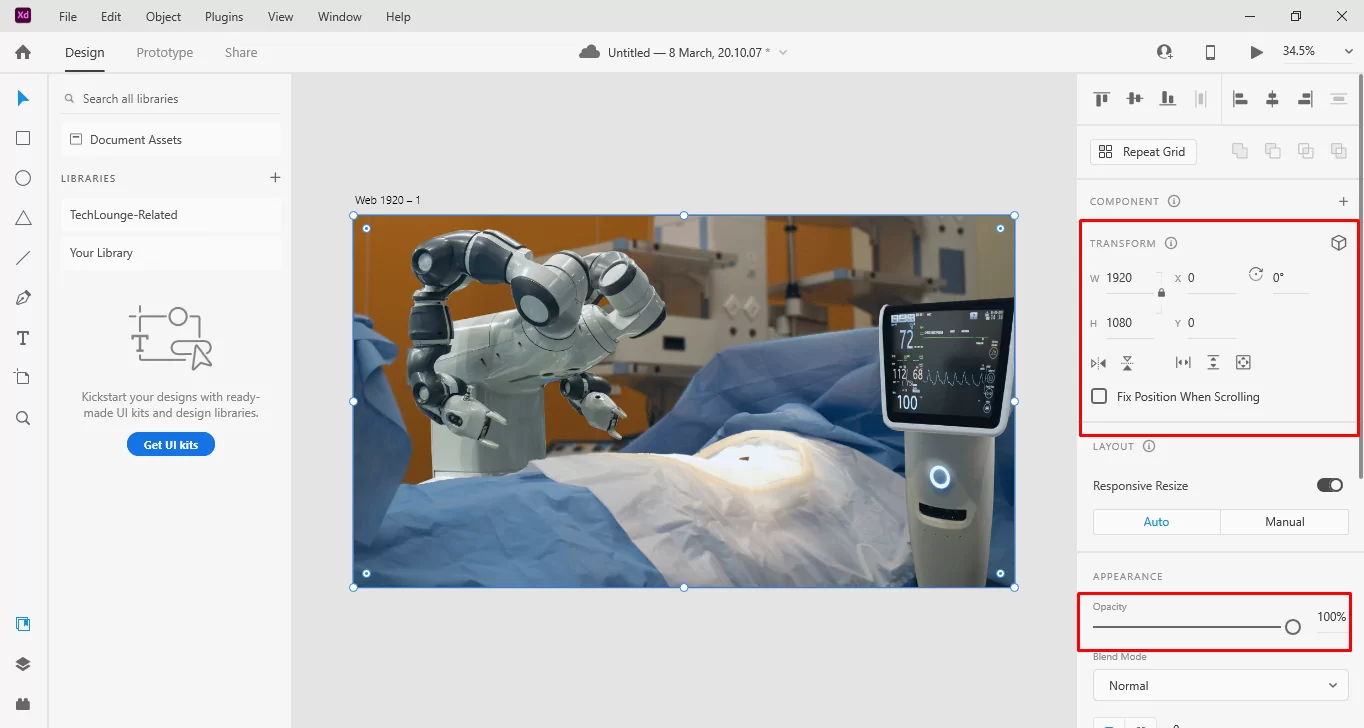
Manipulating images in Adobe XD is a simple process. Once you’ve pasted or dragged an image onto the canvas or artboard, you can edit it just like any other shape or vector. You can resize it, rotate it, add a border or shadow, or adjust the opacity.
Cropping Images
If you are not satisfied with the way an image is cropped, you can easily make changes in Adobe XD. With the image selected, press the Enter key or double-click on the image to enter the mask editing mode. In this mode, you can resize the image to change how it is cropped.
If you drag your image onto a shape, the masking happens automatically, and the image always maintains its aspect ratio, regardless of the shape it fills.
Recap
Cropping images in Adobe XD is a simple process.
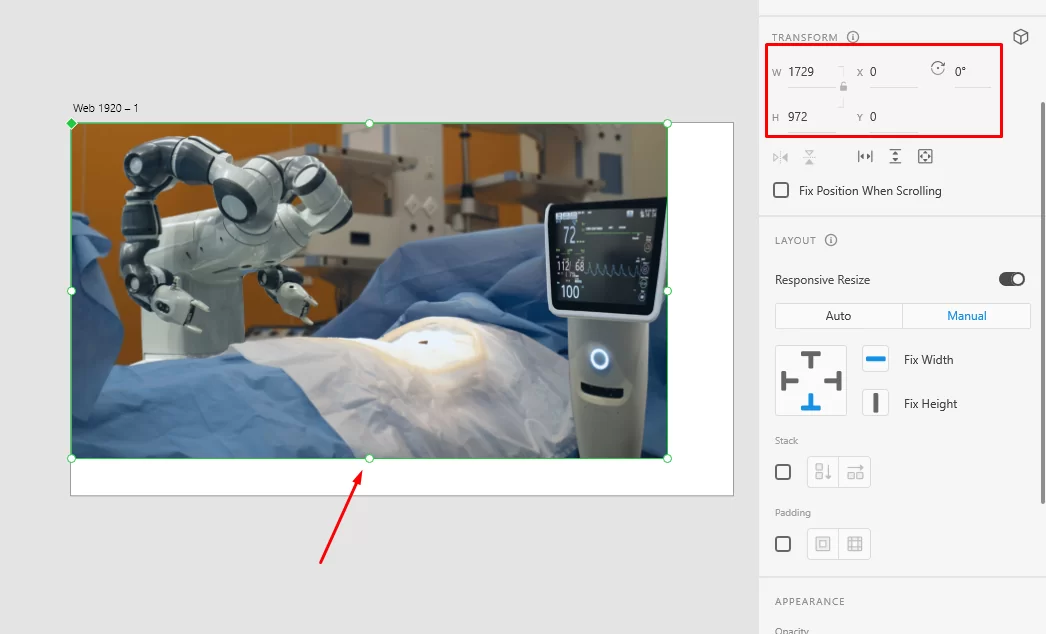
- Once you have imported an image into your document, select it on the canvas to reveal the image editing tools in the Properties Inspector on the right side of the screen.
- To crop an image, you can either adjust the size and position values under the “Transform” section of the Properties Inspector, or use the Crop tool located in the same section.
- With the Crop tool selected, click and drag over the area of the image you wish to keep.
- You can then adjust the size and position of the cropped area using the same Transform options.
- If you ever want to undo a crop or reset the image back to its original size and position, simply click the “Reset” button located next to the size and position values in the Transform section.