Blurring your videos adds a certain cinematic quality and draws more attention to certain elements in a frame. With CapCut, you can blur your video and create a polished look. In this guide, we’ll explore how to use the blur feature in Capcut and how to use it in your projects.
How to Blur on Capcut
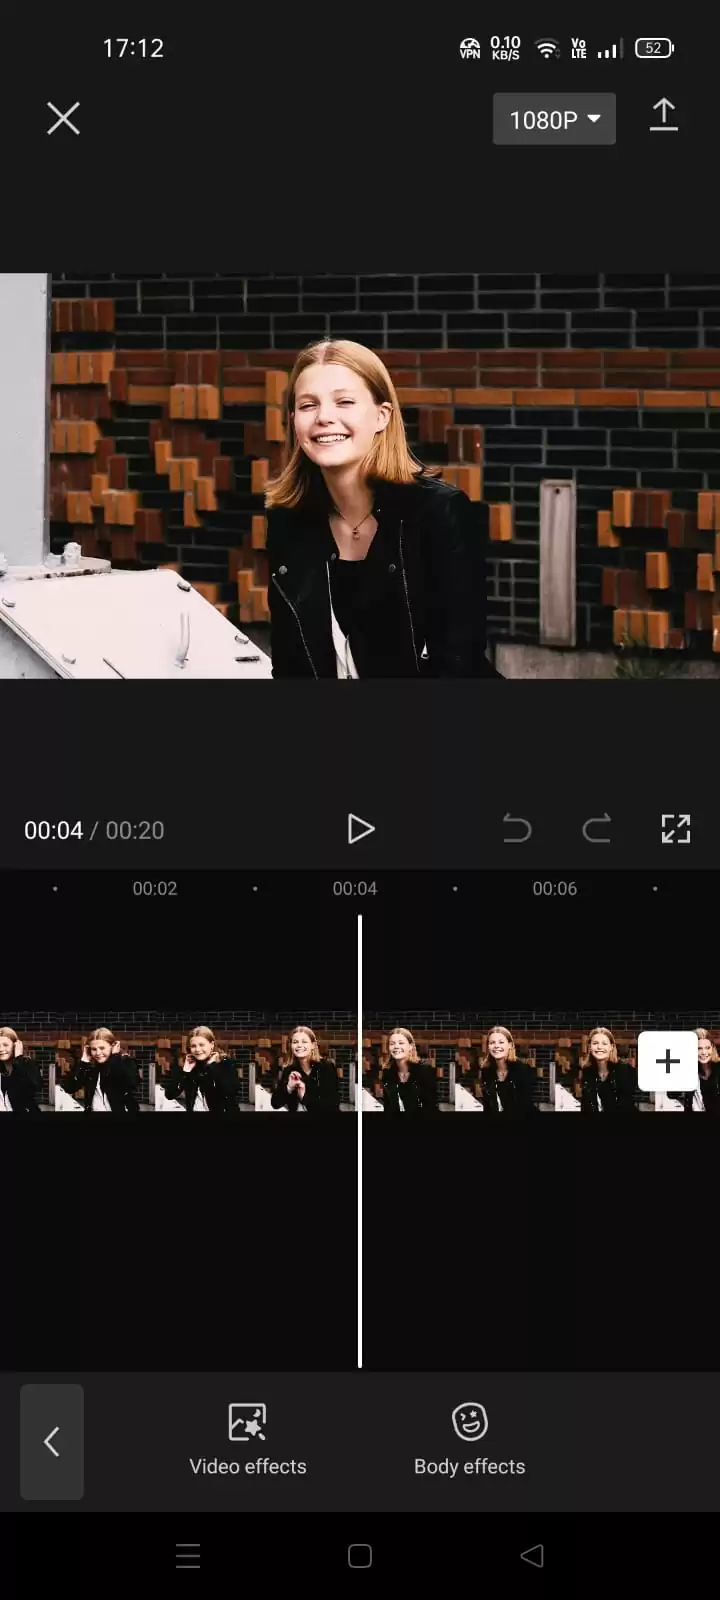
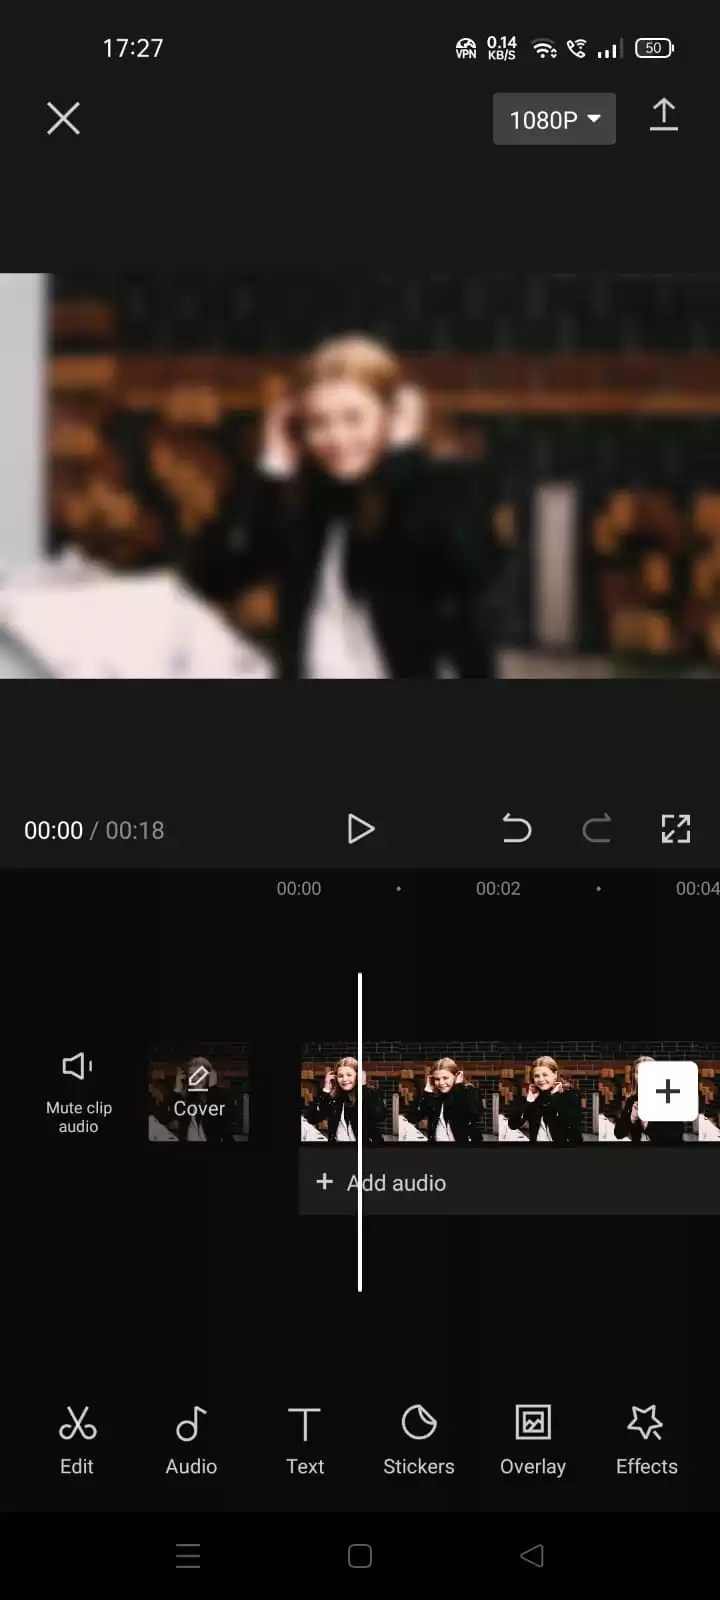
Click on New Project, and select a Video. After importing the video in the Capcut application.
Click on Effects.

Click on Video effect.
Go to Basic, Search for the Blur and click on this.
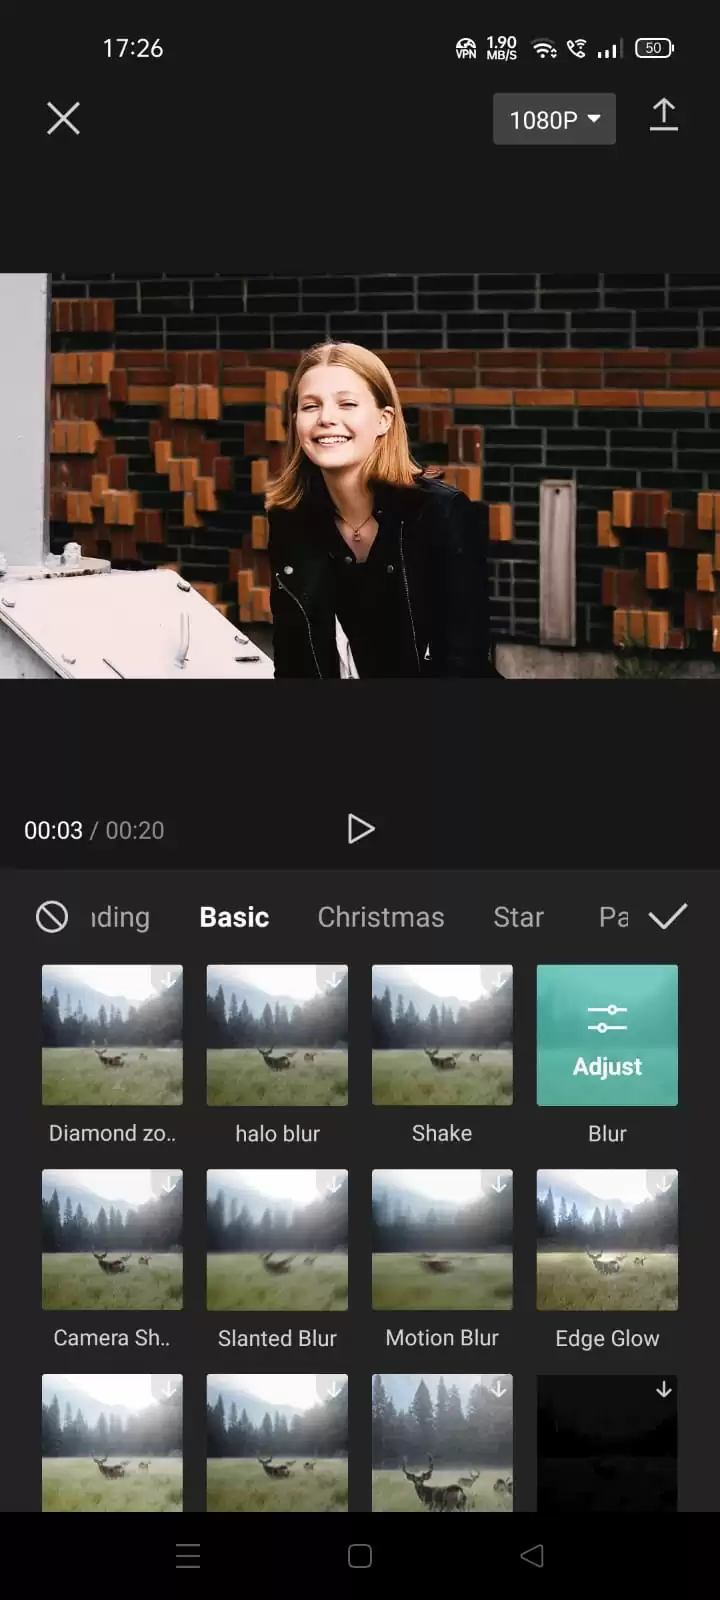
It will blur your whole video just stretch the side panels.
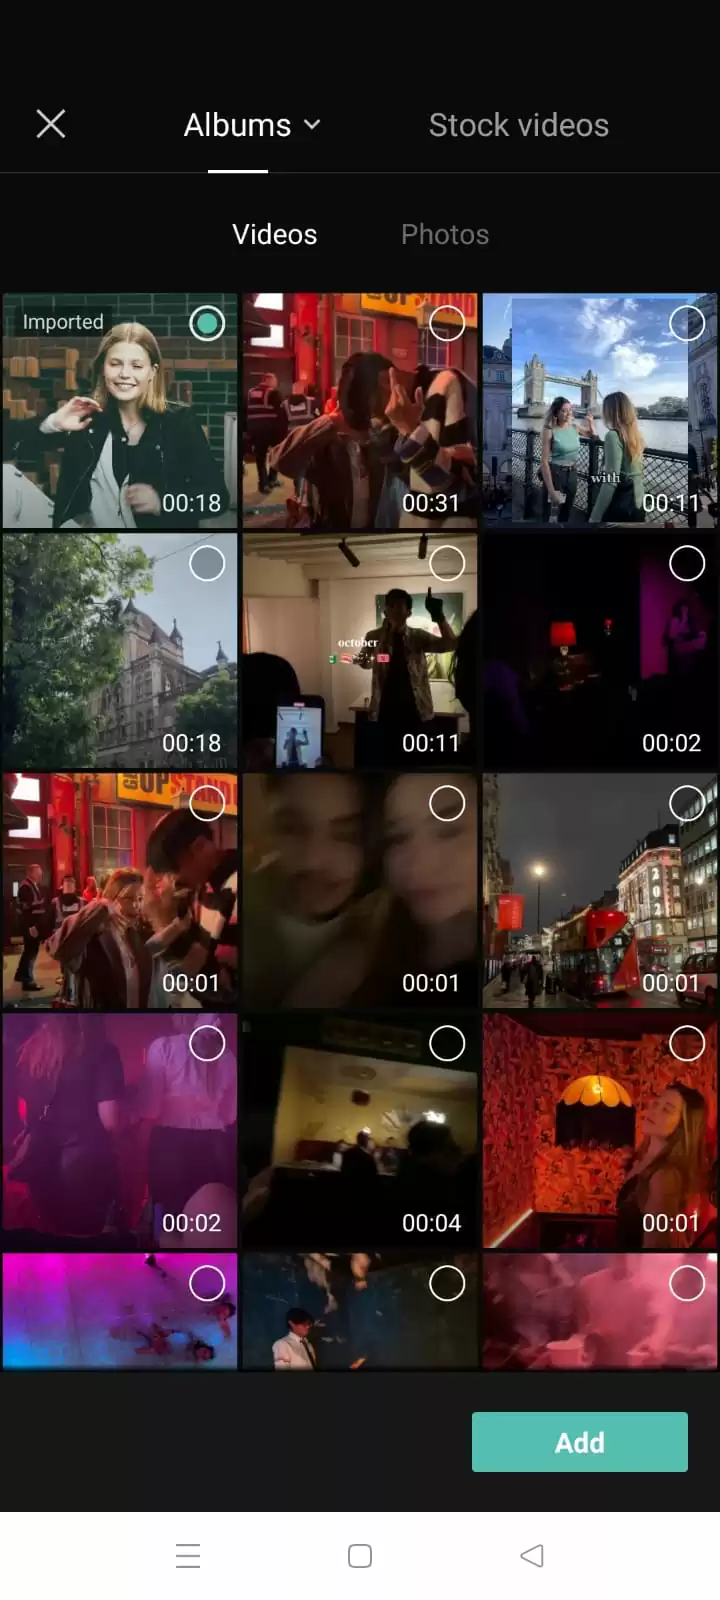
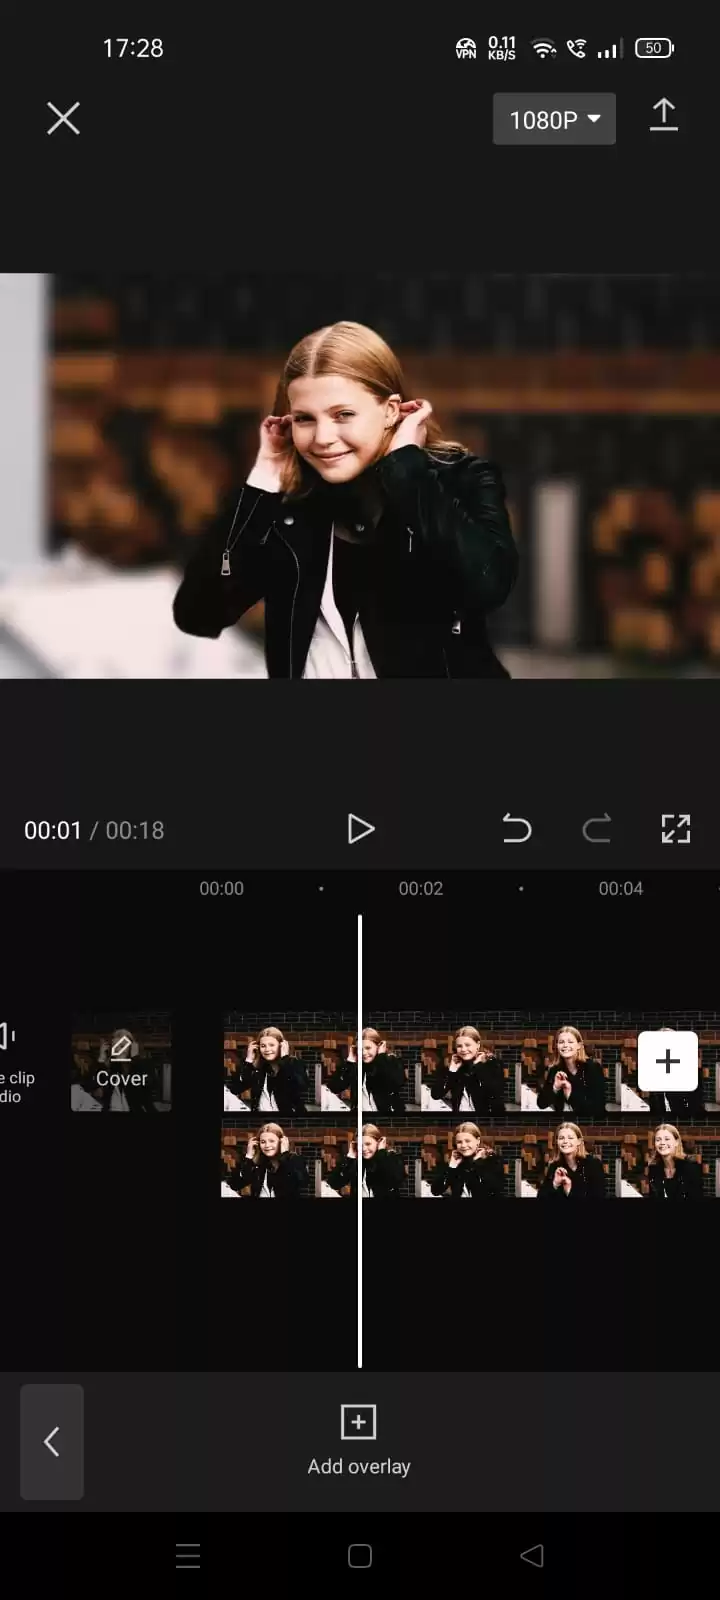
You can import the same video as an overlay if you want to show the blurring only in the background and not on the person. Click Add Overlay.

Select the same video. Then click on Add.
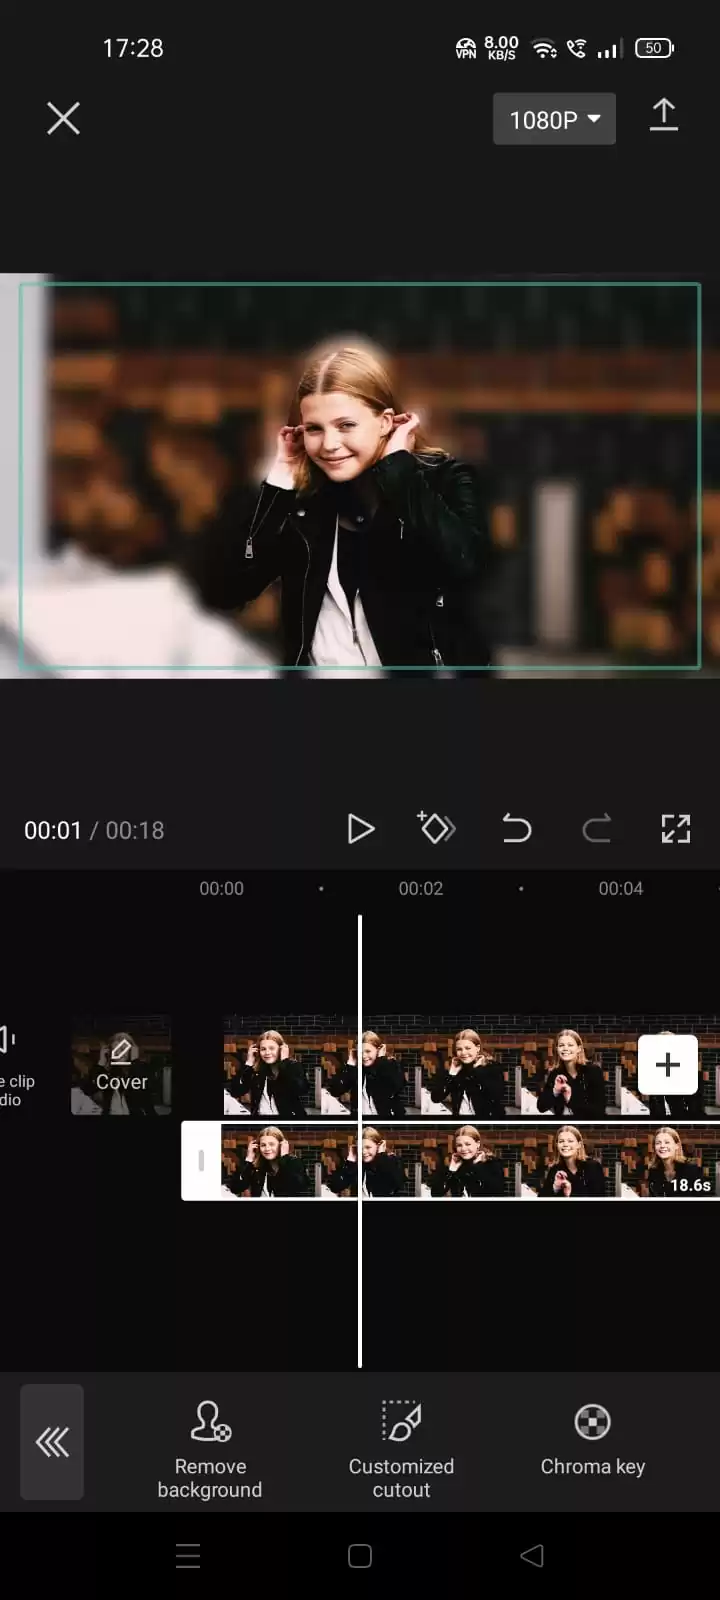
Click on Cutout then on Remove Background for removing the background from the video.
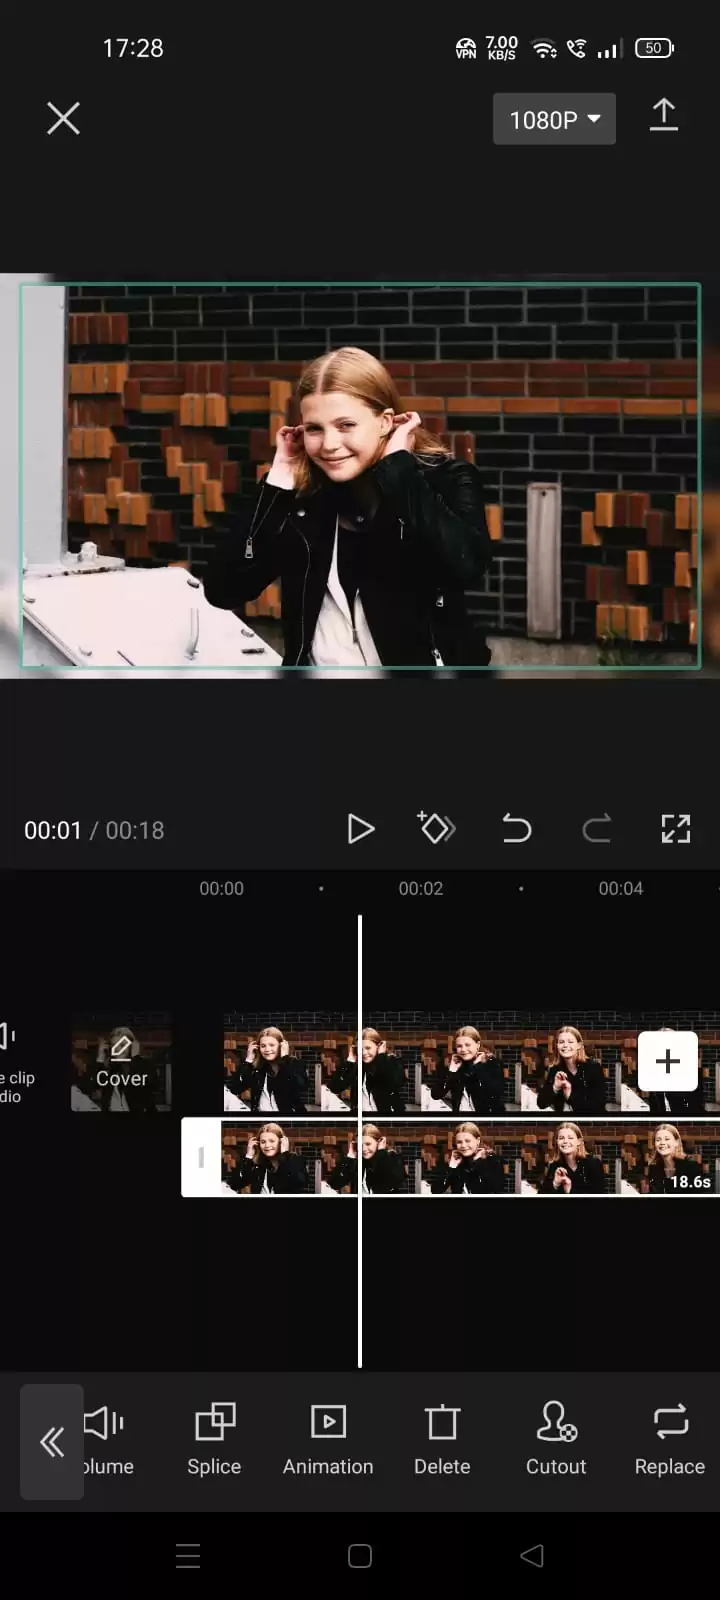

Adjust the size according to your video, and play it.
Now you have a video with a blurred background and a person with no blur effect.
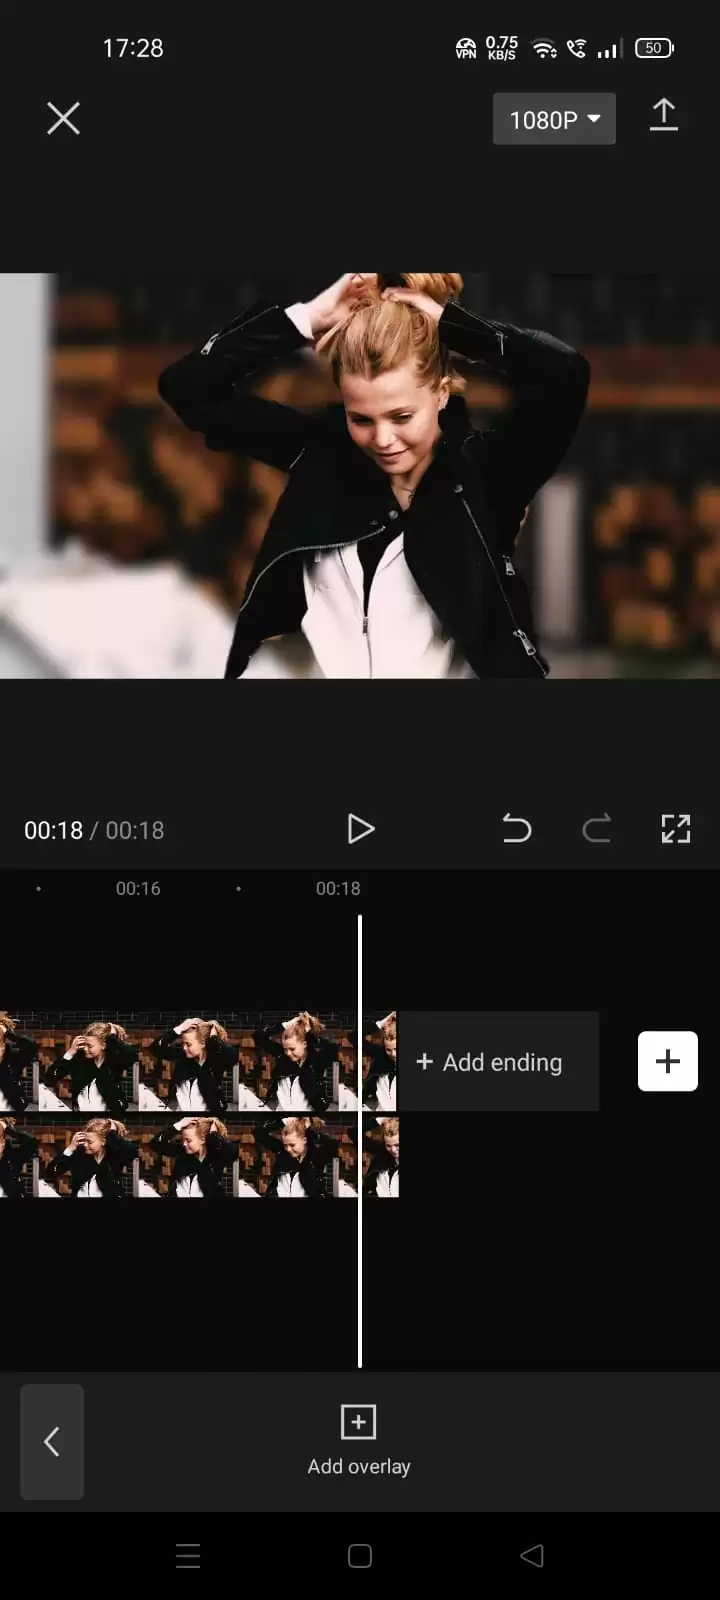
Export your entire video into your gallery. Voila! You can now blur using your CapCut.
Also see this informative article on how to use zoom in CapCut.
Different Approach To Blurring Using CapCut
When we talk about blurring during photo or video editing, our minds usually go to only background blurring. However, there are various ways to blur, including blurring an entire video or a portion of the video, etc.
The next set of instructions should enable you to blur only specific areas of the video, such as a face. To proceed, you must first add the video you want to blur. To do this, launch the CapCut app and create a new project.
Step 1
After you have chosen the video you wish to edit, click the Add button in the bottom right corner. Then tap on the Overlay tab at the bottom once the video has been added to the new CapCut project.
Step 2
Choose the first video you added. The first video you added will serve as the overlay. Your main video will now be superimposed with the overlay video.
Step 3
Proceed to position the overlaid video over your primary video by pinching and dragging it there with your fingertips. This is required because CapCut, for some reason, overlays the second video inside the primary video’s borders. You have to ensure that the borders of the first and second videos are exactly aligned.
Step 4
Now tap on the left-facing arrow icon in the bottom left corner. You should tap on the left-facing arrow after positioning the second video on top of the previous one.
Step 5
When you tap on the left-facing arrow, it will lead you to the bottom main toolbar. The next phase is to apply the blur effect to the entire video. To do this, select Effects from the menu at the bottom.
Step 6
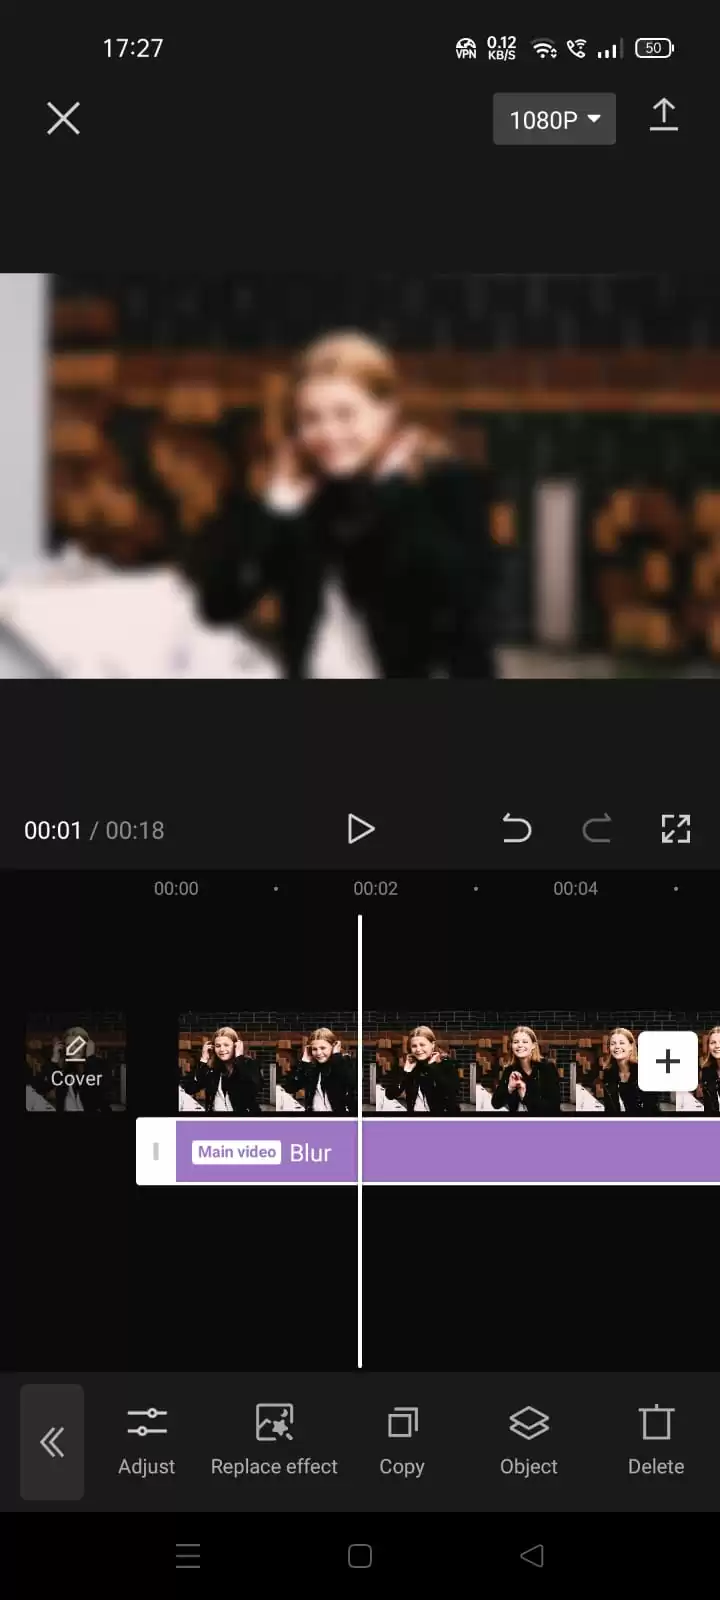
When the Effects menu appears, select the Blur effect from the Basic category. When you tap on the tick mark icon, you will have completely selected the effect. At this point, you ought to be able to see the video’s blur effect.
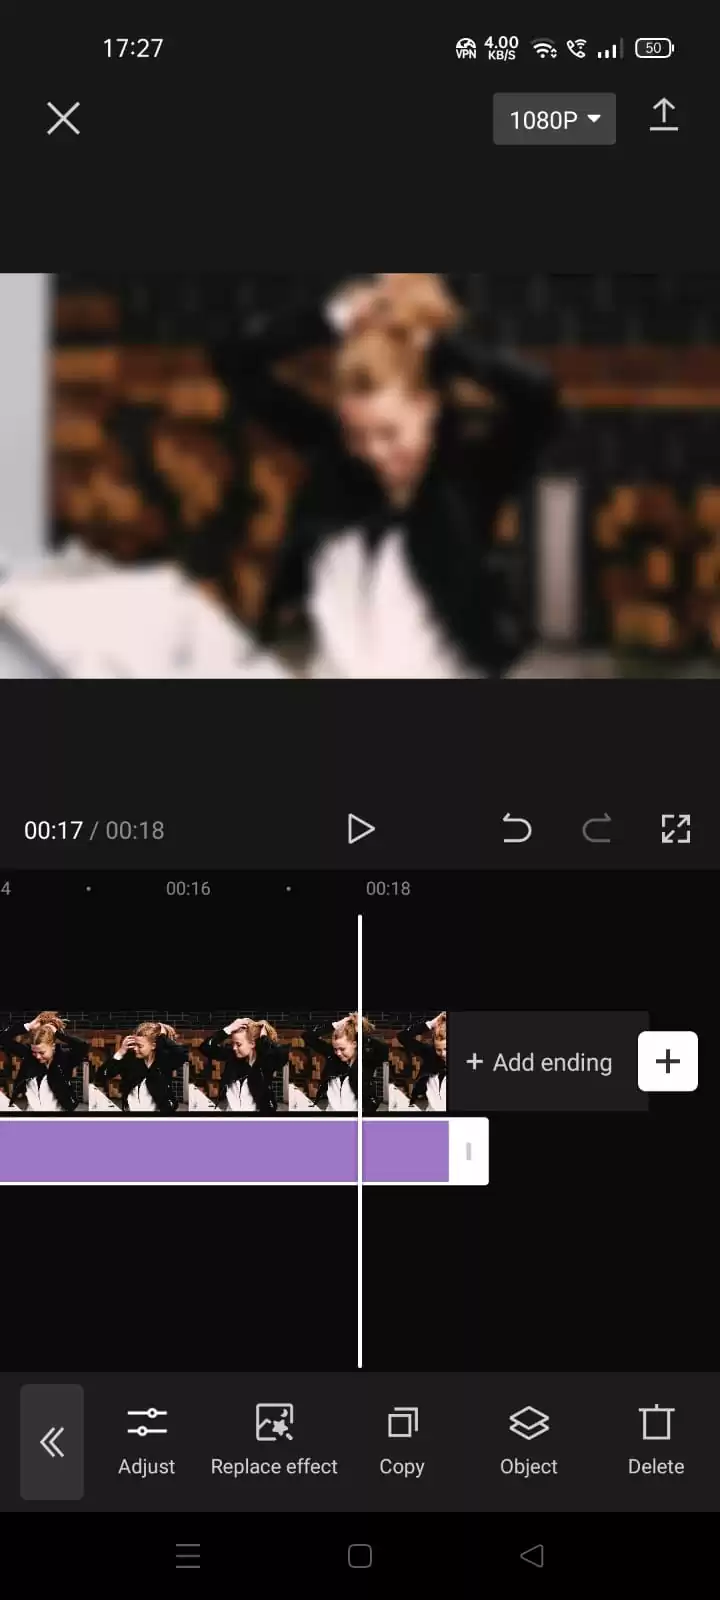
Note: For some reason, CapCut doesn’t run the effect throughout the entire video. But if you drag its end pointer and drop it after your video, it will expand to fill the complete frame.
Step 7
Once you are done with step 6, touch on the Object tab at the bottom and then choose the Blur bar. Keep in mind that you have to decide where you want to apply the blur effect. Next, choose the Overlay tile from the display selection, and tap the checkmark. By tapping the left-facing arrow icon in the bottom left corner, you may now return to the primary project timeline.
Step 8
Next, go back to the Overlay tab on the project time display. Tap the second video you inserted as an overlay previously inside the Overlay panel and choose the Mask tool. You can choose the Mask tool by swiping through the toolbar at the bottom.
Step 9
At this point, you can select several shapes for your blur effect. If you want to blur a face, I advise selecting the Circle option. However, you can select any shape for the blur effect depending on what you want to blur.
Step 10
Before you click the tick mark, drag the Blur into the desired position and adjust its size with the top and right provided arrows. Adjusting the downward-facing arrow’s position up and down to your preferred setting may also change the blur intensity. When you’re ready to use your personalized Blur mask, tap on the tick mark at the bottom.
You might also want check out our in-depth article on how to use dispersion in CapCut.
Note: If the object you blurred is still, you can leave the effect in place. But if you are attempting to blur a video, then there is a need for more. To blur the subject as it moves, you will be moving the Blur mask to various points as the subject moves using Keyframes. To determine when the person leaves the Blur region, seek through the video as it is playing. When the person leaves the Blur region, locate it and tap on the Keyframe icon next to the play button.
CapCut will then indicate the location where you need to blur with a diamond icon. Tap the Mask option from the bottom toolbar with a keyframe selected. After that, adjust the Blur mask however you like. Next, tap the tick icon at the bottom.
You are free to include as many keyframes as you wish inside a video. When you add several keyframes, the seek bar ought to display several diamond icons. When you are done with the above instructions, the Blur mask will gradually change position and shape when the video jumps from one keyframe to the next.
We recommend that you see our step-by-step guide on how to reverse on CapCut.