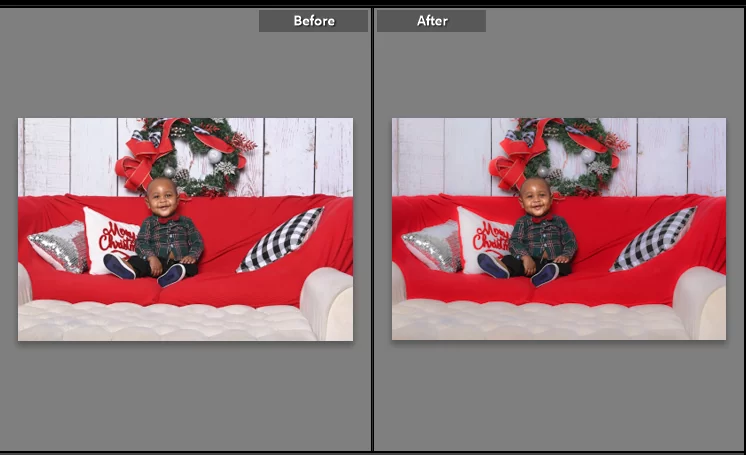
Sometimes, more than a camera is needed to give your photograph a dreamy effect. An image with a wide background and lots of elements could leave the point of focus or image concept looking distorted. In this case, a simple blur edit with the help of Lightroom would go a long way.
For Lightroom beginners, finding the blur too could be quite tasking. This article is curated to guide you on navigating Lightroom for its blur tool and maximizing its benefits.
Step-by-step Guide to Using Lightroom Blur Tool (5 Easy Steps)
Imagine you took a picture of a ballet dancer with a very old and unattractive house in the background and quite some passersby. No matter how perfect your photography skills are, taking a picture like that could make your work look a little crappy. With these easy methods, you could harness the Lightroom blur tool to eliminate distractions and unwanted elements while maintaining picture quality.
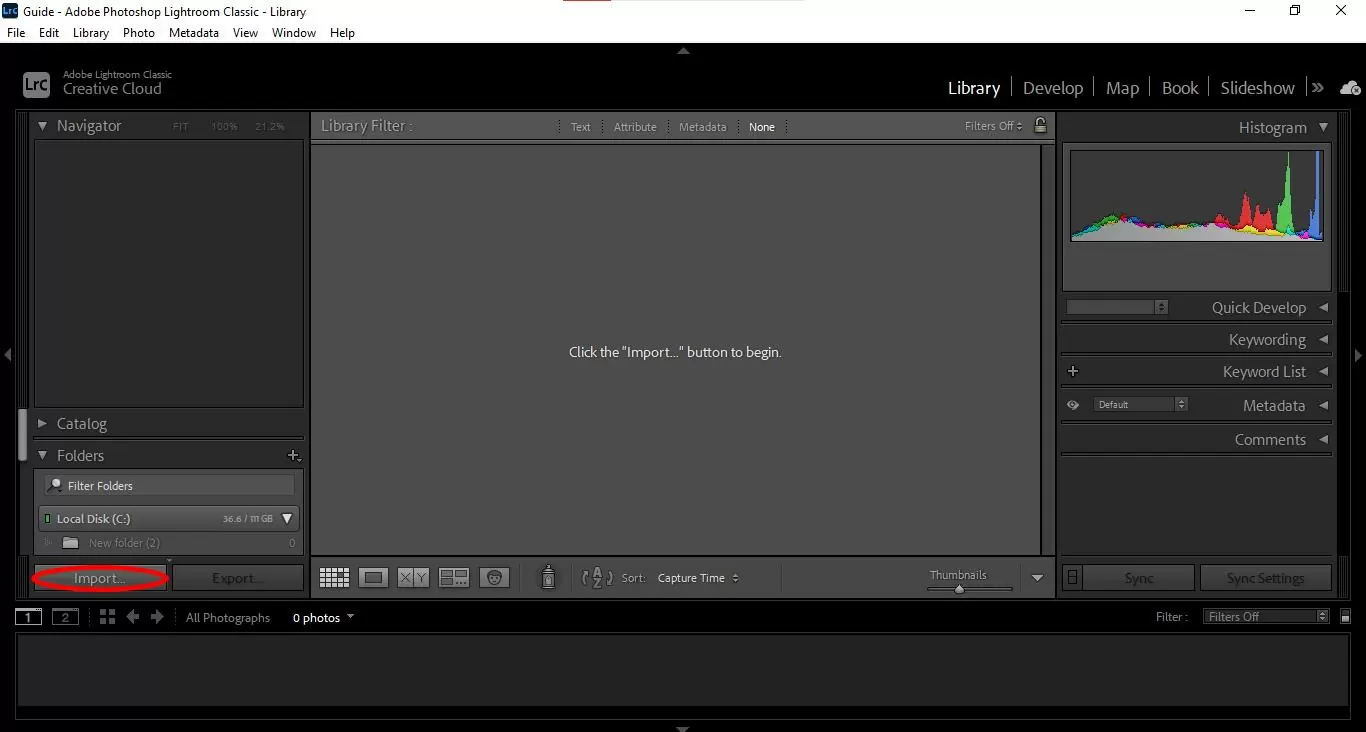
Step 1:Import Your Photo
This is the first step that sets you on an exciting journey to editing your pictures to perfection. To import on Lightroom, go to the bottom left of your window and click on the import button. Or you could click on the file tab; then, on the drop-down menu, click on import photos or videos.
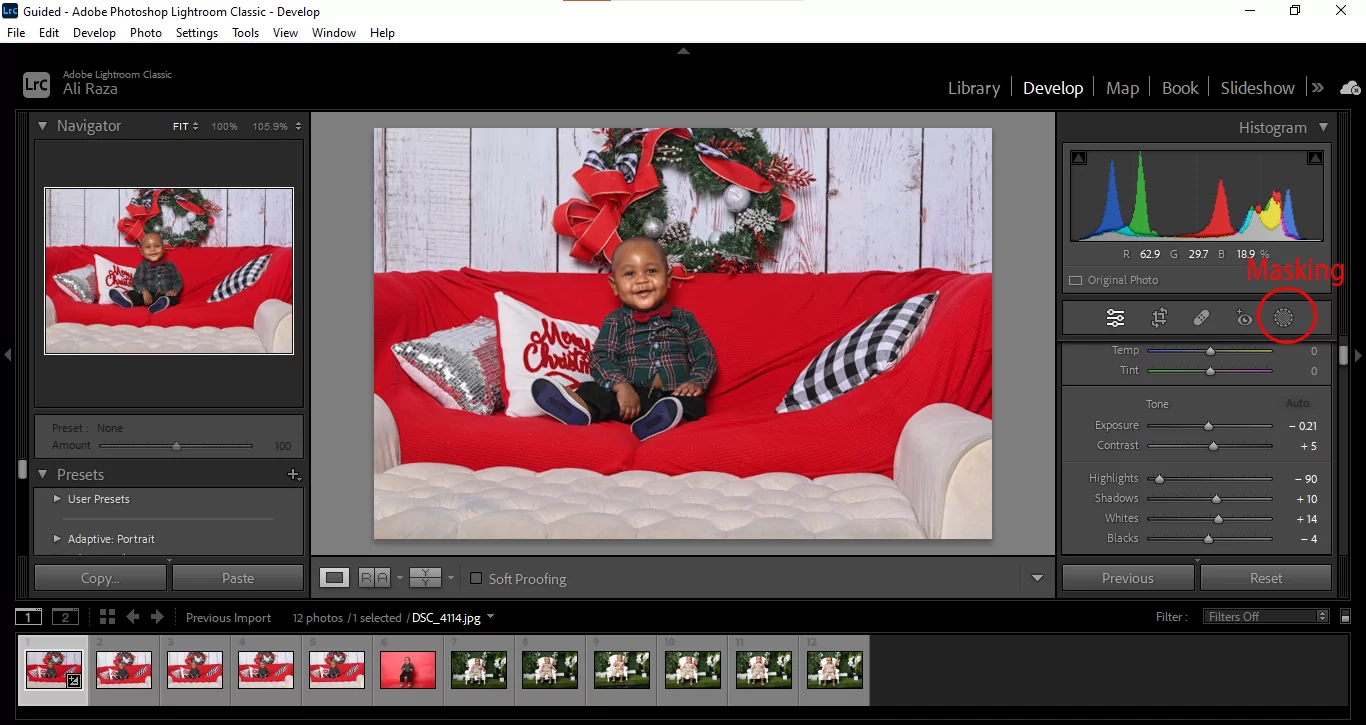
Step 2: Find the Blur Tool
After importing your picture, click on the develop module at the top of your screen. This section allows you to make any edits to your picture, including adding a blur. Find the adjustment brush option and click on the “New” icon to start your blur effect by creating a mask.
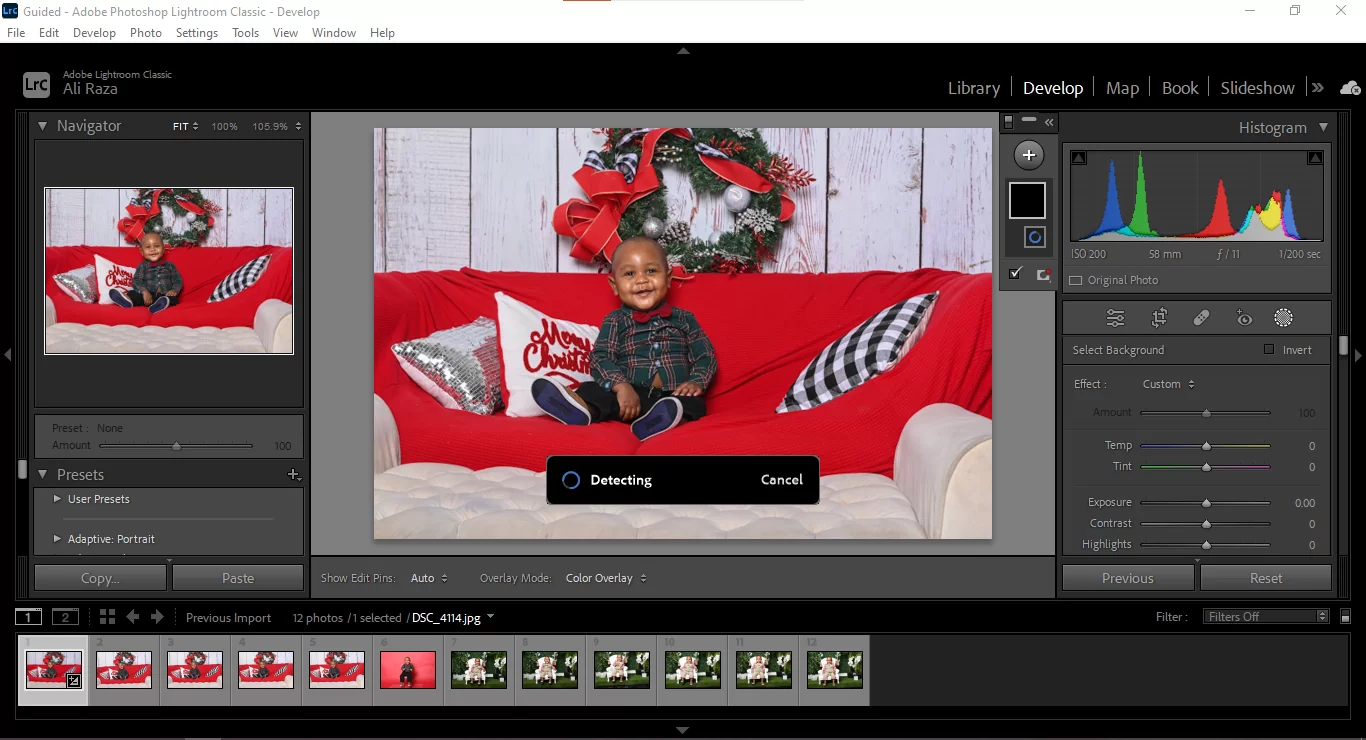
Step 3: Paint The Background You Wish to Blur
To ensure that you follow through with the mask overlaying process, so you do not go out of line, click on the “show mask overlay” checkbox. You can properly view the areas covered with your newly created mask.
Before you paint, make a few adjustments to your brush so you can work seamlessly and reduce the possibility of errors. If you navigate the custom effects menu, you should come across flow, size, and feather options.
You can decide how big or small your brush will be from the size option. It is advisable to use a small brush to allow for precision. The flow option defines how intense your brush strokes are, while the feather option defines how hard or soft your brush will be. A soft brush will have faded strokes along the edge of the picture, while a hard brush will have a sharp edge.
Set your brush to 100% flow, feather, and a small brush. After proper settings, start painting areas of the picture you wish to blur; the mask should be red. However, you will be able to view the original image. If you accidentally paint areas you wish to keep, click the erase button to brush it off.
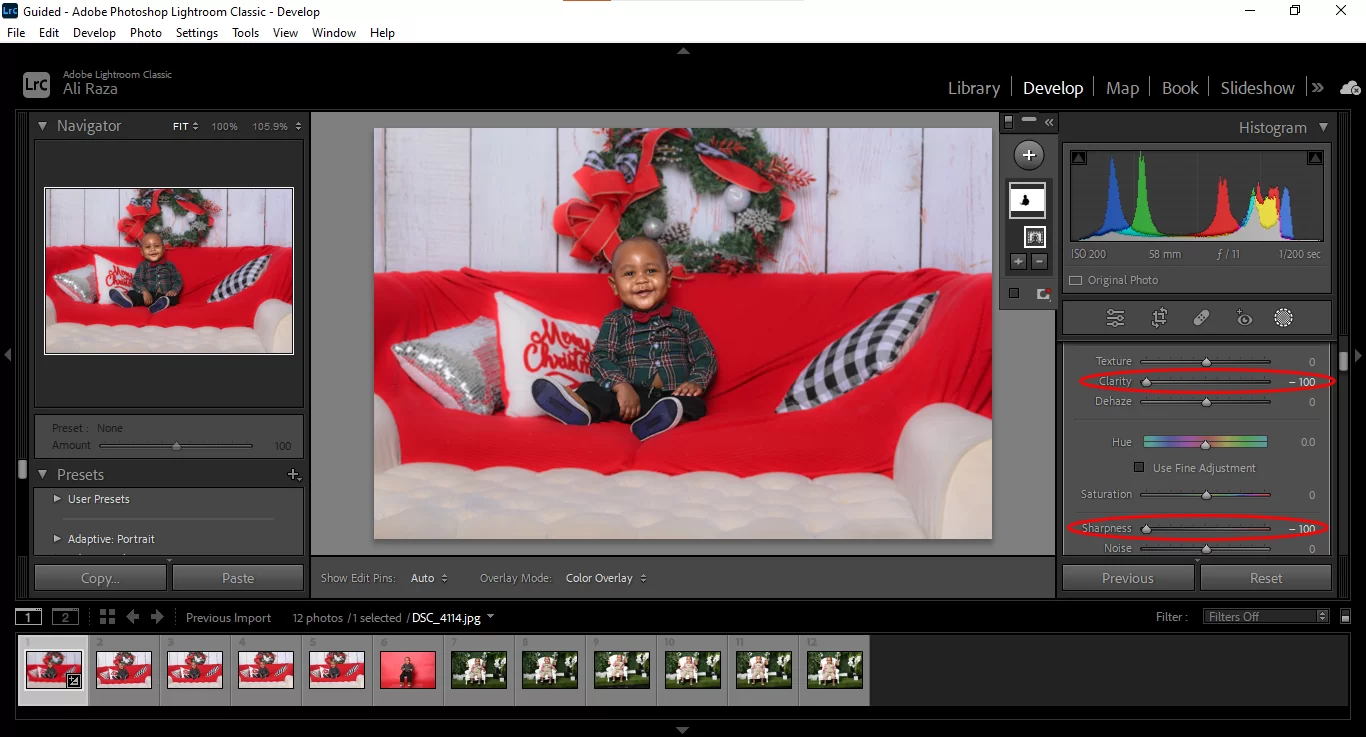
Step 4: Adjust Blur Effects And Apply
Once you are satisfied with the selected areas you wish to blur, the next thing to do to secure that effect is to make a few adjustments. You must adjust clarity and sharpness for a heightened or perfect blur.
According to photography experts, it is advisable to set both sharpness and clarity at a value of -100. However, since different pictures have a variety of concepts, you are free to adjust these options based on your preference.
Step 5: Save Your Work
One great feature of Lightroom is the ability to edit pictures non-destructively, meaning you can make your edits with the original picture remaining untouched. After successfully blurring your image, it is time to save and export it so you can share it with the world. In the develop module, click the done button and return to the library module.
Once at the library module, select your edited image and hit the export option. A pop-up dialogue box should appear. This box will allow you to rename your new image so you can find it easily.
Appreciate the beautiful transformation of your picture with a carefully blurred background by sharing it on various platforms.
Leave a Reply
You must be logged in to post a comment.