From creating smooth motion to adding special effects, Clip Studio Paint provides you with all the tools you need to create professional-quality animations. As an experienced user of Clip Studio Paint, I can attest to the software’s capability to bring your animations to life with its advanced features and intuitive interface. I will share from my years of experience, some tips and tricks to help you produce dynamic and engaging animations.
How to Animate on Clip Studio Paint
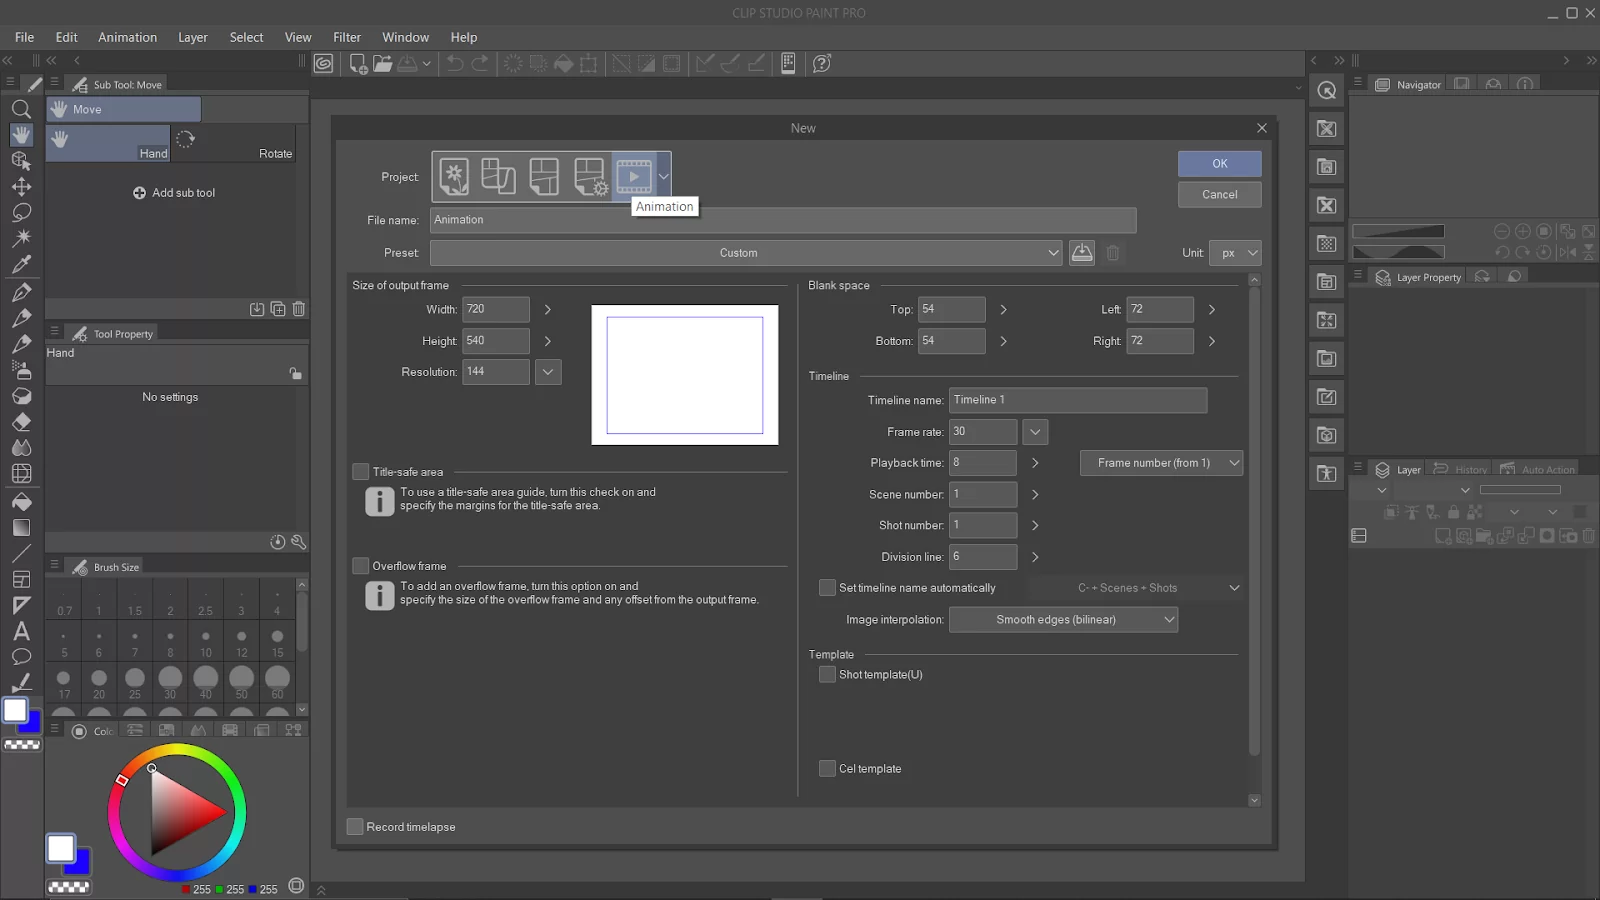
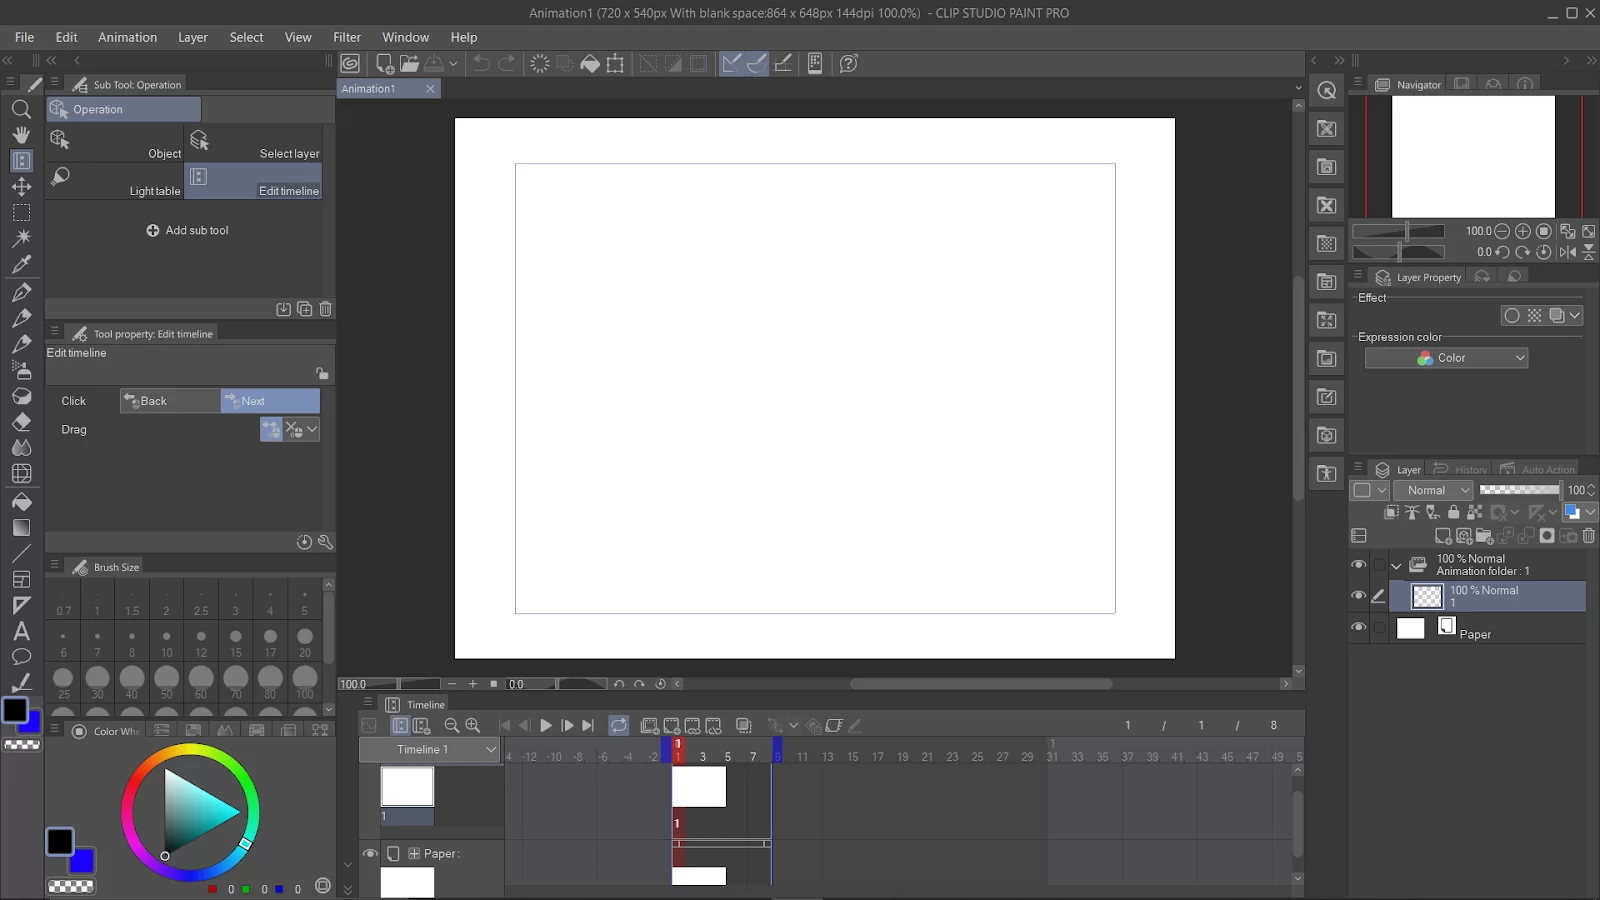
Create a new animation project: To begin animating, you will first need to create a new animation project by clicking on “File” in the menu bar at the top of the screen and then selecting “New” and “Animation.”
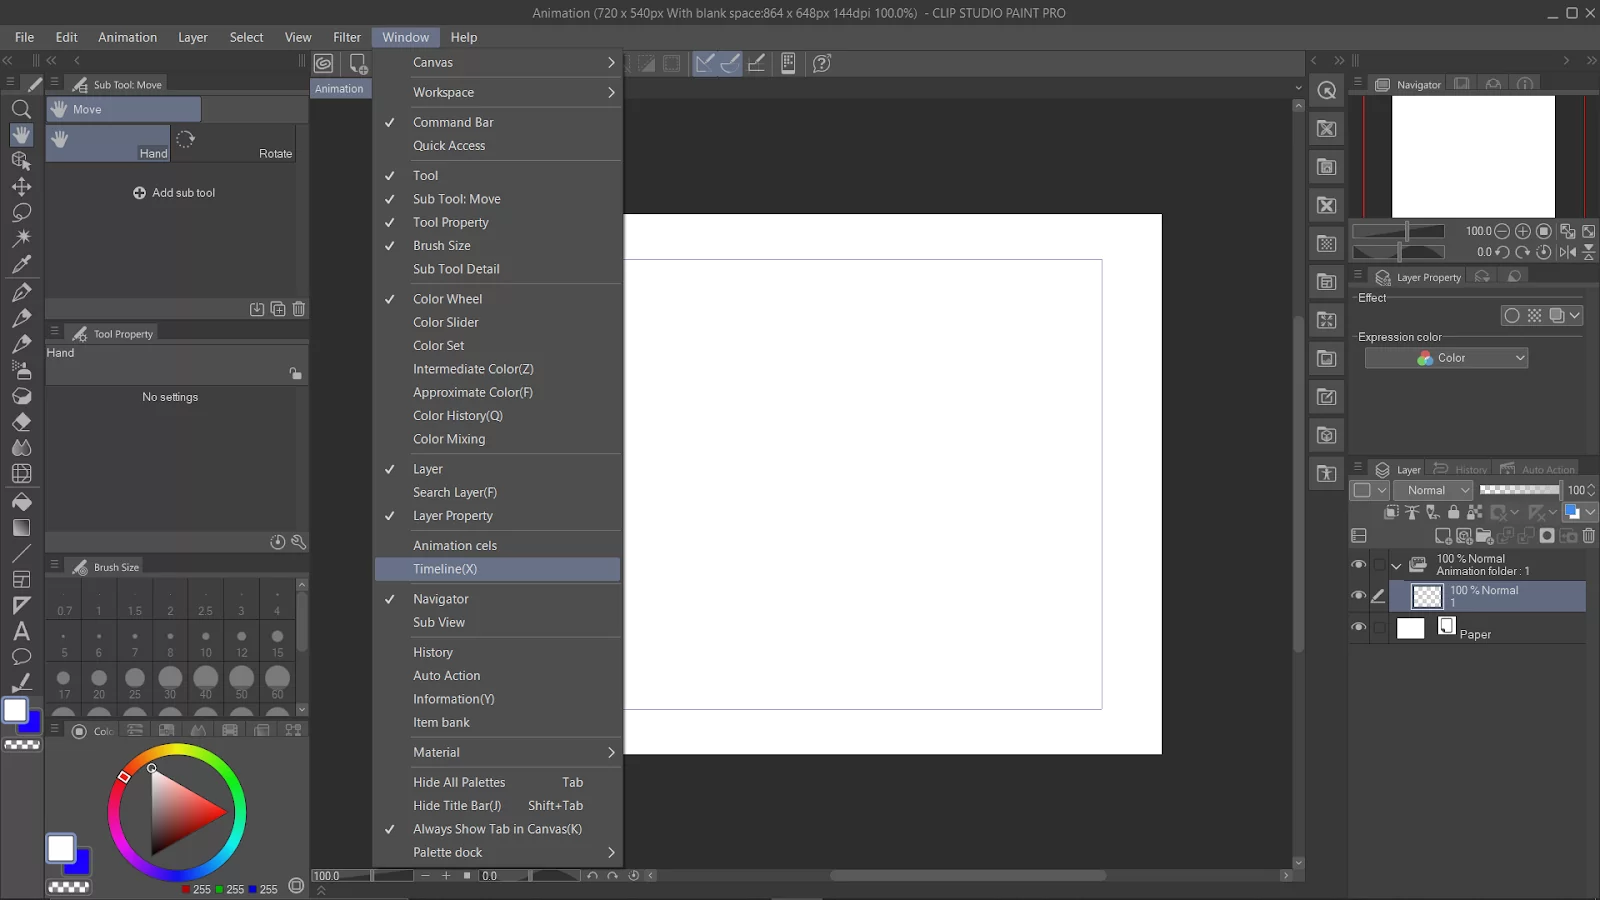
Set up your animation: Before you begin drawing your animation frames, you will need to set up the number of frames per second (FPS) and the total number of frames in your animation. You can adjust these settings by going to “Window” in the menu bar and selecting “Timeline.”
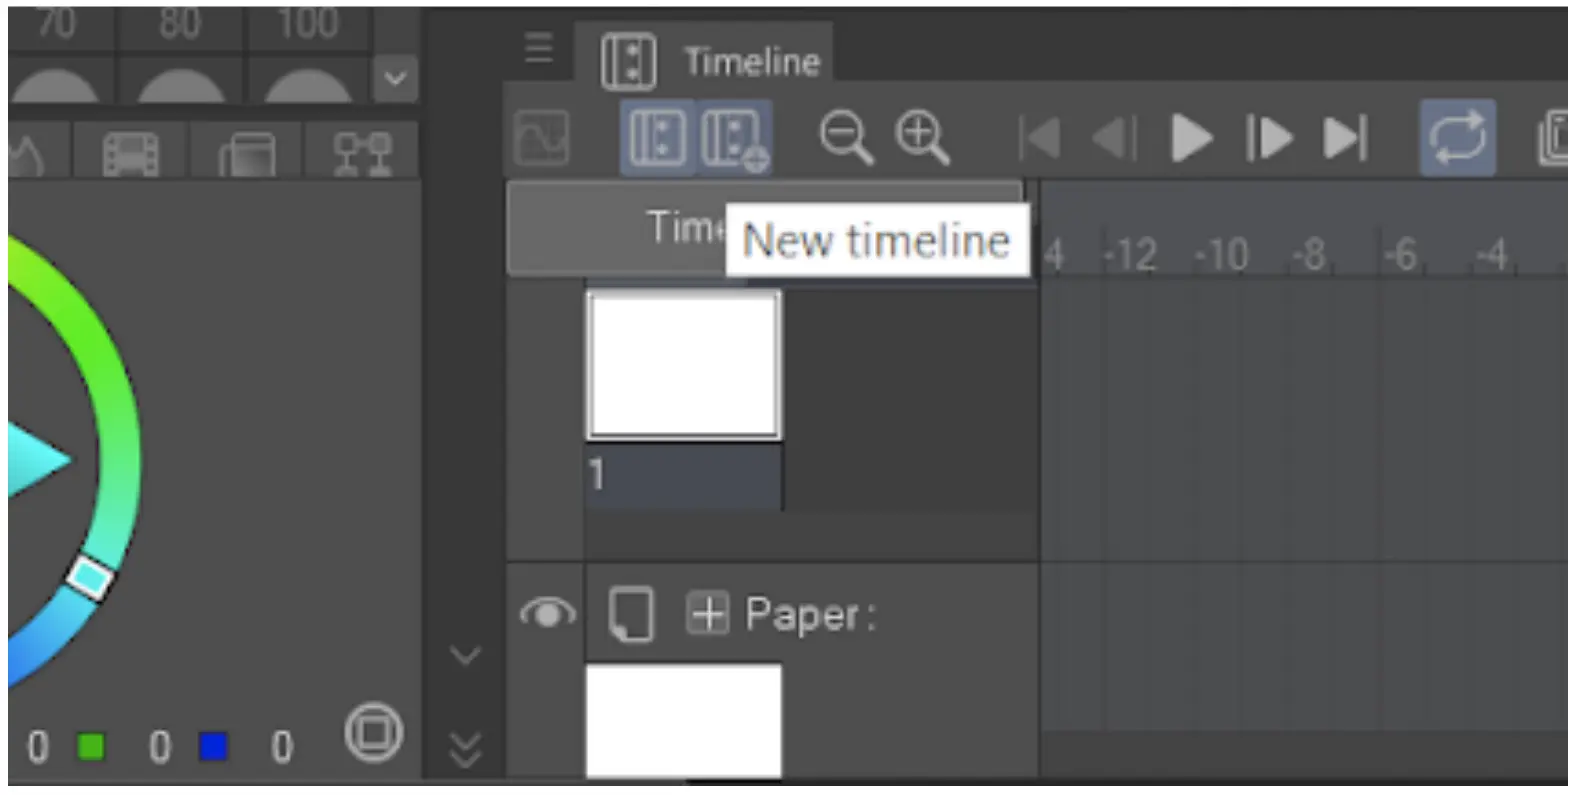
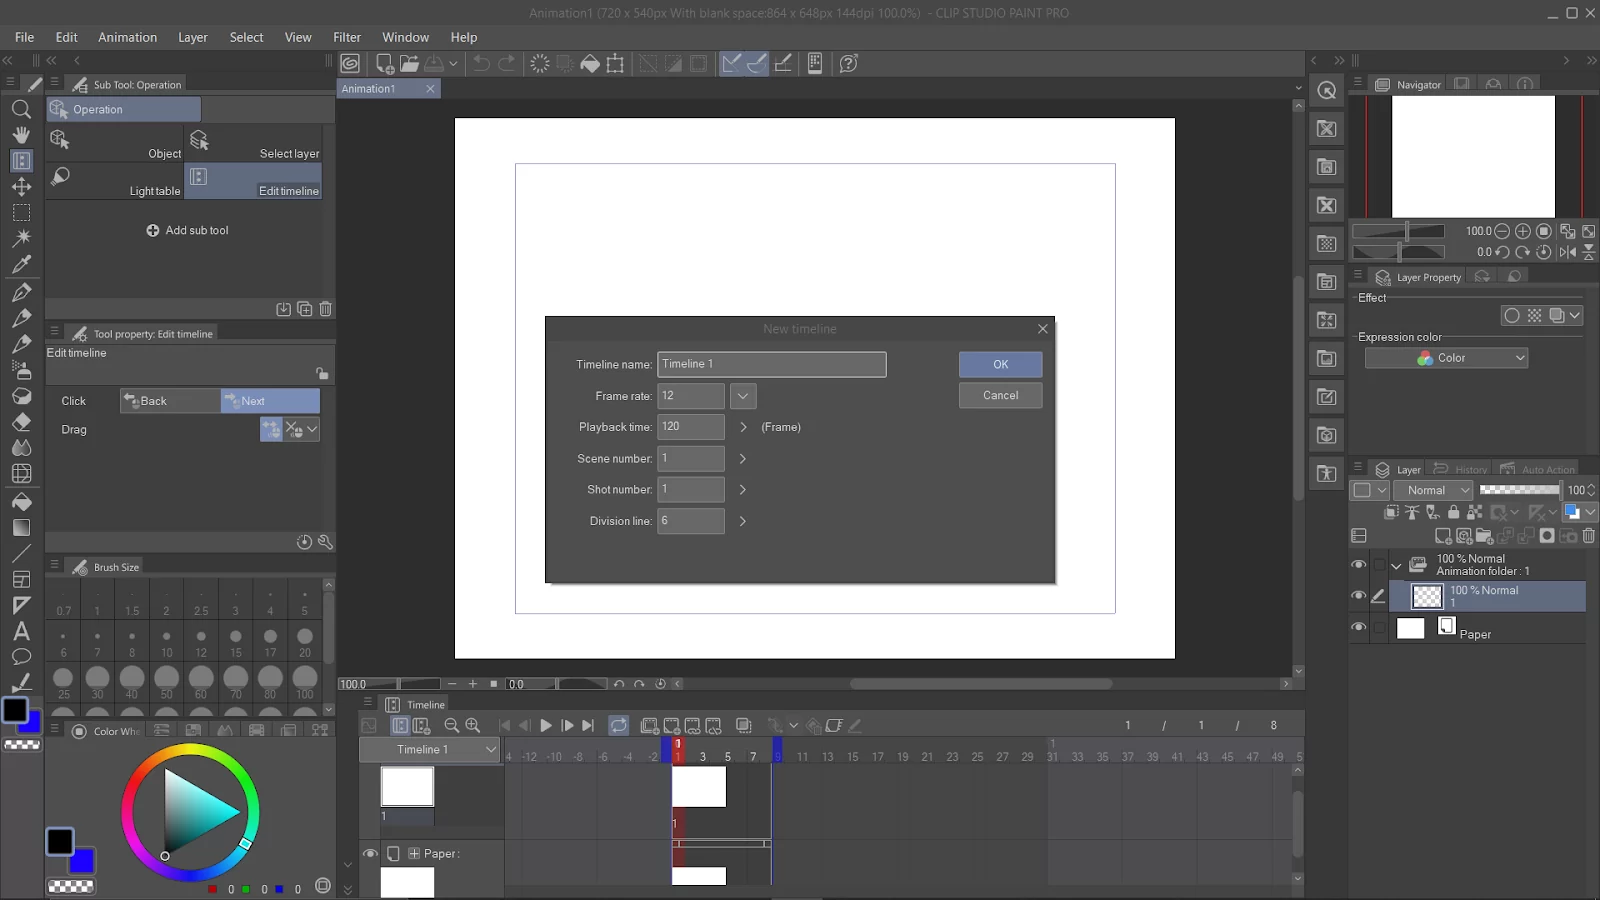
Select ‘New timeline’ and adjust your frame rate.

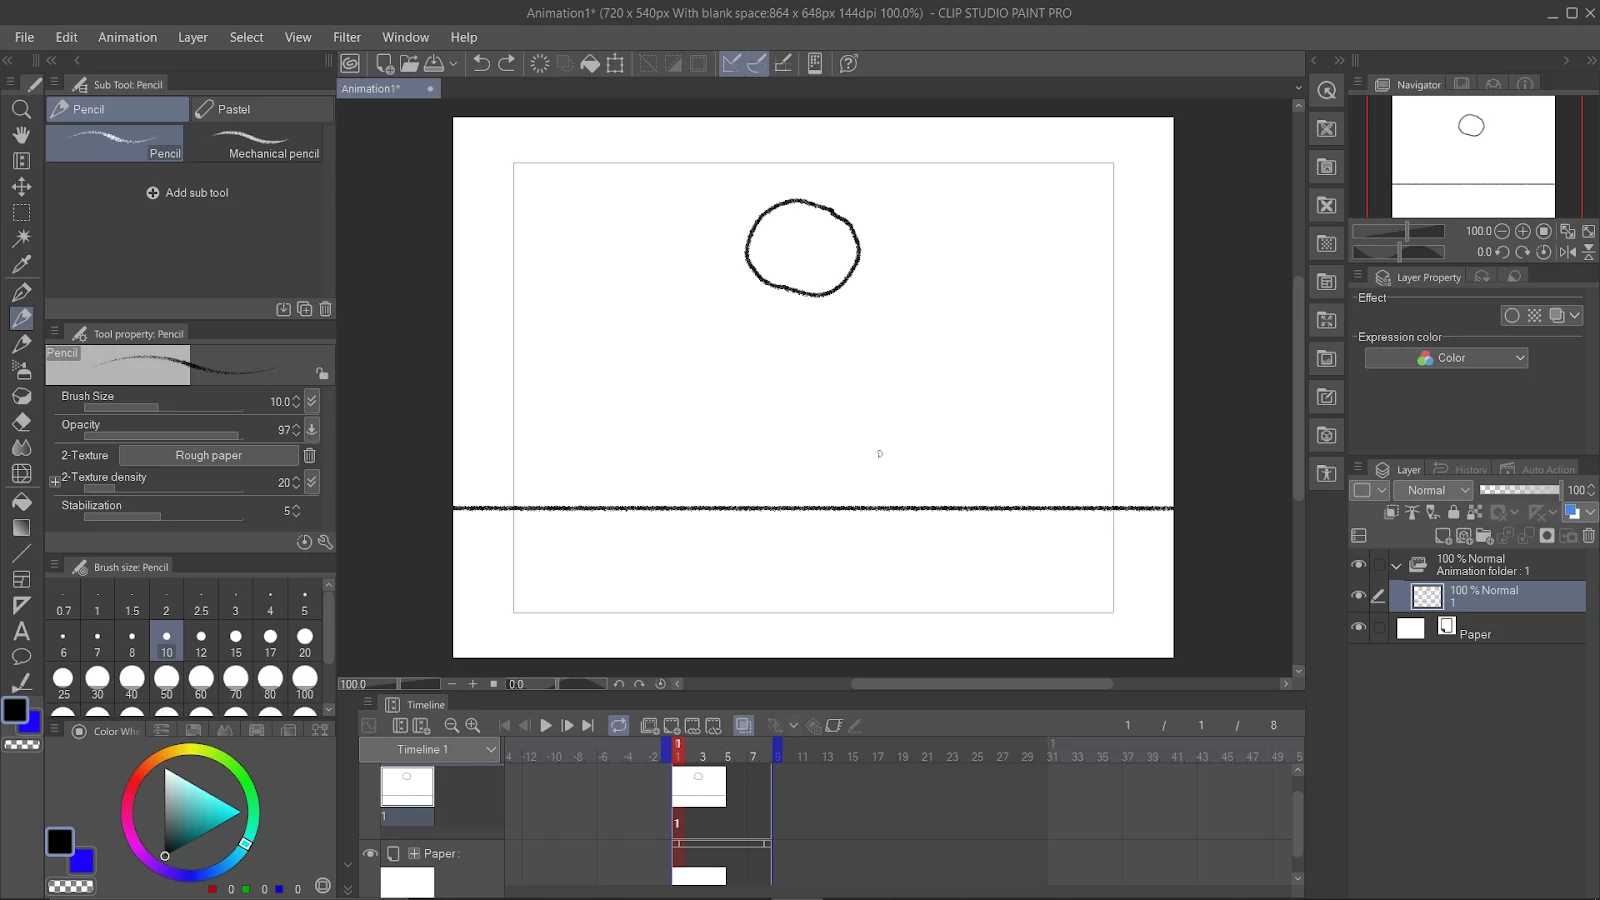
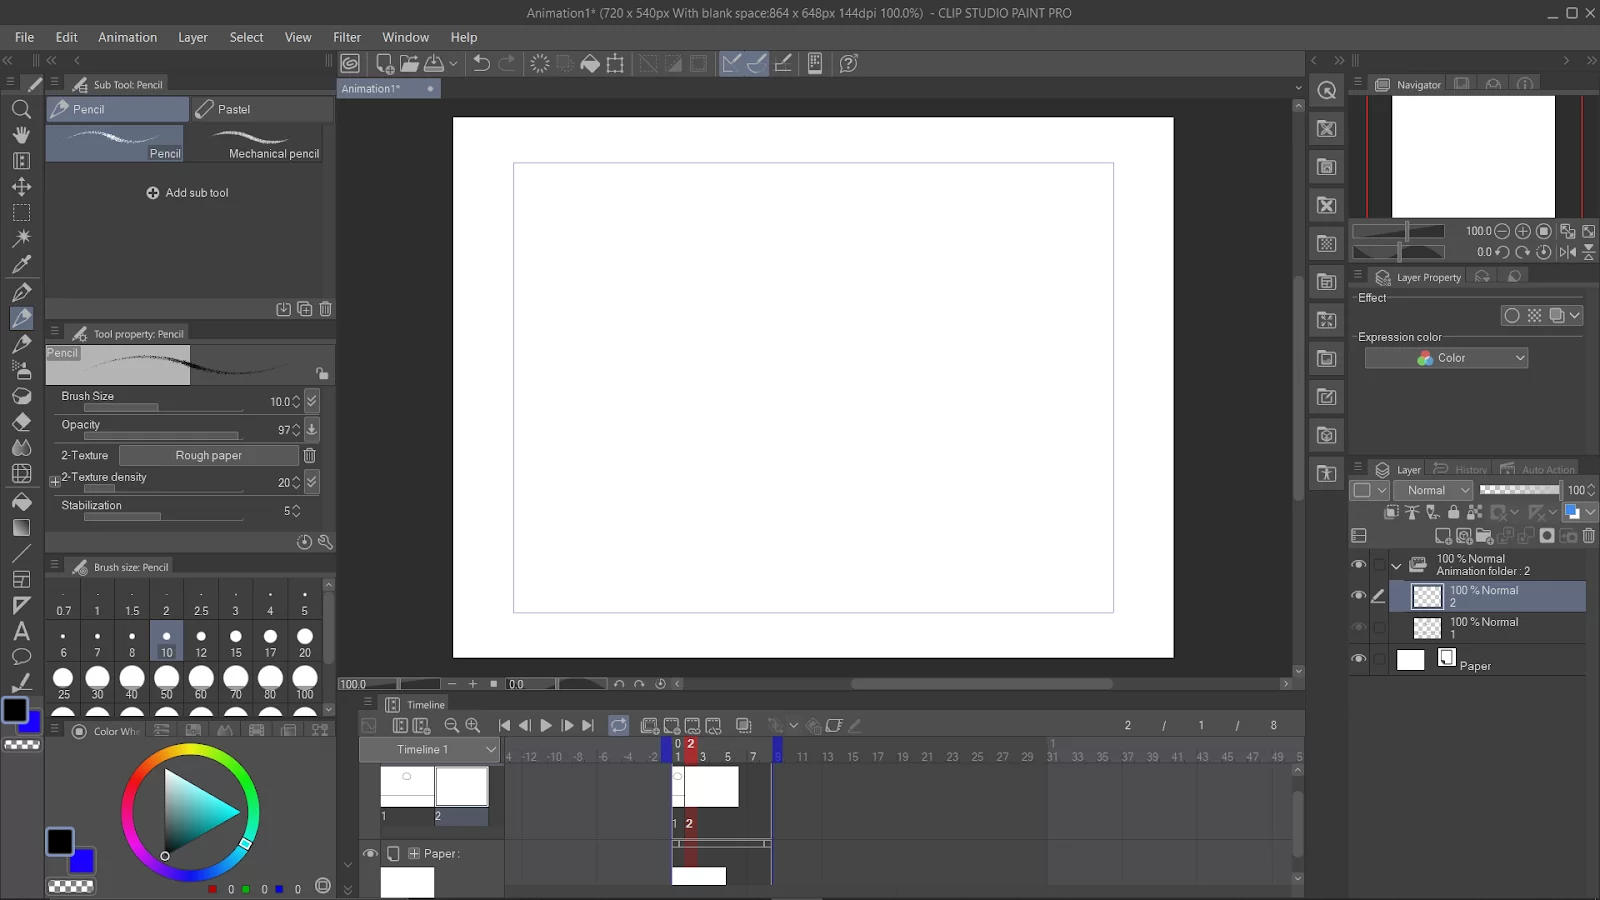
Draw your frames: Once your animation project is set up, you can begin drawing your frames. Select the first cell and begin drawing.
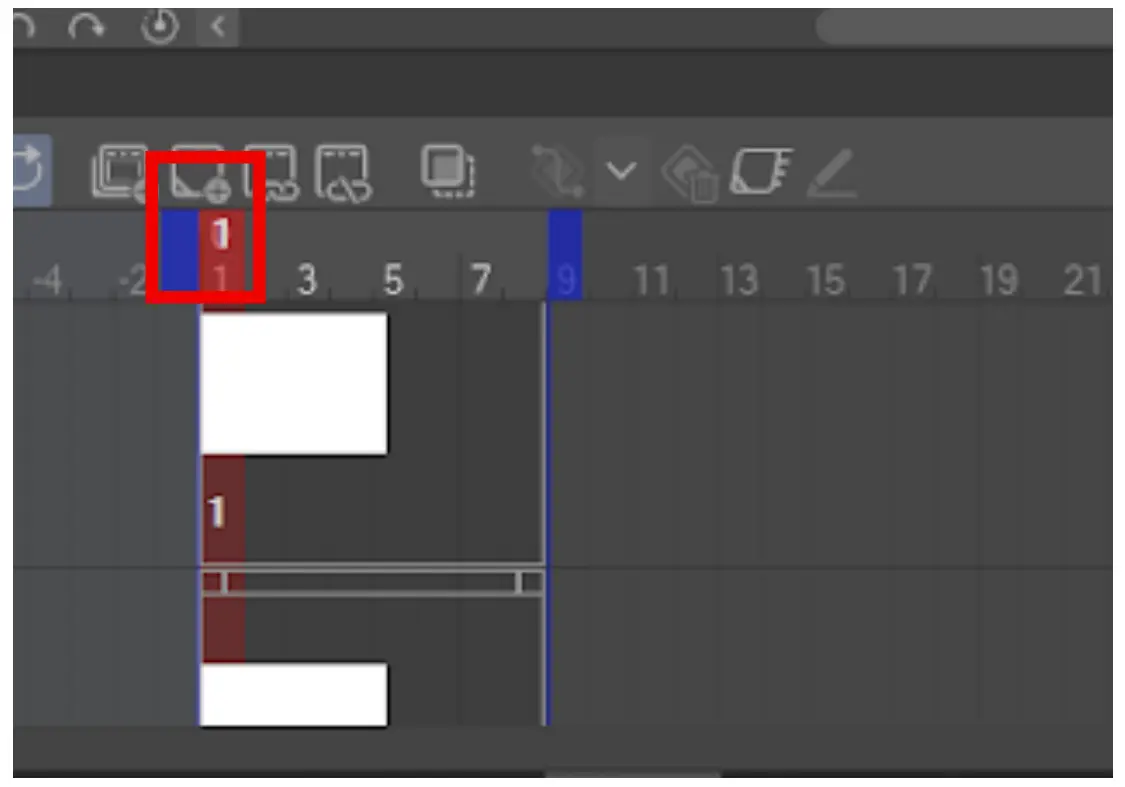
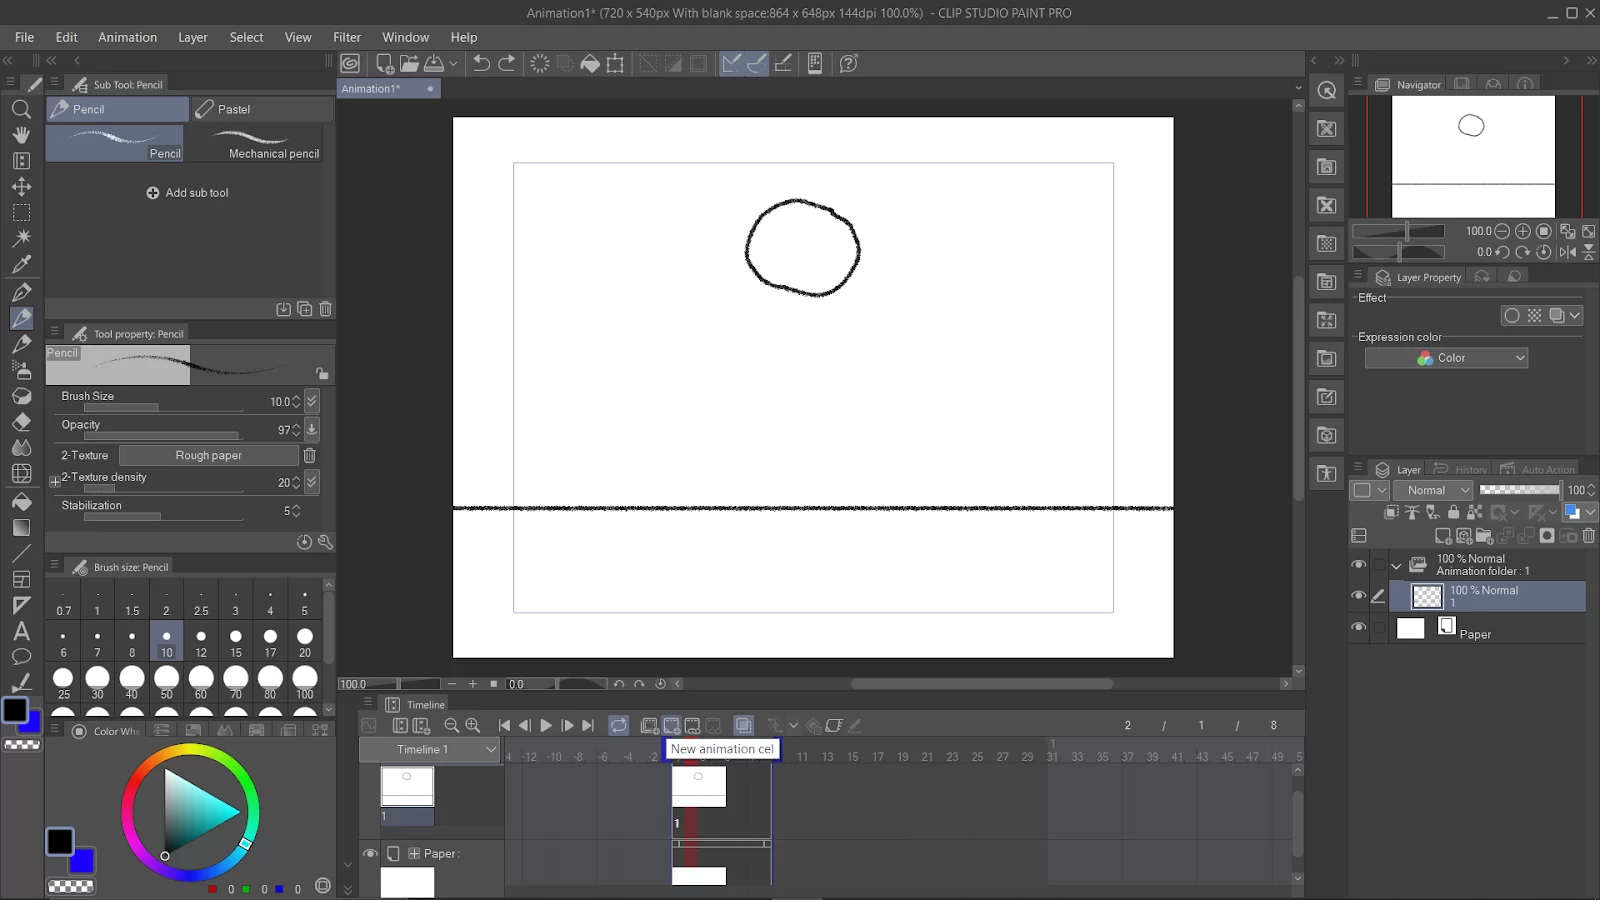
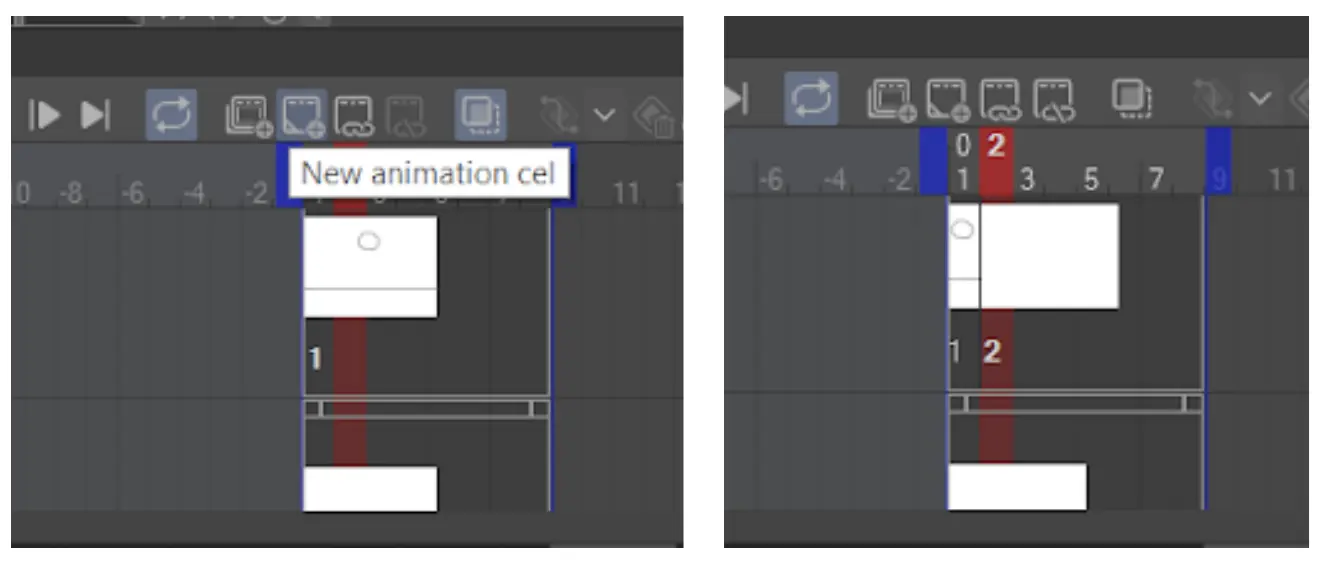
You can create new frame cells by clicking on the “New animation cell” button in the Timeline window.
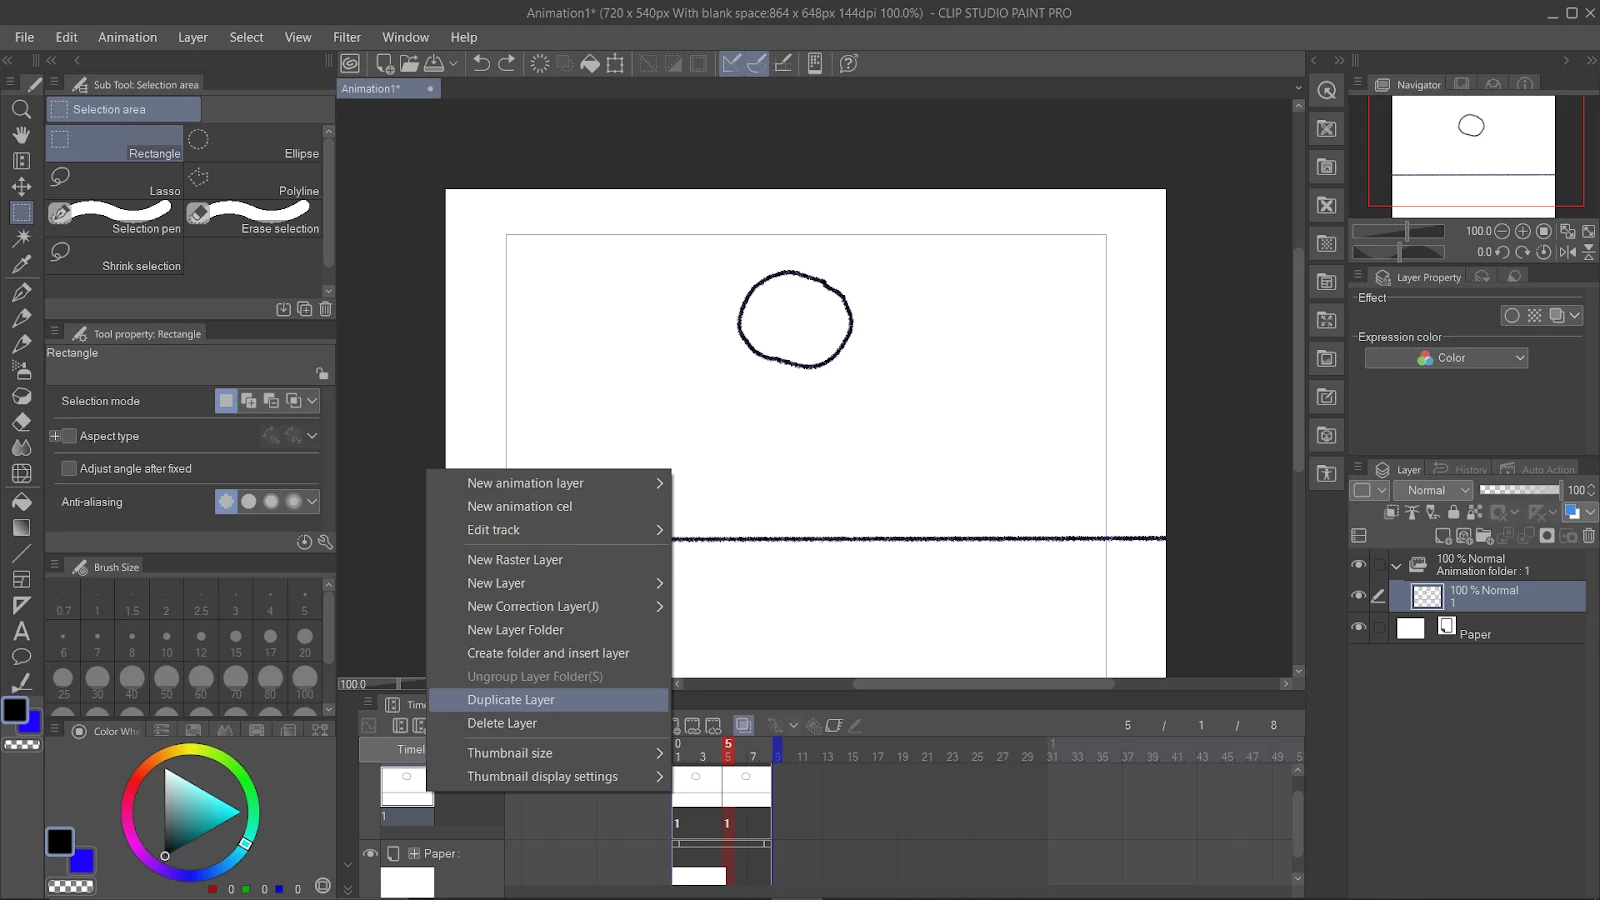
Duplicate the first frame layer by right-clicking the layer in the timeline window.
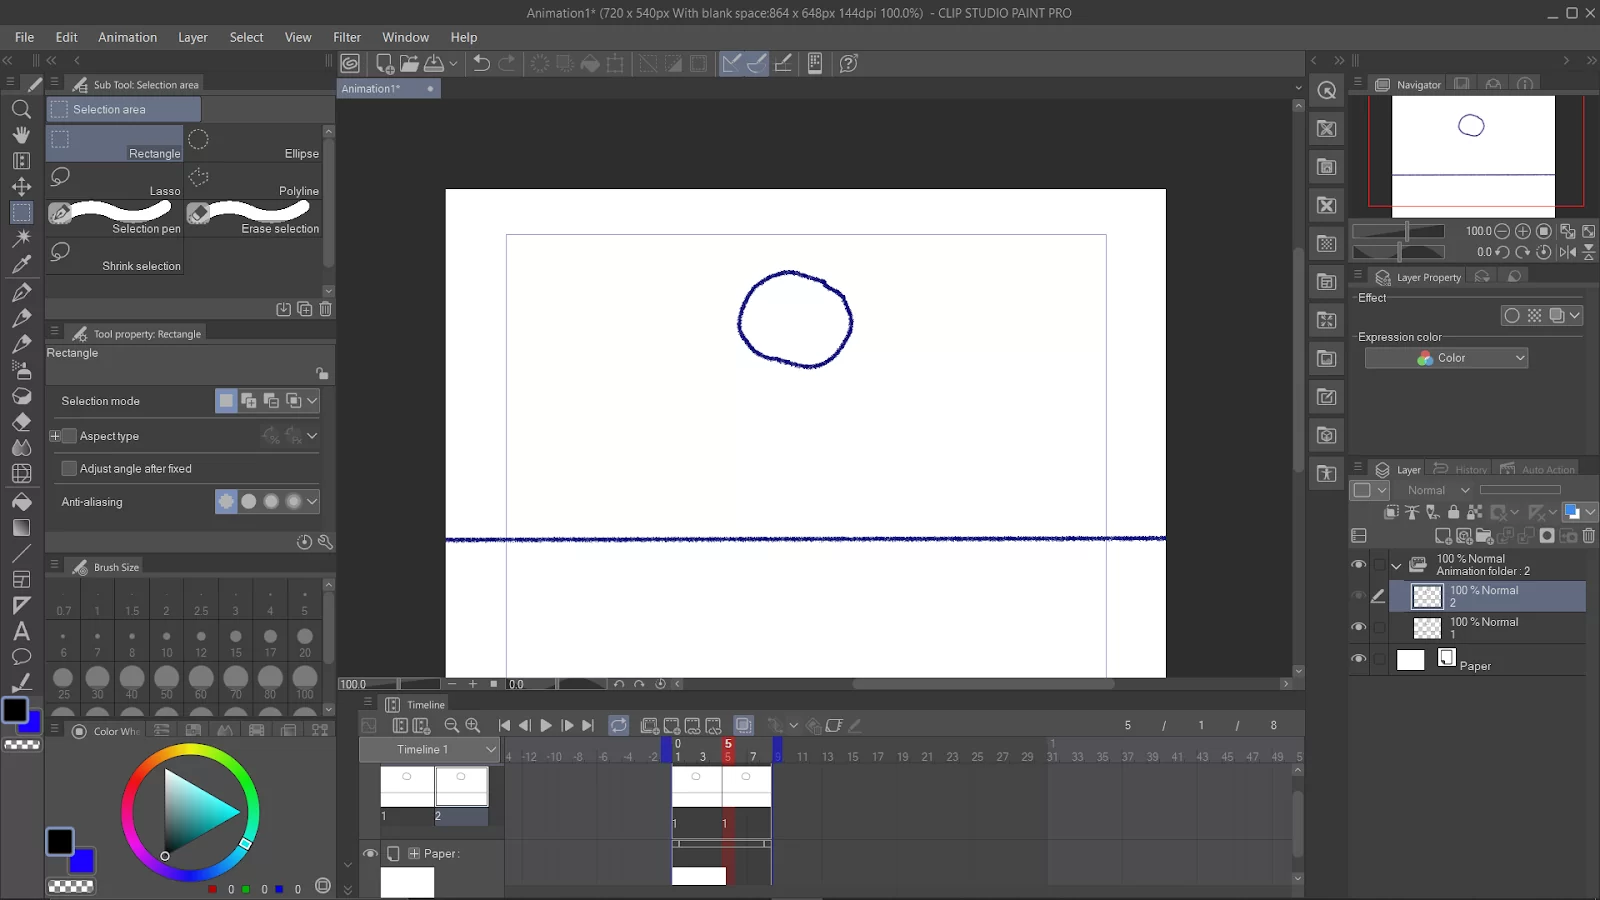
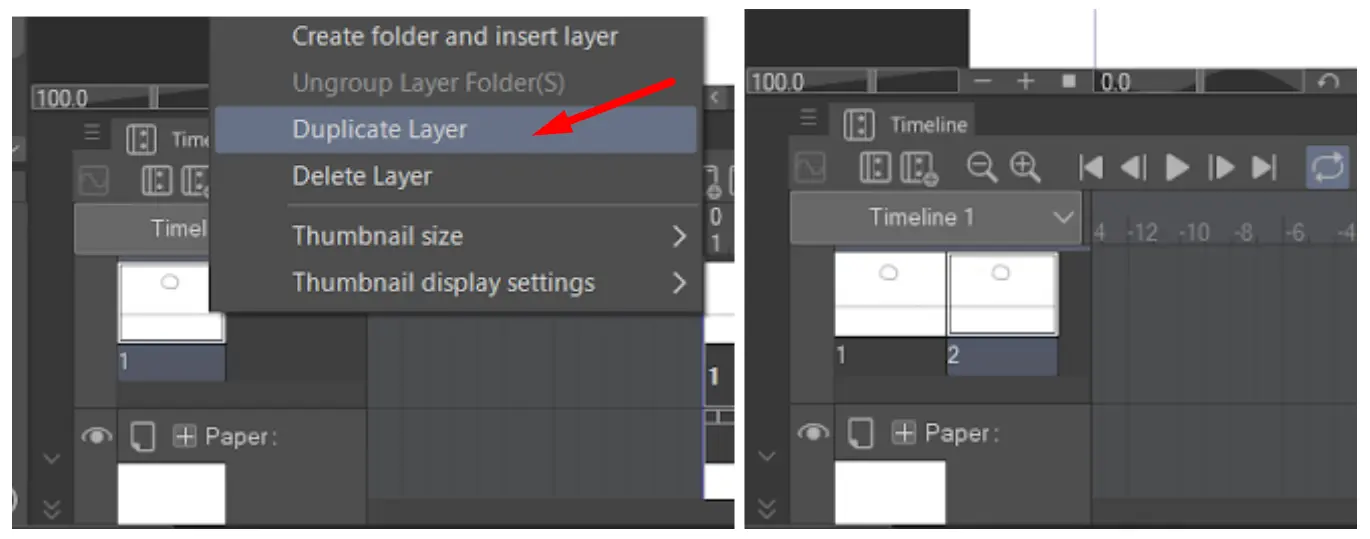
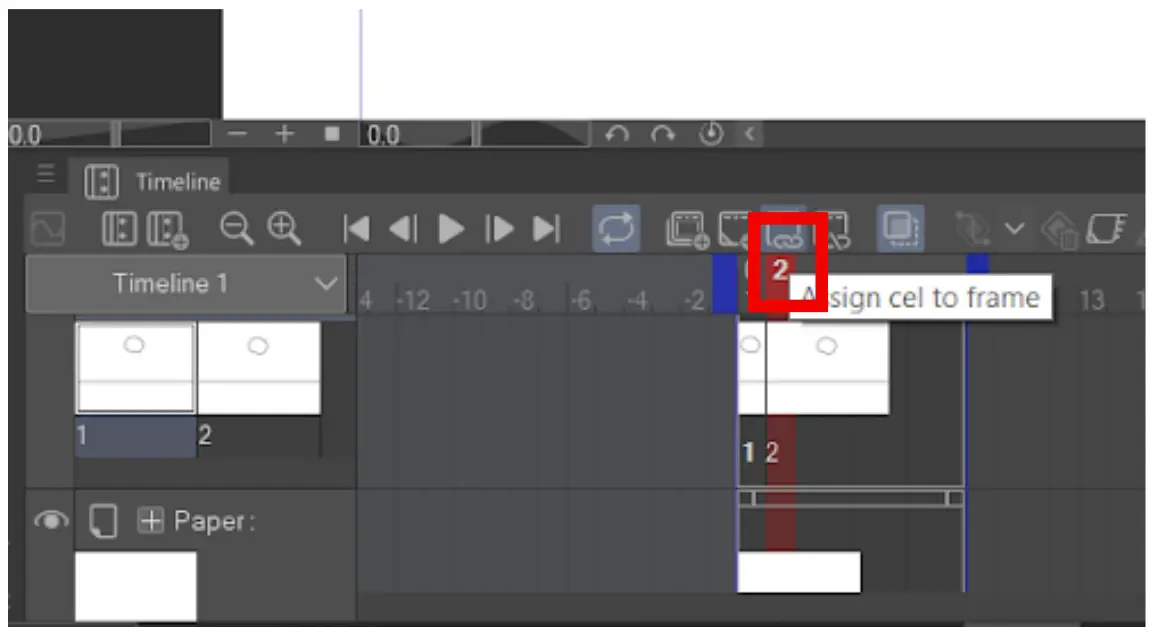
Select the second frame layer and link it with the newly created cell. To do this, select ‘Assign cell to frame’.

Enable “onion skin” so you can see the silhouette of your drawing from the previous cell. This is useful as a reference for a smooth transition of drawings in the subsequent frames.

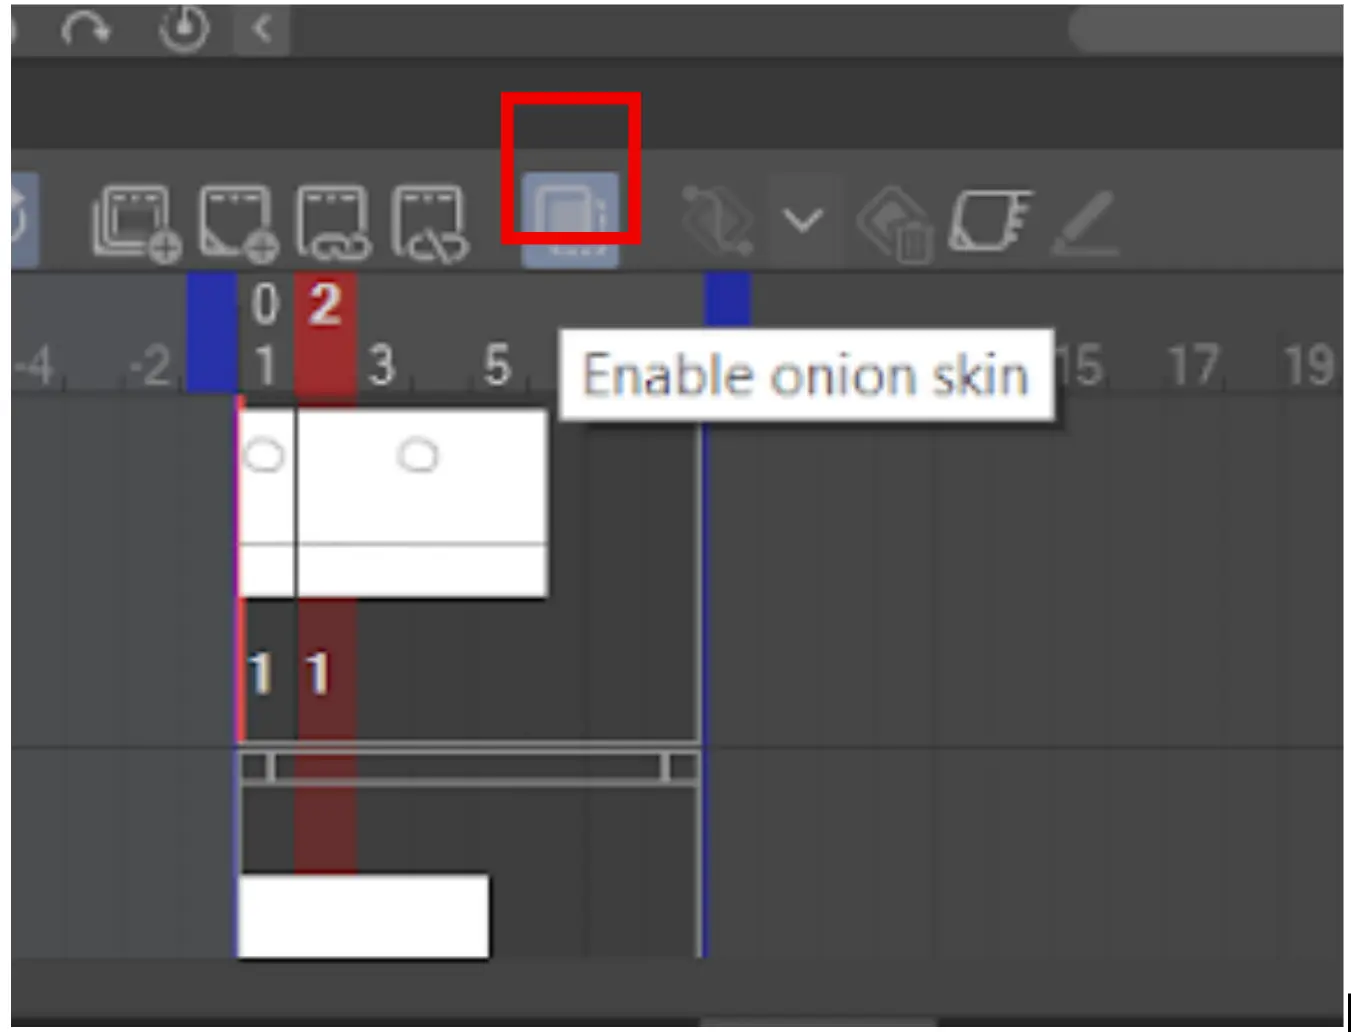
Adjust the drawing slightly to create the illusion of movement.

Repeat steps 5, 6, and 7 to keep adding scenes to your animation. You can also drag the blue icons on both sides of the scene box to reposition each cell and adjust the frame rate.

Preview and export your animation: Once you have finished creating your animation frames, you can preview your animation by clicking on the “Play” button in the Timeline window. Once you are satisfied with the animation, you can export it as a movie file by going to “File” in the menu bar and selecting “Export” and then “Movie.”
We also recommend that you see our information-packed guide on how to use 3D models in Clip Studio Paint.

How Much Can You Animate in Clip Studio Paint?
lip Studio Paint allows you to create animations with up to 24 frames per second. This means that you can create animations with a maximum of 24 individual drawings per second of animation, allowing for smooth and fluid motion. If you want to create more than 24 frames, you’d need to use Clip Studio Paint Ex.
In addition to the frame rate, Clip Studio Paint also offers a range of other tools for creating animations, including onion skinning, keyframe animation, and more. These features make it a powerful tool for animators looking to create hand-drawn animations.
Is Clip Studio Paint the Best Tool for Animation?
Whether or not Clip Studio Paint is the best tool for animation is highly subjective and depends on the specific needs and expertise of the animator. Some animators might prefer Clip Studio Paint over other animation software due to its advanced features and intuitive interface, while others might prefer a different software for its unique capabilities or a more familiar workflow.
If you’re looking for basic animation software, there are a couple that are well suited for that including Krita.
Clip Studio Paint offers a range of features for creating hand-drawn animations, including frame-by-frame animation, keyframe animation, onion skinning, and more. These features make it a great option for traditional animators who want to create hand-drawn animations with a high degree of control.
However, there are other animation software options available that might be better suited for different types of animations, such as 3D animations or animations with a heavy focus on special effects. It is important to consider your specific animation needs and goals, as well as your level of experience and skill, when choosing the best tool for your animation projects.
Types of Animation You Can Try
There are various types of animations depending on what you want. The three main types are 2D, 3D, and Motion graphics.
- 2D Animation
2D animation is also called vector animation. This type of animation is very popular thanks to the availability of technology. Using 2D animation, the animator can create frame-by-frame. You can also apply special effects to your 2D animation.
- 3D Animation
3D Animation is another type of animation. This kind of animation is also known as computer animation. 3D animation is the most common type of animation today, but it requires an understanding of movement and composition. With 3D animation, the animator can move the character using special controls. The animator must concentrate on the entire object all the time. It is also important to note that 3D animation has a high frame rate.
- Motion Graphics
Motion Graphics is a different kind of animation. Motion graphics is for artistically moving visual or text elements. These kinds of animation are used in advertisements, logos, movie titles, and television ads. Understanding camera motions and composition is necessary before you use motion graphics.
If you liked reading this article, you may also like our in-depth guide on how to transfer clip studio paint to another computer.