Adobe Fonts, formerly known as Typekit, presents a comprehensive collection of fonts available within Adobe XD to facilitate brand identity design. Nonetheless, there may be occasions where external fonts are required to harmonize with your brand guidelines and make a lasting impression on your customers.
Choosing the right font is an integral aspect of any design endeavor as it has the potential to influence both the user experience (UX) and the user interface (UI), hence caution must be taken in the selection process. In this discourse, we will enlighten you on the techniques to integrate fonts in Adobe XD.
How To Add Fonts To Adobe XD
To access an infinite selection of fonts and font packages within Adobe, simply utilize your Adobe Creative Cloud subscription. Follow these outlined steps to integrate them into your design:
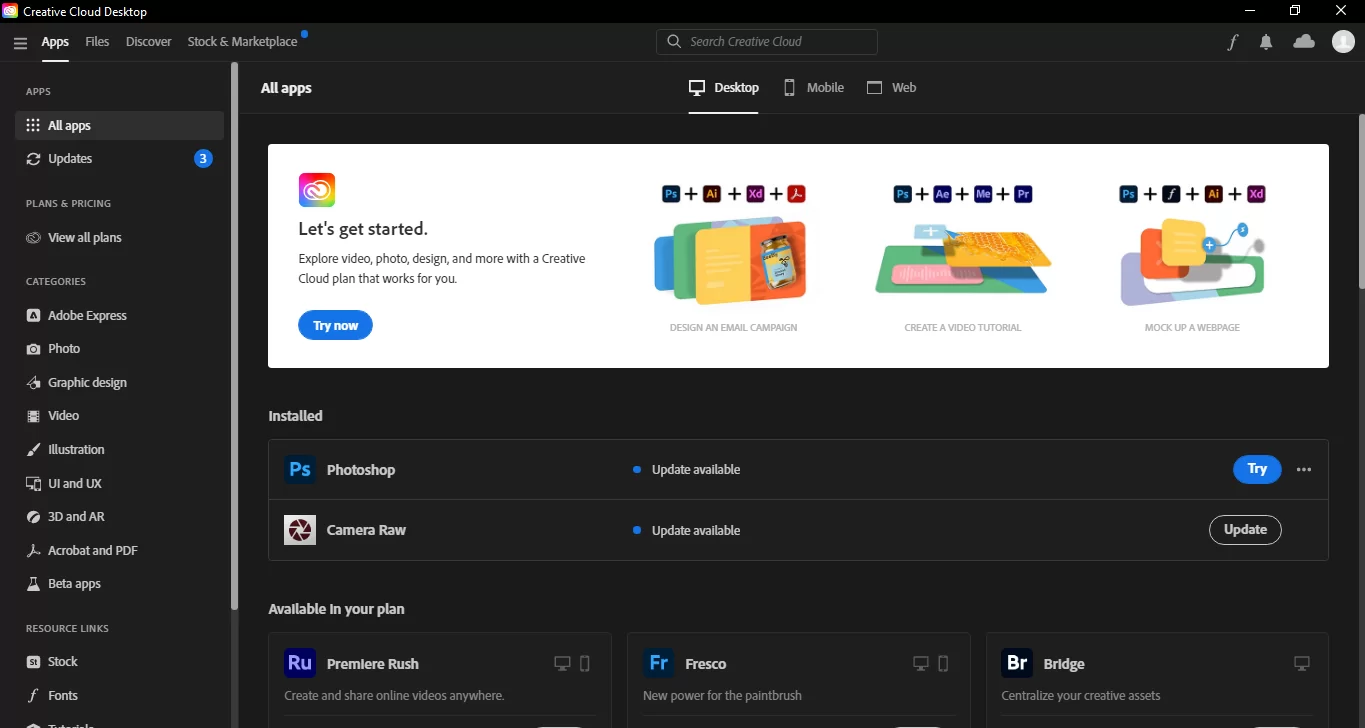
Open the Adobe Creative Cloud desktop app on your device running either Windows or macOS by clicking on the Creative Cloud icon. If you’re using Windows, the CC icon can be found on your taskbar. Alternatively, if you’re using a Mac, the CC icon should be visible on your menu bar.
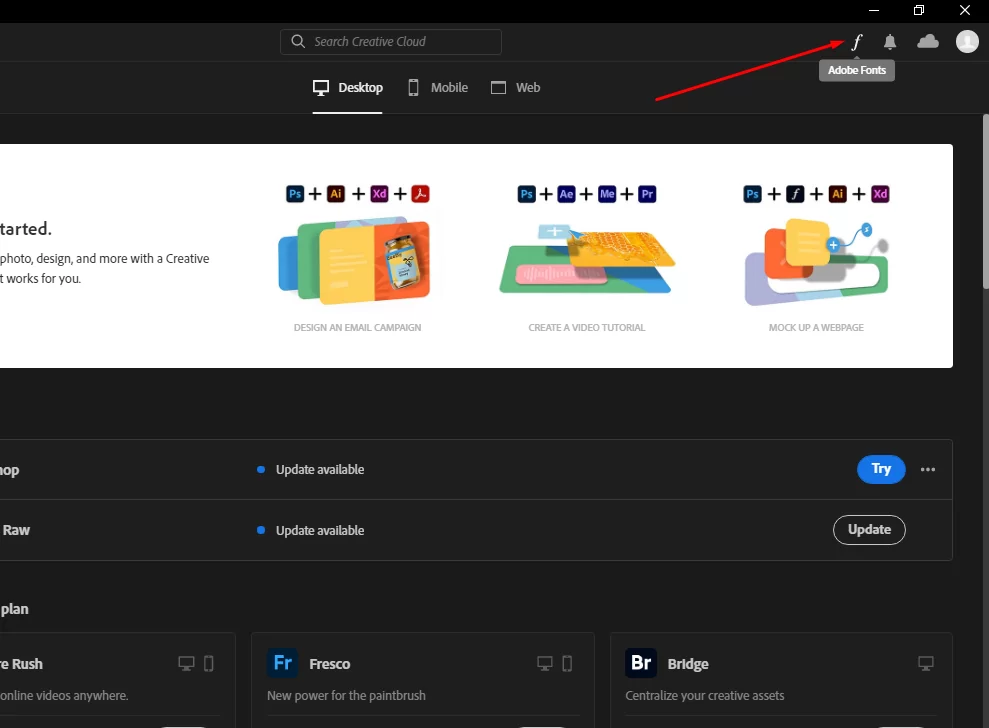
Head over to the Font icon situated on the top right corner of the screen to enter the font window. Locate the Browse Fonts button positioned at the bottom of this window and click on it to launch a new browser window. You will automatically be logged into fonts.adobe.com. Note that if you are using an older version of Adobe XD, the screen may appear differently from what is presented here.
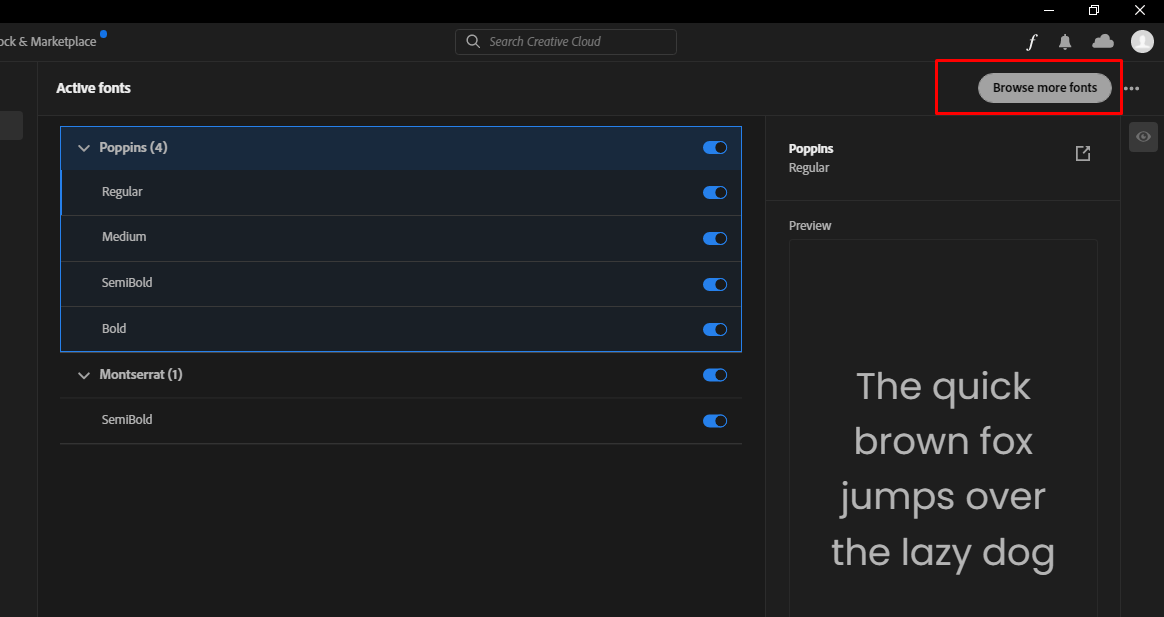
Once you’ve entered the font browser window, you can begin searching for fonts to suit your needs. This can be done using the sidebar located on the left-hand side of your browser window. Through this, you can filter your preferences and efficiently find the specific font you’re seeking. If you want to check Adobe’s library of fonts, you should click on “Browse more fonts”.
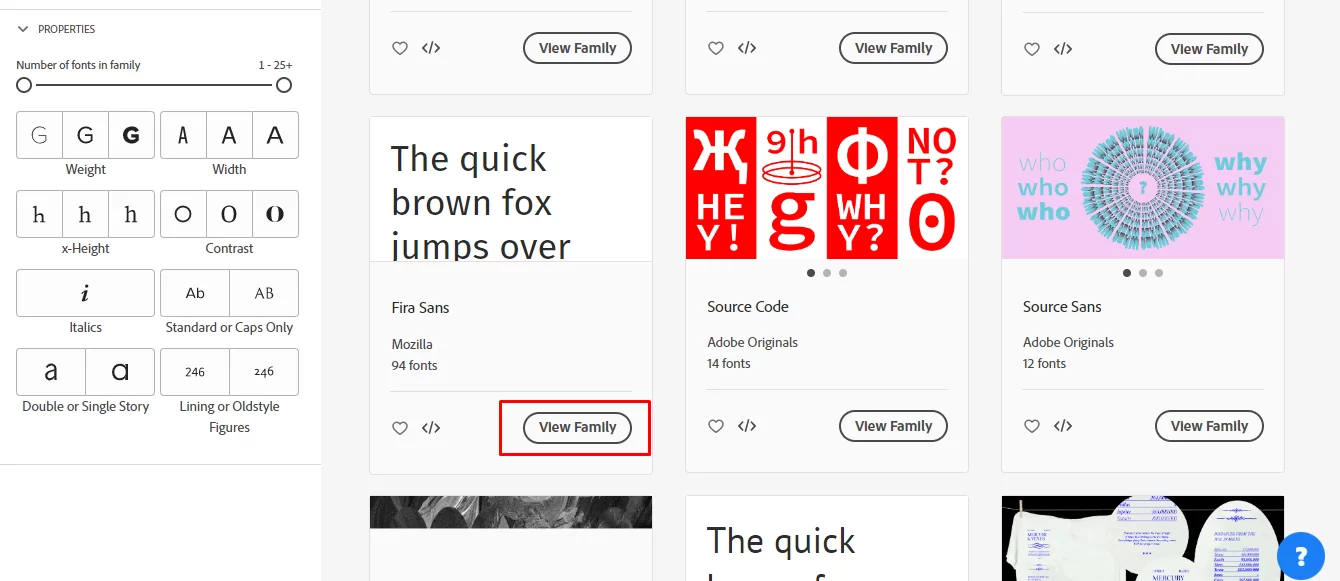
After you have successfully located the font that matches your requirements, click on the 3. located underneath it to access the entire font family. Note that the options available may differ among fonts. However, you can anticipate a range of options such as narrow and condensed versions, as well as bolder variants of the same font.
Once you have made your font selection, simply click on the Activate Fonts icon to proceed.
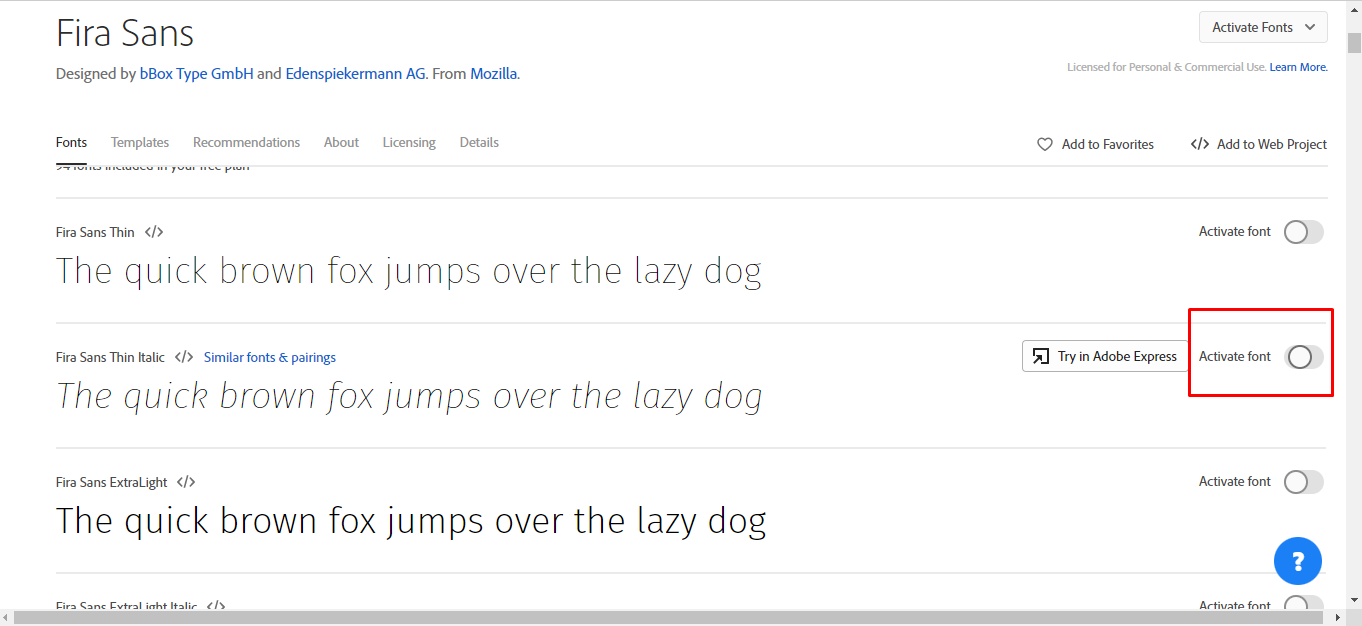
This action will prompt a drop-down menu that allows you to select font families, styles, and weights. Toggle the options as necessary, and the fonts you have chosen will be activated automatically.

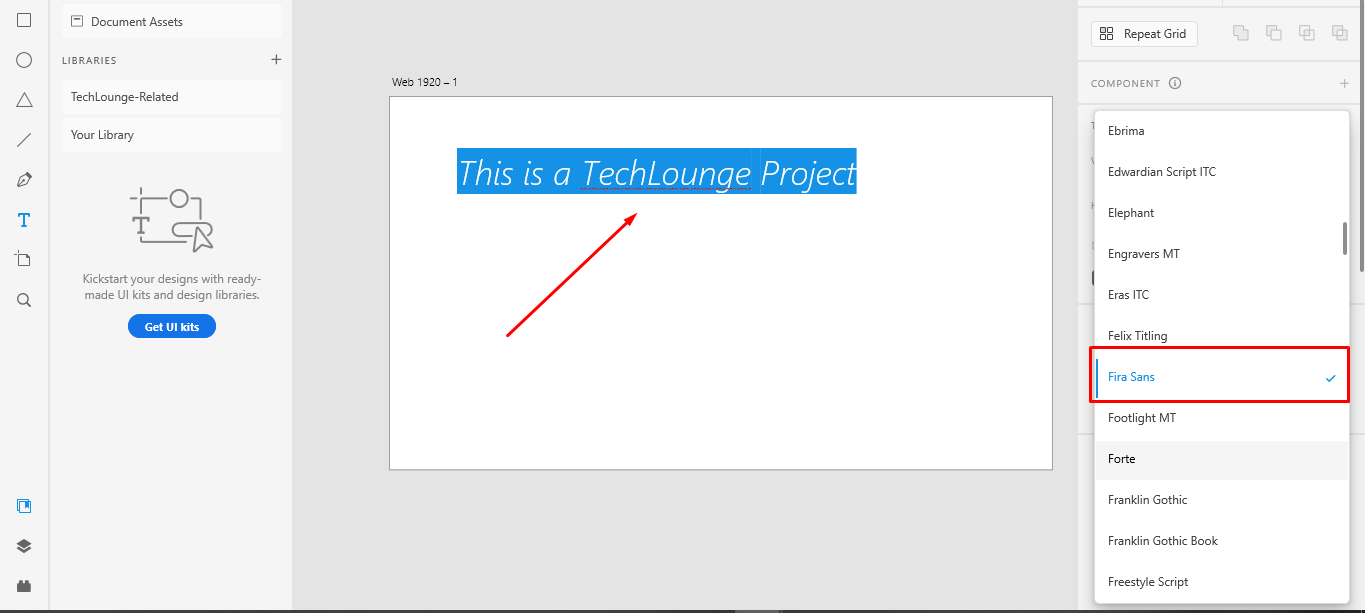
By using Adobe fonts in your projects, anyone who opens your project file will have these fonts automatically activated in their Creative Cloud across all devices, including Android and iOS. This not only speeds up your workflow but also eliminates the need to download different font files, XD files, and formats.
To activate your desired font specifications, simply toggle the respective buttons. Once you have done so, open the Creative Cloud app on your desktop to access the activated fonts you have selected. You can find all your fonts in the Active Fonts list.
Where to Download Fonts
You can get the fonts you need by following any of the links below:
These are just a few out of so many.
Why Fonts Are So Important
Fonts are essential components of design, whether it’s for digital or print media. They are not just decorative but also serve crucial roles in establishing brand identity, improving readability, setting the tone and mood, and highlighting hierarchy.
- Enhancing Readability: Selecting the appropriate font for a specific project can greatly enhance the readability and comprehension of the content. Different fonts are suitable for different purposes, and it’s crucial to pick a font that is suitable for the medium and the message being conveyed.
- Establishing Brand Identity: Using the same font consistently across all marketing materials and media can help establish a visual identity that is instantly recognizable. Fonts can also convey a particular message and contribute to visual communication, making them a vital part of branding. It’s important to select a font that not only matches the brand’s personality but also complements the overall design and message of the project.
- Set The Tone and Mood of a Design: Fonts can have a strong emotional impact on the audience, as they can convey a sense of elegance, sophistication, or playfulness, among other emotions. The appropriate font selection can help to express the personality of a brand or project, leading to a strong connection with the intended audience.
- To Highlight Hierarchy in Design: Designers can use different sizes and weights of fonts to establish a hierarchy that directs the viewer’s attention and emphasizes essential information. Hierarchy is critical in communication as it ensures that the message is conveyed effectively and is easy to comprehend.
Conclusion
Adding a new font to Adobe XD can greatly improve your design process and help you realize your creative vision. By following a few simple steps, you can easily import your preferred font and make it available for use in all your design projects. So, take the time to explore and experiment with different fonts, and see how they can help you create stunning designs in Adobe XD.