One of the most essential skills for any digital artist is the ability to shade their artwork effectively. Shading can add depth, dimension, and realism to your illustrations and make them stand out. In this guide, we will explore how to shade in CSP, covering various techniques and tools that you can use to achieve the desired effect.
How to Shade in Clip Studio Paint
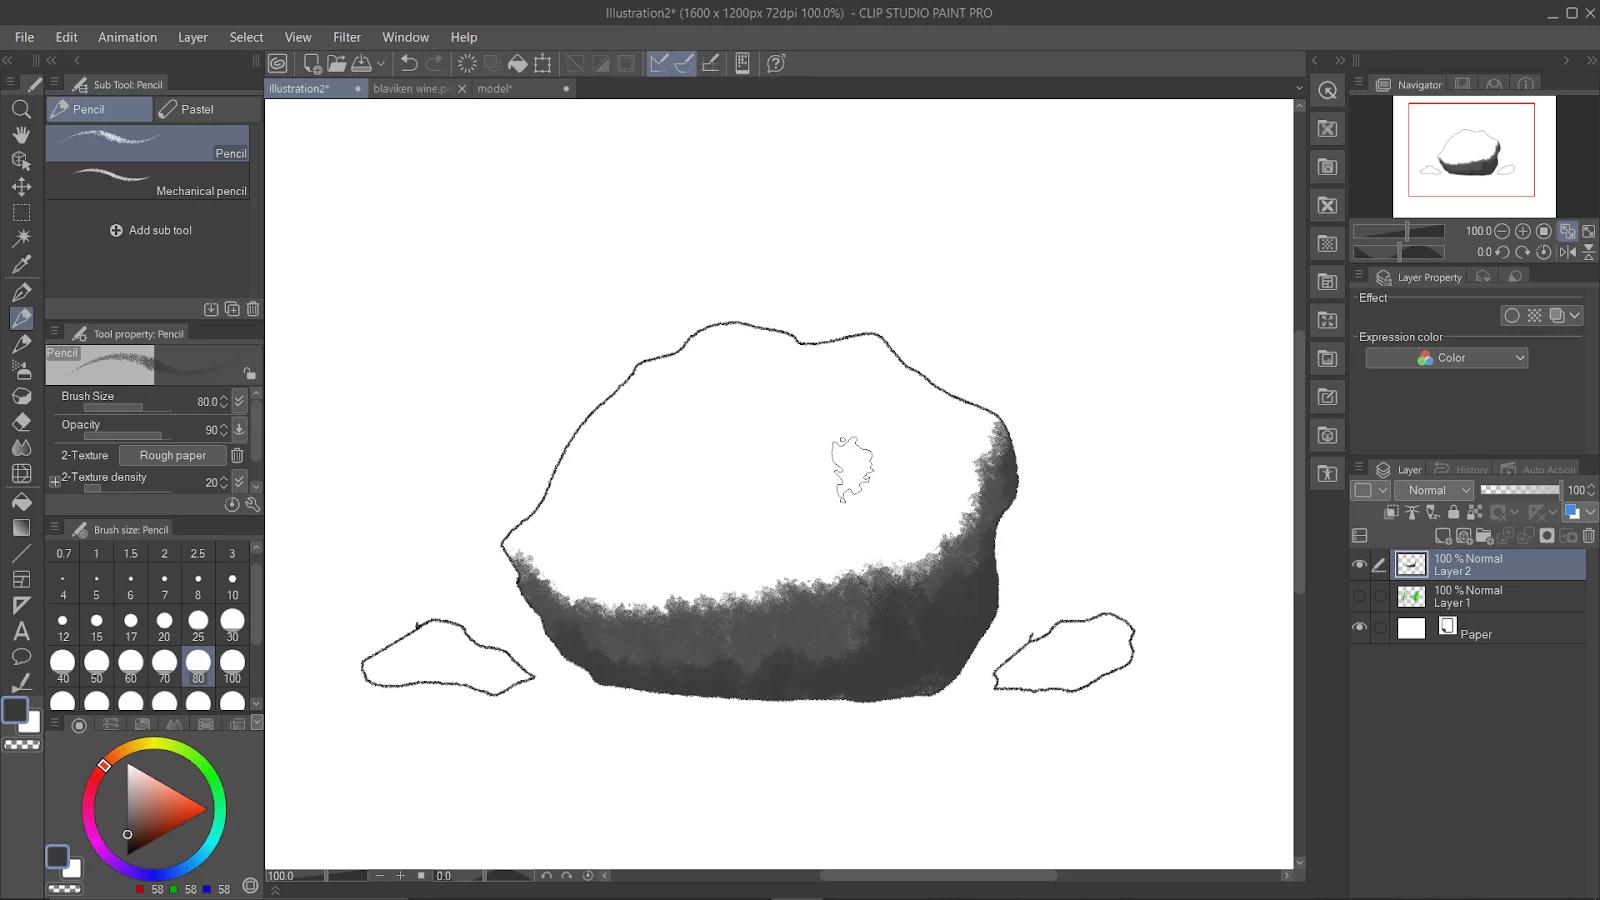
Use the “Pencil” tool to draw in shading using different shades of gray manually. This is a good option if you want to create a traditional, hand-drawn look.
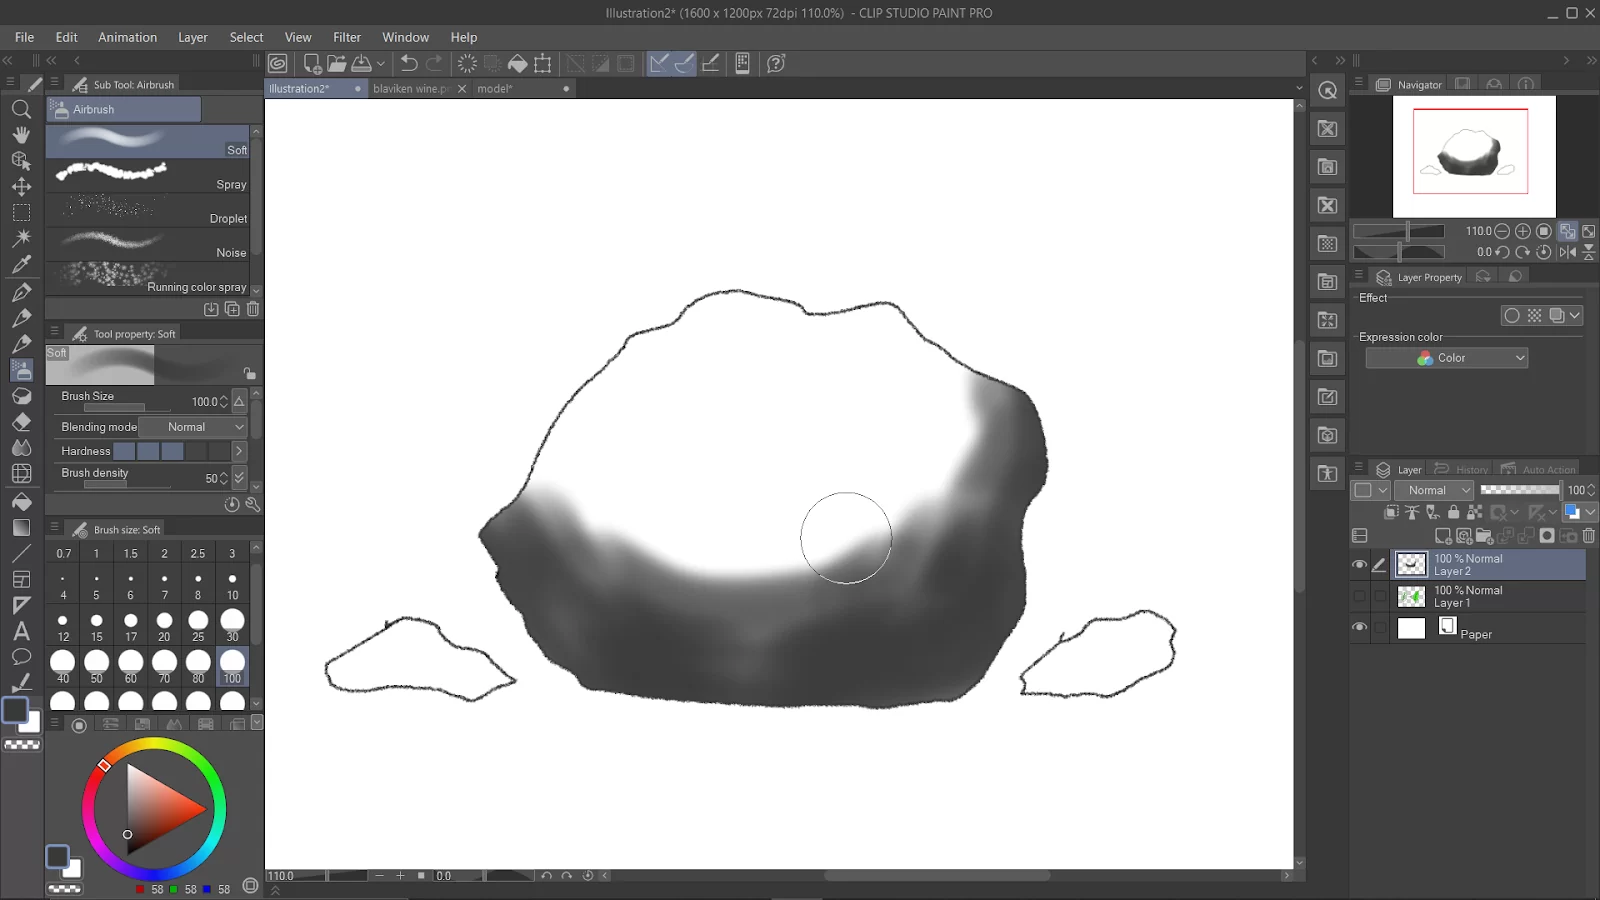
Use the “Airbrush” tool to create soft, gradient shading. This tool allows you to blend different shades together to create a more natural look.
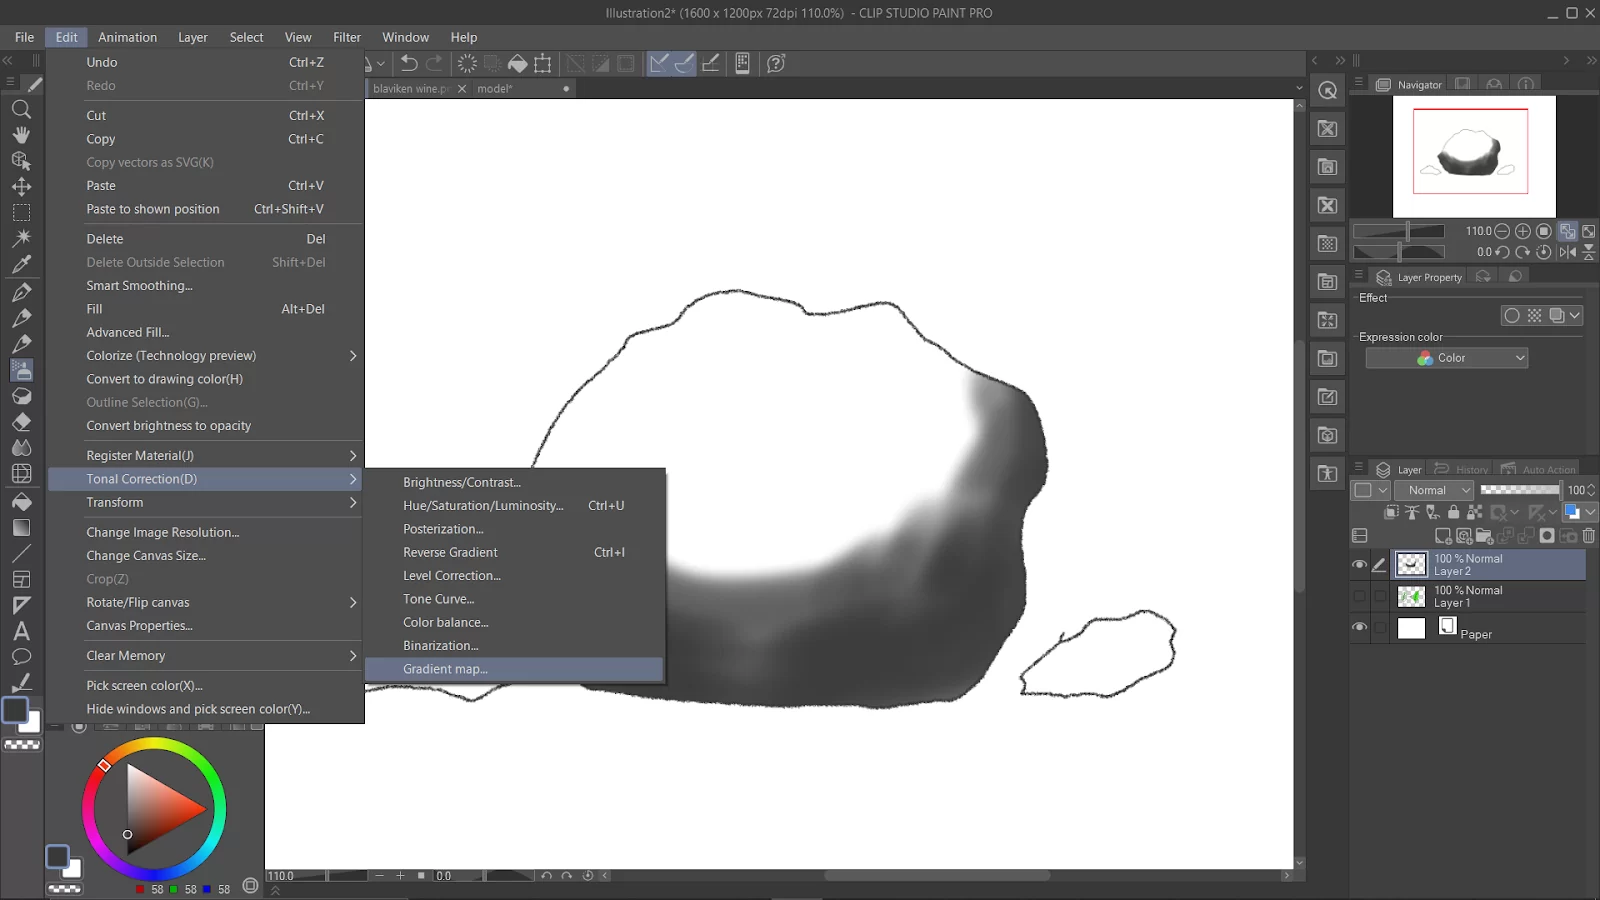
Use the “Tonal Correction” in the ‘Edit’ tool to automatically apply a shading effect to your drawing. This tool can be used to quickly create a base level of shading, which you can then refine using other tools.
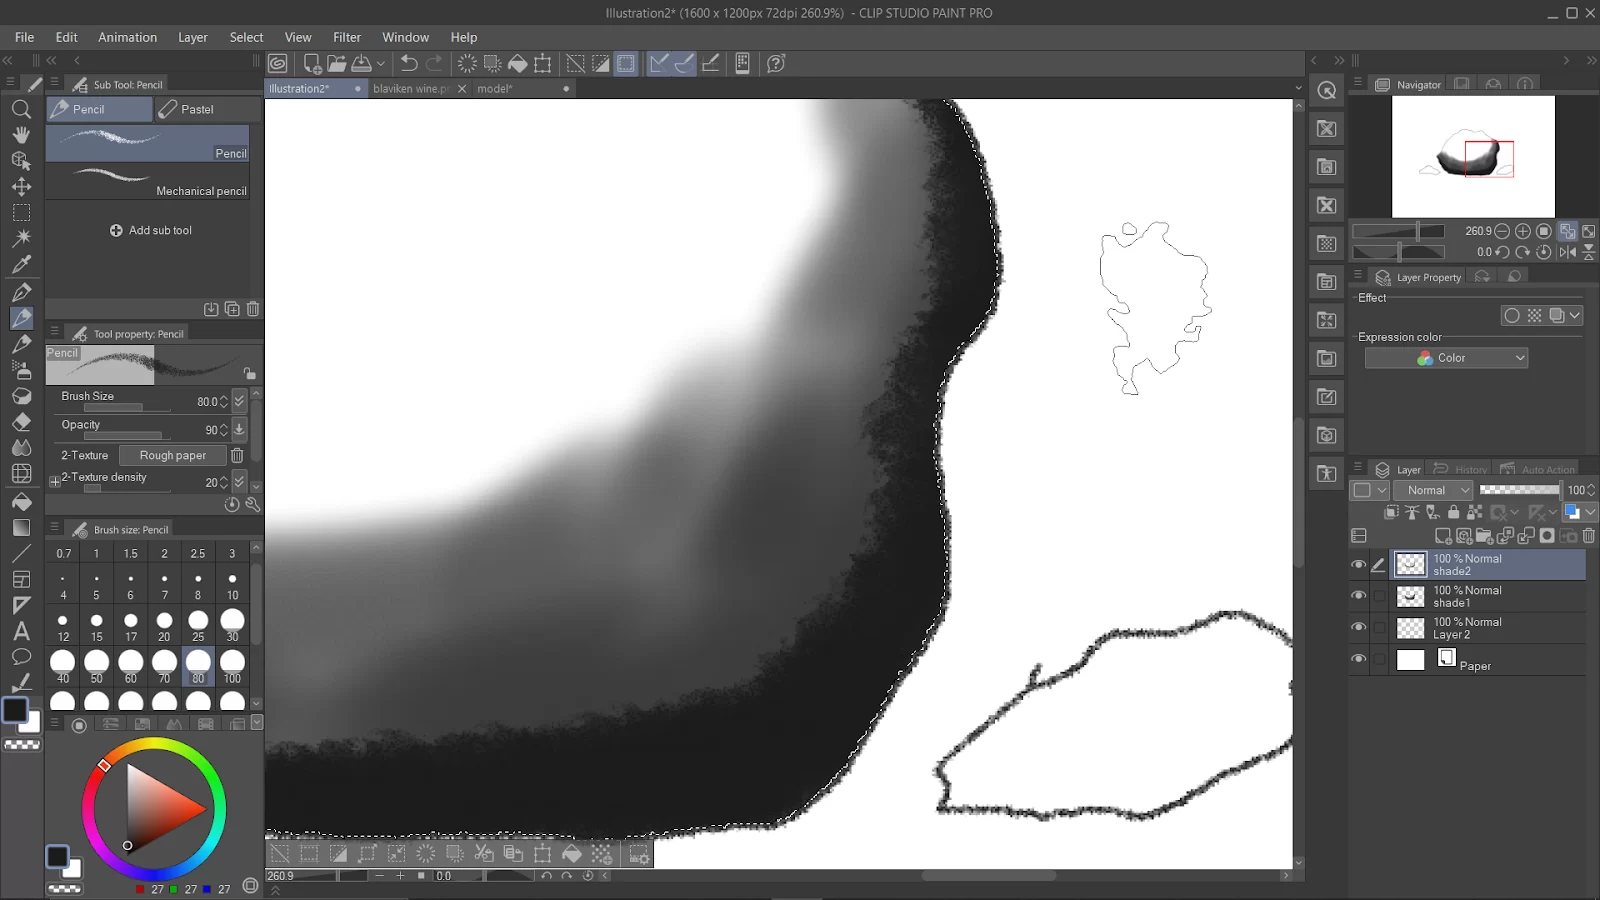
Use the “Layer” function to create layers of shading. This allows you to apply different shading effects to different areas of your drawing and adjust each layer’s opacity to control the shading’s strength.
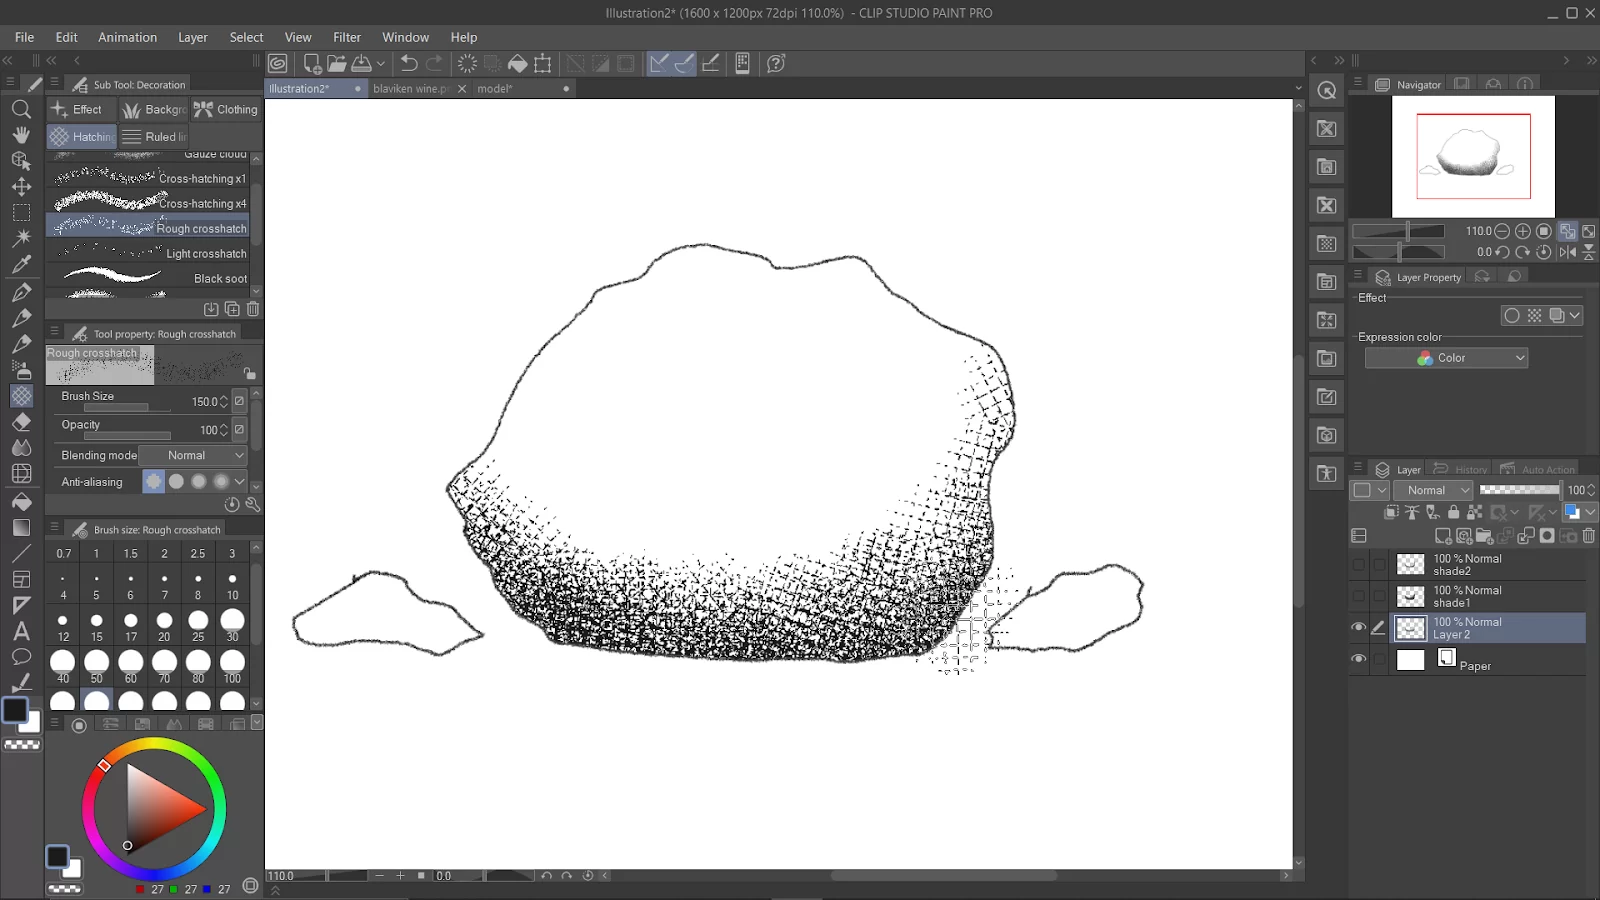
Use “Materials” or “Decorations’ to add pre-drawn textures and patterns to your work that can be used to shade and give depth to your illustrations.

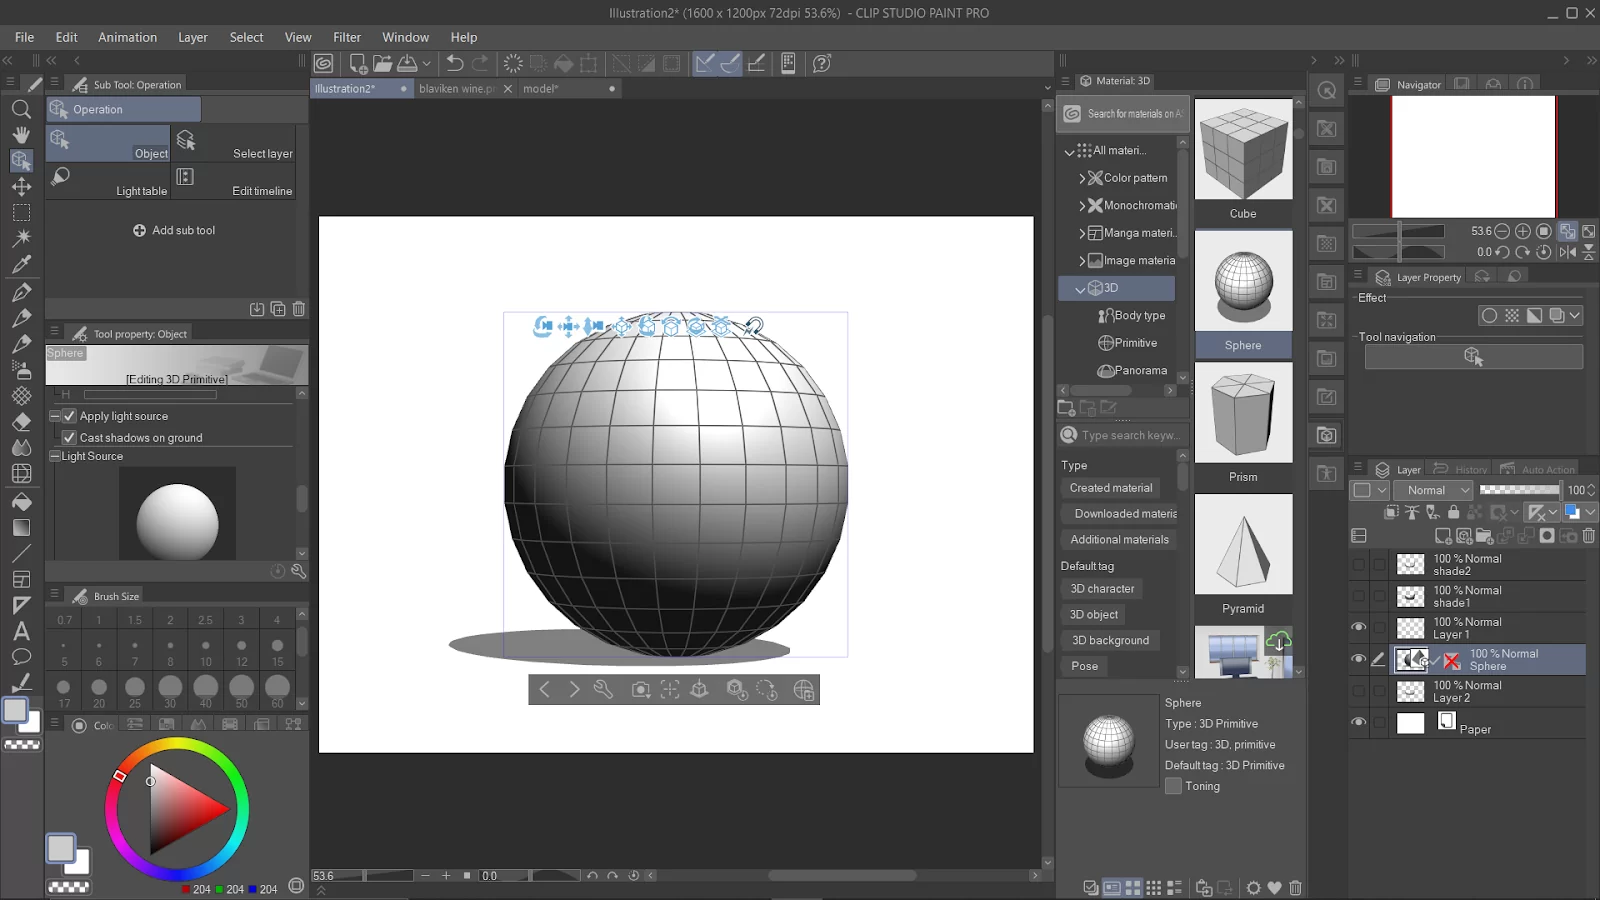
You can also use “3D materials” to use pre-drawn 3D models to use as a reference for your illustrations and can be used to shade and add depth to your illustrations.
We also recommend that you see our information-packed guide on how to transfer clip studio paint to another computer.
Shading Using The Dense Watercolor
Here is how to use the Dense watercolor to create a shade.
First, you need to place a shadow on the face. To place the shadows on the face, first, create a raster layer on a base color. Then, use the Brush tool and the preset Dense Watercolor. Finally, use the Blend tool and the preset Blur to break up the pixels and give the face a more even, clean finish. Experimenting with different shades of shade will yield more interesting results. You will produce oil textures and fuzzy edges using these tools.
You may also enjoy reading our step-by-step guide on how update Clip Studio Paint.
Shading Using The Hard Airbrush
You can also use your hard Airbrush to create shades in Clip Studio Paint. You can add the shadows to a new layer over the background color and switch on adjust to lower layer. The excess will be removed using the airbrush in transparent mode, and the edges will be smoothed using the Blend”Blur tool, which will give you finishes that resemble spray paint and a diffuse texture.
Shading Using The Fill Tool
To use this tool, you must first make a selection in the line layer. To do this, select Lasso and turn on the add to selection mode in the tool’s properties. When done, go to the shadow layer, and the Fill tool will only paint the selected area. This tool gives you solid shadows and edges.
Shading Using The Monochromatic Pattern-Dot
You may be wondering where this tool can be found because it isn’t a very popular tool in Clip Studio Paint. However, this tool can be found in the window>materials section of the materials that are included by default with Clip Studio Paint. With the lasso tool, make a selection for your shadows and select the Monochromatic pattern. Dot and drag the pattern you like best to the selection. You can alter the frequency in the layer parameters to alter the size of the circles.
Shading: Why is it Important?
Shading comes in handy when drawing 3-D subject matter. Whether you are drawing plant life, portraits, or just an object, knowing how to shade in clip studio paint can enhance your drawings and take them to the next level. Shading allows the quality of light and shadow to be available within a drawing. Light and shadow are a quality of real life which is why they bring art to life when it is included. When you can know where the light source is supposed to be on your artwork and shade accordingly, you’ll be on your way to producing realistic 3D quality. The main purpose of learning shading techniques is to help you gain skills to refine your drawings, giving them more dimensions.
If you liked reading this article, we recommend you check out our in-depth guide on installing brushes in Clip Studio Paint.