Are you looking for a way to make your photos look more professional and polished? Tired of using the same boring template or editing tools? Then we have the perfect solution for you – learn how to move objects in Photoshop!
Moving objects in Photoshop is a common task that allows you to rearrange the elements of your image and create the composition you want. Whether you’re moving a single object or multiple objects, the process is relatively straightforward and can be accomplished using a few different methods.
With this simple technique, you will be able to manipulate images with ease and create stunning visuals that will wow your audience. Keep reading as we guide you through every step of moving objects in Photoshop.
Moving Objects in Photoshop
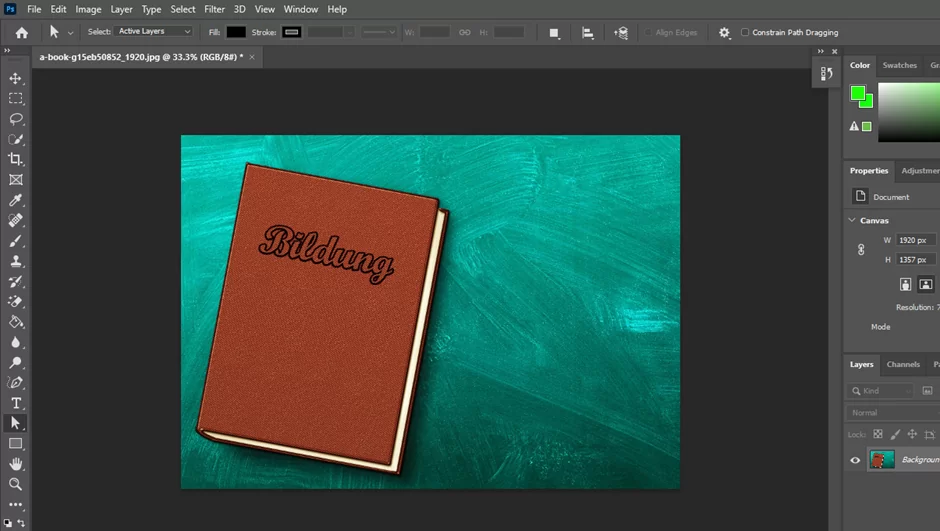
Open the image in Photoshop that contains the object you want to move.
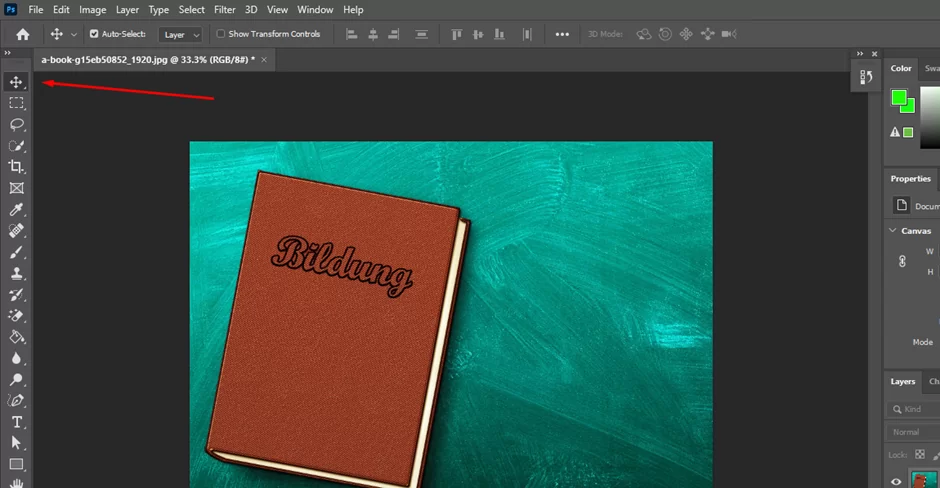
Select the Move tool from the toolbar on the left side of the screen, or use the keyboard shortcut “V” to select it.
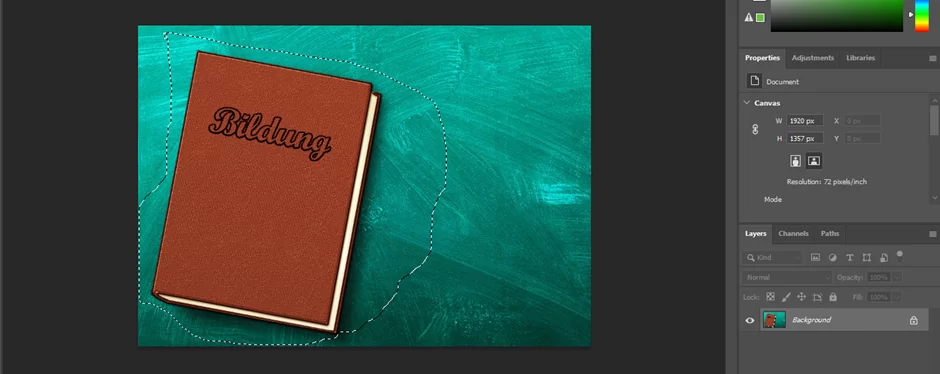
Click on the object you want to move to select it. You may need to use the Lasso or Pen tool to make a more precise selection.
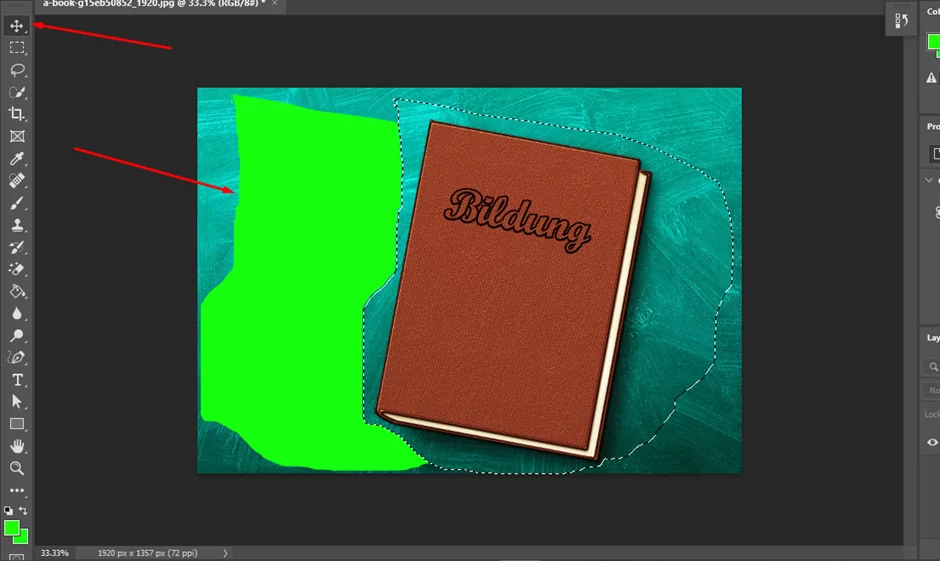
Use the mouse or arrow keys to position the object where you want it in the image.

If you need to adjust the size or orientation of the object, use the Transform tools in the Options bar at the top of the screen.
Once you are happy with the position and size of the object, press Enter or Return on your keyboard to apply the changes.
Save the image to keep the changes.
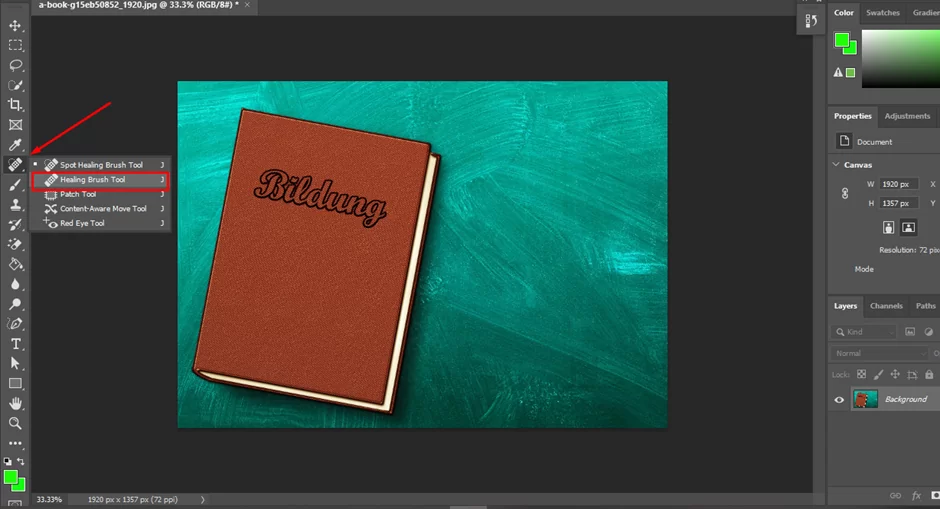
Using The Clone Stamp Or Healing Brush
Alternatively, you can also use the Clone Stamp or Healing Brush tools to move objects within an image by copying and blending pixels from one area to another. This can be useful for removing unwanted objects or fixing imperfections in the image. To use these tools, follow these steps:
Select the Clone Stamp or Healing Brush tool from the toolbar on the left side of the screen.
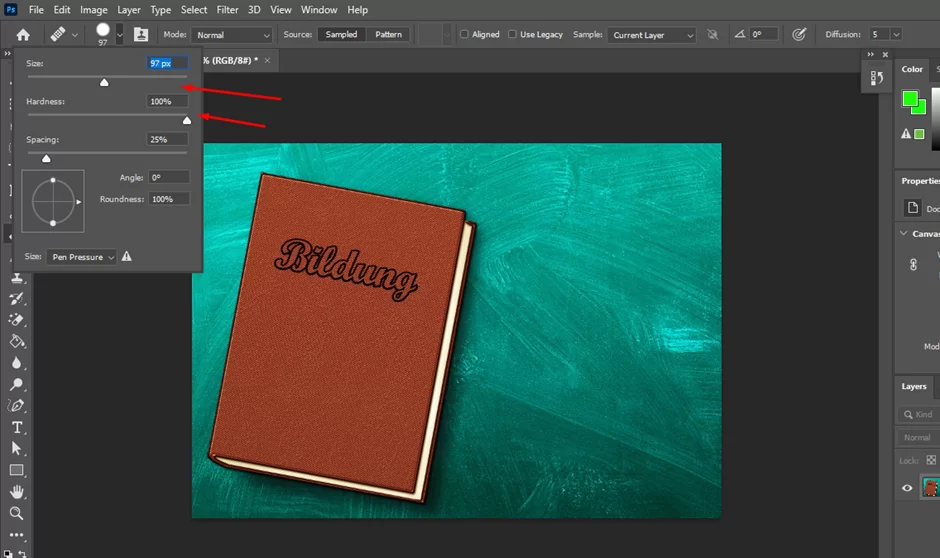
Use the options in the Options bar at the top of the screen to adjust the brush size, hardness, and other settings as needed.
Hold down the Alt key on your keyboard and click on an area of the image that you want to use as the source for the clone or healing operation.

Release the Alt key and then click and drag the brush over the area where you want to move the pixels to. As you drag, the pixels from the source area will be copied and blended into the destination area.
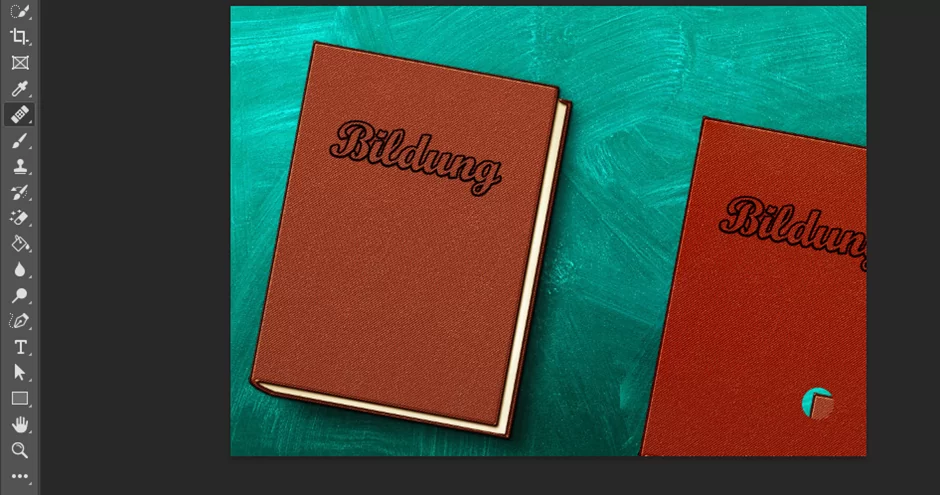
Continue cloning or healing until you have moved the desired pixels to the desired location. Save the image to keep the changes.
Finally, it’s important to note that moving objects in Photoshop do not actually change their position within the image. Instead, it changes the position of the pixels that make up the objects, which can affect the overall composition of the image. This means that if you move an object and then decide you want to move it back to its original position, you will have to undo the movement using the Undo command (Ctrl+Z on Windows, Command+Z on Mac).
How Do I Move Part Of An Object In Photoshop?
Moving part of an object in Photoshop can be a tricky task if you don’t know exactly how to do it. The key is separating the parts by first creating a selection around the area that needs to be moved, then using one of two techniques: either use “Free Transform” or copy and paste. To use Free Transform, just right-click on your selection, select “Free Transform,” move the cursor over the desired area, and click and hold while dragging it into place.
Alternatively copying and pasting gives you more control over what will happen with each part since they’re now separate objects. First, make your selection again, go to Edit > Copy (or press CMD + C), and create a new layer for pasted elements (Layer > New Layer or Shift+Ctrl/Cmd+N) Select this layer as active Edit> Paste Into Selection (Ctrl/Cmd+Shift+V). Either way, you should end up having two parts – separated from each other – that can be easily re-positioned within their respective layers!
Rounding Up
Overall, learning how to move objects in Photoshop is an invaluable skill for any photographer or graphic designer. Between the Tools Palette and keyboard shortcuts, it’s easy to move objects around quickly and efficiently with just a few clicks of your mouse.
Don’t forget that you can also adjust the size of objects as well as rotate them if needed – remember practice makes perfect! Now that you know how to move stuff around easily, go forth and create some amazing artwork in Photoshop!