Inverting selection in Adobe Photoshop is a useful tool for isolating a specific area of an image or for quickly selecting everything except for a certain object. In this article, we will go over the steps for inverting selection in Photoshop and explain how to use this feature to your advantage.
How to Invert Selection in Photoshop
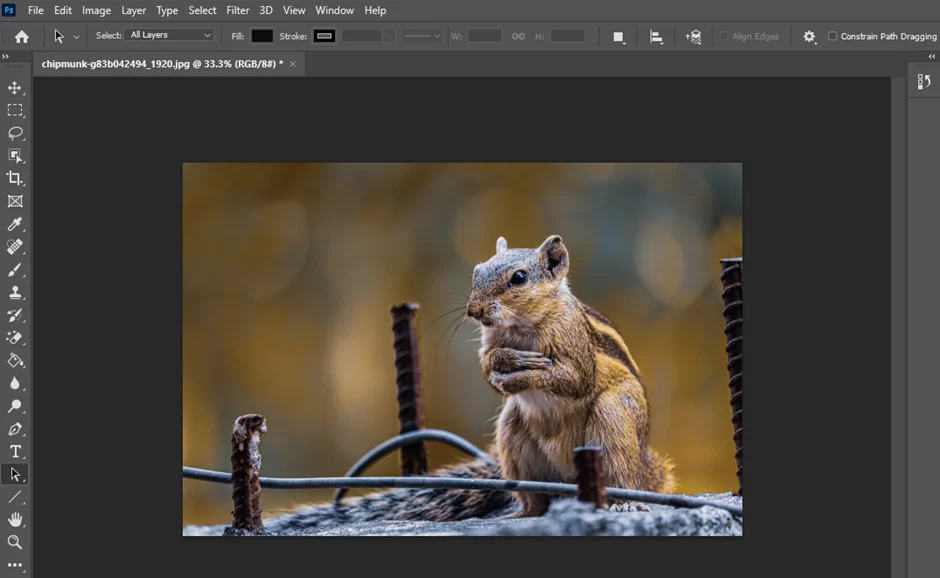
Open the image in Photoshop. You can do this by selecting “File” from the top menu and then choosing “Open” from the dropdown menu.
Select the Marquee tool from the toolbar on the left side of the screen. This tool allows you to make a selection around the area that you want to invert.
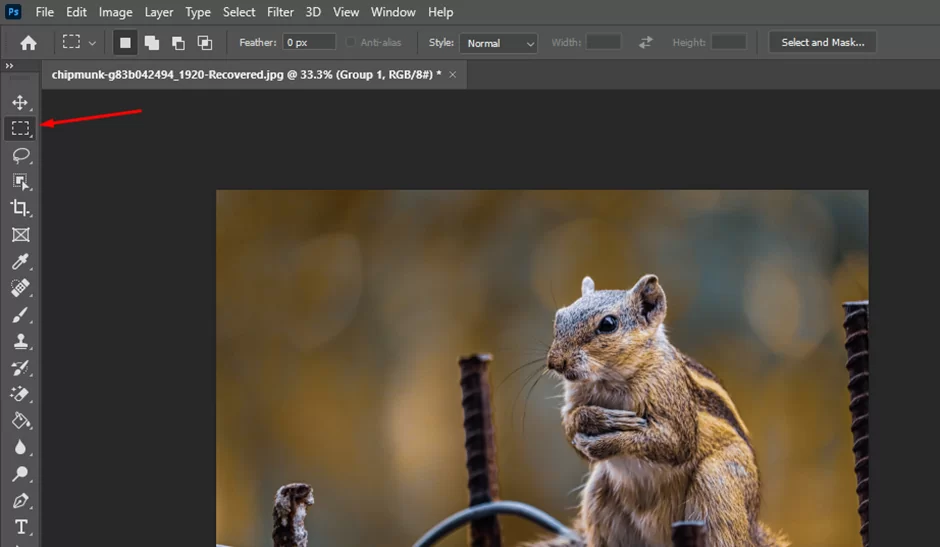
Use the Marquee tool to draw a selection around the area of the image that you want to invert. You can do this by clicking and dragging the tool around the area that you want to select.

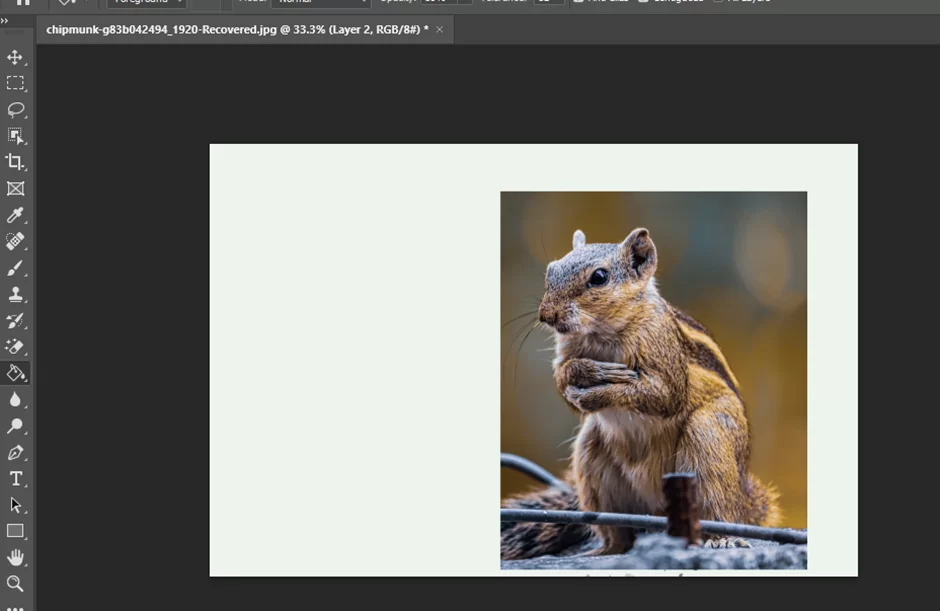
Once you have drawn your selection, go to the “Select” menu at the top of the screen and choose “Inverse” from the dropdown menu. This will invert your selection so that everything outside of the area you selected will now be selected.

You can now use the tools in Photoshop to make changes to the selected area of the image. For example, you can use the Paint Bucket tool to fill the selected area with a different color, or you can use the Eraser tool to remove the selected area from the image.

When you are finished making your changes, you can deselect the area by going to the “Select” menu at the top of the screen and choosing “Deselect” from the dropdown menu.

Inverting selection in Photoshop is a simple and effective way to isolate a specific area of an image and make changes to it without affecting the rest of the image. By following the steps outlined above, you can easily invert your selection and use the tools in Photoshop to make the changes that you want.
Common Benefits Of Inverting Selection In Photoshop
One of the main benefits of inverting selection in Photoshop is that it allows you to quickly and easily make changes to a specific area of an image without affecting the rest of the image. This is especially useful when you want to make changes to a small part of an image, such as removing an object or changing the color of a specific area.
Another benefit of inverting selection is that it allows you to quickly and easily select everything in an image except for a specific area. This can be useful when you want to make changes to the background of an image, or when you want to remove a certain object from an image.
In addition to these benefits, inverting selection in Photoshop can also save you time and effort. Instead of manually selecting each individual pixel or object in an image, you can simply draw a selection around the area that you want to invert and then use the “Inverse” option from the “Select” menu to quickly and easily invert the selection. This can save you a lot of time and effort when editing large or complex images.
What Is The Shortcut For Reverse Selection In Photoshop?
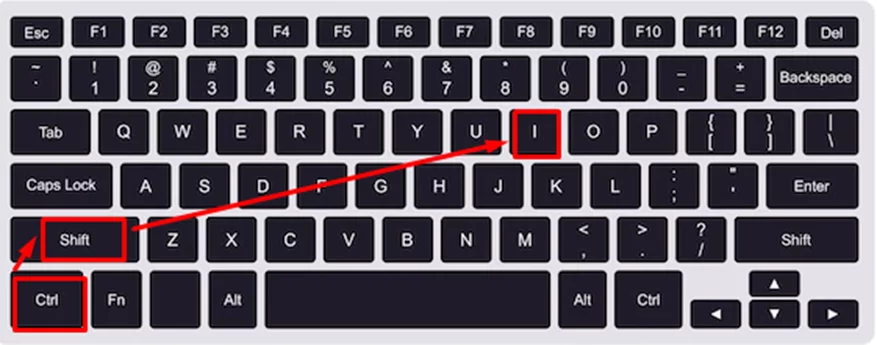
In Photoshop, you can use the shortcut “Ctrl+Shift+I” (Windows) or “Command+Shift+I” (Mac) to reverse your current selection. This will select all the areas in your document that are not currently selected, rather than deselecting your current selection. If you want to deselect your selection entirely, you can use the shortcut “Ctrl+D” (Windows) or “Command+D” (Mac).
Here are some additional tips for working with selections in Photoshop:
- To add to your current selection, hold down the “Shift” key and use one of the selection tools (e.g. Marquee, Lasso, Magic Wand) to draw a new selection.
- To subtract from your current selection, hold down the “Alt” key (Windows) or “Option” key (Mac) and use one of the selection tools to draw a new selection.
- To select everything in your document, use the shortcut “Ctrl+A” (Windows) or “Command+A” (Mac).
- To select everything in a layer, use the shortcut “Ctrl+Shift+A” (Windows) or “Command+Shift+A” (Mac).
Photoshop Select Inverse Not Working
There are a few potential reasons why the “Select Inverse” command might not be working in Photoshop. Here are a few things to check:
Make Sure You Have A Selection Active
In order to use the “Select Inverse” command, you need to have an active selection in your image. If you don’t have an active selection, the “Select Inverse” command will not work.
Check Your Image Mode
The “Select Inverse” command only works in certain image modes, such as RGB and Grayscale. If your image is in a different mode, like CMYK or Lab, the “Select Inverse” command will not be available.
Check For Hidden Layers
If you have any hidden layers in your image, the “Select Inverse” command will only invert the selection on the visible layers. Make sure all layers are visible by clicking the “eye” icon next to each layer in the Layers panel.
Check For Locked Layers
If you have any locked layers in your image, the “Select Inverse” command will not be able to modify the selection on those layers. Unlock any locked layers by clicking the “lock” icon next to the layer in the Layers panel.
Make Sure You Have The Correct Tool Selected
The “Select Inverse” command is only available when using certain tools, such as the Marquee, Lasso, or Magic Wand tools. If you are using a different tool, the “Select Inverse” command will not be available.
If none of these suggestions help, please provide more information about the specific steps you are taking and any error messages you are seeing.
Conclusion
Inverting selection in Photoshop is a powerful and versatile tool that allows you to quickly and easily isolate a specific area of an image and make changes to it without affecting the rest of the image. By following the steps outlined above, you can easily invert your selection and use the tools in Photoshop to make the changes that you want. Whether you are a professional photographer or a casual user, learning how to invert selection in Photoshop can be an invaluable skill for improving your images and creating stunning photo edits.