As a digital artist, you rely on your tools to bring your vision to life, and having the right brushes is essential to achieving the desired effect. If you’re new to Clip Studio Paint or haven’t installed brushes before, you may find the process intimidating. But it’s pretty straightforward.
In this guide, we will walk you through the steps required to install brushes in Clip Studio Paint. We understand that the software can be overwhelming, and you may have questions or encounter issues during the process. That’s why we’re here to guide you every step of the way and ensure that you have the necessary knowledge to install brushes with ease. So, let’s dive in and learn how to install brushes in Clip Studio Paint.
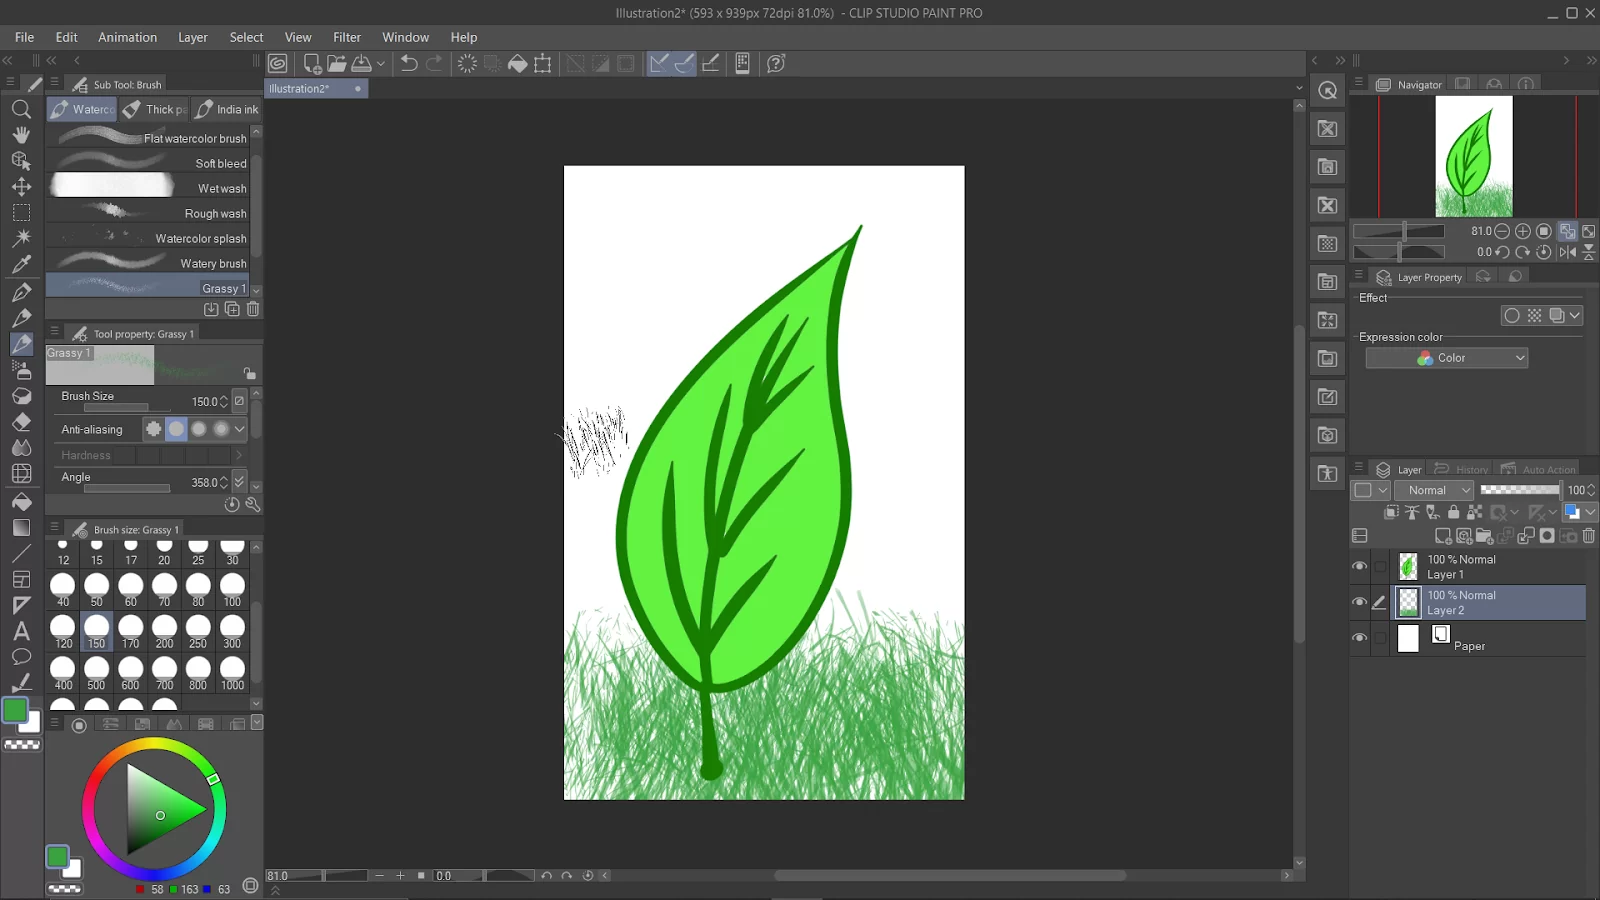
How to Install Brushes in Clip Studio Paint
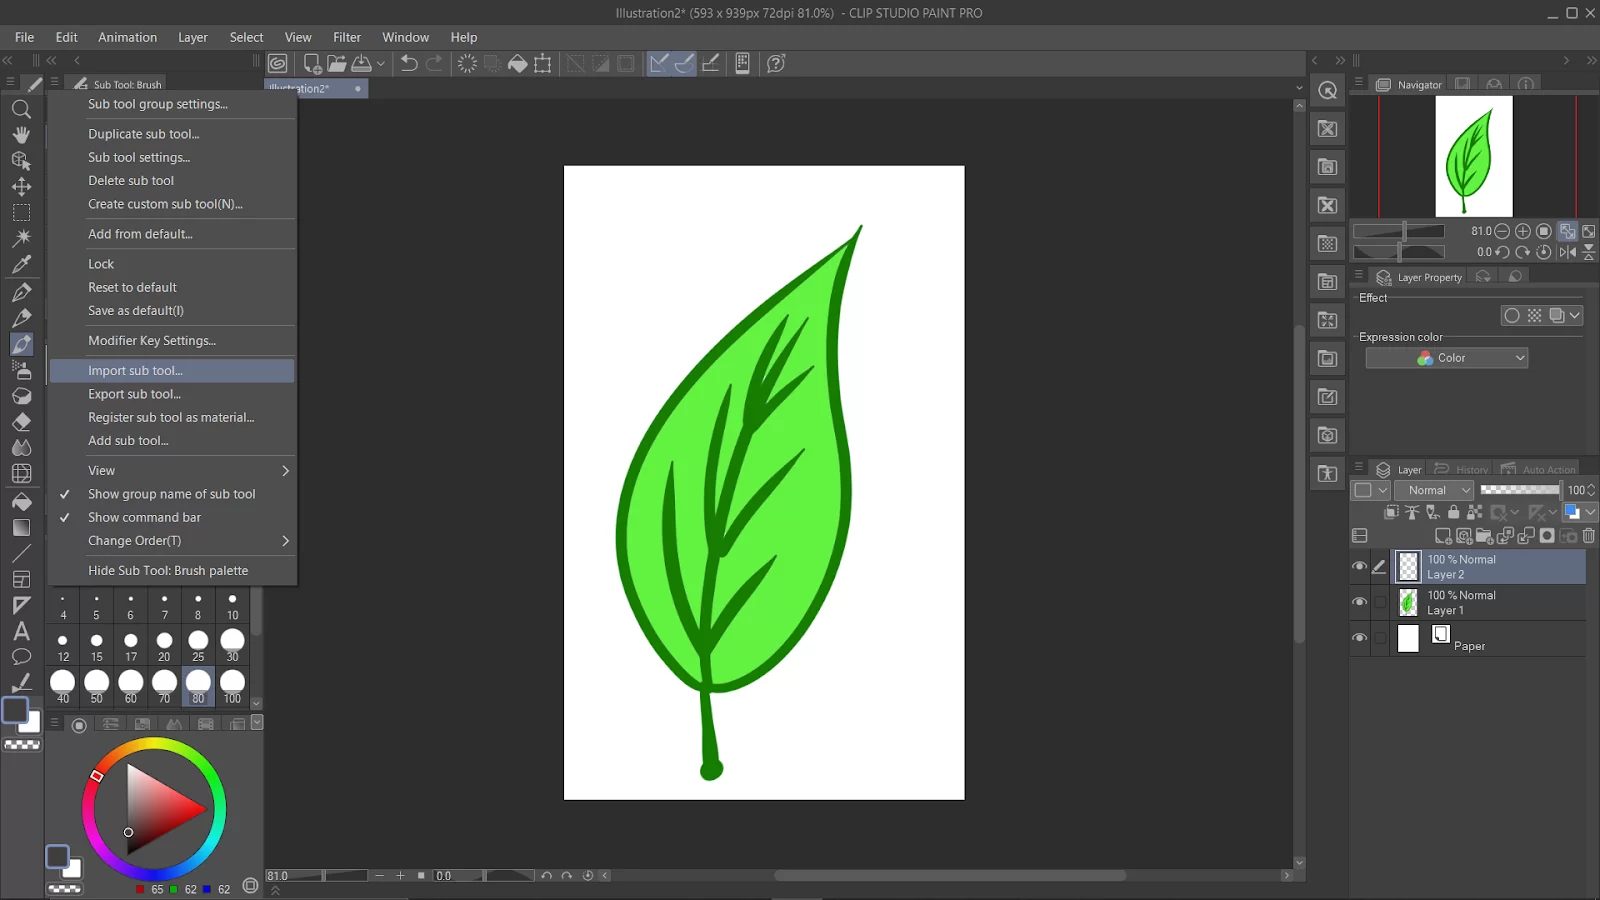
Select ‘Brush’, and tap the menu button in the upper left corner of the Sub tool palette.
Select ‘Import sub tool’ from the drop – down menu.
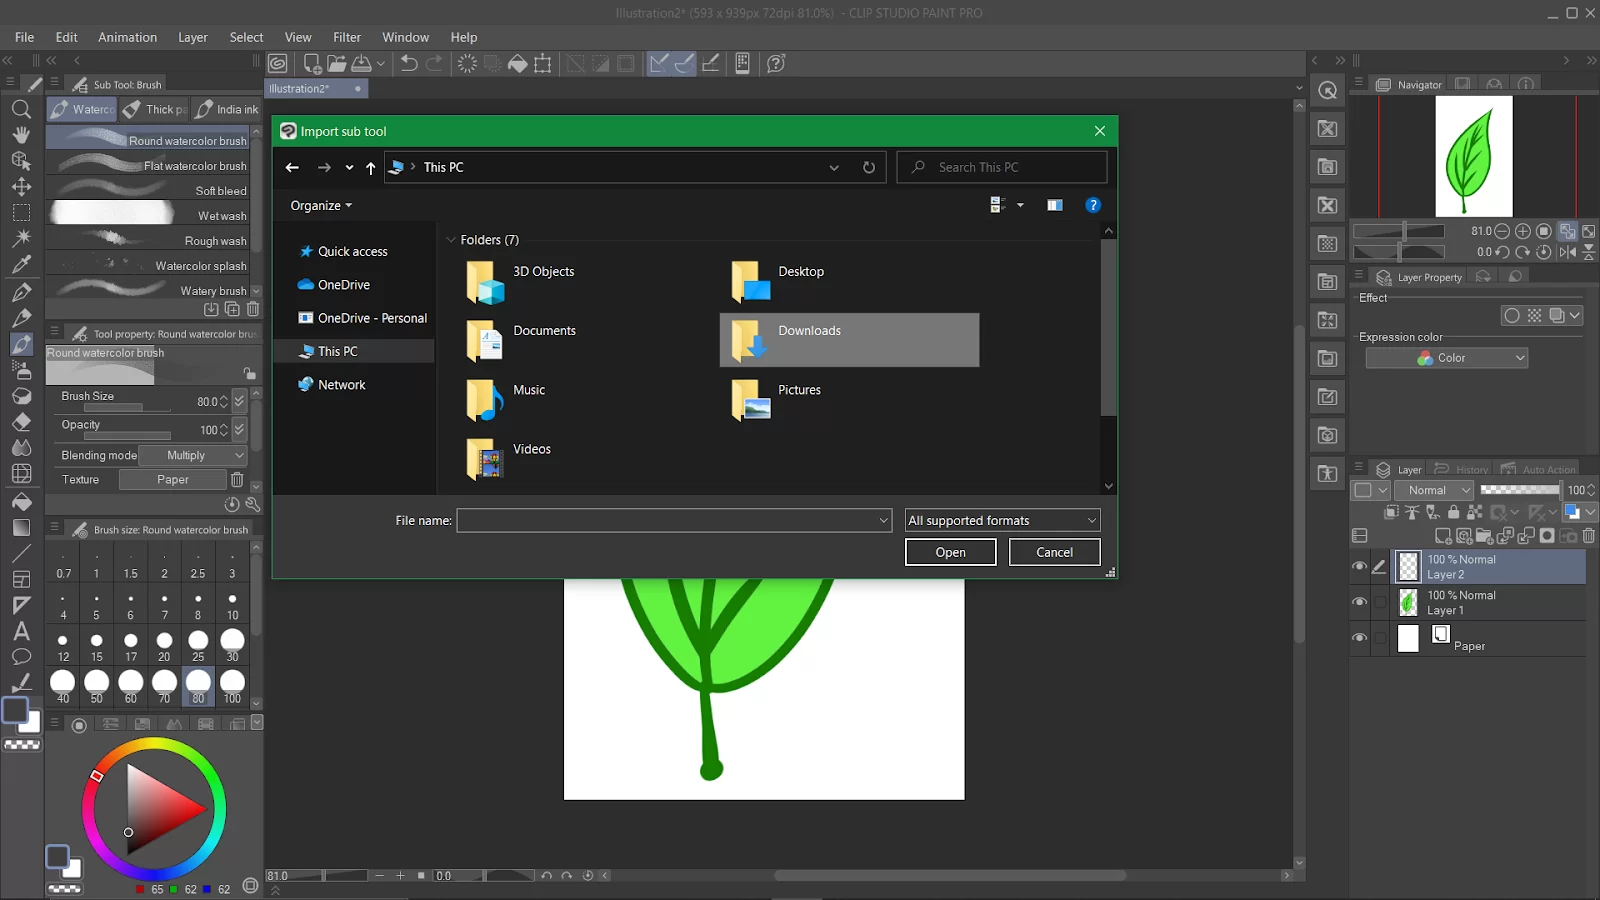
Open to where the brush is saved, and select the brush file you want to import. Note: This screen is displayed differently depending on your device type.
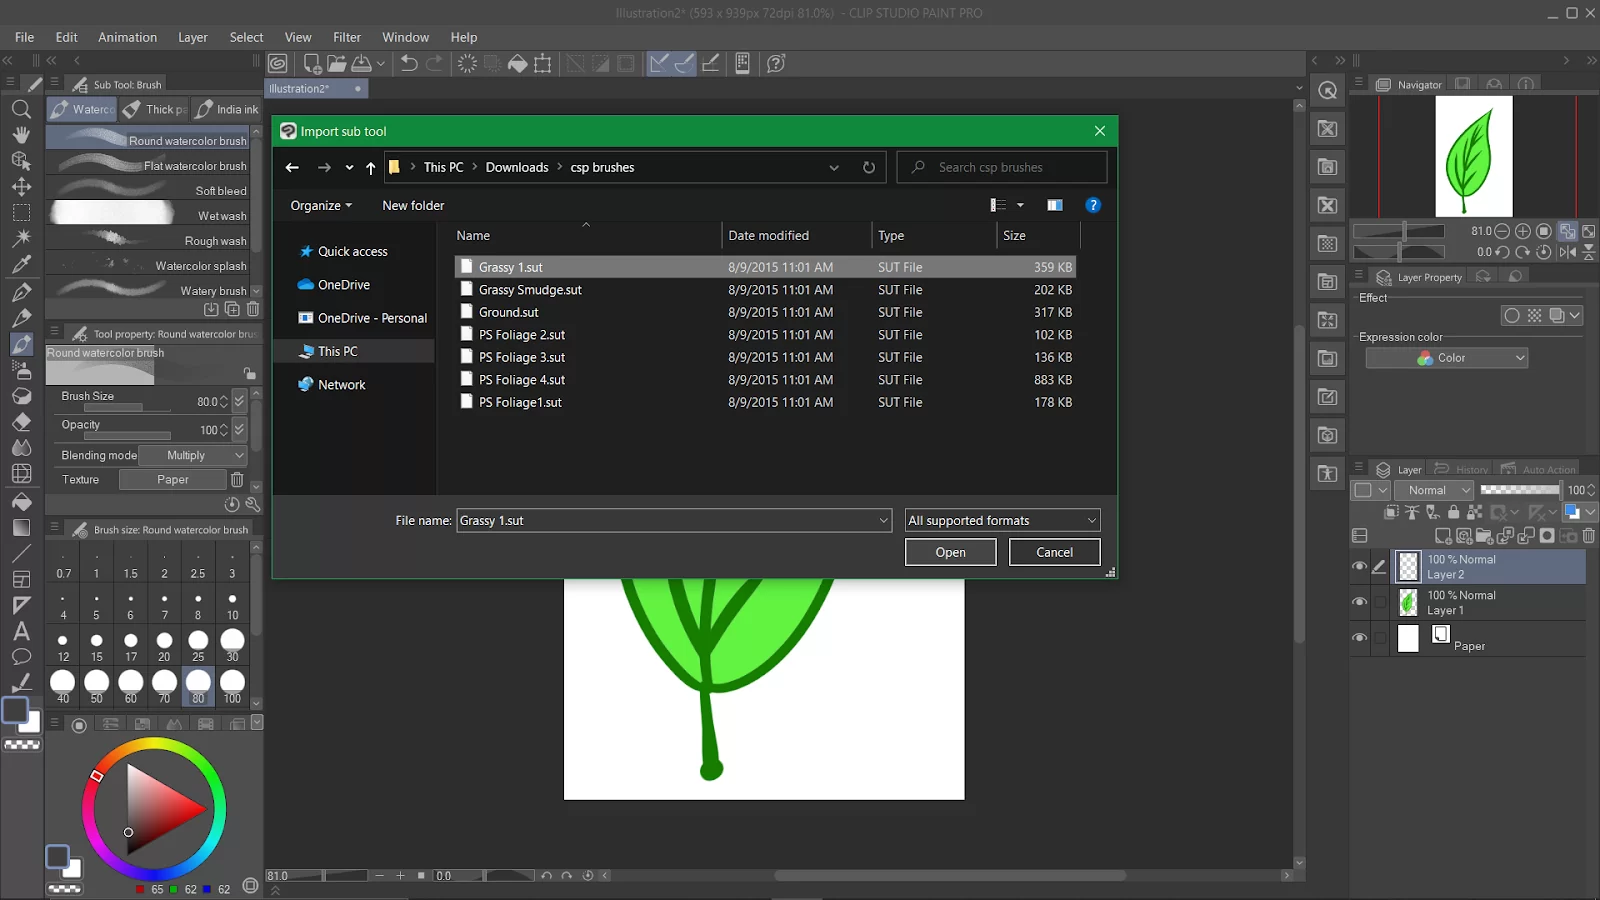
The brush file will be imported as a sub tool.
How to Import Brushes Into Clip Studio Paint Using iPad
Your Brushes can be imported into Clip Studio Paint for iPad in a variety of ways. The location where you saved your brushes is important. For example, some people like to save on Dropbox. Follow the steps below.
Step 1
To begin, launch Clip Studio Paint and select either the brush or pen option. Now choose the desired brush in the Dropbox app. Click Export -> Open In… and then pick Clip Studio.
Step 2
If you have followed the first step, then congratulations, you are done! You can find your new brush on the tab you left open in Clip Studio if you return there. If not, try closing and reopening Clip Studio to update it.
You may import your brushes from Google Drive in addition to Dropbox. Make sure the tab in Clip Studio Paint where you want your brush to go is open. Then choose Open In… and then Copy to Clip Studio. This is after you have chosen the desired brush in Google Drive.
How to Download Brushes Using Clip Studio Assets
Clip Studio Assets is a very useful function in Clip Studio Paint that allows you to download new and unique content. The unique content might be textures, models, brushes, etc. In Clip Studio Assets, there are many things that you can find that were created by Clip Studio users and other artists. The assets you’ll find are premium assets, but you can also download and use a huge selection of free elements.
To use this function, open the Material Tab and select the Search for Additional Materials button. Alternatively, you can also click the third icon on the tab below the menus.
If you want to download a brush, you need to first have a Clip Studio account. Ensure that you register and log in before you attempt to download anything. To download a brush, you need to have a Clip Studio account.
Now that you’ve logged in, search for brushes or any other materials that you may need. When you see the brush, open it and click the download button.
When you download the brush, you can go back to the Clip Studio Paint, navigate to the material bar on the right side of your screen and click download. The brush you download will immediately appear.
If the download folder was already open, you may need to click another folder and go back to the downloaded materials so that the download folder will refresh. Next, grab your new brush and drag it to the Pen or Brush tab that has been selected. The brush you downloaded is now ready to use. You can move it to another tab if you want—Just click on it and drag the brush to where you want it to be.