When reviewing or editing PDF documents in Adobe Acrobat Pro, you may find yourself needing to highlight or emphasize specific areas. Circling is a simple yet effective way to draw attention to important information or provide feedback. However, if you’re new to the software or have never used the circle tool before, you may be unsure how to get started.
In this guide, we’ll walk you through the essential steps required to circle in Adobe Acrobat Pro, allowing you to highlight important information, provide feedback, or draw attention to specific areas of your documents.
2 Steps to Add Circle
Step 1:
First, Open Adobe Acrobat software and then open your pdf file. To open a file go to File > Open and then select your pdf file from your file manager. You can use short in Win [ Ctrl + O ] or Mac [ Cmd + O ]. You can click directly to Open file on the right corner and then open your File.

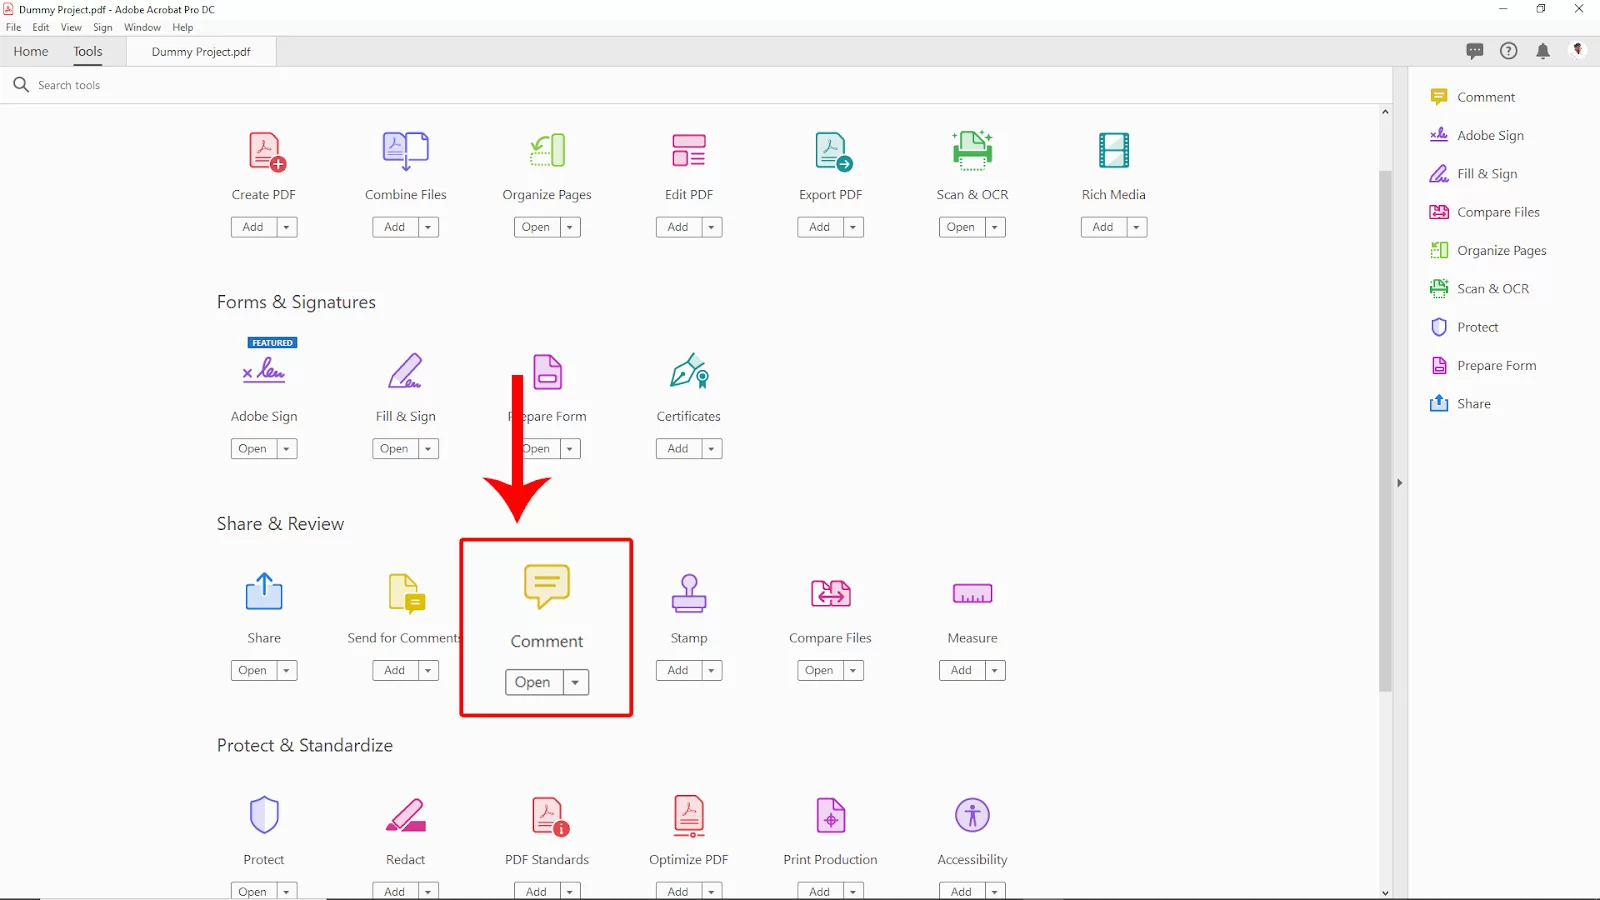
After opening the pdf file go to Tools in the upper left corner Click on that.

Now In the Tools tab select the comment option.
Step 2:
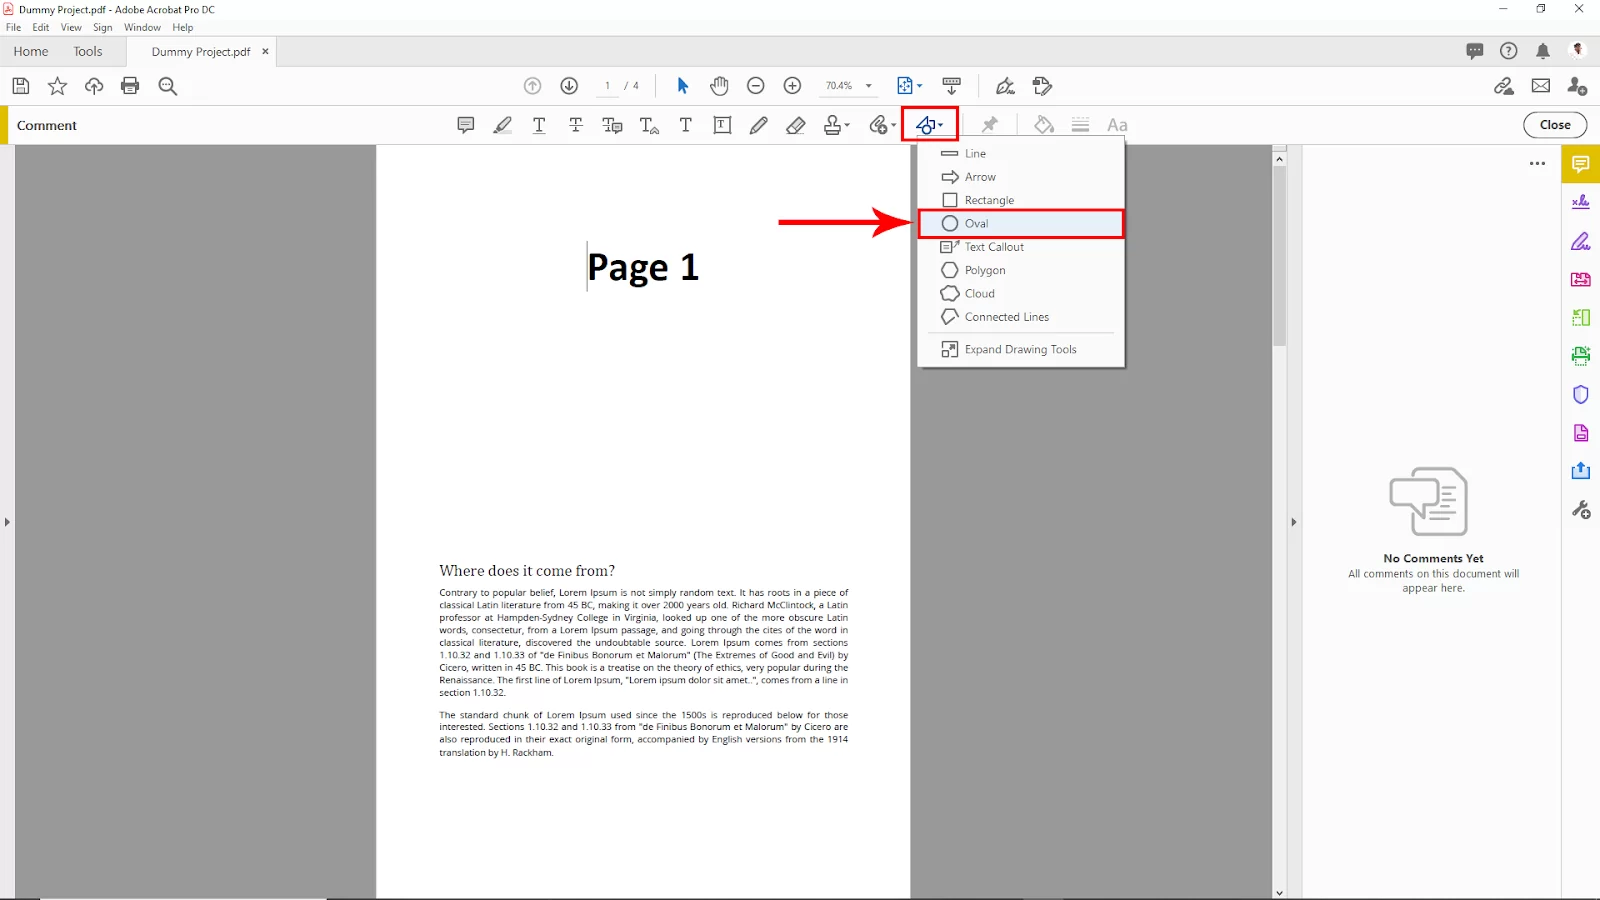
After selecting the comment Option back to the page tab, click on the right upper corner shape dropdown options. Here you will find some shapes. Select the Oval for the circle shape.
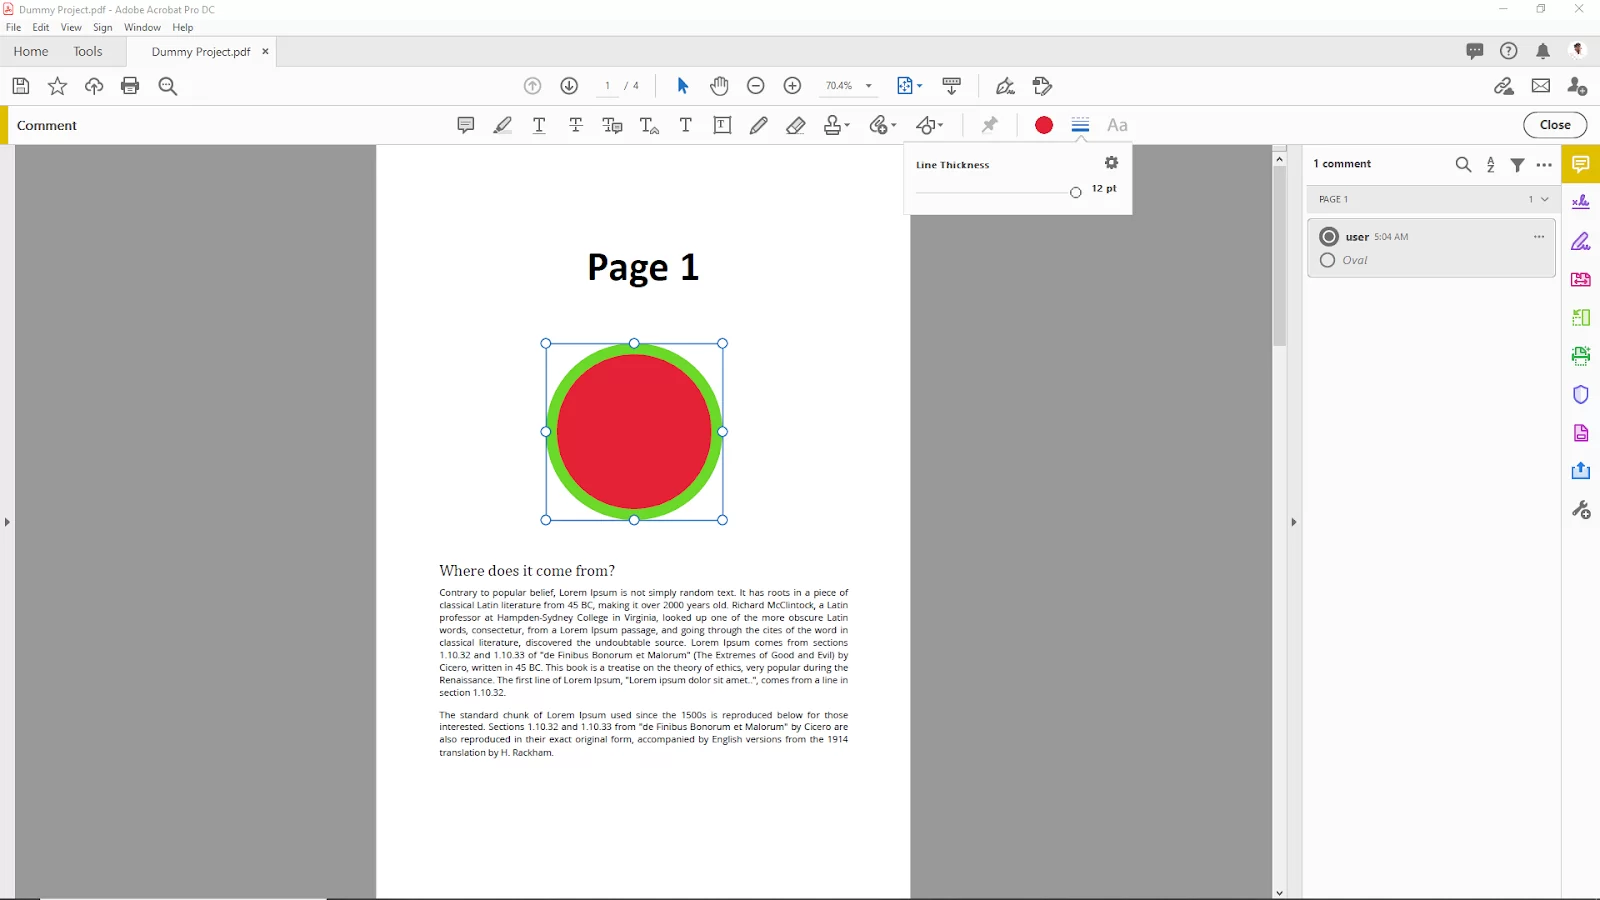
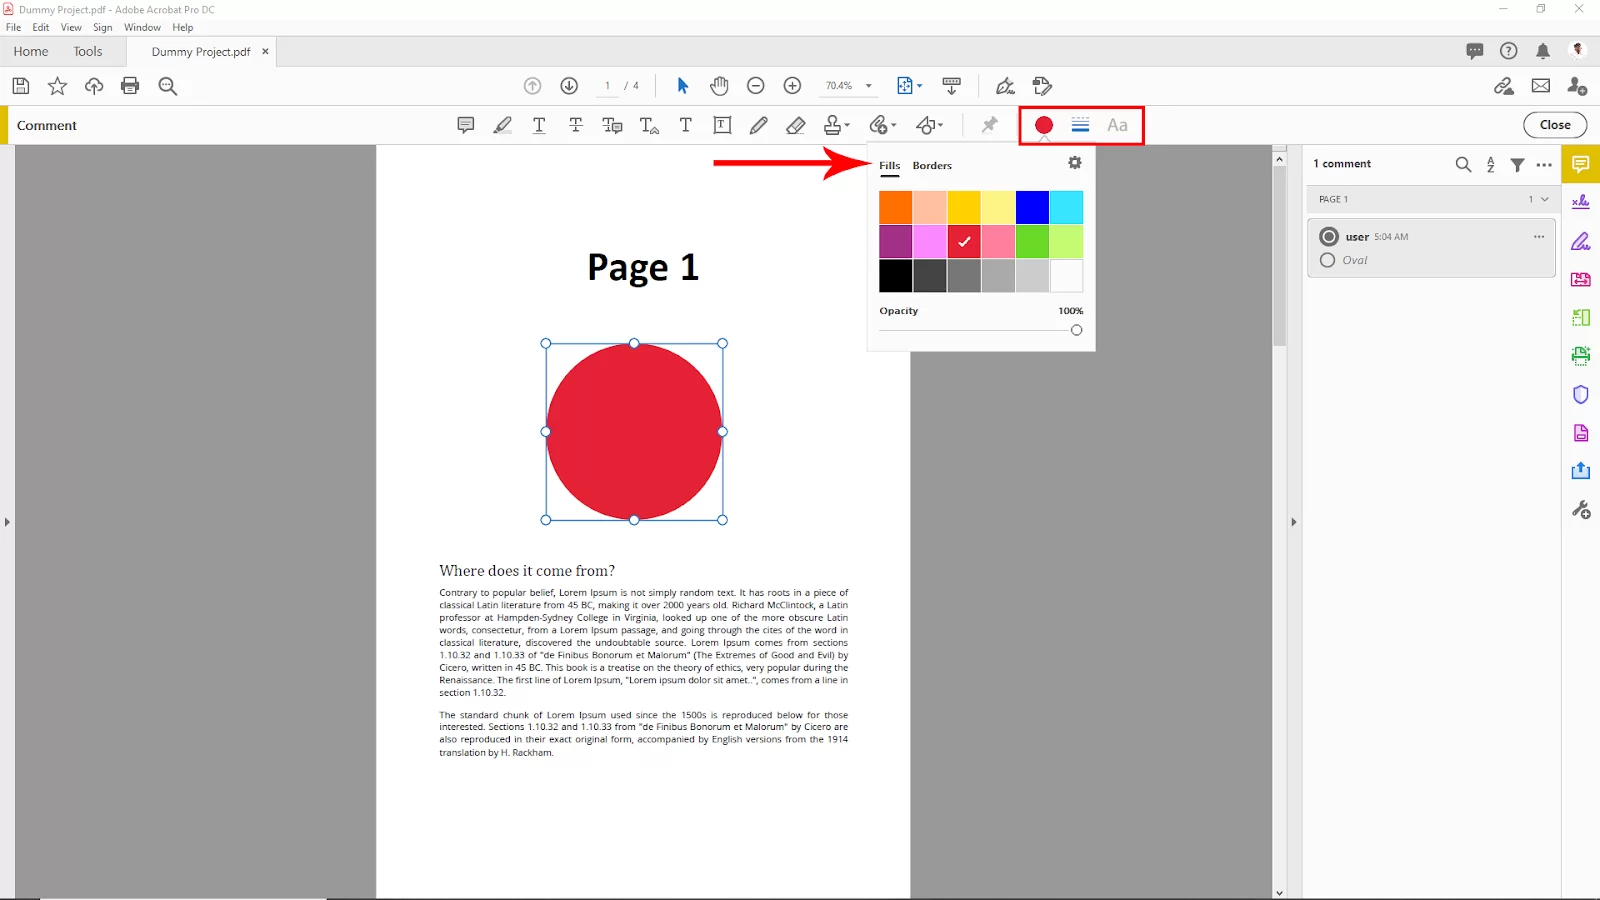
After selecting the shape now click and drag where you want to add the shape. To change the color click on the upper corner of the color palate and select your color. You can increase the border value and color from here. And also can change the opacity.
Choose the shape border and increase the border value to visible the border.