One of the important elements in digital painting and drawing is the use of a grid. Grids can help with composition, perspective, and proportion. In this tutorial, we will guide you through the process of creating a grid in Clip Studio Paint, so you can incorporate this useful feature into your workflow.
How to Make a Grid in Clip Studio Paint
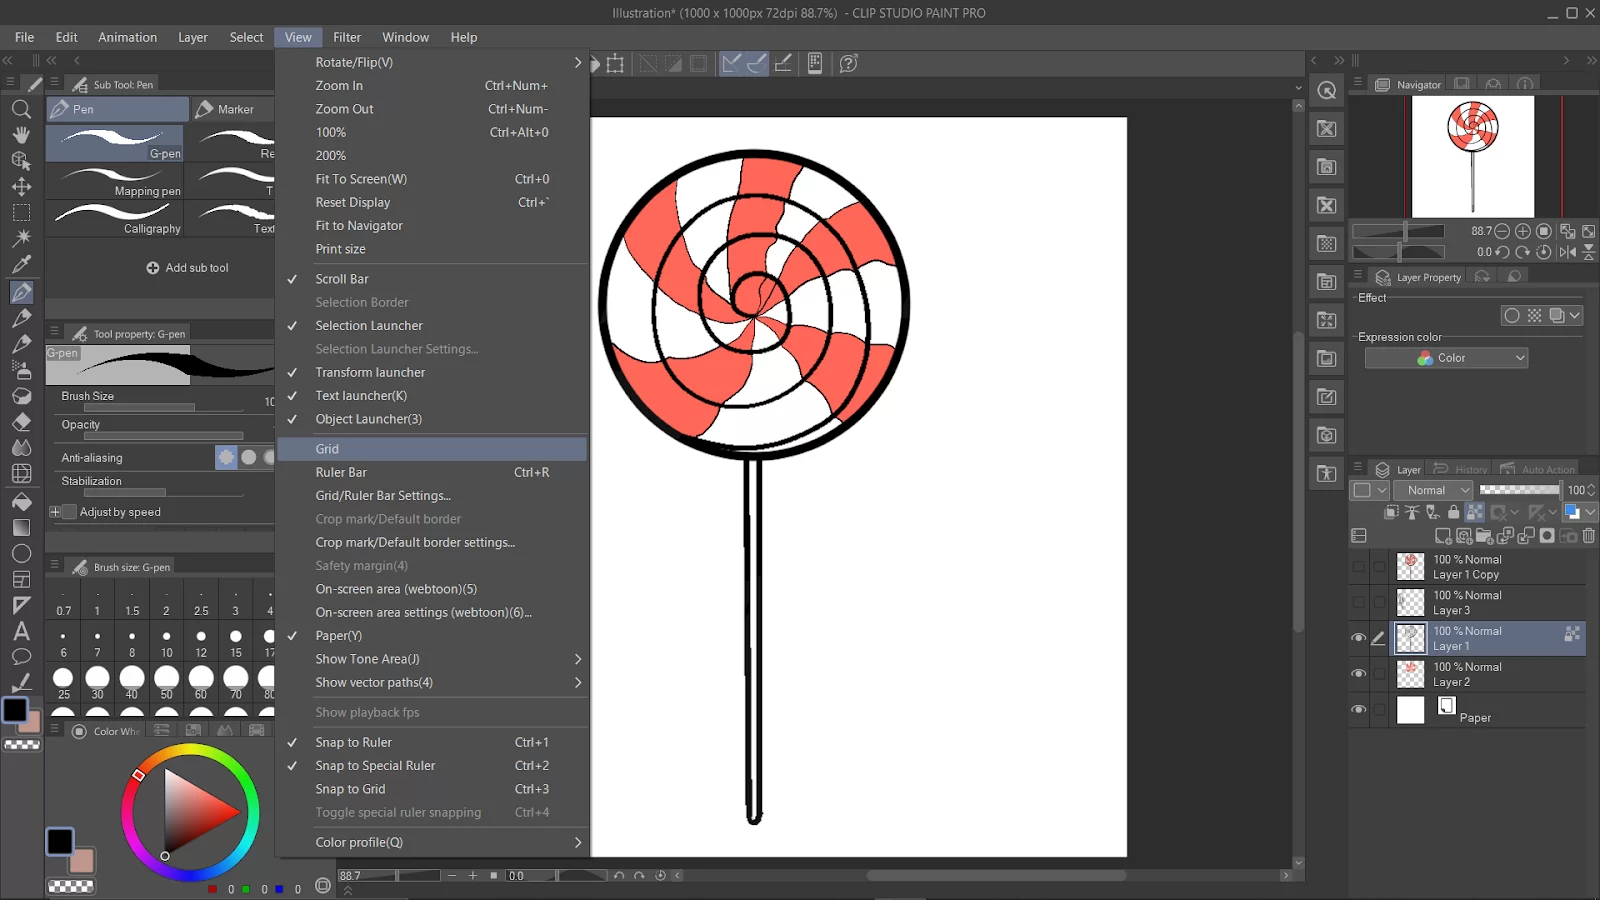
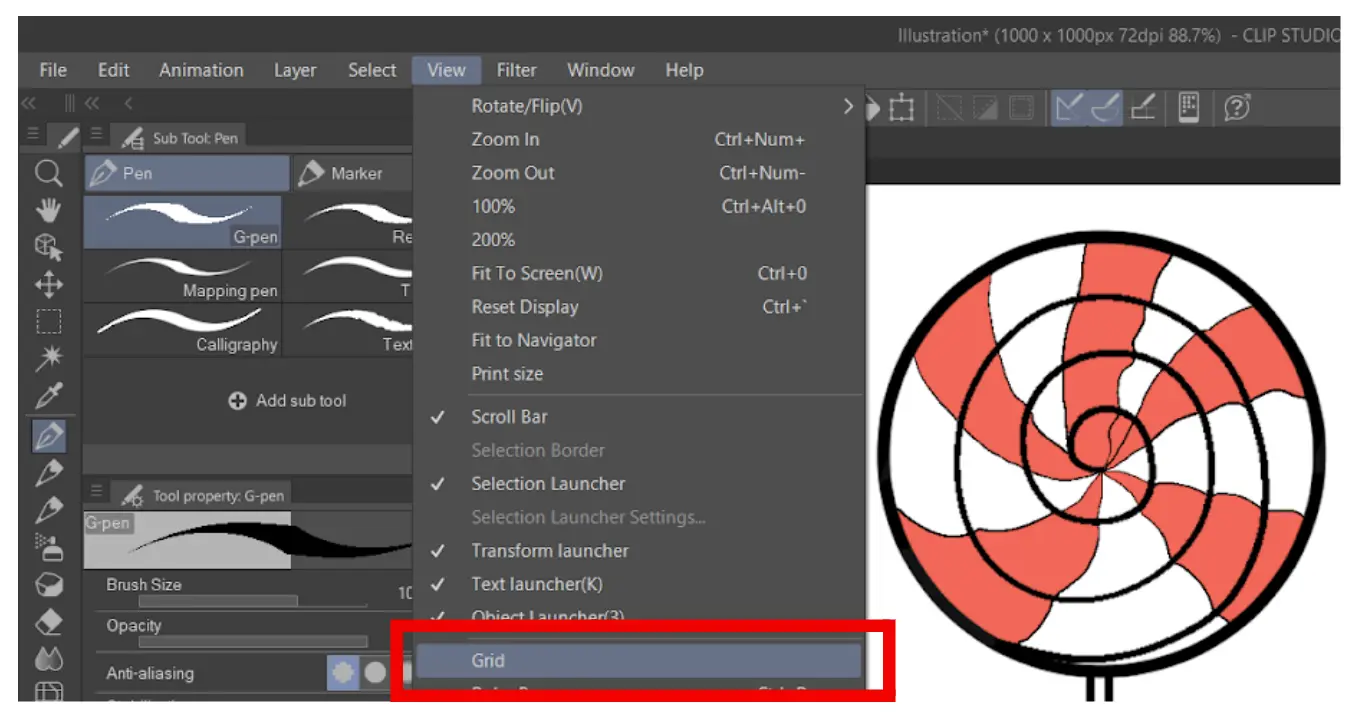
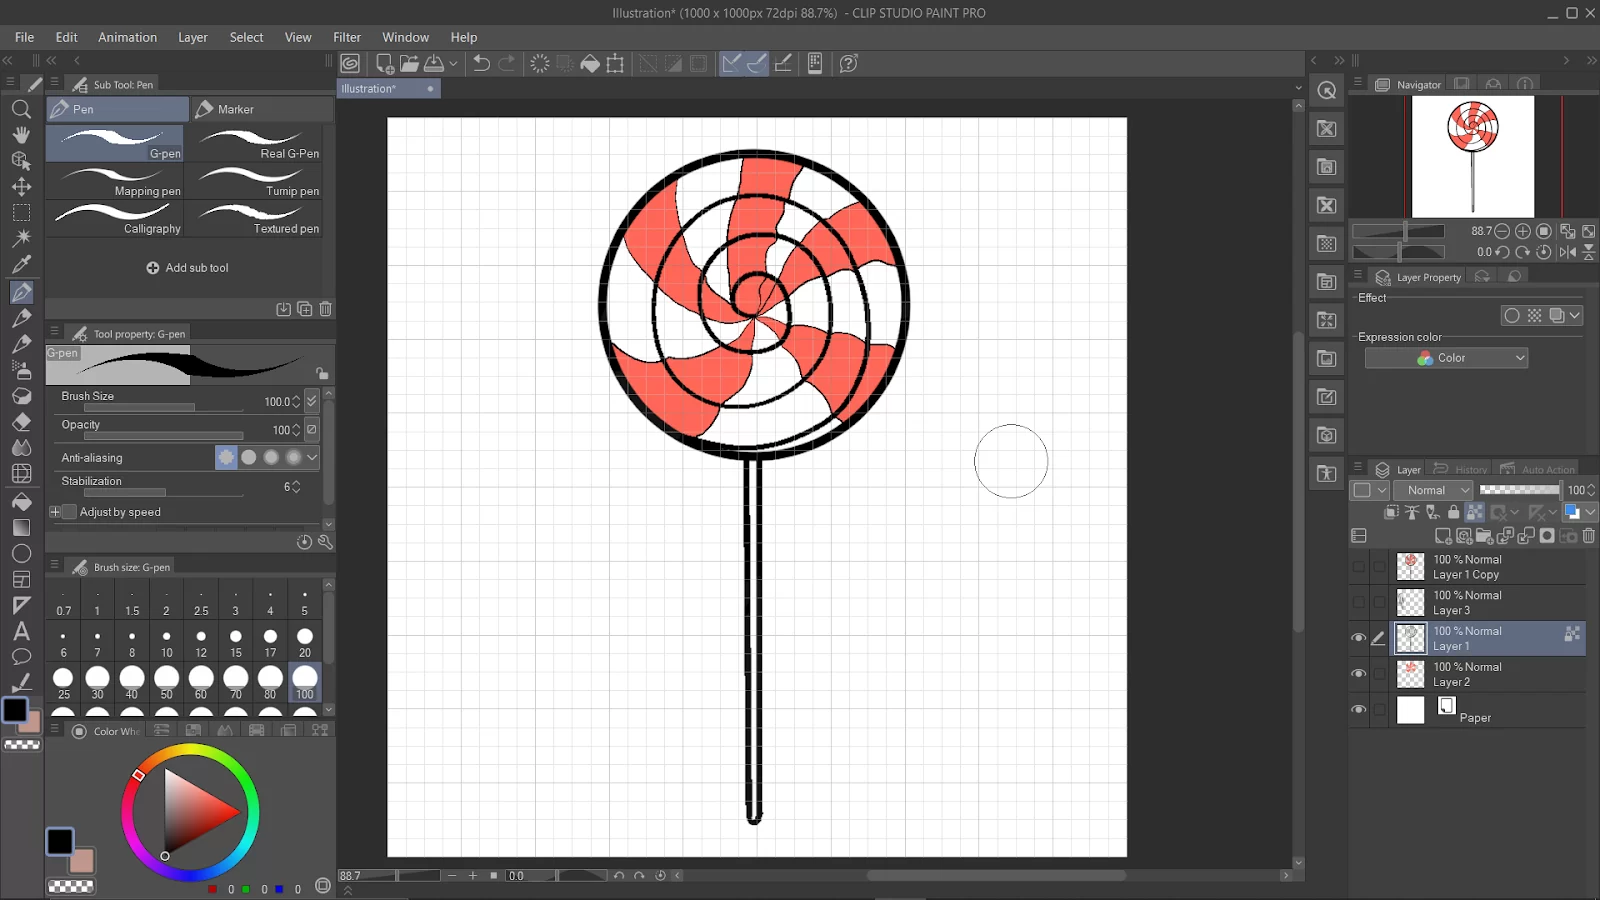
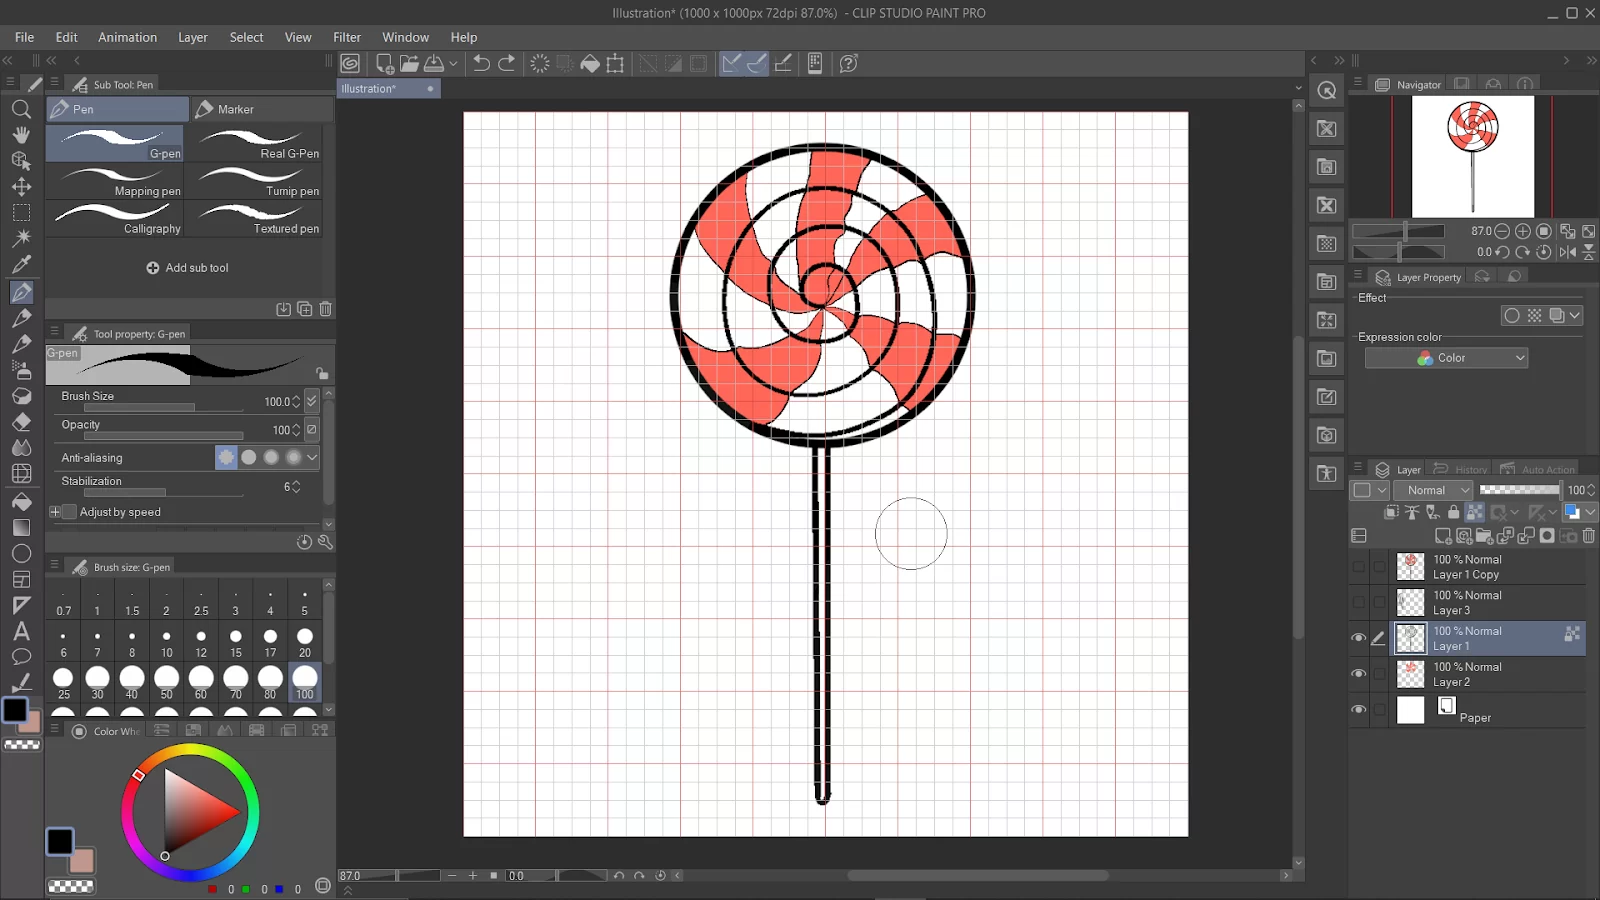
Go to “view” and select “Grid.”
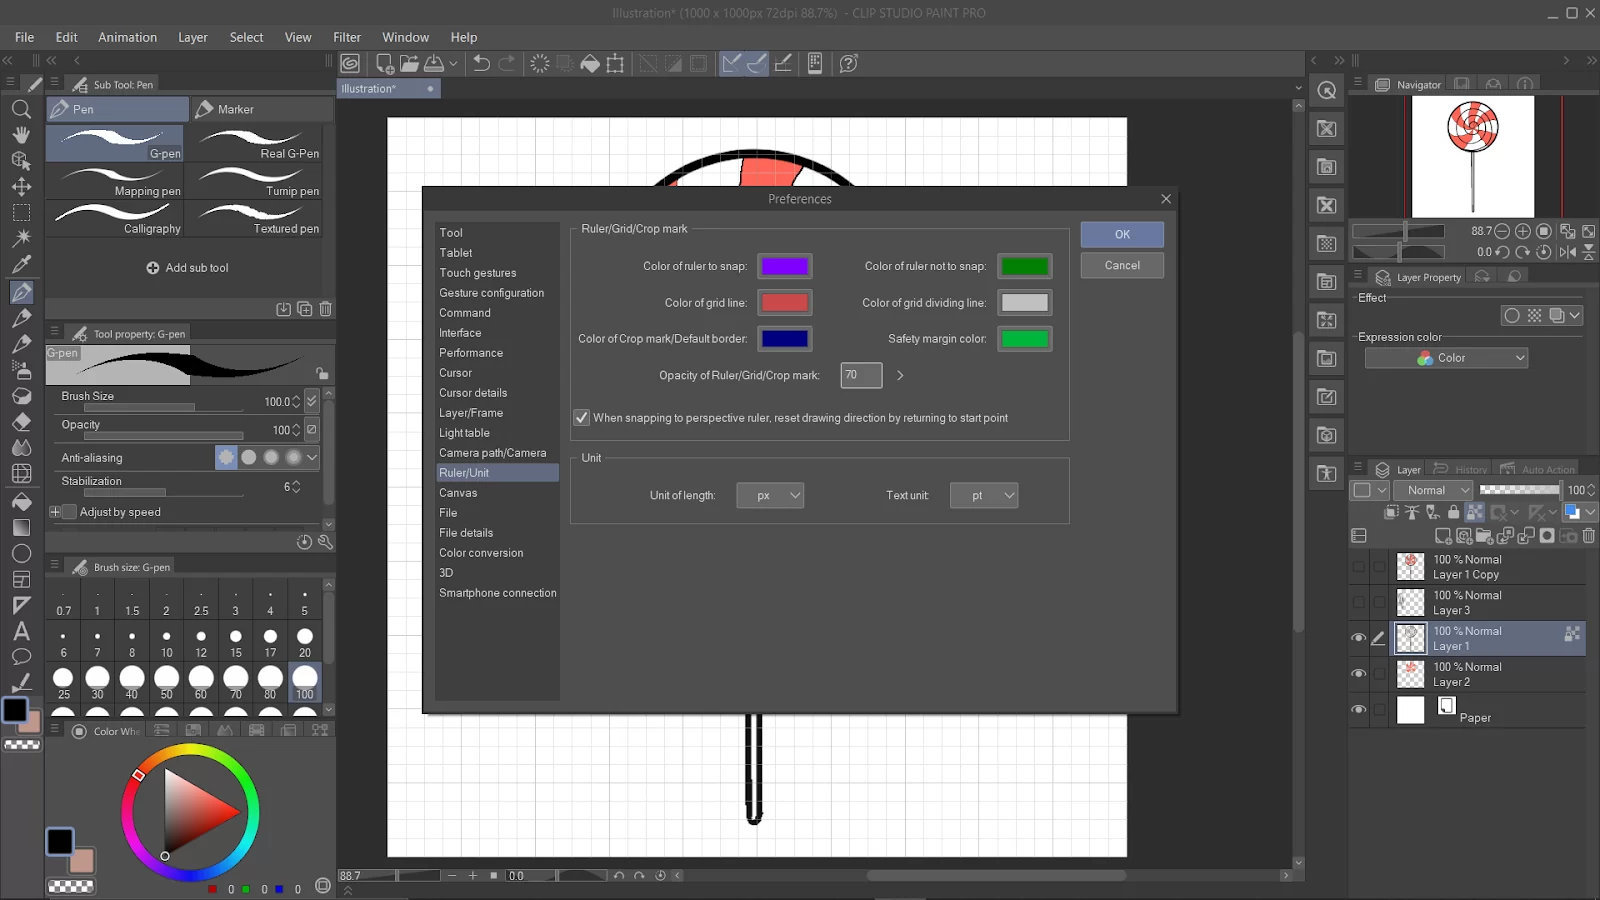
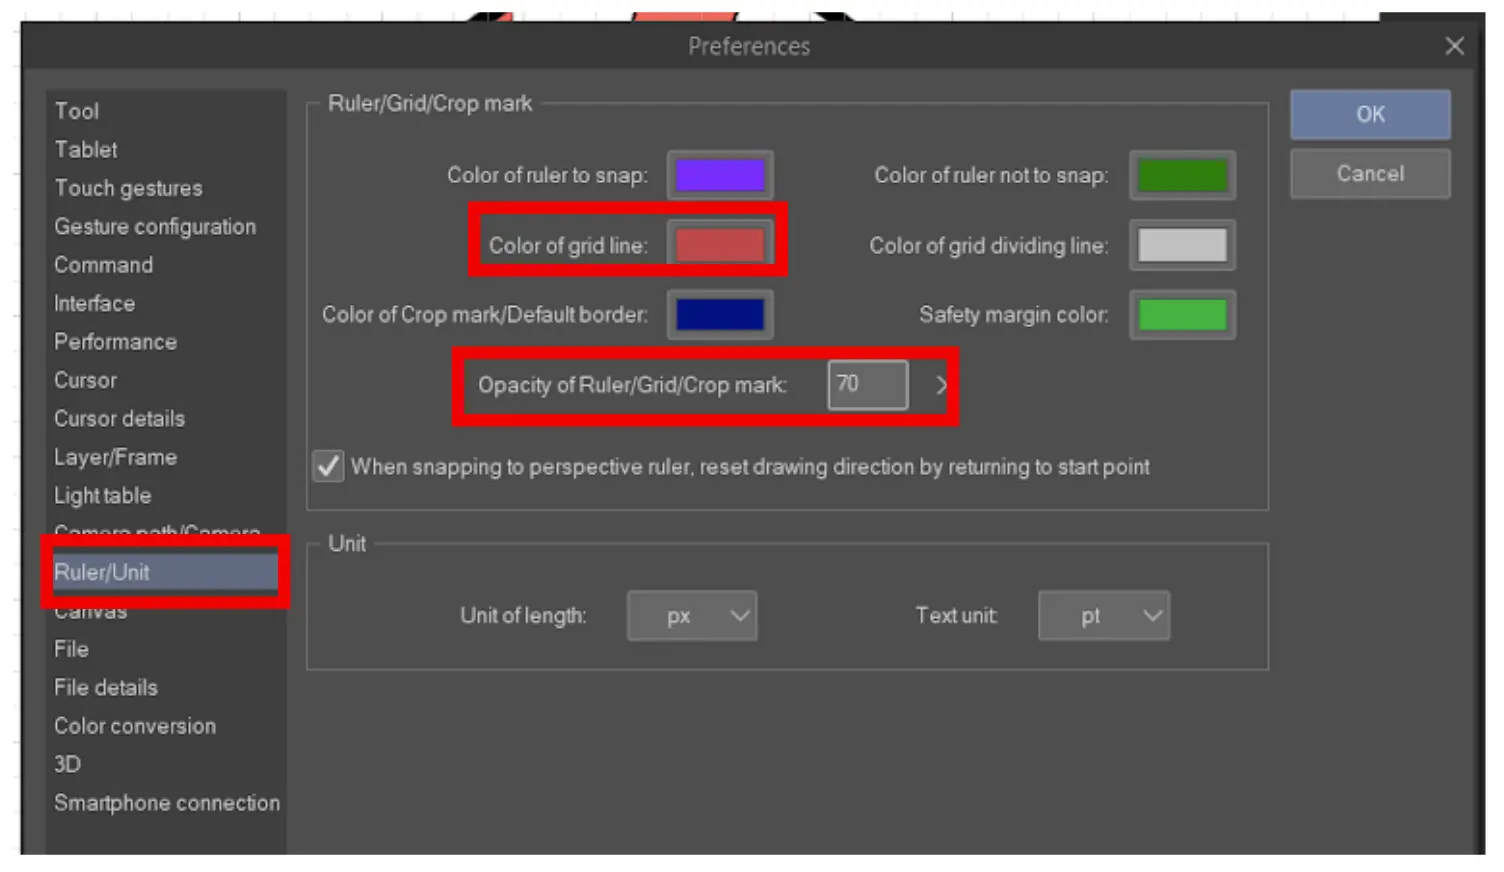
The color and the opacity can be adjusted in the “preferences” dialogue box.
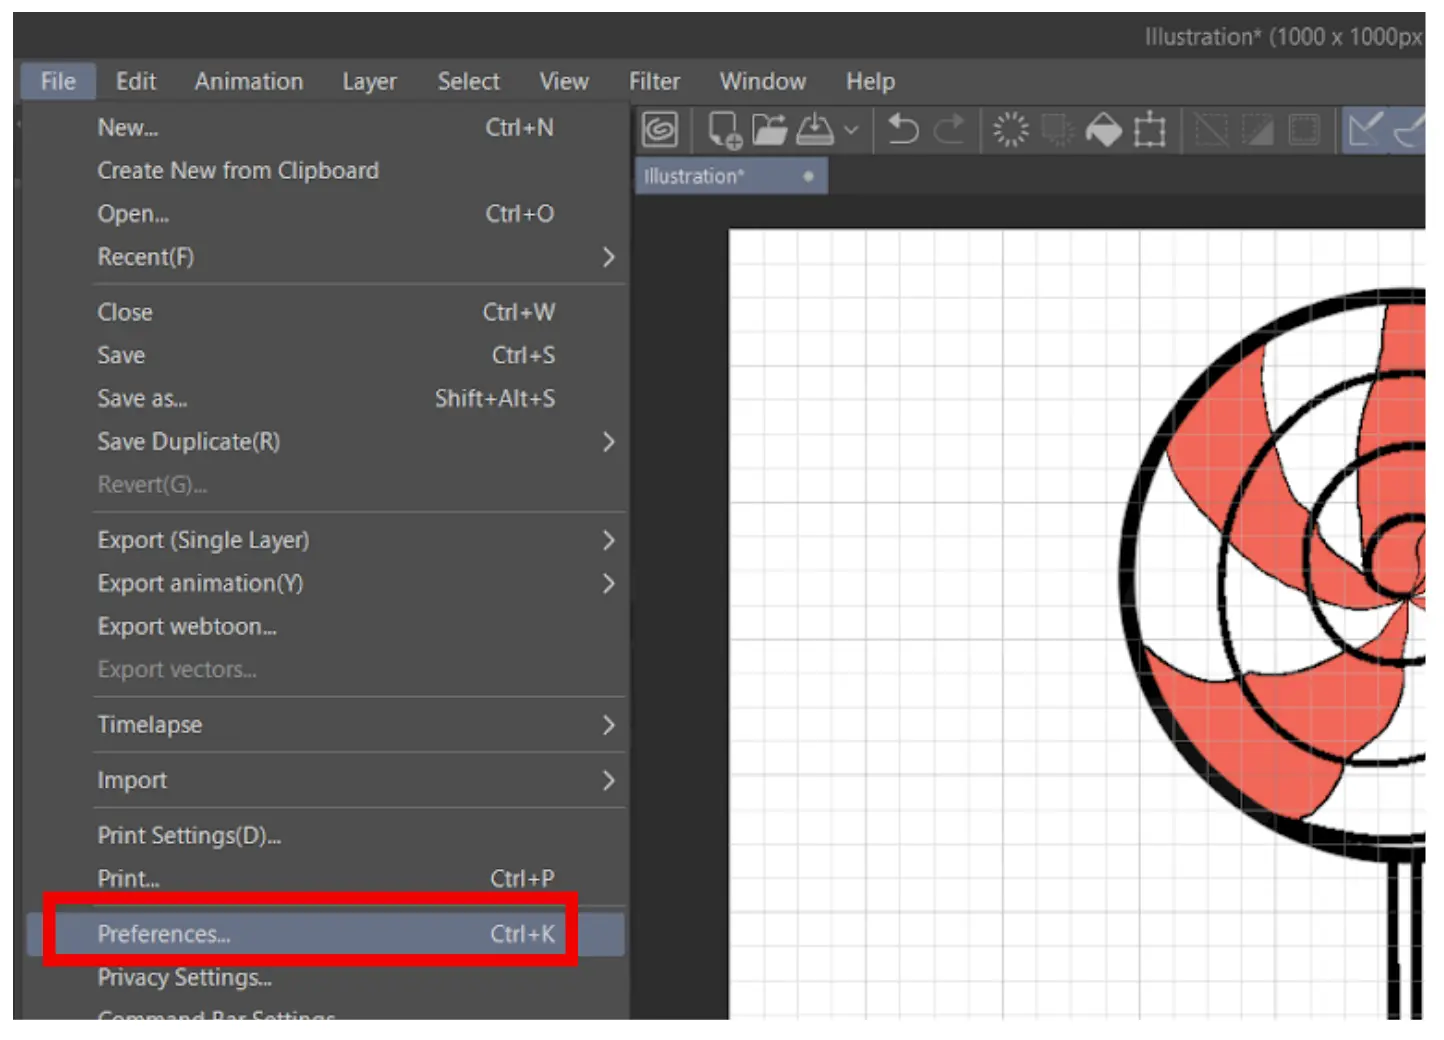
Select “ruler/unit” and change the color and thickness accordingly.
You can also adjust the grid lines’ origin, spacing, and divisions by selecting “Grid/ruler settings” in the “view” menu.
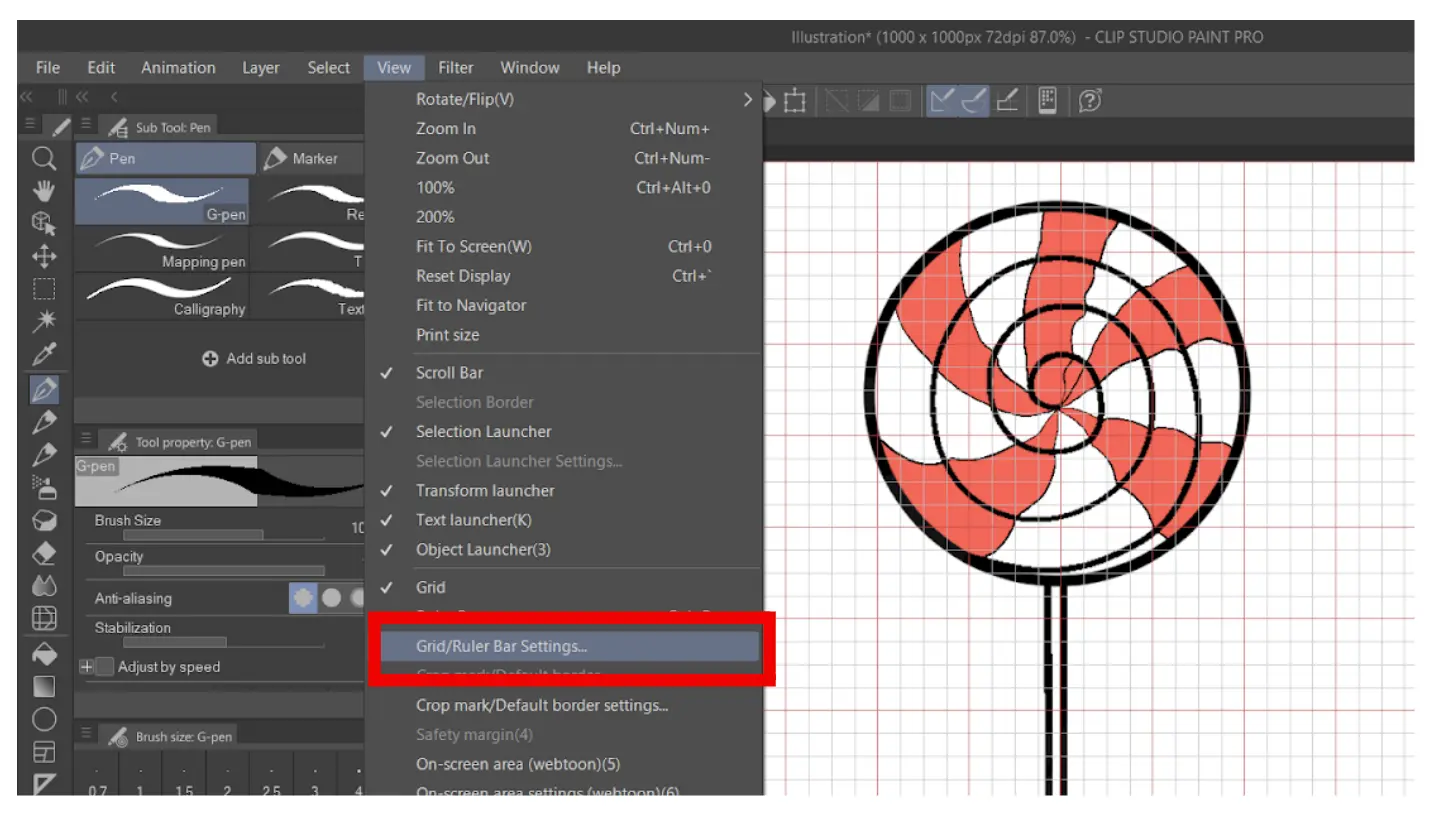
The Gap refers to the distance between the grid lines, while the number of divisions refers to the number of minor lines in each grid box.
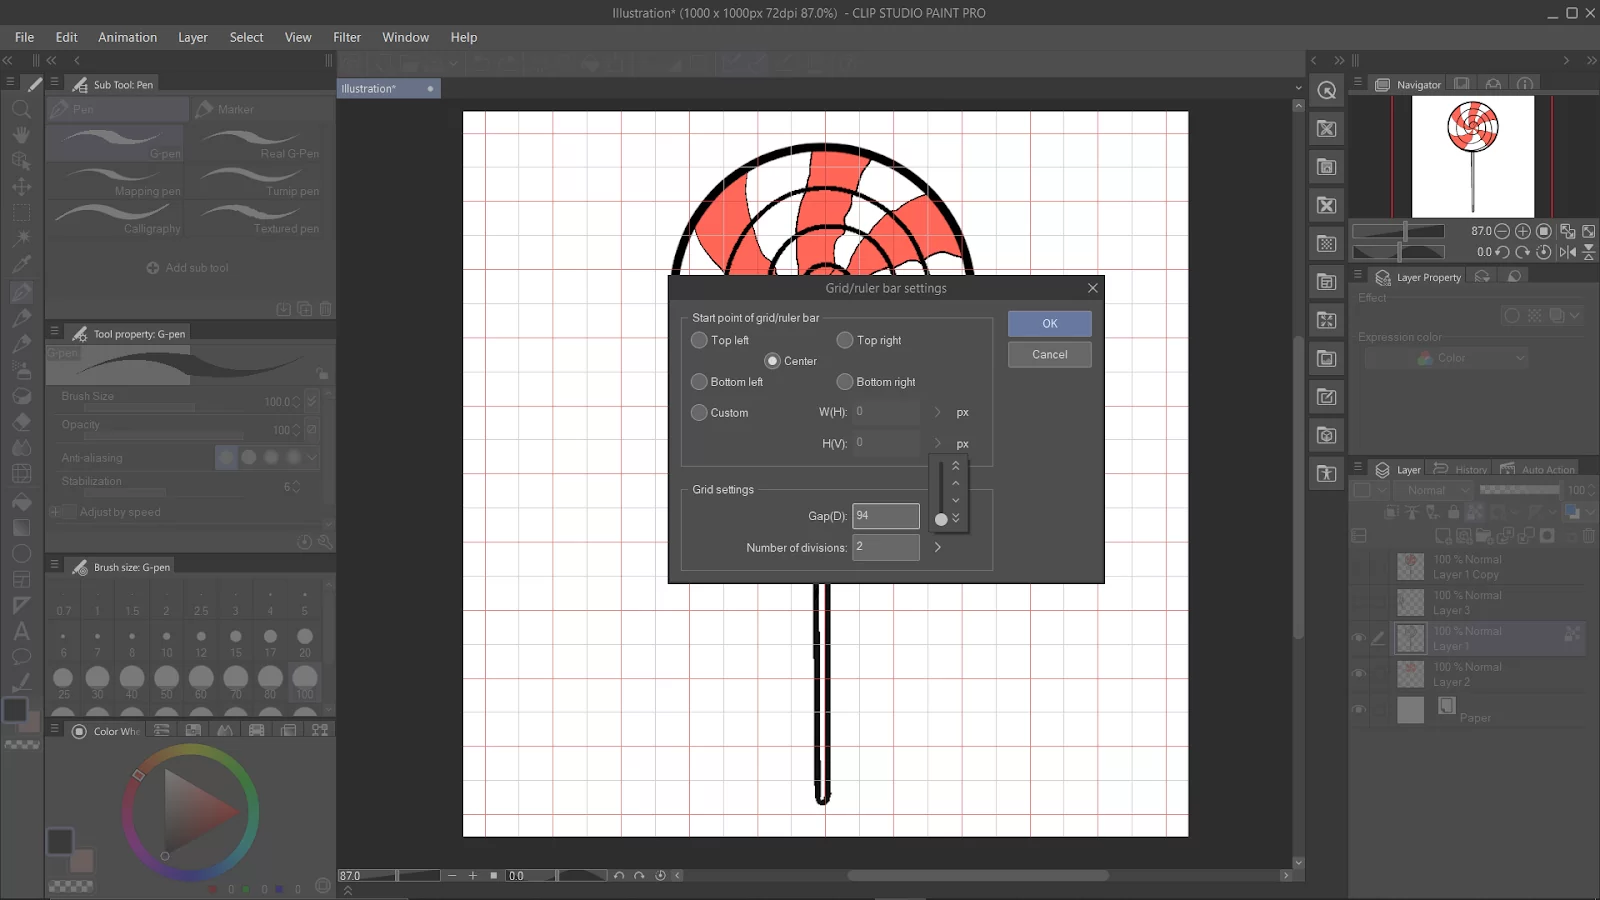
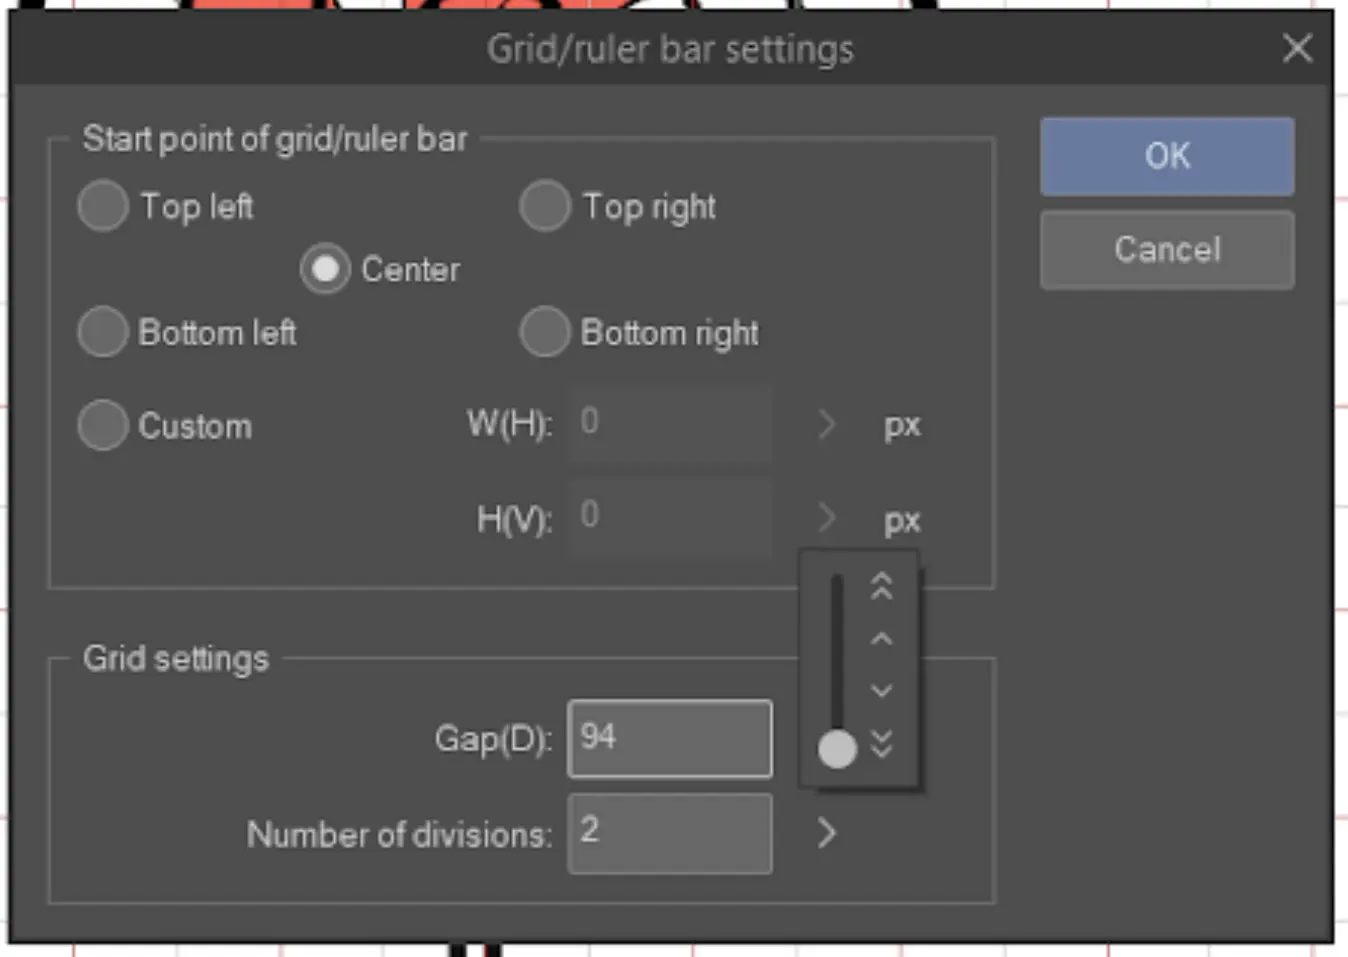
See my Grid/Ruler bar settings up close.
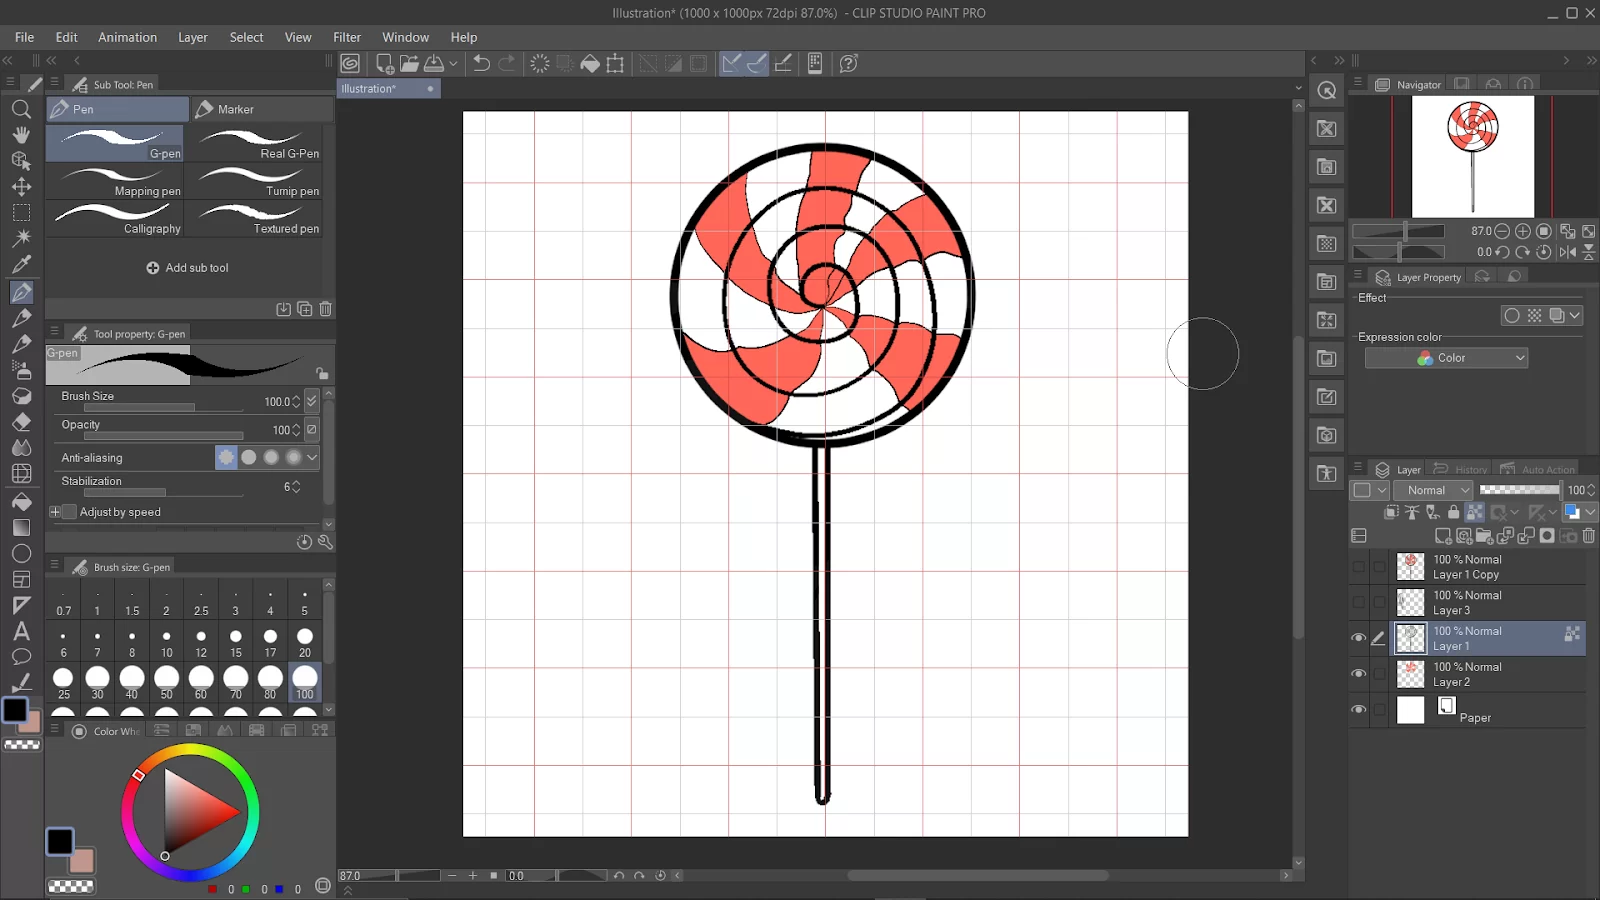
All done!
Grid Settings You Should Understand
Now we are in the fun part. Did you know that you customize and set how large the gaps in the grid will be? You can also set how many divisions you want in the grid. There are two options under the Settings of Grid box in clip studio paint.
- Number of Divisions
If you look at the grid, it appears as though the grid is divided into squares with smaller squares inside of them. As the bar is raised, more squares will fill in each gap/square. The grid will become much more intricate and detailed as a result. A smaller number can be entered to display fewer divisions. You can even configure it so that none of them appear.
- Gap
Whether you want larger or smaller squares in your grid, you may either enter a number or move the bar up and down. Having larger squares is also more beneficial.
You can also check out our highly recommended guide on how to color inside the lines using Clip Studio Paint.
How To Make an Isometric Grid in Clip Studio Paint
Are you thinking of working with different points of perspective? If you are, you need to know how to make an Isometric grid in Clip Studio Paint.
Okay, this may shock you, but there are no Isometric Grids available on Clip Studio Paint. Isometric grids can only be drawn by hand. You need to draw lines over lines and then copy and paste until you have a big grid. This isn’t very effective in Clip Studio because you can’t be 100% sure the lines will be measured perfectly.
Thankfully, there are some ways to solve this problem. You can start by making a grid in another software and then saving it as .png using a transparent background. After saving the grid, you can use it whenever you need. You can check on the internet and save the grid you want.
What if I told you there is a much better way? Yes, you can use the Clip Asset app. Users of Clip Studio can create items and upload them to this app for usage by other users. Simply register for an account and download the necessary files.
There are many helpful tools available for free, but some of these are charged as well. You can download an isometric grid created by creators on the app and click the download button after logging in or making a new account. Open the Download folder under the Materials Tab on Clip Studio Paint to find your new isometric grid. You merely need to drag the grid to the canvas to use it; it should be there by this point.
If you liked this article, you will also like our in-depth guide on coloring lineart in Clip Studio Paint.