Fading audio is an essential technique for creating smooth transitions in your videos. This can be especially useful for reducing background noise, adjusting the volume of a particular clip, or creating a more polished final product. By learning how to fade audio in iMovie, you’ll be able to take your videos to the next level and make them more professional and engaging. We’ll show you how to get started in very easy steps.
How to Fade Audio in iMovie
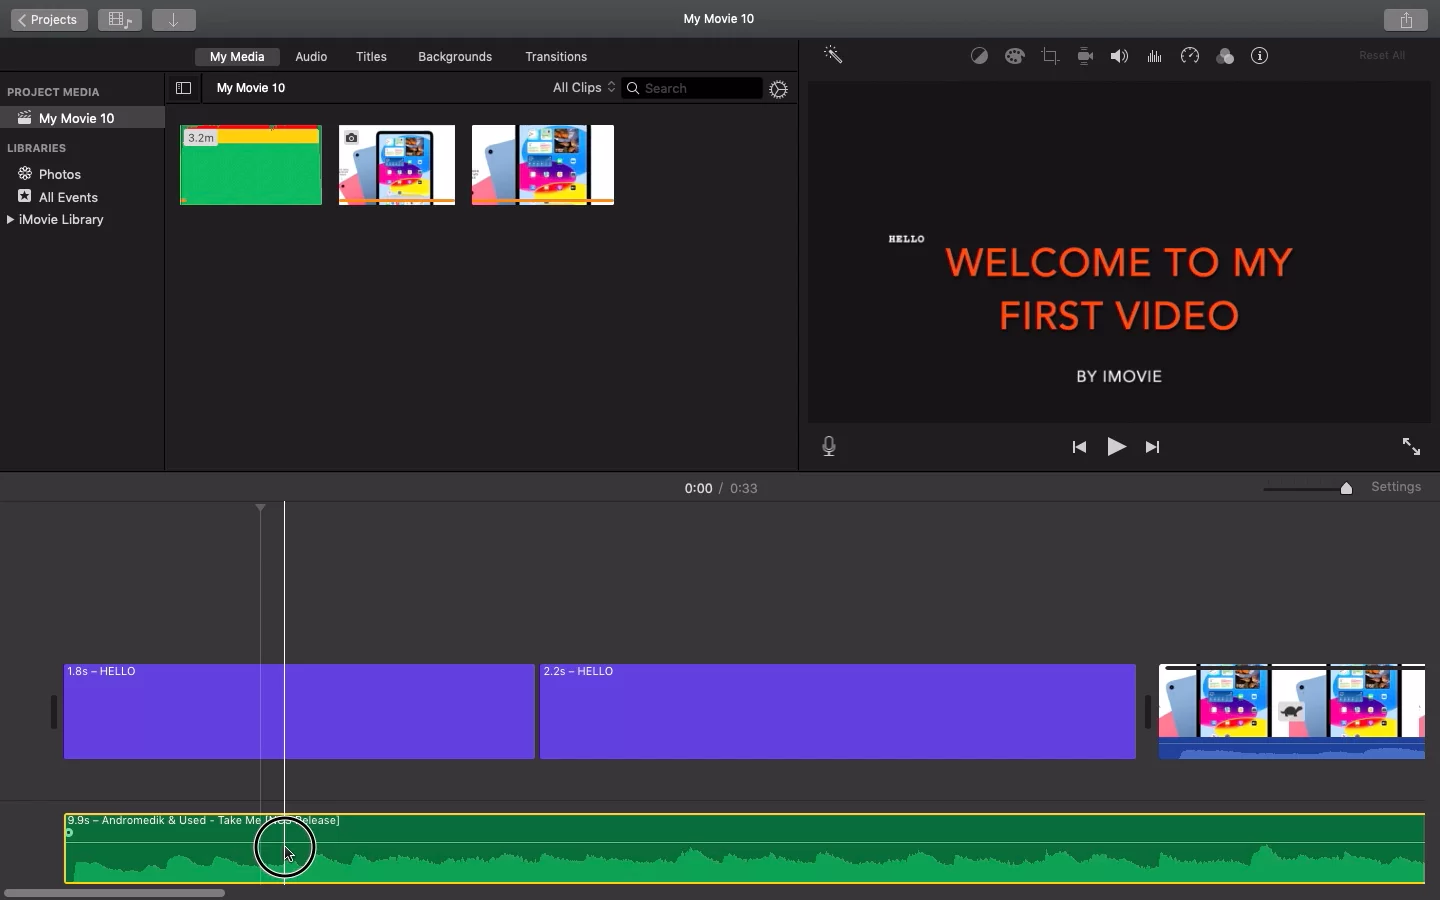
Step 1: Select the video/audio clip in which you would like to fade in or fade out the music.
Tip: Once a clip is selected, you will notice a yellow border around it.
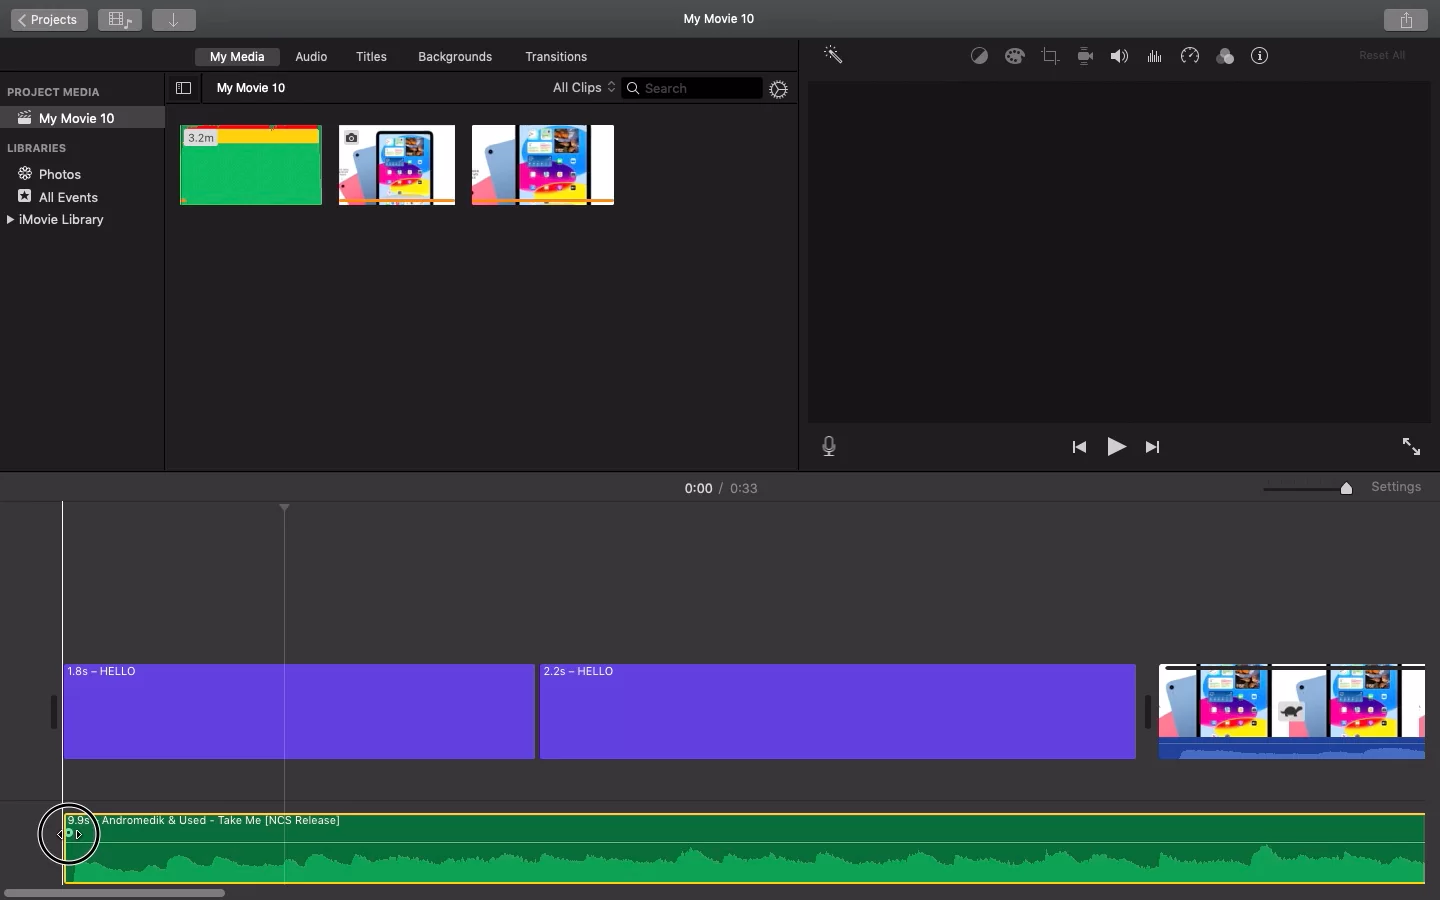
Step 2: Click on the small dot at the start of your video/audio clip, as shown in the image below.
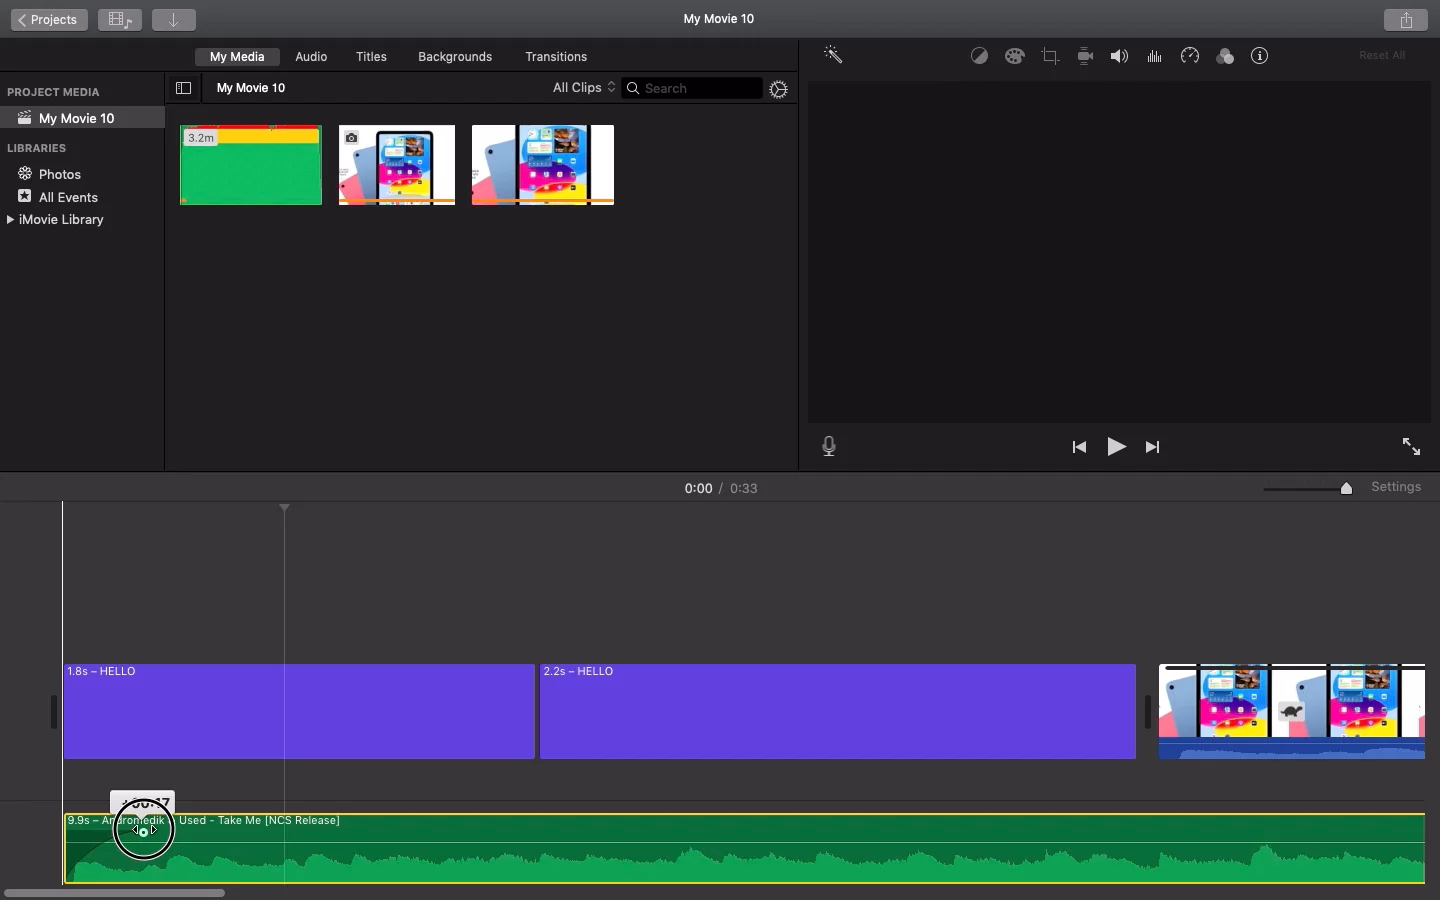
Step 3: Now, you can drag the small dot ahead depending on the level of fading-in required.
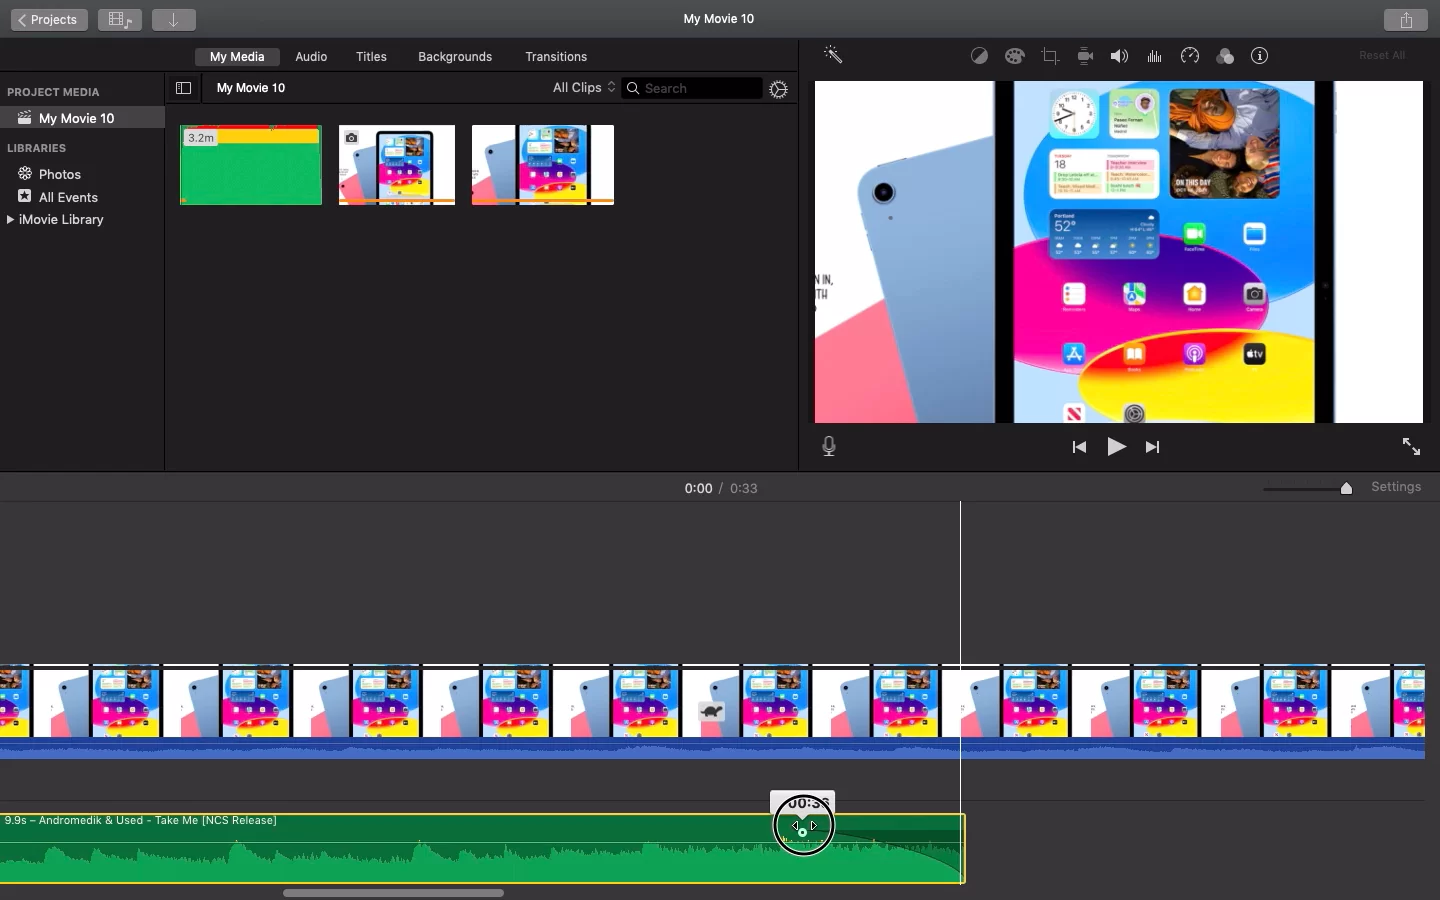
Step 4: You can similarly go to the end of your clip and drag the small dot backward depending on the level of fading-out required.
What to do if iMovie Audio Fade is Not Working
Occasionally, you might find that iMovie isn’t able to fade the audio in your video. You can follow simple steps to troubleshoot the issue including:
- Update iMovie to the latest version.
- Check audio settings and ensure audio fade is enabled.
- Use the right audio clip type: only audio clips with fade handles can be faded.
- Remove any applied audio effects before fading.
- Split the audio clip into two and apply fade separately.
- Try using a different project or creating a new project.
- If all of the above fail, restart your device.